
Last Updated on August 26, 2026 by Daniel Globe
Your pack is full, but you still have a sleeping pad, tent poles, a tent body, or a soaked rain jacket to carry. Knowing which straps, loops, pockets, and lids to use — and how to secure them correctly — keeps the load stable and reduces swinging and snagging on the trail. This guide covers the most common built-in backpack attachment methods and shows you how to choose the right one for each item.
Quick Answer
Use side compression straps for long or bulky gear such as tent poles and sleeping pads, a floating lid for centered bulky items, front stretch pockets or tie-out loops for wet layers, and dedicated tool loops for trekking poles or an ice axe. Keep dense weight close to your back, balance both sides, tighten every attachment, and test the pack before hiking.
Key Takeaways
- Balance matters most: Keep dense items close to your back and avoid loading one side much more heavily than the other.
- Use built-in features first: Compression straps, tool loops, lash points, front pockets, and floating lids are usually more secure than improvised cordage.
- Minimize exterior clutter: Gear hanging outside can swing, snag vegetation, hit rocks, or change your balance.
- Lock down loose ends: Tighten straps and secure excess webbing so nothing flaps or catches as you walk.
- Protect gear from weather: Put rain-sensitive equipment in a waterproof or highly water-resistant sack before carrying it externally.
- Choose cord carefully: Shock cord works for light, soft layers; use webbing straps or suitable low-stretch utility cord when a more secure hold is required.
At a Glance
| Time Required | About 5–15 minutes to rig and test external attachments |
| Difficulty | Easy |
| Tools Needed | Built-in backpack straps and loops; optional accessory straps, low-stretch utility cord, shock cord, cord locks, or small accessory clips |
| Cost | Usually no extra cost when using built-in features; optional straps, clips, or cordage cost extra |
Disclosure: As an Amazon Associate I earn from qualifying purchases. Some links on this page are affiliate links, at no extra cost to you.
What You’ll Need
Estimated time: 5–15 minutes to rig and test external attachments before you head out.
- A backpack with side compression straps, daisy chains, tie-out loops, tool loops, or other suitable attachment points
- Webbing accessory straps or suitable low-stretch utility cord for loads that need firmer retention
- Shock cord or bungee for light, soft items such as a rain jacket
- Small accessory carabiners or clips for lightweight gear, using existing D-rings or loops where the pack provides them
- Cord locks when compatible with the cord and attachment system
- Dry bags or stuff sacks to protect rain-sensitive equipment
Note: Backpack features and their intended loads vary by model. Check your pack’s manual before hanging substantial weight from a loop, strap, buckle, or lash point. Current backpack designs may include some — but not all — of the systems in this guide.
How to Attach Gear to a Backpack Safely
Before choosing a specific attachment point, use the same basic process for any item:
- Pack the dense gear first: Put food, fuel, water, and other dense items in secure locations close to your back whenever practical. Deuter’s backpack-packing guidance likewise recommends keeping the heaviest part of the load close to the body.
- Choose the correct built-in attachment: Use dedicated straps, pockets, tool loops, or lash points before improvising with extra cord.
- Center or balance the item: A centered item is usually preferable. If gear must ride on one side, counterbalance it or keep it light enough that the pack does not pull sideways.
- Use two points of retention when practical: Long items such as tent poles are more stable when captured at both an upper and lower point.
- Tighten without crushing the gear: Remove enough slack to stop bouncing, but do not overtighten fragile poles, inflatable pads, or other crush-sensitive equipment.
- Secure strap tails: Tuck or fasten excess webbing so it cannot whip around or snag brush.
- Do a shake-and-walk test: Lift the pack, shake it gently, put it on, and walk several minutes. Re-rig anything that slides, swings, rattles, or changes your balance.
Warning: Backpack accessory loops, daisy chains, D-rings, lash points, and ordinary accessory carabiners are not climbing anchors or life-safety equipment unless the manufacturer explicitly rates them for that purpose.
Side Compression Straps
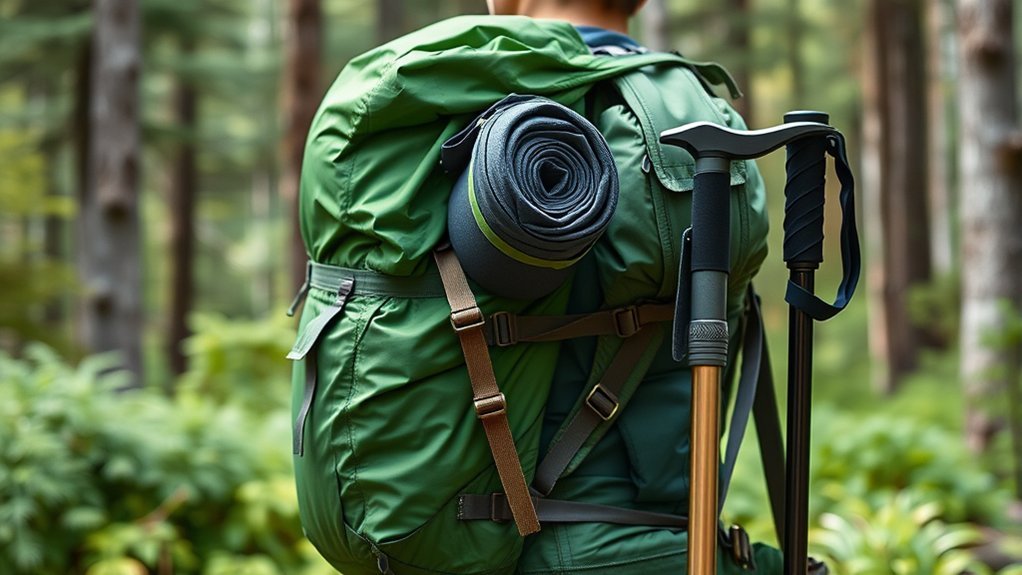
Side compression straps are one of the most useful tools for stabilizing a backpack. They reduce unused pack volume, help keep the load from shifting, and on many packs can also secure long or bulky gear such as tent poles, a closed-cell sleeping pad, or snowshoes.
Balance the load between the left and right sides whenever possible. For long items such as tent poles, use both an upper and lower compression strap so the item cannot pivot outward as you walk. If your backpack has reversible or removable compression straps, follow the manufacturer’s routing instructions before wrapping them around oversized gear.
Pro Tip: After tightening a compression strap, secure the loose webbing tail under a keeper or neighboring strap. A tightly held item can still become annoying if several inches of webbing are flapping against you all day.
Shoulder Strap Loops
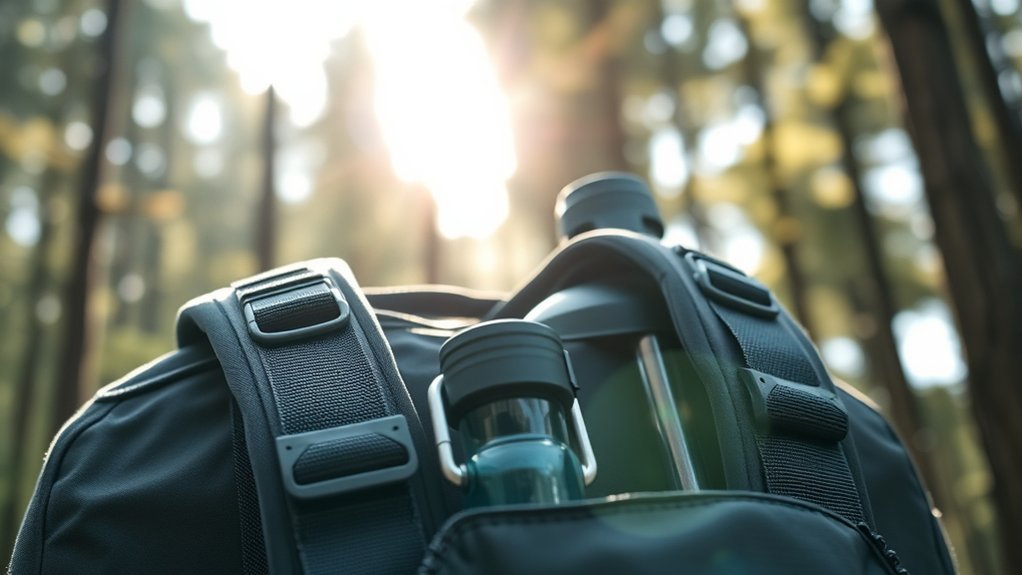
Shoulder-strap accessory loops sit on the front of the harness and give you quick access to small, lightweight gear. Depending on the backpack, you may be able to clip on a small GPS unit, sunglasses case, snack pouch, or other frequently used accessory.
Some packs include horizontal keeper straps, webbing loops, or D-rings in this area. Keep these attachments light: heavy objects can bounce, pull on the harness, or rub against your chest and shoulders. Do not confuse an accessory loop with the pack’s load-bearing harness components.
If the harness itself feels unstable, adjust the pack fit rather than trying to compensate by adding weight to the front. This guide to adjusting the sternum strap on a backpack can help with that separate fit issue.
Floating Lids
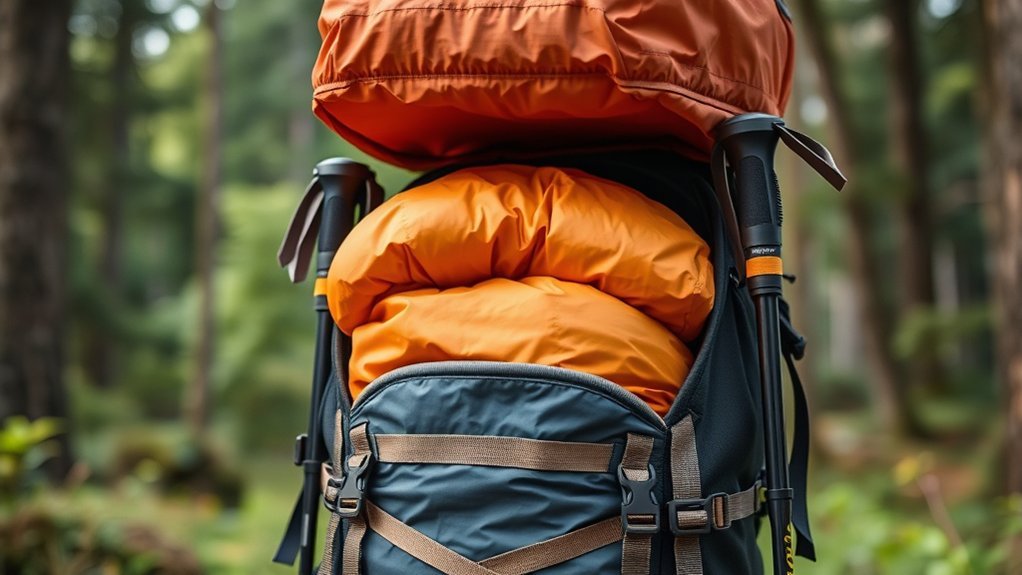
A floating lid is an adjustable top pocket connected to the main pack with extendable webbing. On packs designed this way, you can loosen the lid and place a bulky item — such as a coiled rope or compact sleeping pad — between the lid and the main pack body.
- Centered carry: A lid can hold bulky gear near the pack’s centerline instead of hanging it from one side.
- Adjustable fit: The webbing can accommodate different load heights and shapes.
- Removable design: Some floating lids can be removed when you want a lighter or lower-volume setup.
- Top-down compression: Tightening the lid can help keep the upper load compact.
Avoid using the lid as a reason to pile dense gear high above the pack. If the load makes the pack sway or pull backward, move the item inside or choose a more stable attachment point.
Tie Out Loops
Tie-out loops are small reinforced fabric or webbing loops on the exterior of some packs. They let you create a customized lashing system for light or awkward items when the backpack does not provide a dedicated strap.
For a lightweight rain jacket or other soft layer, shock cord can hold the item flat against the pack. For a firmer attachment, use suitable low-stretch utility cord or webbing straps with secure hardware. Do not assume that a tie-out loop is designed for a heavy load simply because cord can be threaded through it.
Warning: Test every knot, buckle, cord lock, and attachment before hiking. A small loose item can fall off silently, while a larger one can swing into your legs or catch on branches.
Rear Sleeping Pad Straps
Sleeping-pad or accessory straps are commonly positioned near the bottom of backpacking packs. They work well for lightweight but bulky cylindrical items such as a closed-cell sleeping pad or a tent body packed in a protective sack.
- Check the routing: Make sure the webbing passes through the buckles the way the pack manufacturer intended.
- Secure the gear: Slide the rolled item into position and tighten both straps evenly.
- Watch your width: A horizontally mounted pad can extend well beyond the sides of your body, so take extra care around trees, rock gaps, and narrow trail sections.
- Check for movement: If the item sags, pivots, or needs extreme tension to stay in place, use a different attachment method or move it inside the pack.
- Add secondary retention only when appropriate: An additional approved accessory strap can provide backup retention, but it should not be used to exceed the load capacity of the original attachment points.
Front Stretch and Shove-It Pockets
Many modern hiking packs include a large stretch or fabric-reinforced pocket on the rear face of the pack. These pockets are useful for gear you want accessible without opening the main compartment.
Good candidates include a damp rain shell, gaiters, lightweight sandals, gloves, or another soft item that can tolerate some exposure. A wet layer can also be kept away from dry gear inside the main compartment.
A front stretch pocket is not the best location for dense equipment because weight carried far from your back has more leverage on the pack. It is also a poor place for fragile electronics or anything that could be damaged by branches and rocks.
Daisy Chains and Web Lash Points
A daisy chain is a strip of webbing stitched at intervals to create a row of attachment loops. Other packs use individual reinforced lash points instead. Both systems give you flexible locations for accessory straps or lightweight clips.
Whenever possible, secure an item across two attachment points rather than hanging it from a single clip. That spreads the load and reduces swinging. Keep the item flat against the backpack rather than allowing it to dangle behind you.
Trekking Pole and Ice Axe Loops
Dedicated tool attachments are the safest choice when your backpack provides them. Trekking-pole systems typically secure the lower tips and upper shafts separately. Ice-axe systems commonly use a lower tool loop plus an upper elastic or compression retainer.
Follow the pack manufacturer’s instructions because the routing varies considerably between models. Cover or position sharp points so they cannot injure you, another hiker, or the pack fabric.
Best Attachment Method for Common Gear
- Closed-cell sleeping pad: Bottom accessory straps or side compression straps.
- Inflatable sleeping pad: Preferably inside the pack; if carried outside, protect it from abrasion and punctures.
- Tent poles: Vertically under upper and lower side compression straps.
- Tent body or fly: Bottom straps, centered beneath a floating lid, or inside the pack; use a protective sack if exposed to rain.
- Wet rain jacket: Front stretch pocket, shove-it pocket, or light shock-cord lashing.
- Wet tarp: Exterior stretch pocket or suitable tie-out system if securely contained and not dripping onto vulnerable gear.
- Trekking poles: Dedicated pole attachment system or tool loops.
- Ice axe: Dedicated ice-axe loop and upper retainer.
- Water bottle: A purpose-built side bottle pocket is fine when the bottle is secure. Balance substantial side weight when practical.
- Sleeping bag: Usually best protected inside the pack or sleeping-bag compartment; external carry should use reliable weather protection and secure retention.
How Much Weight Can You Safely Attach Externally?
There is no universal percentage of your pack weight that is considered safe to attach externally. Attachment strength varies by backpack, and the practical limit also depends on the item’s shape, distance from your body, terrain, and how securely it is retained.
As a general rule, use external attachment points mainly for lightweight, bulky, long, wet, or awkwardly shaped gear. Keep dense items closer to your back whenever possible. Weight hanging far behind you or well off one side can change your balance and contribute to discomfort in your hips and lower back.
Water bottles are an exception when your backpack has secure side pockets designed for them. A full bottle in a suitable pocket does not automatically need to be moved inside, but avoid creating a large left-to-right imbalance.
Grand Canyon National Park advises overnight backpackers to keep total pack weight around 15–20% of body weight in its backcountry guidance. That is a rough guideline for the entire loaded backpack — not a rule saying 15–20% can be strapped to the outside.
For any substantial external load, check the manufacturer’s instructions rather than relying on a universal weight formula.
How to Keep External Gear Dry and Protected
Anything outside the main pack is more exposed to rain, abrasion, branches, dirt, and accidental impacts. Put moisture-sensitive items in a waterproof or appropriately water-resistant dry bag or protective sack before attaching them externally.
A backpack rain cover can protect much of the pack, but large external attachments may extend beyond the cover. Electronics, down insulation, sleeping bags, and other gear that must remain dry deserve their own protection rather than relying only on the pack cover.
Also keep fragile equipment inside whenever possible. No amount of waterproofing protects a camera or phone from repeatedly striking rocks or trees.
Troubleshooting Common Attachment Problems
The item keeps sliding down
Use two retention points instead of one, check whether the strap is routed correctly through its buckle, and move the item to a location with better support. Smooth cylindrical items may need both upper and lower capture.
The gear swings while you walk
Shorten the attachment, pull the item closer to the pack body, or replace a loose clip with a strap that holds the object flat. Dangling gear should be re-rigged before continuing.
The backpack pulls to one side
Rebalance the load. Move the heavier side-mounted item toward the center, place it inside, or offset it with another appropriate item on the opposite side.
The item keeps snagging branches
Reduce the pack’s overall width and remove dangling cords or straps. Carry long gear vertically when possible and keep loose webbing tucked away.
The strap will not stay tight
Inspect the buckle and webbing for incorrect routing, contamination, wear, or damage. If a buckle or attachment point is damaged, do not depend on it for critical retention.
Frequently Asked Questions
Can I attach a tent to my backpack’s exterior?
Yes. A tent body in a protective sack can ride under bottom accessory straps or beneath a floating lid, while tent poles often fit vertically under side compression straps. Keep the load centered or balanced and make sure neither part can slide out.
What materials work best for securing items to a backpack?
Built-in nylon webbing straps and buckles are usually the first choice. Accessory webbing straps or suitable low-stretch utility cord can add secure retention when the pack supports it. Shock cord works best for lightweight, soft items. Avoid weak string, damaged clips, or improvised hardware that cannot hold the load reliably.
How do I keep attached items from getting damaged on the trail?
Use protective stuff sacks or dry bags, keep fragile electronics inside the backpack, and tighten attachments so gear cannot bounce into rocks or trees. Also watch the pack’s width when carrying a sleeping pad horizontally.
Which items should I avoid attaching to the outside of my pack?
Avoid fragile electronics, unsecured valuables, sharp objects without proper tool attachments, and dense items that make the backpack pull backward or sideways. Anything that dangles, swings, or repeatedly snags should be moved or re-rigged.
How do I keep externally attached gear dry in the rain?
Put vulnerable equipment in waterproof or highly water-resistant dry bags before attaching it. A backpack rain cover can add protection, but oversized exterior gear may sit outside the cover, so important insulation and electronics need their own weather protection.
Can I carry my sleeping bag outside my backpack?
You can, but keeping it inside the pack is usually safer because a sleeping bag is vulnerable to rain, abrasion, and loss. If external carry is necessary, use a reliable waterproof sack and secure it with two suitable straps so it cannot work loose.
Can I use carabiners to attach gear to my backpack?
Small accessory carabiners can be useful for lightweight items that will not swing excessively. Do not use ordinary accessory clips, backpack loops, or daisy chains as climbing anchors, belay points, or other life-safety equipment unless they are specifically rated for that purpose.
Conclusion
The best attachment method depends on the gear, the backpack, and where the load can sit without disturbing your balance. Use compression straps for long or bulky items, floating lids for centered overflow, front stretch pockets for soft or wet gear, dedicated tool loops for poles and axes, and bottom straps for lightweight cylindrical loads.
Keep dense equipment close to your body, minimize unnecessary exterior clutter, protect vulnerable gear from weather, and check every buckle, cord, and strap before you start walking. A five-minute shake-and-walk test at the trailhead is much easier than fixing a swinging sleeping pad or lost tent pole several miles down the trail.
Sources
- Deuter — How to Pack a Backpack — guidance on load distribution and keeping heavy items close to the body.
- Osprey — Atmos AG 50 — examples of current compression straps, floating lid, shove-it pocket, water-bottle pockets, ice-axe loops, and sleeping-pad straps.
- Gregory — Amber 54 — manufacturer example of a floating top pocket, compression straps, and backpacking attachment features.
- National Park Service — Introduction to Backcountry Hiking — Grand Canyon backcountry guidance on overall loaded backpack weight.

