
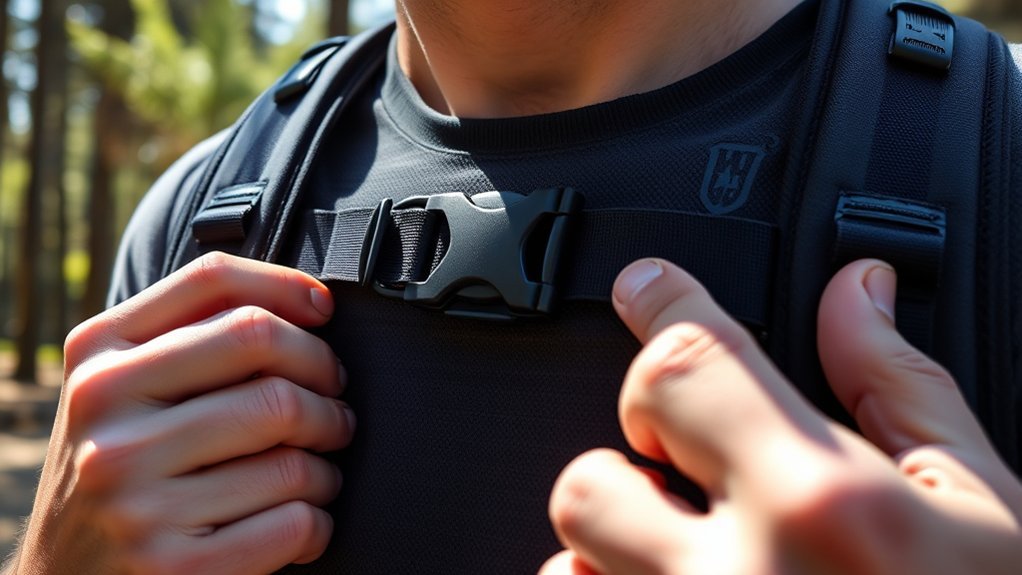
Last Updated on July 28, 2026 by Caleb Warren
A slipping backpack can turn a great hike into an uncomfortable one. A correctly adjusted sternum strap helps keep the shoulder straps in place and controls pack movement, but the right method depends on how the strap attaches. This guide explains how to set the height and tension, identify removable systems, reattach common designs, and solve fit problems safely.
Quick Answer
Put on the loaded backpack, slide the sternum strap to a comfortable mid-chest position, buckle it, and remove only enough slack to hold the shoulder straps in place. You must still be able to breathe deeply and move your arms freely. Before removing or reattaching it, identify whether it uses a rail, webbing loop, clip, or fixed anchor.
Key Takeaways
- Fit the hipbelt, shoulder straps, and load lifters before adjusting the sternum strap.
- Start about 1 inch below the collarbones, then move the strap to suit your body and shoulder-harness design.
- Tighten only enough to control the shoulder straps; the strap must not restrict breathing or distort the harness.
- Removal and reattachment methods vary between guide rails, piping, daisy chains, webbing clips, and fixed anchors.
- Do not pry, heat, cut, or force unfamiliar hardware. Check the backpack manual or contact the manufacturer when the attachment is unclear.
What’s in This Article
- Before You Begin
- What a Sternum Strap Does
- Identify Your Attachment System
- How to Adjust the Sternum Strap
- How to Remove the Sternum Strap
- How to Reattach the Sternum Strap
- Finding the Right Strap Position
- Safety and Fit Checks
- Sternum Strap Troubleshooting
- Common Mistakes to Avoid
- Maintenance Tips
- Frequently Asked Questions
- Sources
At a Glance
| Time Required | About 5 minutes for fitting; up to 10 minutes for removal or replacement |
| Difficulty | Easy for normal adjustment; model-dependent for removal |
| Tools Needed | A backpack loaded with a typical amount of gear; the model manual for removal or replacement |
| Cost | $0 for adjustment; replacement-strap prices vary by backpack model |
Disclosure: As an Amazon Associate I earn from qualifying purchases. Some links on this page are affiliate links, at no extra cost to you.
Before You Begin
Place a realistic amount of gear in the backpack before fitting it. An empty pack can sit differently from the same pack under load.
Adjust the pack in this order:
- Set the torso length if the backpack has an adjustable harness.
- Position and tighten the hipbelt so it sits securely around the top of your hips.
- Tighten the shoulder straps until they follow your shoulders without painful pressure.
- Set the load lifters if the pack includes them.
- Adjust the sternum strap last.
The sternum strap cannot correct the wrong torso size, an incorrectly positioned hipbelt, or badly adjusted shoulder straps. REI and Gregory both recommend fitting the main suspension before fine-tuning the sternum strap. You can review REI’s backpack fitting steps and Gregory’s pack fit guide for the full sequence.
No tools are needed for ordinary height or tension adjustment. Removal may also be tool-free, but only when the backpack was designed for it. Finish the rest of your hiking setup with properly fitted clothing and hiking shoes that fit securely.
Note: Take a photo of the strap’s original position and orientation before removing it. The photo can help you reinstall the anchors, buckle, elastic section, whistle, or hydration-hose keeper correctly.
What a Sternum Strap Does
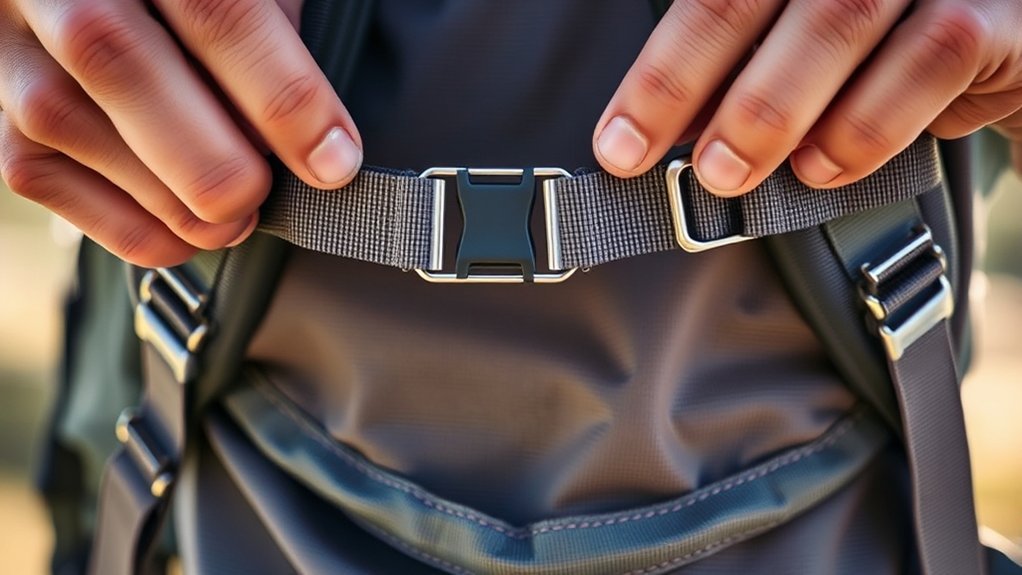
The sternum strap connects the left and right shoulder straps across your chest. Its main job is to control their spacing so they do not drift outward while you walk, run, ride, or move over uneven ground.
A well-adjusted strap may improve pack stability and reduce pressure points by keeping the shoulder harness in a comfortable position. Osprey describes the sternum strap as a load-control component, while Gregory says it should keep the shoulder straps in place without changing their shape or limiting breathing.
The sternum strap is not the main part responsible for carrying the backpack’s weight. Meaningful load transfer comes from the hipbelt, pack frame, shoulder harness, and load lifters. Pulling the sternum strap extremely tight does not convert it into a useful chest belt; it usually makes the harness less comfortable.
The correct setting holds the shoulder straps where you want them while leaving enough room for a full breath and natural arm movement.
Identify Your Attachment System
Look closely at the point where each half of the sternum strap meets the shoulder harness. Do this before attempting removal because the correct method depends on the hardware.
| Attachment Type | How to Recognize It | Removal Guidance |
|---|---|---|
| Guide rail or piping slider | A plastic anchor slides along a raised rail, corded edge, or narrow track. | It may slide off at a narrow rail end or use a model-specific release point. |
| Daisy-chain or webbing loop | The anchor hooks, threads, or clips into one of several sewn fabric loops. | Open or unthread the attachment according to its shape, then move it to a matching loop. |
| SlideCam or webbing clamp | A small cam opens around a vertical strip of webbing. | Open the cam only as directed by the manufacturer and feed the webbing out. |
| Fixed or sewn anchor | The strap is sewn directly into the shoulder harness or trapped behind permanent stitching. | Do not cut it off. Replace the buckle only if supported, or use the manufacturer’s repair service. |
Some backpacks use different hardware on the left and right sides because one anchor also holds a hydration tube. Note which side carries that accessory before taking anything apart.
How to Adjust the Sternum Strap
For most users, adjustment—not removal—is all that is needed.
- Put on the loaded backpack. Stand upright in the clothing or layers you expect to wear during the activity.
- Set the vertical position. Slide both anchors to the same height if the design allows vertical movement. Start roughly 1 inch below the collarbones.
- Center the buckle. The buckle does not need to sit at the exact center of every body, but the strap should not pull one shoulder strap farther inward than the other.
- Fasten the center buckle. Make sure loose clothing, hair, hydration tubing, or accessory cords are clear of the buckle.
- Remove the slack. Pull the loose webbing until the shoulder straps stay in place. Stop before the harness bends sharply inward.
- Take a deep breath. You should be able to expand your chest fully without pressure at the throat, ribs, or breast tissue.
- Move your arms. Reach forward, overhead, and across your body. Loosen or relocate the strap if it limits movement.
- Walk for a few minutes. Check whether the pack remains stable without pinching, rubbing, numbness, or tingling.
Pro Tip: Mark your preferred webbing length with a small removable thread loop or washable fabric marker. This makes it easier to return to the same setting after loosening the strap for bulky clothing.
How to Remove the Sternum Strap
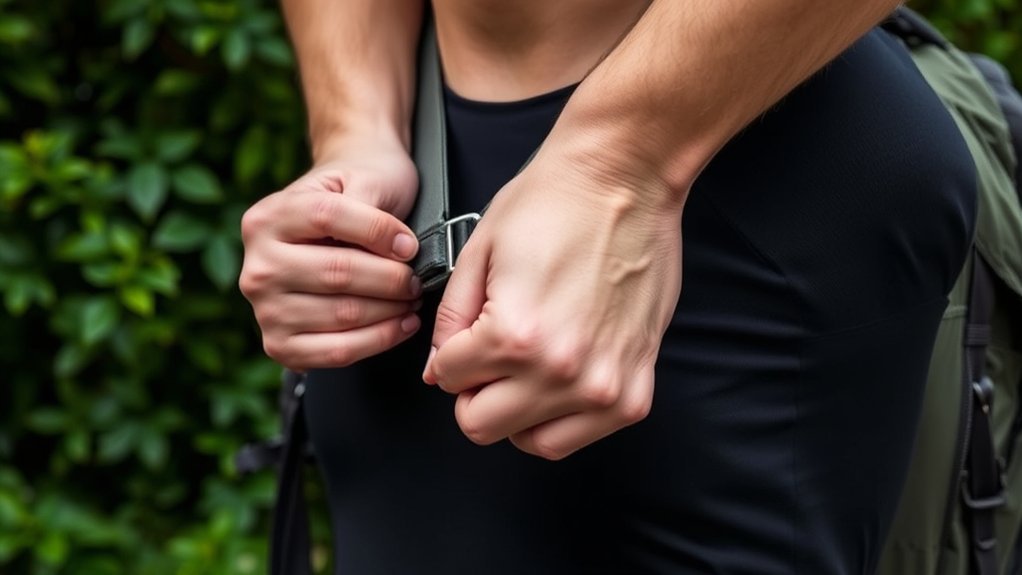
You may need to remove the strap to replace a damaged anchor, move it between noncontinuous attachment points, or install a compatible replacement. Unload the backpack and place it on a stable surface before starting.
Rail-Mounted Strap
- Inspect both ends of the rail. Look for a narrow entry point, removable stop, opening, notch, or manufacturer-marked release area.
- Move the slider toward the intended exit. Do not assume the nearest end is removable; some rails are permanently closed at one end.
- Use the built-in release if present. Press a tab or flex the anchor only when its shape or the model instructions clearly indicate that method.
- Slide the anchor off the rail. Support the shoulder strap so you are not twisting or stretching its stitching.
- Repeat on the other side. Keep the left and right pieces oriented as they were installed.
VAUDE’s official replacement instructions show a common rail design in which the sternum-strap anchor enters and leaves at the narrow end of the guide rail. Other systems use different entry points, so check the backpack manual before applying force.
Webbing or Daisy-Chain Strap
- Find the hook, gate, clip, or threaded loop connecting the anchor to the vertical webbing.
- Relieve tension by unbuckling the sternum strap.
- Open the clip or rotate the hook through the fabric loop without stretching the stitching.
- Repeat on the opposite shoulder strap.
Fixed or Sewn Straps
A fixed anchor is not intended to slide off. Do not cut the webbing or shoulder-harness stitching. Contact the backpack maker for a replacement buckle, anchor, or authorized repair.
Warning: Do not use boiling water, an open flame, a screwdriver, pliers, or excessive bending to force unfamiliar plastic hardware. These methods can crack the anchor, weaken the rail, tear the shoulder strap, or void the backpack warranty.
How to Reattach the Sternum Strap
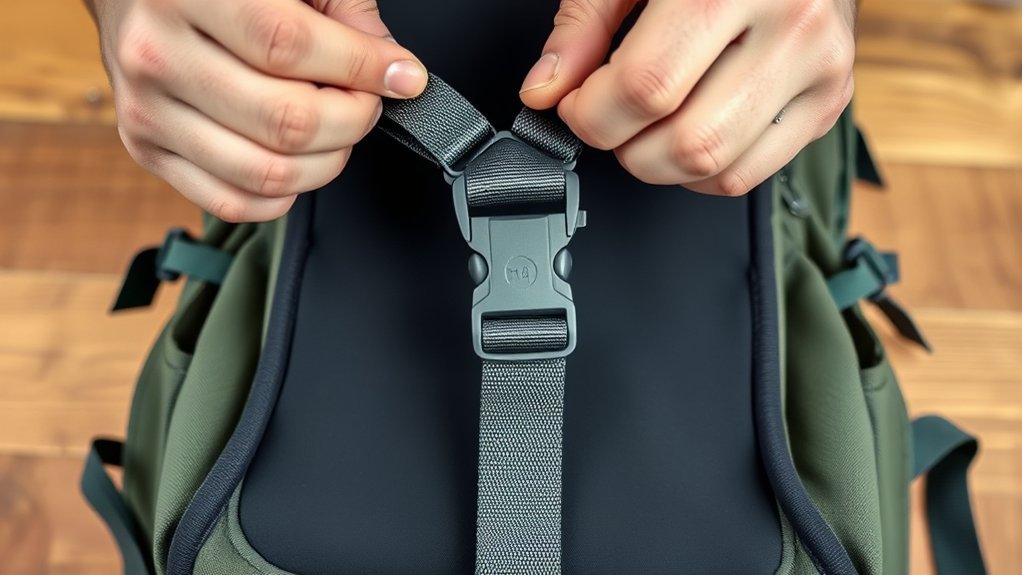
Match the original attachment type and orientation. The webbing should lie flat, the buckle halves should face each other, and any hydration-hose keeper should return to the intended side.
Reattach a Rail-Mounted Strap
- Find the rail entry point. On many removable systems, this is the narrow or tapered end.
- Align the slider with the rail. Match the anchor’s channel to the rail rather than forcing it straight through the side.
- Feed the slider onto the rail. Move it gradually until the entire channel engages.
- Slide it to the approximate fitting height. Repeat on the other shoulder strap at the same level.
- Reinstall any rail stop only if the model uses a removable stop and the manufacturer provides instructions for it.
Reattach a Webbing or Daisy-Chain Strap
- Select matching loops at the same height on both shoulder straps.
- Open the hook, gate, or cam and attach it to the loop without trapping or folding the fabric.
- Close the attachment completely.
- Check that the anchor cannot rotate out of the loop during normal movement.
Confirm the Connection
| Check | What to Confirm |
|---|---|
| Anchor engagement | The full slider, hook, or cam is seated on the rail or webbing. |
| Matching height | The left and right anchors sit at the same starting height unless the manufacturer specifies otherwise. |
| Webbing orientation | The webbing lies flat without twists, folds, or contact with sharp edges. |
| Buckle operation | The buckle closes fully and releases normally when both side tabs are pressed. |
| Tug test | A firm hand pull does not detach the anchors or open the buckle. |
Some center buckles make an audible click when fastened, but not every shoulder-strap anchor clicks into place. Judge the connection by full engagement and the tug test rather than sound alone.
Finding the Right Strap Position
REI recommends beginning roughly 1 inch below the collarbones. Osprey guidance for some models uses approximately 1 to 2 inches below the collarbone. Treat this as a starting range rather than a rule for every body or harness.
Fit for Your Body
Move the strap slightly higher or lower until it holds the shoulder straps in place without pressing on your throat, ribs, or sensitive chest tissue. People with a fuller chest may find the best position above or below the most prominent area rather than directly across it.
The strap should not pull the padded shoulder harness into a sharp angle. If it does, loosen the strap, move it vertically, or check whether the pack’s shoulder harness is the right width and shape for your body.
If the horizontal strap is too short even when fully extended, do not compensate by crushing the shoulder straps inward. Look for a manufacturer-approved extended sternum strap or a pack designed for a broader fit.
Pro Tip: Test the fit while wearing the thickest jacket or protective gear you expect to use. A position that works over a T-shirt may feel too high or too tight over winter layers.
Adjust for the Activity
Do not rely on a universal rule that the strap must be higher for climbing or lower for running and biking. Use the following performance checks instead:
| Activity | Adjustment Goal |
|---|---|
| Hiking or backpacking | Control side-to-side pack movement while allowing deep breathing on climbs. |
| Running | Reduce bounce without restricting chest expansion at a higher breathing rate. |
| Biking or urban riding | Keep the shoulder straps from shifting when leaning forward or checking traffic. This also applies to a compact commuting pack used with a bike or electric scooter. |
| Climbing or scrambling | Prevent interference with a helmet strap, climbing harness, rope, or chest-mounted equipment while preserving arm reach. |
Some running vests and specialty packs are designed with two chest straps. Use both only when they are part of the manufacturer’s harness system. Do not add a second strap to an unsuitable rail or loop merely to make the pack feel tighter.
Safety and Fit Checks
Perform these checks before setting out and again whenever the pack begins to feel different:
- Deep-breath test: Inhale fully without chest restriction.
- Arm-movement test: Reach forward, overhead, and across your body without rubbing or pinching.
- Harness-shape test: Confirm that the shoulder straps still lie smoothly against your body.
- Anchor test: Tug each slider, hook, or cam separately.
- Buckle test: Close and reopen the buckle to confirm that both release tabs work.
- Skin and nerve check: Loosen and refit the pack if you notice numbness, tingling, unusual pressure, or persistent rubbing.
A small amount of horizontal webbing beyond the buckle is normal. The strap does not need to be pulled hard across your chest to remain effective.
Warning: A backpack sternum strap is not a climbing anchor, lifting handle, rescue attachment, child-restraint point, or fall-arrest device. Never clip safety equipment to it or use it to support body weight.
Sternum Strap Troubleshooting
| Problem | Likely Cause | What to Do |
|---|---|---|
| The slider will not move | The rail is dirty, loaded sideways, sewn in place, or not designed for continuous adjustment. | Unbuckle and unload the strap, clean the track gently, and check the manual. Do not force it. |
| The strap slides down during use | The slider or rail may be worn, contaminated, damaged, or mismatched. | Clean and inspect both parts. Replace the correct component if it still slips. |
| The buckle opens unexpectedly | Dirt, a cracked tab, an incomplete connection, or incompatible buckle halves. | Rinse out debris and inspect for damage. Replace the buckle if either tab is cracked or deformed. |
| The webbing is twisted | One anchor or buckle half was reinstalled backward. | Compare it with the photo taken before removal and reinstall the affected side. |
| The strap feels tight at full extension | The strap is too short, the anchors are in the wrong position, or the shoulder harness is too narrow. | Move the anchors, refit the shoulder straps, or obtain an approved longer replacement. |
| One shoulder strap keeps slipping | Uneven shoulder adjustment, an off-center load, or unequal anchor height. | Repack the load, reset both shoulder straps, and align the sternum anchors. |
If a rail anchor repeatedly pops off its track, stop reinstalling it as a temporary fix. The slider, rail end, or stop may be worn. Gregory notes that replacement sternum-strap anchors are available for some packs, and many manufacturers can supply the correct model-specific component.
Common Mistakes to Avoid
- Wearing it too tight. The strap should control the shoulder harness without restricting breathing or pulling the pads sharply inward.
- Adjusting it before the main suspension. Set the torso, hipbelt, shoulder straps, and load lifters first.
- Assuming every anchor uses a notch. Rail, piping, webbing, clip, and fixed systems require different methods.
- Skipping the tug test. Test both shoulder anchors and the center buckle after reattachment.
- Forcing a stuck slider. Excessive bending or prying can crack the anchor or damage the shoulder harness.
- Ignoring body shape. Move the strap away from the throat, ribs, or sensitive chest tissue instead of accepting an uncomfortable “standard” height.
- Setting it once and never revisiting it. Clothing layers, pack contents, terrain, and fatigue can change the fit. Make small adjustments when comfort or stability changes.
- Ignoring wear. Replace cracked buckles, stretched hooks, frayed webbing, damaged stitching, and anchors that no longer remain on their tracks.
Tips for Maintaining Your Sternum Strap
Inspect the sternum strap before each major trip. Look closely at the buckle tabs, adjustment slider, rail ends, webbing edges, elastic sections, and stitching around the shoulder harness.
Remove surface dirt with lukewarm water, mild soap, and a soft sponge or brush. Work soap through a dirty buckle and rinse it thoroughly so grit cannot interfere with the release tabs. Osprey recommends mild soapy water, thorough rinsing, and air drying in a ventilated area away from direct sunlight.
Follow the care label for your specific backpack. Unless its manufacturer expressly permits it, do not machine-wash the pack or expose the buckle and webbing to bleach, strong cleaners, a clothes dryer, or direct heat.
Let the pack dry completely before storing it in a cool, dry place. Loosen the sternum strap during storage so the webbing, elastic, and buckle are not held under constant tension.
Avoid loading the backpack beyond the manufacturer’s recommended capacity. Overloading affects the entire suspension and can place abnormal stress on the shoulder-harness stitching and small plastic components.
Frequently Asked Questions
Can I adjust the sternum strap without taking off my backpack?
Yes. You can normally loosen the horizontal webbing and move accessible height sliders while wearing the pack. Stop walking while making the adjustment, and take the pack off if you cannot see or reach the anchors safely.
Where should a backpack sternum strap sit?
Start roughly 1 inch below your collarbones. Move it higher or lower until it keeps the shoulder straps in place without pressing on your throat, ribs, or sensitive chest tissue. The final position depends on your body and the harness design.
What if my sternum strap feels too tight or too loose?
Use the webbing adjuster to change the horizontal tension. It is tight enough when it controls the shoulder straps but still allows a full breath and free arm movement. If the webbing reaches its limit, reposition the anchors or check whether you need a longer compatible strap.
Why do my hands or shoulders feel numb after tightening it?
The sternum strap or shoulder harness may be too tight or poorly positioned. Loosen the strap, reset the shoulder harness, and check the pack’s torso size. Stop using the setting if numbness or tingling continues.
Are sternum straps universal for all backpacks?
No. Strap length, buckle size, anchor shape, rail diameter, webbing width, and attachment style vary. Match a replacement to the exact backpack model or obtain a component that the manufacturer lists as compatible.
How often should I check the fit?
Check it before setting out and whenever the pack begins to bounce, rub, shift, or restrict movement. Clothing changes, load movement, and terrain can all affect the fit, so adjust it when needed rather than following a fixed hourly schedule.
Can I replace a damaged sternum strap myself?
Often, yes, when the backpack uses a removable rail, clip, cam, or daisy-chain system. Fixed anchors and damaged shoulder-harness stitching may require professional repair. Obtain the correct replacement and follow the backpack maker’s instructions.
A correctly adjusted sternum strap makes a bigger difference than its size suggests. Fit the main suspension first, place the strap where you can breathe and move freely, and tighten only enough to control the shoulder straps. When removal is necessary, identify the attachment system before touching the hardware. Five careful minutes can produce a steadier, more comfortable carry for the rest of the trip.
Sources
- REI Co-op — Backpacks: Fit and Torso Size Guide — sternum-strap height, tension, breathing, arm movement, and on-trail adjustment.
- Gregory — Pack Fit Guide — fitting sequence, shoulder-harness shape, breathing, hipbelt load transfer, and load lifters.
- Osprey — Backpack Suspension Systems — sternum-strap load control and pressure-point guidance.
- VAUDE — How to Replace a Backpack Chest Strap — guide-rail replacement at the narrow rail entry point.
- Osprey — How to Clean Your Backpack — mild-soap cleaning, rinsing, air drying, and machine-washing precautions.


1 Comment
Pingback: Complete Backpack Attachment Guide For Hiking [2026]