Last Updated on July 30, 2026 by Caleb Warren
A backpack that matches your torso and sits securely on your hips feels steadier, reduces rubbing, and is easier to control on the trail. A proper fitting takes about 20 to 30 minutes: measure your torso and hips, load the pack realistically, set the suspension, adjust each strap in order, and test the fit while walking.
Quick Answer
Measure from your C7 vertebra to a level line across the top of your hip bones, then match that measurement to the pack maker’s size chart. Set the torso length, center the hip belt over your hips, snug the shoulder straps, lightly tension the load lifters and sternum strap, and test the fit while walking.
Key Takeaways
- Choose backpack size by torso length and hip measurement, not height or clothing size alone.
- Fit the pack with a realistic load and loosen every adjustment strap before starting.
- The hip belt should carry most of the load while the shoulder straps keep the pack close and stable.
- A 45-degree load-lifter angle is common, but the correct angle depends on the pack’s design.
- Stop and refit the pack if you feel sharp pain, numbness, tingling, restricted breathing, or loss of balance.
At a Glance
| Time Required | 20–30 minutes, including a test walk |
| Difficulty | Easy |
| Tools Needed | Flexible tape measure, mirror or helper, and a realistic pack load |
| Cost | $0 |
Disclosure: As an Amazon Associate I earn from qualifying purchases. Some links on this page are affiliate links, at no extra cost to you.
Measuring Your Torso Length
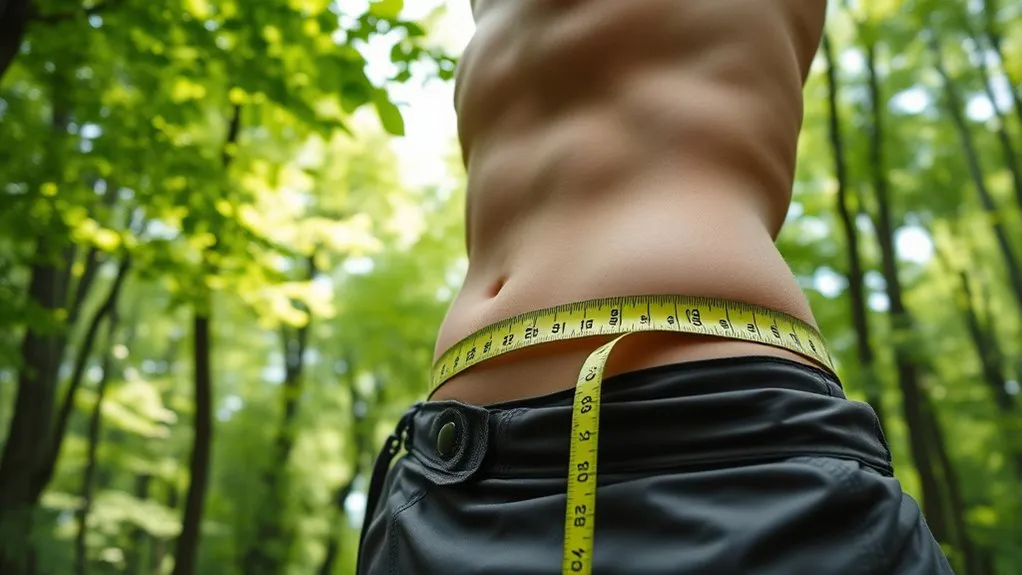
Torso length is the main measurement used to choose a framed hiking or backpacking pack. Your height alone is not enough because two people of the same height can have different torso lengths.
The easiest method uses a flexible tape measure and a helper. The landmarks and measurement method below match the guidance in the REI backpack sizing and fit guide.
- Find the C7 vertebra: Tilt your head forward. Feel for the prominent bump where your neck meets the slope of your shoulders.
- Find the iliac crest: Place your hands on top of your hip bones with your fingers pointing forward and your thumbs pointing toward your spine.
- Create the lower measuring point: Imagine a level line connecting your thumbs across your lower back.
- Measure the torso: Stand upright and relaxed while your helper measures down the curve of your spine from C7 to that level line.
- Record the result: Compare the number with the torso range listed for the exact backpack model and size you are considering.
Measure Your Hips Too
Wrap the tape around the top of your hip bones at the iliac crest. This line is usually higher than the waistband of your pants, so your hip measurement may not match your clothing size.
Check that the pack’s hip-belt range includes your measurement and leaves room to tighten or loosen the belt. Some backpack models offer interchangeable or extendable hip belts when the torso size fits but the standard belt does not.
Note: Backpack size and backpack capacity are different. Torso and hip measurements determine fit, while liters describe how much gear the pack can hold.
Preparing Your Pack for Fitting
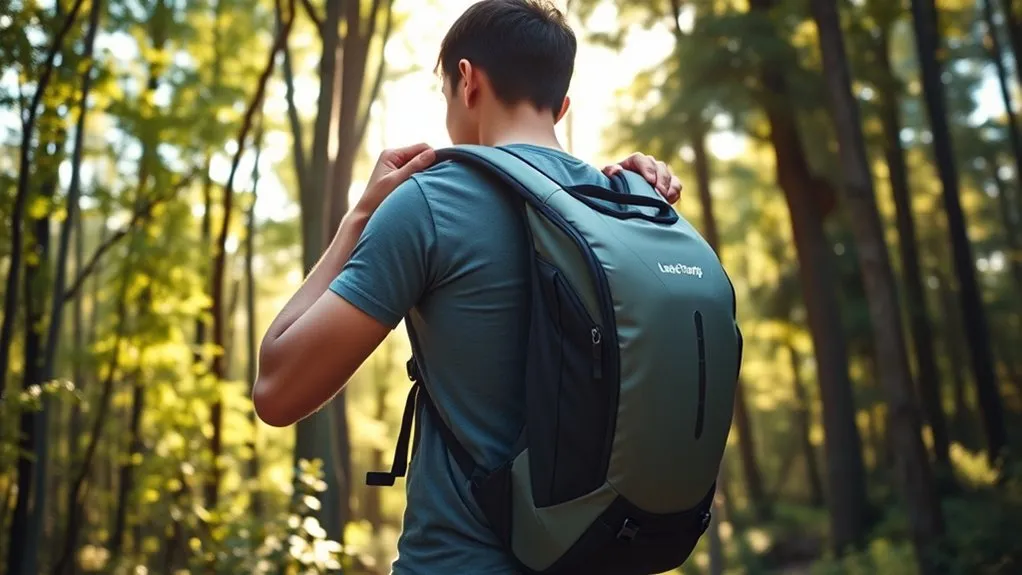
Do not fit an empty backpack. Its shape and balance can change after you add food, water, shelter, clothing, and other equipment. A realistic load gives you a better picture of how the hip belt, shoulder harness, and back panel will feel.
For a store or home fitting, start with about 15 pounds. Many manufacturers recommend approximately 10–20 pounds for an initial test; the Osprey fitting guide, for example, uses that range. For the final check, use the weight and equipment you expect to carry.
- Place the gear inside the backpack and close every main zipper, buckle, roll-top, or lid.
- Keep dense items near the middle of your back rather than at the outer edge of the pack.
- Balance the load from left to right.
- Fill empty spaces so hard items cannot shift or press into your back.
- Tighten the compression straps enough to control movement.
- Loosen the hip belt, shoulder straps, load lifters, sternum strap, and hip-belt stabilizers before putting the pack on.
The REI guide to loading and hoisting a backpack recommends placing dense equipment in the pack’s core zone, close to the spine, so the load is less likely to pull backward.
Put the Loaded Backpack On Safely
A common mistake is lifting a full pack by one shoulder strap. That can strain your body and place unnecessary stress on the harness stitching.
- Stand beside the upright pack with your feet apart and knees bent.
- Hold the haul loop at the top of the back panel.
- Lift with your legs and slide the pack onto your thigh.
- Put one arm through its shoulder strap while the pack rests on your thigh.
- Lean slightly forward, guide the pack across your back, and insert the other arm.
- Stand upright before beginning the fitting sequence.
Warning: Ask another person to help if the pack is too heavy or awkward to lift under control. Do not twist sharply while swinging a heavy load from the floor to your back.
Adjusting the Pack for Optimal Fit
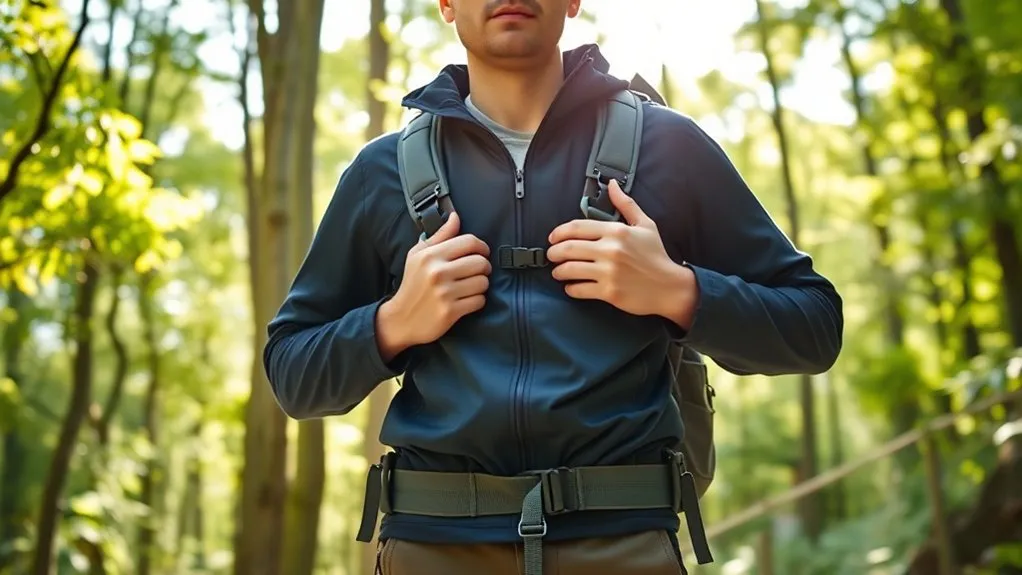
Work from the pack’s suspension setting to the hip belt, then move upward. Make small changes and check the result after each one instead of pulling every strap as tight as possible.
1. Set the Torso Adjustment
If the pack has an adjustable back panel or shoulder-harness yoke, set it to the range that matches your torso measurement. Each brand uses a different ladder, rail, hook-and-loop, or sliding system, so follow the instructions for your model.
Once the pack is on, the shoulder harness should wrap around your shoulders without a large gap between your back and the pack. If the other adjustments never seem to sit correctly, recheck the torso setting before tightening the straps further.
2. Position and Tighten the Hip Belt
Center the hip-belt padding over the top of your hip bones. On many packs, the padding sits partly above and partly below the iliac crest. Buckle the belt and pull both sides evenly until it feels secure without pinching.
The hip belt should carry most of the pack’s weight. The shoulder straps should not feel as though they are suspending the entire load. Make sure the padded wings wrap far enough around your hips and that the buckle still has adjustment room.
3. Tighten the Shoulder Straps
Pull the strap ends down and back until the padding follows the curve of your shoulders. The straps should stabilize the pack without digging into your neck, collarbones, or armpits.
As a general checkpoint, REI recommends shoulder-strap anchor points about 1–2 inches below the top of the shoulders. Some Osprey packs instead use a harness-yoke position about 1–2 inches below C7. Use the checkpoint specified for your backpack rather than forcing one measurement onto every design.
4. Adjust the Load Lifters
Load lifters connect the upper shoulder harness to the pack body. Pull them until the upper section of the pack moves closer to your back and feels stable. Stop before the straps lift the shoulder padding away from your shoulders or pinch the joints.
Around 45 degrees is a common visual target on large backpacking packs, but it is not a universal rule. The Osprey Aether and Ariel Plus manual specifies approximately 30–60 degrees, while Deuter’s adjustment guidance describes approximately 30–45 degrees for many stabilizer straps. Small daypacks may use a much lower angle or have no load lifters.
5. Adjust the Hip-Belt Stabilizers
If your pack has small straps connecting the hip-belt wings to the pack body, lightly tension them to reduce side-to-side movement. Loosen them slightly when you want more freedom through the hips, and tighten them when you need better load control on uneven ground.
6. Position the Sternum Strap
Slide the sternum strap to a comfortable position across the upper chest, usually about 1–2 inches below the collarbones. Buckle it and apply only enough tension to keep the shoulder straps from spreading apart.
You should be able to breathe deeply and move your arms freely. The sternum strap controls shoulder-strap spacing and pack stability; it should not be used to pull the entire harness tightly across your chest.
Pro Tip: Adjust one strap at a time and use small pulls. Large changes can hide the true cause of a pressure point and make it harder to return to a comfortable setting.
A correct backpack fit feels secure rather than rigid: your hips support most of the load, the shoulder harness keeps it close, and you can breathe, look around, and move your arms freely.
Evaluating Comfort on the Trail
Walk for 10–20 minutes after completing the initial adjustments. Include stairs, a gentle slope, turns, and normal arm movement when possible. A pack that feels acceptable while standing still can reveal slipping, swaying, rubbing, or pressure once you move.
Signs of a Good Backpack Fit
- The hip belt remains centered over the hip bones instead of sliding toward the waist or thighs.
- Most of the load feels supported through the hips and legs.
- The shoulder straps follow the shoulders without large gaps.
- The pack stays close to the back without forcing you to lean far forward.
- The load does not swing noticeably from side to side.
- The sternum strap does not restrict breathing.
- The shoulder padding does not rub the neck or end inside the armpits.
- No hard item creates a focused pressure point through the back panel.
Troubleshooting Common Backpack Fit Problems
Too much pressure on the shoulders: Recenter and tighten the hip belt, then slightly loosen the shoulder straps. If the hip belt is already secure, recheck the torso setting and pack weight.
The hip belt keeps slipping: Confirm that it sits over the iliac crest rather than around the soft waist. The belt may be too large, insufficiently padded for the load, or incompatible with your hip shape.
The pack pulls backward: Move dense equipment closer to your spine, tighten the compression straps, and lightly tension the load lifters. A torso setting that is too long can also move the load away from your upper back.
There is a gap behind the shoulders: Loosen the load lifters and check the torso length. Excessive load-lifter tension can pull the harness away from the shoulders.
The straps rub your neck or armpits: Recheck the torso length and shoulder-harness shape. The pack may be too short, too long, too narrow, or the wrong harness design for your body.
The pack sways from side to side: Balance the internal load, fill empty spaces, tighten the compression straps, and apply light tension to the sternum and hip-belt stabilizer straps.
A hard spot presses into your lower back: Repack sharp or rigid equipment, check that the lumbar pad is centered, and adjust the height of the hip belt.
Your hands feel numb or tingly: Loosen the shoulder and sternum straps immediately and reassess the fit. Do not continue treating numbness as normal backpack discomfort.
Warning: Stop and remove the pack if you develop sharp pain, persistent numbness, tingling, restricted breathing, unusual weakness, or balance problems. Refit or lighten the load before continuing. Seek medical advice if symptoms persist after the pack is removed.
Trail conditions and clothing layers can change how the pack sits. Fine-tune the straps during the day, occasionally shifting a small amount of pressure between the hips and shoulders rather than leaving one area under constant tension.
Note: A good fit cannot fully compensate for an overloaded pack. The National Park Service gives 30% of body weight as a general upper rule of thumb for backpacking, not a target. Route difficulty, experience, fitness, equipment, and individual health may call for a much lighter load.
Safely Removing the Pack
Removing a loaded pack roughly reverses the fitting process, but support the pack before releasing the hip belt. Unbuckling the belt while the full load is unsupported can cause the pack to drop suddenly or pull you off balance.
- Choose stable ground: Stop on a level surface near a bench, rock, log, or clear patch of ground when possible.
- Release upper tension: Unbuckle the sternum strap and loosen the load lifters and shoulder straps while leaving the hip belt fastened.
- Support the load: Rest the bottom of the pack on a bench or guide it onto a bent thigh. If no support is available, keep one hand on the haul loop.
- Release the hip belt: Unbuckle it only after the load is supported.
- Slide out carefully: Remove one arm, control the pack with the haul loop, and then remove the other arm.
- Lower with your legs: Keep the pack close to your body and avoid twisting as you lower it to the ground.
Do not let a loaded backpack hang from one shoulder while removing it. That position concentrates the load on the shoulder and makes the pack harder to control.
Frequently Asked Questions
What features should I look for in a backpack?
Look for a torso range and hip belt that fit your measurements first. For heavier loads, an internal frame, adjustable suspension, padded hip belt, load lifters, sternum strap, and compression straps can improve control. Durable fabric, reinforced seams, reliable buckles, and suitable weather protection also matter, but extra features cannot correct the wrong torso size.
How do I choose the right backpack size?
Measure your torso from C7 to the iliac crest and measure around the top of your hips. Compare both numbers with the exact manufacturer’s chart. Then choose capacity in liters according to the trip and equipment you plan to carry. Torso size determines fit; volume determines storage space.
Can I use one backpack for different activities?
A versatile pack can work for hiking, commuting, and travel when its capacity, organization, and suspension match each load. Specialized activities may still need different designs. A technical backpacking pack, hydration daypack, laptop bag, and climbing pack solve different carrying and access problems.
What materials are best for a durable backpack?
Nylon and polyester are common durable choices, but the fiber name alone does not determine strength. Consider fabric weight, denier, weave, abrasion panels, seam construction, coatings, zipper quality, and reinforcement at strap attachment points. Water-resistant fabric is not necessarily waterproof, so wet-weather use may require a pack liner or rain cover.
How often should I replace my backpack?
Replace a backpack according to its condition rather than a fixed number of years. Inspect the shoulder-strap attachments, frame, hip belt, seams, fabric, zippers, buckles, and adjustment hardware. Repairable wear does not always require replacement, but retire the pack when structural damage prevents it from carrying the intended load securely.
Should the hip belt sit on my waist or my hips?
It should sit over the top of your hip bones, not around the narrowest part of your waist and not below the hips. On many backpacking packs, the padded belt straddles the iliac crest so the pelvis can support most of the load.
Do backpack load lifters have to be exactly 45 degrees?
No. About 45 degrees is common on many large packs, but some manufacturers specify a broader range such as 30–60 degrees. Small daypacks may have a low angle or no load lifters. The straps should bring the upper load closer without lifting the shoulder padding or pinching your joints.
How tight should backpack straps feel?
They should feel snug and controlled, not rigid. The hip belt should not pinch, the shoulder straps should follow your shoulders without bearing the whole load, and the sternum strap should not restrict breathing. You should still be able to move your arms, turn your head, and walk naturally.
Sources
- REI: How to Size and Fit a Backpack — torso and hip measurements, strap sequence, and fit checkpoints
- REI: How to Pack and Hoist a Backpack — internal load placement and safe lifting technique
- Osprey: Backpack Size and Fit Guide — fitting load, hip-belt position, shoulder adjustment, and load-lifter range
- Deuter: How to Adjust a Backpack — hip-fin position, stabilizer straps, and movement-based adjustment
- National Park Service: Backpacking Packing Guide — general pack-weight guidance
Conclusion
A proper backpack fit begins with the correct torso and hip size, not with pulling every strap tight. Set the suspension first, place the hip belt over the iliac crest, use the shoulder harness to stabilize the load, and fine-tune the load lifters and sternum strap according to the pack’s design.
Test the pack with realistic weight and make small adjustments while moving. When the load remains close, the hip belt stays in place, your shoulders are not carrying the full weight, and you can breathe and move naturally, the pack is ready for the trail.