
Last Updated on July 24, 2026 by Caleb Warren
Your shoulders should stabilize a hiking backpack, not support its entire weight for hours. A properly fitted backpack hip belt directs much of the load through the pack’s frame and into your pelvis. This can improve stability, reduce pressure on your shoulders, and make a loaded pack easier to carry. The results depend on choosing the right pack size, placing the belt correctly, loading the pack well, and adjusting every part of the suspension system.
Quick Answer
A backpack hip belt is a padded, load-bearing belt that wraps around the top of your hips. On a correctly sized framed pack, it can place most of the load on your pelvis instead of your shoulders. Center the padding over your iliac crest, tighten it securely, and adjust the remaining straps afterward.
Key Takeaways
- A true hip belt transfers load through the backpack’s frame and suspension. A thin waist strap may only reduce bouncing.
- Center the padded belt over the top of your hip bones, also called the iliac crest.
- Measure your torso from the C7 vertebra to an imaginary line across the top of your hip bones.
- Adjust the hip belt first, followed by the shoulder straps, load lifters, and sternum strap.
- Test a backpack with a realistic load and walk in it before deciding whether the fit is right.
What’s in This Article
- What Is a Backpack Hip Belt?
- How a Hip Belt Works
- Benefits of Using a Hip Belt
- Characteristics of an Effective Hip Belt
- How to Fit Your Hip Belt Properly
- Choosing the Right Backpack With a Hip Belt
- Testing Comfort and Fit
- The Impact of Weight Distribution on Hiking
- Troubleshooting Hip Belt Fit
- Shoulder Pain and Prevention Techniques
- Stretching and Flexibility to Reduce Hiking Fatigue
- Cleaning and Maintaining a Hip Belt
- Frequently Asked Questions
- Conclusion
Disclosure: As an Amazon Associate I earn from qualifying purchases. Some links on this page are affiliate links, at no extra cost to you.
What Is a Backpack Hip Belt?
A backpack hip belt is the padded section of a pack’s suspension system that wraps around the top of your pelvis. Its job is to receive load from the pack frame and hold the backpack securely against your body.
A load-bearing hip belt is different from a thin waist strap. A basic webbing strap can limit bouncing and side-to-side movement, but it may not transfer much weight. A supportive hip belt normally has shaped padding, a secure buckle, adjustment webbing, and a direct connection to the pack’s frame or structured back panel.
Hip belts are most valuable on backpacking packs, trekking packs, travel packs, child carriers, and larger daypacks. A small frameless daypack carrying only a light jacket and water may not need one. As the load, distance, or terrain increases, a supportive belt becomes more useful.
How a Hip Belt Works
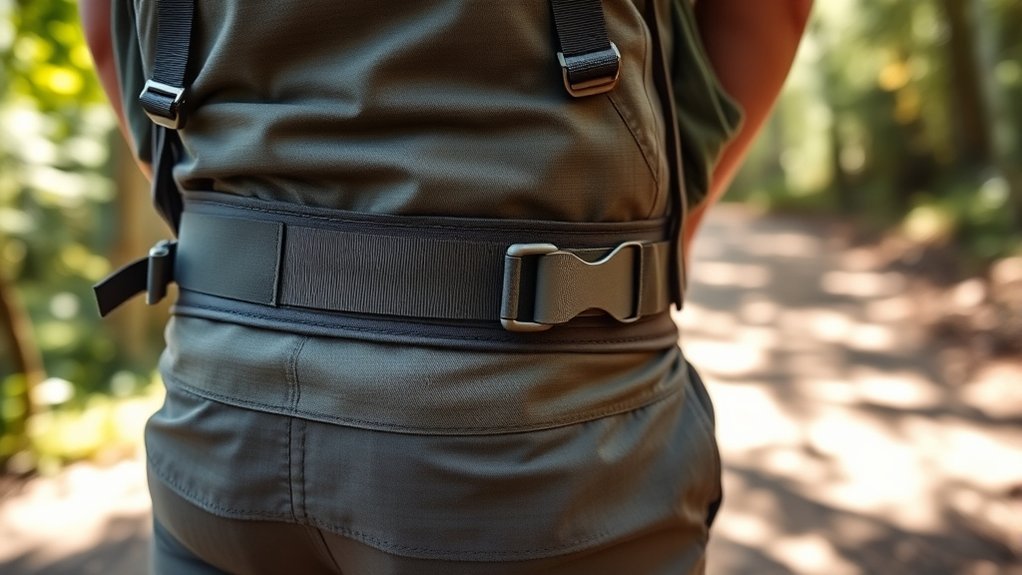
A hip belt does not transfer weight by padding alone. The backpack’s frame or structured back panel directs the load downward into the belt. The belt then spreads that pressure around the top of your pelvis.
REI’s backpack fit guidance says the majority of a backpacking pack’s weight, often 80% or more, should be supported by the hips. Treat that percentage as a fitting goal rather than a guarantee. The actual result depends on the pack design, frame, torso setting, load, belt size, and your body shape.
On a properly fitted backpacking pack, your shoulders stabilize the load while your hips support most of its weight.
For example, 80% of a 22-pound pack is 17.6 pounds. A suitable pack may place roughly that amount through the hip belt, but you should judge the fit by comfort, stability, padding coverage, and shoulder pressure rather than by trying to calculate an exact percentage.
The padding should cover the top of your hip bones. Wider coverage can spread pressure over a larger area, but width is only one factor. The belt’s shape, foam density, stiffness, adjustment range, and connection to the frame are equally important.
Benefits of Using a Hip Belt
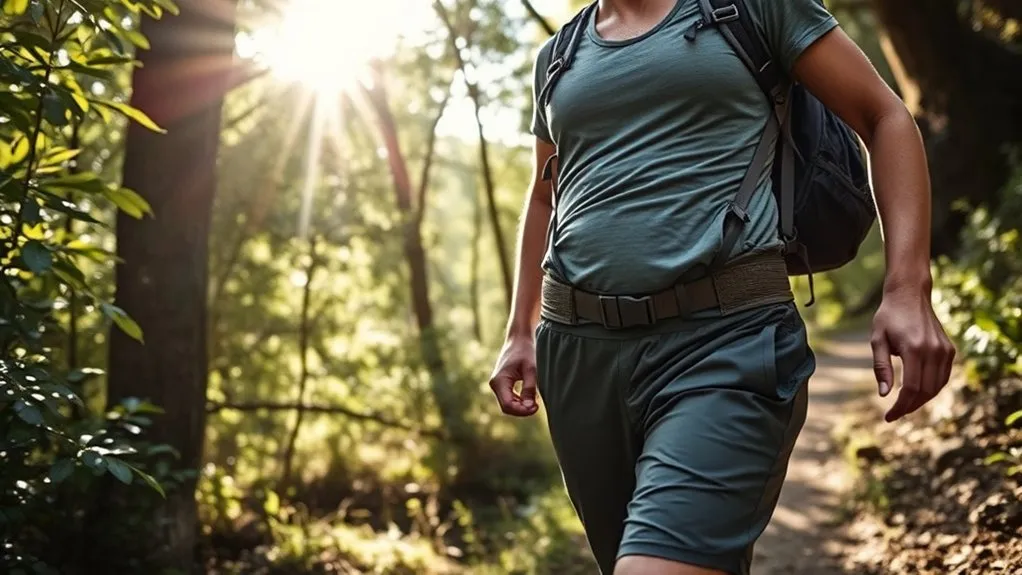
The main benefit of a hip belt is reduced dependence on your shoulder straps. Your shoulders still help control the pack, but they should not feel as though they are holding the full load.
A correctly fitted belt can also provide these benefits:
- Better stability: The pack stays closer to your center of gravity and moves less on uneven ground.
- Fewer pressure points: Shaped padding spreads pressure across a wider part of your pelvis.
- Improved posture: A balanced pack is less likely to pull you backward or force an excessive forward lean.
- Easier access: Hip-belt pockets can hold snacks, sunscreen, a phone, or a small map.
- More adjustment options: You can slightly change belt and shoulder-strap tension during a hike to relieve tired areas.
A hip belt cannot make an overloaded or poorly sized pack comfortable. It works best when the pack fits your torso, the load stays within the manufacturer’s recommended range, and dense gear is packed close to your back.
Characteristics of an Effective Hip Belt
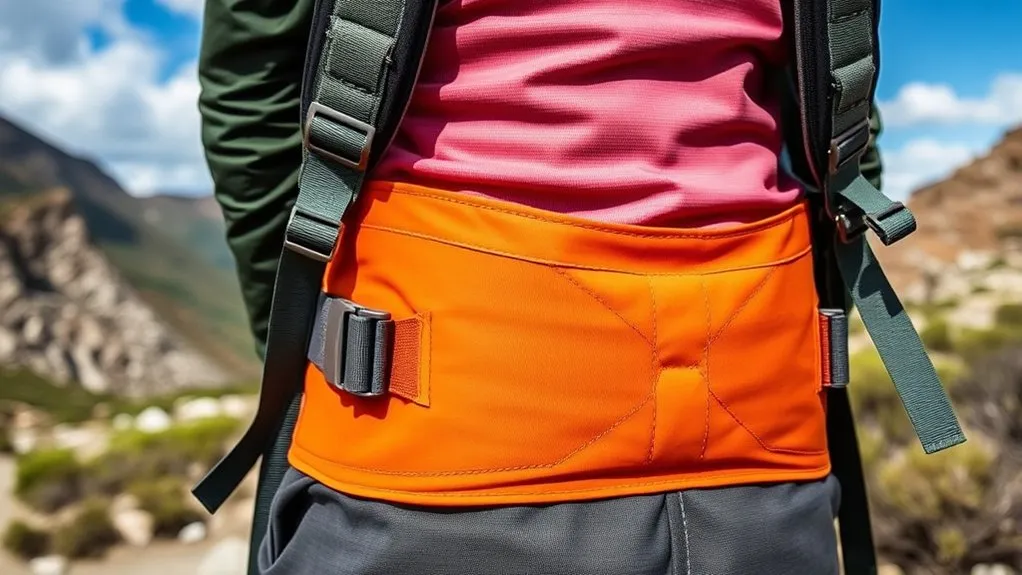
An effective hip belt should fit your body and match the load the backpack is designed to carry. Thick padding may feel soft in a store, but padding that is too soft can compress under a heavy load. Look for supportive foam that keeps its shape without creating a hard edge.
Useful features include:
- Shaped padding: The belt should follow the curve around your hips instead of folding or digging into one spot.
- Enough coverage: The padded sections should wrap beyond the front points of your hip bones.
- Adjustment range: You need enough webbing to tighten and loosen the belt without the buckle reaching the ends of the padding.
- Secure frame connection: The belt must connect to the load-bearing part of the backpack.
- Firm buckle: The buckle should close securely and release without excessive force.
- Stabilizer straps: Some larger packs have small straps connecting the hip belt to the pack body. These help control movement.
- Accessible pockets: Pockets are useful, but they should not interfere with tightening the belt.
You do not always need a permanently integrated belt. Some backpacks use manufacturer-approved removable or interchangeable belts so users can choose a different size or remove the belt for lighter trips. Avoid attaching a generic belt unless the backpack was designed with compatible load-bearing attachment points.
How to Fit Your Hip Belt Properly
At a Glance
| Time Required | 10–15 minutes |
| Difficulty | Easy, although a second person makes torso measurement easier |
| Tools Needed | Flexible measuring tape, mirror or helper, and a realistic pack load |
| Cost | No cost if you already own the backpack and measuring tape |
1. Measure Your Torso Length
Backpack size is based mainly on torso length, not total height. Ask another person to help when possible.
- Tilt your head forward and locate the C7 vertebra, the prominent bump at the base of your neck.
- Place your hands on top of your hip bones with your thumbs pointing toward your spine.
- Imagine a horizontal line connecting your thumbs across your lower back.
- Measure from the C7 vertebra down the curve of your spine to that imaginary line.
- Compare the result with the sizing chart for the exact backpack model.
This method follows current Osprey torso-measurement guidance. Size ranges differ between manufacturers, so do not assume that a medium from one brand matches a medium from another.
2. Measure Your Hips
Wrap the measuring tape around the top of your hip bones at the iliac crest. This point is normally higher than the waistband of your trousers. Compare the measurement with the hip-belt range listed for the pack.
If you are between belt sizes, check whether the manufacturer offers adjustable, interchangeable, or extended-size options.
3. Load and Loosen the Pack
Place about 10–20 pounds of gear in the pack or use a load similar to what you expect to carry. Keep dense items centered near your back. Loosen the hip belt, shoulder straps, load lifters, sternum strap, and hip-belt stabilizer straps before putting the pack on.
Pro Tip: Use a realistic load instead of testing the backpack empty. Weight changes how the frame flexes, how the padding settles, and where the hip belt rests.
4. Position and Tighten the Hip Belt
Put the pack on and move the hip belt until the center of its padding covers the top of your hip bones. The padding should generally sit partly above and partly below the iliac crest.
Fasten the buckle at the front and tighten both sides evenly. The buckle does not need to match your belly button. Your navel can help you see whether the buckle is roughly centered, but the iliac crest and padding coverage are the important fitting landmarks.
The belt should feel snug enough to resist sliding without pinching, restricting your breathing, or creating numbness. There should still be visible adjustment webbing between the buckle and the padded sections. Follow the pack manufacturer’s clearance instructions because designs vary.
5. Adjust the Shoulder Straps
Pull the shoulder straps down and back until they follow the shape of your shoulders without gaps. They should stabilize the pack without carrying most of its weight.
If the straps do not wrap smoothly around your shoulders, recheck the torso setting and hip-belt position. Tightening the straps harder cannot correct an incorrectly sized pack.
6. Adjust the Load Lifters
Gently tighten the load-lifter straps at the top of the shoulder harness. They should pull the upper part of the pack closer to your body without lifting the shoulder straps away from your shoulders.
On many backpacking packs, the load lifters form an angle of roughly 30–60 degrees. The exact angle varies by pack design. Do not overtighten them because excessive tension can create pressure near the shoulders and neck.
7. Adjust the Sternum Strap
Place the sternum strap at a comfortable height, often about one or two inches below the collarbones. Tighten it just enough to keep the shoulder straps in place while allowing comfortable breathing and arm movement.
Warning: Stop and readjust the pack if the hip belt causes numbness, tingling, sharp pain, or restricted breathing. These are not signs that the belt simply needs to be “broken in.”
Choosing the Right Backpack With a Hip Belt
Not every backpack transfers weight equally. A supportive hip belt works as part of the complete suspension system, which includes the frame, back panel, shoulder harness, load lifters, and adjustment points.
Importance of Hip Belts
For heavier hiking or travel loads, choose a pack with a belt designed to bear weight rather than a thin strap intended only to control movement. Look for shaped padding, suitable torso sizing, and a belt that wraps far enough around your hips.
Some Tortuga travel backpacks are current examples of carry-on packs that use weight-bearing hip belts. However, inclusion varies by model. Some belts are included, while others are removable or sold as compatible accessories. Check the current manufacturer specifications for the exact pack.
Features to Consider
- Torso sizing: Confirm that your measured torso length falls within the pack’s stated range.
- Hip-belt range: Make sure the belt can tighten securely without reaching the end of its adjustment.
- Frame design: A frame or structured back panel is important when you need meaningful load transfer.
- Padding: Look for supportive foam that holds its shape under the intended load.
- Coverage: The padding should extend past the front points of your hip bones.
- Replaceable sizing: Interchangeable or adjustable belts can improve fit for people between standard sizes.
- Load rating: Do not exceed the manufacturer’s recommended carrying range.
- Pockets: Check that loaded pockets do not block the belt straps or create pressure against your hips.
- Overall design: The frame, back panel, shoulder harness, and hip belt should function as one system.
Note: A hip belt often becomes noticeably more useful when a daypack weighs around 15 pounds or more, but this is not a strict cutoff. Distance, terrain, pack design, previous pain, and personal comfort also matter.
Testing Comfort and Fit
Even a high-quality belt will perform poorly if the backpack is the wrong size or the load is badly arranged. Test the complete pack rather than judging the belt by itself.
Importance of Proper Fit
A correctly fitted backpack should meet most of these checks:
- The center of the hip-belt padding covers the top of your hip bones.
- The padded sections wrap beyond the front points of your hips.
- The buckle remains centered at the front and does not touch the padded sections when tightened.
- The belt feels secure without pinching or restricting your breathing.
- The shoulder straps follow your shoulders without a large gap.
- Your shoulders stabilize the pack but do not feel as though they hold the full load.
- The pack remains upright and does not sway strongly from side to side.
- The sternum strap does not restrict chest movement.
Testing With Load
Wear the loaded pack for at least 10–15 minutes. Walk on level ground, climb stairs if available, and make several gentle turns. Check whether the belt slips, rubs, pinches, or creates concentrated pressure.
A store test cannot perfectly reproduce a full hiking day, but it can reveal obvious sizing problems. Buy from a retailer with a suitable return policy if you cannot test the pack outdoors before committing to it.
Adjusting for Comfort
Fine-tune the pack in this order:
- Torso setting: Confirm that the suspension length matches your measured torso.
- Hip-belt position: Center the padding over the iliac crest.
- Hip-belt tension: Tighten evenly until secure but comfortable.
- Shoulder straps: Remove slack without making them carry the full load.
- Load lifters: Bring the upper pack closer without lifting the harness away from your shoulders.
- Sternum strap: Stabilize the shoulder straps without restricting breathing.
- Stabilizer straps: If present, tighten them gently to control movement around the hips.
Fit changes during a hike as clothing compresses, water is used, food is eaten, and your body warms up. Small adjustments during breaks are normal.
The Impact of Weight Distribution on Hiking
A hip belt cannot correct a badly packed load. Dense gear placed far from your back can pull you backward, while an uneven load can make the pack sway with each step.
Use these basic loading zones:
- Bottom zone: Pack bulky, light items such as a sleeping bag or spare clothing.
- Core zone: Center dense items such as food, cooking gear, or a bear canister close to your back.
- Top zone: Keep lighter items and gear you may need quickly near the top.
- Exterior pockets: Store small frequently used items without making one side much heavier than the other.
REI’s backpack-loading guide recommends keeping dense gear in the core of the pack and balancing weight from side to side. Compression straps can limit movement after the pack is loaded.
Good distribution keeps the load close to your center of gravity. This can reduce swaying, help you maintain a more natural stride, and make the hip belt’s support feel more consistent.
Troubleshooting Hip Belt Fit
The Hip Belt Slips Down
First, tighten the belt evenly and check that it rests over the iliac crest rather than below it. If the buckle reaches its limit or the padded ends nearly touch, the belt may be too large.
Also check the load. A top-heavy or rear-heavy pack may pull the entire suspension out of position.
The Hip Belt Rides Up
The shoulder straps may be too tight, the pack may be too short for your torso, or the belt may not match your hip shape. Loosen the shoulder straps slightly and reset the belt. If it immediately rises again, recheck the torso size.
The Belt Pinches or Rubs
Loosen the belt slightly and check whether the padding has folded, twisted, or landed on the wrong part of your hips. Empty bulky objects from the hip-belt pockets and inspect your clothing for thick seams beneath the belt.
Persistent pressure in one spot may mean that the belt shape or foam does not suit your body.
Your Shoulders Still Carry Too Much Weight
Check the torso setting, frame connection, hip-belt position, and shoulder-strap tension. The belt cannot receive the load correctly if it sits too high or low, or if the pack is too long or short.
A frameless pack may also have limited load-transfer ability, even when it includes a belt.
There Is a Gap Above the Shoulders
Loosen the load lifters and check the torso setting. Overtightened load lifters can pull the shoulder harness away from your body. A large gap can also mean the pack size is wrong.
The Buckle Reaches the Padding
If the buckle or adjustment hardware reaches the padded ends before the belt feels secure, the hip belt is too large or lacks enough adjustment range. Check for a smaller or interchangeable belt approved by the manufacturer.
Shoulder Pain and Prevention Techniques
An overloaded, poorly fitted, or badly packed backpack can increase pressure around the shoulders, neck, and upper back. Improving the hip-belt fit may help, but pain can have many causes and should not be self-diagnosed from backpack fit alone.
Use these habits to reduce avoidable pack pressure:
- Lighten the load: Remove items you do not need and stay within the pack manufacturer’s recommended range.
- Reset the suspension: Recheck the torso length, hip-belt position, shoulder straps, and load lifters.
- Balance the contents: Keep dense items close to your back and distribute weight evenly.
- Take regular breaks: Remove the backpack during longer stops and allow compressed areas to recover.
- Change tension slightly: Small adjustments can move pressure between the belt and shoulder harness during the day.
Warning: Seek medical help for sudden or severe shoulder pain, major swelling, visible deformity, loss of movement, persistent numbness, weakness, pain after a fall, or shoulder pain with chest tightness or breathing difficulty. See the NHS shoulder-pain guidance for additional warning signs.
Stretching and Flexibility to Reduce Hiking Fatigue
Gentle mobility can help you feel less stiff before or after carrying a backpack, but it does not guarantee that you will avoid pain or injury. Move slowly and stay within a comfortable range.
A simple routine may include:
- Slow shoulder rolls in both directions
- A gentle chest opener with your hands behind your back
- Cat-cow movements for the spine
- Thread-the-needle for the upper back
- Child’s pose if it feels comfortable for your knees and shoulders
On the trail, you can perform standing shoulder rolls and gentle chest-opening movements without lying down. If you prefer floor stretches, a lightweight Tyvek ground sheet can provide a clean surface, but it is optional.
Stop any movement that causes sharp pain, tingling, numbness, or increasing weakness. Persistent symptoms need assessment from a qualified health professional.
Cleaning and Maintaining a Hip Belt
Dirt, sweat, sunscreen, and salt can build up in the foam and fabric. Check the manufacturer’s care label before cleaning because instructions vary between packs.
For many backpacks, the basic process is:
- Remove the hip belt if the manufacturer designed it to detach.
- Brush away loose dirt and empty all pockets.
- Wash the belt by hand with mild soap and lukewarm water.
- Use a soft sponge or brush on heavily soiled areas.
- Rinse thoroughly until no soap remains.
- Air dry completely away from strong direct heat.
This matches the general method in Osprey’s backpack-cleaning guide. Avoid bleach, harsh solvents, and machine washing unless the manufacturer specifically allows them.
Inspect the belt after cleaning. Replace or repair it if you find a cracked buckle, torn attachment points, exposed structural material, badly compressed foam, slipping adjustment hardware, or stitching that continues to separate.
Frequently Asked Questions
Can a hip belt be added to any backpack?
No. A load-bearing hip belt needs compatible attachment points and a frame or structured back panel that can direct weight into it. Some packs support manufacturer-approved removable belts, but attaching a generic strap to an unsupported pack may only reduce movement rather than transfer meaningful weight.
How do I clean my hip belt?
Follow the manufacturer’s care label. In most cases, remove the belt if designed to detach, hand wash it with mild soap and lukewarm water, rinse it thoroughly, and allow it to air dry. Avoid harsh cleaners and machine washing unless the manufacturer permits them.
Are hip belts adjustable for different body types?
Most hip belts offer a range of webbing adjustment. Some packs also have shaped harnesses, extended sizing, adjustable padding, or interchangeable small, medium, and large belts. No single belt shape fits every person, so testing different models is often more useful than choosing by waist measurement alone.
What materials are hip belts usually made from?
Most use nylon or polyester outer fabric, foam padding, webbing adjustment straps, and a plastic-composite buckle. Load-bearing models may also contain shaped foam, stiffening material, or structural parts that connect directly to the pack frame.
Do all backpacks come with a hip belt?
No. Small daypacks and ultralight frameless packs may have no belt or only a thin stabilizing strap. Backpacking packs, child carriers, trekking packs, and heavier travel packs are more likely to include a padded load-bearing belt.
Should a backpack hip belt sit on my waist or hips?
It should sit around the top of your hips, with the center of the padding covering the iliac crest. This position is usually higher than a trouser waistband. A belt placed around the soft waist or below the hip bones may slip and transfer weight poorly.
How tight should a backpack hip belt be?
Tighten it until the pack feels secure and the belt resists sliding. It should not restrict breathing, pinch sharply, or cause tingling or numbness. You should also have enough adjustment range left to tighten or loosen it as your clothing and load change.
Why does my hip belt still hurt?
The belt may be too tight, wrongly positioned, too large, too small, or poorly shaped for your hips. The pack may also be overloaded or packed unevenly. Stop and readjust it rather than continuing through sharp pain, numbness, or worsening symptoms.
Conclusion
A backpack hip belt can make a major difference when it is connected to a supportive suspension and fitted to your body. Center the padded sections over the iliac crest, tighten the belt evenly, and then adjust the shoulder straps, load lifters, and sternum strap.
Do not rely on the belly button as an exact fitting point or assume that every belt transfers a fixed percentage of weight. Test the complete backpack with a realistic load, watch for slipping or pressure points, and choose a different size or model if the belt cannot remain comfortable and secure.
Smart load placement, regular adjustment, and basic maintenance will help the belt work as intended. Stop and investigate any fit that causes sharp pain, persistent numbness, weakness, or restricted breathing.
Sources
- REI: How to Size and Fit a Backpack — torso measurement, hip-belt position, strap order, and fit checks
- Osprey: Backpack Size and Fit Guide — loaded fitting process, belt coverage, torso setting, and harness angles
- Deuter: How to Adjust a Backpack — belt placement and suspension adjustment
- REI: How to Pack and Hoist a Backpack — loading zones, balance, and center-of-gravity guidance
- Osprey: How to Clean Your Backpack — washing, rinsing, and drying guidance
- NHS: Shoulder Pain — self-care limits and signs that require medical attention

