
Last Updated on August 25, 2026 by Caleb Warren
An E1 error on an electric scooter indicates an electronic communication or sensor lockout within the control system—most commonly a brake sensor circuit fault or an out-of-range throttle signal. When this code appears, the motor controller disables acceleration as a built-in fail-safe to prevent the scooter from driving while the brakes are active or while a throttle is stuck open. Resolving it involves checking sensor connections, verifying Hall effect voltages, and realigning physical brake components.
Quick Answer
To fix an E1 error on an electric scooter, turn off the power for 30 seconds to clear transient faults. If the code persists, inspect and firmly reseat the 3-pin waterproof connectors at the brake lever and throttle. Check that the brake lever fully returns to its resting position and that the internal sensor magnet hasn’t dislodged.
Key Takeaways
- Core Cause: The E1 code is triggered when the controller detects an open circuit, short circuit, or invalid voltage reading (outside 0.8V–4.2V) from the brake or throttle Hall sensors.
- Safety Cutout: The controller actively cuts motor power to protect the rider from uncommanded acceleration or brake failure.
- Primary Culprits: Loose Julet/Higo handlebar connectors, pinched wiring from folding mechanisms, displaced brake lever magnets, or moisture in the harness.
- Diagnostic Path: Power cycle → inspect exterior wiring → reseat quick-disconnect plugs → check lever return springs → test 5V Hall sensor continuity with a multimeter.
At a Glance
| Time Required | 15 to 45 minutes |
| Difficulty | Beginner to Intermediate |
| Tools Needed | Hex/Allen key set (2.5mm–5mm), Digital Multimeter, Electrical contact cleaner, Replacement zip ties |
| Estimated Cost | $0 (cleaning/reseating) to $15–$35 (replacement brake lever or throttle sensor) |
Disclosure: As an Amazon Associate I earn from qualifying purchases. Some links on this page are affiliate links, at no extra cost to you.
What Does the E1 Error Mean on an Electric Scooter?
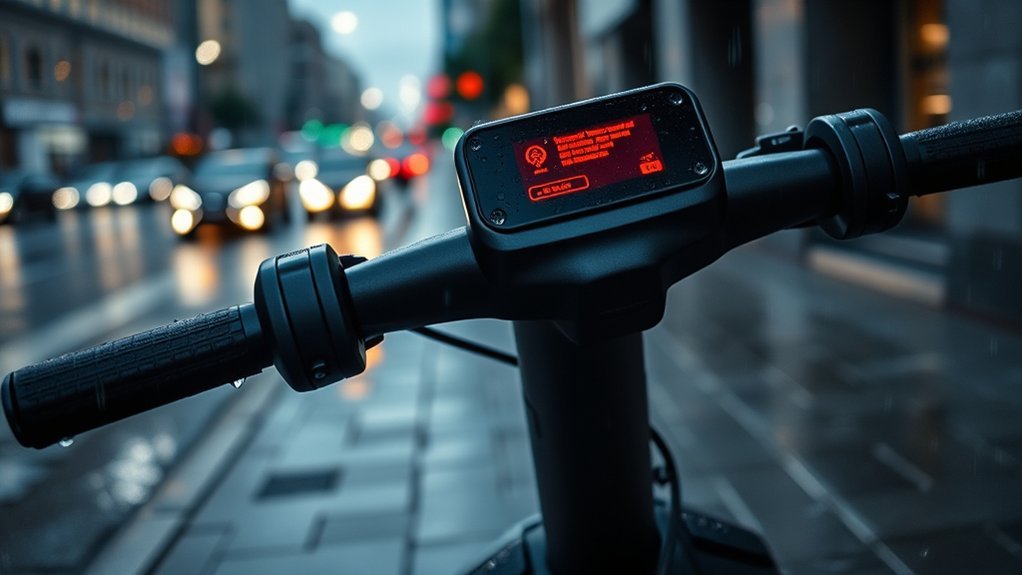
The E1 error code is a standard diagnostic alert indicating an abnormal signal from the handlebar controls to the central motor controller. Modern electric scooters use electronic cutoff sensors inside the brake levers and electronic Hall sensors inside the throttle. When you squeeze a brake lever, the sensor transmits a low-voltage signal to the controller to cut throttle power instantly and engage electronic regenerative braking.
If the controller reads a constant brake signal, an open circuit (broken wire), or a voltage reading outside the expected operational range (typically 0.8V to 4.2V DC), it flags an E1 fault. This lockout prevents the motor from spinning under uncommanded acceleration or while the safety cutoffs are compromised.
Note: While most generic controllers (such as QS-S4, TF-100, and JP systems) use E01/E1 for brake cutoff or throttle signal faults, manufacturer-specific systems like Segway-Ninebot use Error 14 (throttle Hall fault) and Error 15 (brake Hall fault), which are functional equivalents.
What Causes an E1 Error on an Electric Scooter?
Because the handlebar electronics are subjected to road vibrations, weather exposure, folding stress, and occasional impacts, several mechanical and electrical issues can trigger the code.
1. Loose or Disconnected Wiring Plugs
The main wiring harness runs from the main deck controller up through the steering stem to the handlebar components. Most scooters use round, multi-pin waterproof connectors (such as Julet or Higo plugs) near the handlebars. Vibration, rough riding, or pulling on the wires when adjusting the handlebar height can partially unseat these plugs, breaking the 5V reference or return signal line.
2. Faulty or Misaligned Brake Lever Sensor
Most electric scooter brake levers use an integrated Hall effect sensor or a magnetic reed switch. When the lever is released, a small embedded magnet rests next to the sensor. If the brake lever is dropped, bent, or fails to spring back completely, the magnet stays too far from the sensor. The controller assumes you are constantly braking and locks out the throttle with an E1 error.
3. Pinched or Damaged Wiring Harness
The steering column folding mechanism is a common point of mechanical stress. Repeated folding and unfolding can pinch, strip, or sever the internal copper strands within the harness, causing intermittent short circuits that trigger E1 under vibration or when turning the handlebars.
4. Water Ingress and Pin Corrosion
Riding in the rain or storing the scooter in humid environments can lead to moisture intrusion inside the throttle casing or brake sensor connectors. Water creates micro-shorts across the 5V power and signal pins, sending erratic voltage spikes that trip the controller’s safety threshold.
Step-by-Step Troubleshooting and Diagnostic Process
Follow this systematic procedure to isolate whether the fault lies in the mechanical lever, the external wiring, the sensor, or the motor controller.
Step 1: Perform a Hard Power Cycle
A momentary voltage spike or sensor misread during startup can cause a transient error lock. Turn off the scooter completely, wait 30 seconds for the controller capacitors to discharge, and turn it back on. Ensure you do not touch the throttle or brake levers while powering on the unit, as many controllers run a calibration check at boot and will throw an E1 if a lever is depressed.
Step 2: Inspect Brake Lever Return and Magnet Alignment
Manually inspect both the mechanical brake lever and the electronic regenerative thumb brake (if equipped):
- Push the brake lever forward to ensure it returns completely against its stop. If the pivot spring is worn or sticky from dirt, lubricate it with silicone spray.
- Check the small sensor housing underneath the lever assembly. Confirm the small cylindrical magnet is still seated in its slot and has not fallen out after an impact.
Pro Tip: If your scooter has two brake levers (front and rear), disconnect one brake sensor plug at a time and reboot. If the E1 code disappears when one lever is unplugged, you have successfully isolated the exact faulty sensor.
Step 3: Inspect and Reseat All Handlebar Connectors
Locate the external quick-disconnect cables near the handlebars (often color-coded: red or yellow for brakes, black for display/throttle):
- Grip the connector bodies firmly on both sides and pull straight apart (do not twist keyed plugs).
- Inspect the internal male pins for bending, black carbon buildup, or green corrosion.
- Spray electrical contact cleaner into both sides and allow them to dry for 60 seconds.
- Align the internal alignment notch or arrow markers and press the connectors firmly together until fully seated.
Step 4: Test Sensor Voltages with a Digital Multimeter
If physical checks do not clear the fault, test the electronic signal using a digital multimeter set to 20V DC:
| Wire / Pin Type | Standard Color | Expected Voltage Reading |
|---|---|---|
| Positive Input (VCC) | Red | 4.5V to 5.0V DC (constant from controller) |
| Ground (GND) | Black | 0V (Reference Ground) |
| Signal (Brake/Throttle) | Green / Blue / White | 0.8V–1.0V (resting) → 3.8V–4.2V (fully engaged) |
If the 5V VCC line reads 0V, the controller is either not outputting power or there is a broken wire in the main stem harness. If the signal line reads a static 0V or 5V without changing when you squeeze the lever or depress the throttle, the Hall sensor is burned out and requires replacement.
How to Check the Controller and Battery System
When the handlebar sensors and wiring harness pass continuity and voltage checks, the issue may reside inside the deck enclosure.
Warning: Always disconnect the main battery XT60 or T-plug connector before touching the motor controller. Never touch bare circuit traces or probe wires blindly with metal tools to avoid high-current short circuits.
Open the deck compartment and complete these diagnostic checks:
- Visual Inspection: Look for discolored wires, melted plastic insulation on phase wires, or the smell of burnt resin indicating blown MOSFETs or a failed 5V step-down regulator on the controller PCB.
- Main Harness Connection: Unplug the multi-conductor harness leading to the display, check for bent header pins, and firmly reseat it.
- Battery Voltage Under Load: A severely degraded battery pack with unbalanced cells can suffer acute voltage drops. If system voltage drops below the controller’s low-voltage cutoff during boot, the 5V internal rail collapses, tripping an E1 error code. Check the total battery pack voltage with your multimeter against the rated voltage (e.g., 42.0V fully charged for a 36V system; 54.6V for a 48V system).
“More than 80% of electric scooter sensor fault codes are traced to physical wire tension near folding joints or oxidized connector pins, rather than dead motor controllers.”
When to Replace Parts or Seek Professional Repair
Replace components according to your diagnostic findings:
- Replace the Brake Lever / Switch: If the mechanical return spring is broken, the magnet is lost, or the signal wire outputs static voltage despite a healthy 5V supply.
- Replace the Main Harness: If continuity testing reveals an internal break along the folding stem area.
- Replace the Motor Controller: If the controller fails to deliver a stable 5V DC reference voltage to the throttle and brake sensors, or shows visible thermal damage.
- Seek Professional Service: If you are uncomfortable disassembling deck plates, testing live circuits, or soldering waterproof connectors.
Frequently Asked Questions
What is the E1 error on an electric scooter?
The E1 error is a system fault code indicating a problem in the brake sensor or throttle communication circuit. The motor controller disables throttle operation as a safety fail-safe to prevent unintended acceleration or riding without working electronic cutoffs.
How do you reset an E1 error code?
To reset the code, turn off the scooter, ensure both brake levers and the throttle are resting in their neutral positions without tension, and turn the scooter back on after 30 seconds. If the code remains, unplug and reconnect the external wiring plugs near the handlebars to clear pin resistance.
Can you ride an electric scooter with an E1 error?
In most models, no. The scooter’s controller cuts power to the hub motor when an E1 error is active. Even if the motor engages intermittently, riding with an active brake or throttle sensor fault is dangerous and should be repaired before use.
How much does it cost to fix an E1 error?
If the issue is a loose connector or dirt preventing lever return, the repair costs $0. If replacement parts are needed, an electronic brake lever or replacement throttle costs between $15 and $35. Replacing a main controller or wiring harness typically costs between $40 and $90.
Conclusion
An E1 error on an electric scooter can seem intimidating, but it is usually caused by a simple mechanical or wiring problem rather than a destroyed motor or battery. By starting with non-invasive checks—such as checking lever return springs, reseating handlebar quick-connectors, and verifying sensor magnets—you can resolve the majority of faults within minutes. If multimeter testing reveals burned Hall sensors or a failed 5V controller rail, replacing the targeted component will restore safe, responsive operation.
Sources
- Segway-Ninebot Official Support Documentation — Diagnostic error code matrices and safety lockout protocols.
- Xiaomi Global Service & Support — Electric scooter throttle and electronic brake lever Hall sensor specifications.
- Electric Scooter Guide Technical Library — Electrical wiring standards, Julet connector pinouts, and PEV maintenance guidelines.
