
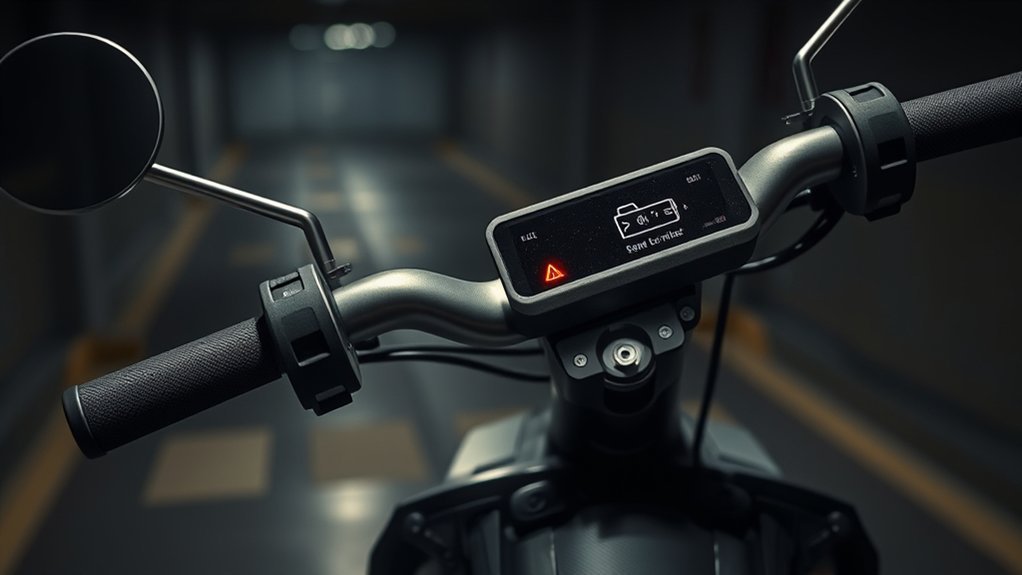
Last Updated on August 26, 2026 by Caleb Warren
An F2 error on an electric scooter often points to a throttle-related startup or signal fault on brands that use this code, but F2 does not mean the same thing on every scooter. Before replacing parts, identify your exact brand and model, check its error-code chart, make sure the throttle is fully released, restart the scooter once, and inspect accessible throttle and handlebar wiring for damage or loose connections.
Quick Answer
F2 is a model-specific scooter fault code. On several common scooter families, it indicates a throttle self-test, throttle-position, or throttle communication problem. Fully release the throttle, restart the scooter, and inspect accessible throttle wiring. If F2 returns, do not guess at voltage values or replace unrelated parts—check your model’s manual or contact its manufacturer.
Key Takeaways
- F2 is not universal. Confirm its meaning in the manual for your exact scooter.
- On Pure Electric and VMAX documentation, F2 is associated with the throttle or throttle signal during startup/self-test.
- Start with the throttle fully released, a single restart, and a visual inspection of accessible connectors.
- Do not use generic battery-voltage or throttle-voltage numbers unless your manufacturer provides them.
- Stop riding if the throttle sticks, the brakes do not respond normally, wiring is burned, or the error repeatedly returns.
At a Glance
| Time Required | 5–20 minutes for basic checks; longer if professional diagnosis is required |
| Difficulty | Easy for visual checks; advanced for electrical testing |
| Tools Needed | Owner’s manual, flashlight, basic hand tools if permitted; multimeter only when the service information gives test points and specifications |
| Cost | Usually $0 for basic inspection; parts and technician costs vary by scooter and warranty coverage |
Warning: Do not ride a scooter with a sticking throttle, unreliable brakes, burned wiring, a swollen or damaged battery, or a fault that causes unexpected motor behavior. Do not open or probe the lithium-ion battery pack. Use only the charger supplied or specifically approved by the scooter manufacturer.
Disclosure: As an Amazon Associate I earn from qualifying purchases. Some links on this page are affiliate links, at no extra cost to you.
What Does the F2 Error Mean?
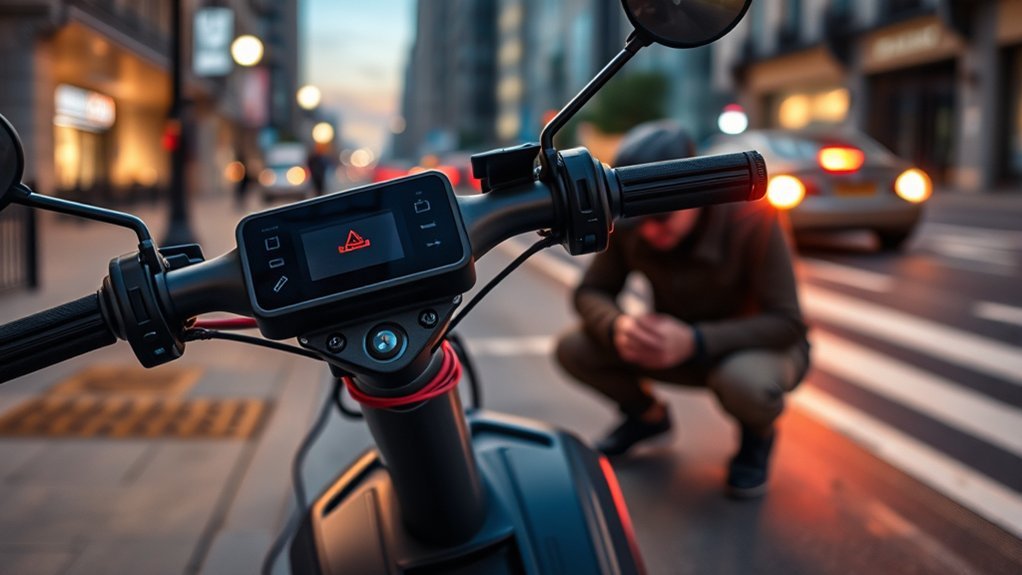
The most important point is that F2 is not a universal electric-scooter error code. Its definition depends on the manufacturer, controller, display, and model. For example, Pure Electric’s current error-code guidance identifies F2 as a throttle fault detected when the throttle does not return to its off position at startup. VMAX support describes F2 as a throttle/display communication problem detected during the scooter’s self-test.
That means you should not automatically assume F2 involves the motor, battery, brake sensor, display, and controller at the same time. Start by locating the model number on the scooter label, app, receipt, or manual and finding the manufacturer’s own error-code definition.
Note: A scooter named “F2,” such as a model in an F2 product series, is different from an F2 fault code. Always confirm that the characters on the display are actually an error code.
Check the Easiest F2 Causes First
Start with checks that do not require opening the deck or touching the battery. Confirm the exact F2 definition in your manual, place the scooter on a stable surface, release the throttle completely, release the brake lever, and turn the scooter off. Inspect the handlebar and stem area for visibly loose, pinched, wet, or damaged wiring.
If your manufacturer identifies F2 as a throttle fault, pay particular attention to whether the throttle moves freely and returns to its normal resting position without sticking. A throttle held slightly open during startup can trigger a self-test fault on some models.
Power Cycle First
Once the throttle is fully released, perform one normal restart. Turn the scooter off and wait until the display and lights are completely off. Waiting about 30 seconds is reasonable when the manual does not specify another procedure, but the manufacturer’s instructions take priority.
| Step | Action | What It Checks |
|---|---|---|
| 1 | Stop riding and power off | Ends the active fault state safely |
| 2 | Release throttle and brake | Allows a clean startup self-test |
| 3 | Wait until the system is fully off | Allows the electronics to shut down normally |
| 4 | Power on without touching controls | Repeats the startup check |
| 5 | Recheck the display | Shows whether F2 cleared or returned |
If F2 disappears and the throttle and brakes operate normally, the fault may have been related to the startup position or a temporary signal problem. If it immediately returns, repeated restarts are unlikely to repair a real sensor, wiring, or throttle fault.
Inspect Wiring Connections
If F2 remains, inspect user-accessible wiring connections around the throttle, handlebar, display, and stem. Look for a plug that has visibly separated, a cable trapped by the folding mechanism, damaged insulation, bent connector pins, moisture, corrosion, or heat discoloration.
Only disconnect and reseat a connector when it is designed to be user-serviceable and your manual allows it. Turn the scooter off first. Do not pull on wires themselves; grip the connector body. If opening the deck, dashboard, or controller housing could affect your warranty, stop and contact the manufacturer before continuing.
Inspect Throttle and Display Wiring
The throttle and display are sensible places to inspect when your model’s F2 definition points to the throttle signal path. Trace visible throttle wiring from the control toward the display or stem. Check for chafing where the cable bends with the handlebars and for connectors that are not fully seated.
- Make sure the throttle moves freely through its normal travel and returns immediately to rest.
- Inspect the throttle cable and visible connectors for cuts, crushed sections, corrosion, or pulled pins.
- Check the display and handlebar harness for obvious damage or a connector that has worked loose.
A multimeter can be useful on some scooters, but only when the manufacturer provides the connector pinout, test points, and expected values. Do not assume every throttle uses the same wire colors or voltage range, and do not probe the battery pack to diagnose an F2 code.
Pro Tip: Take a clear photo of the F2 display and the scooter’s model/serial label before contacting support. It can help the manufacturer identify the correct error-code chart and replacement part without guesswork.
Reset the Scooter the Right Way
A normal restart and a factory or service reset are not the same thing. There is no universal reset-button combination for electric scooters. Do not copy a brake-plus-power, throttle-plus-power, or app-reset sequence from another brand unless your own manual specifies it.
For a basic restart, switch the scooter off, leave the throttle and brake controls at rest, and power it on again according to the owner’s manual. If your scooter has an official app, check whether it shows a fault description or diagnostic message. Use a factory reset only when the manufacturer specifically recommends one for the error you have.
If F2 returns immediately after a correct restart, treat it as a persistent fault rather than continuing to cycle the power.
Test the Throttle and Controller Signals
When the model documentation identifies F2 as a throttle fault, first test the mechanical behavior of the throttle rather than riding the scooter to see what happens. With the scooter powered off, move the throttle through its normal range. It should move smoothly and return to rest without binding.
Next, inspect the wiring path between the throttle and the component it connects to. Depending on the scooter, that may be the display/dashboard, a handlebar control board, or the main controller. A damaged connector, broken wire, failed throttle sensor, or electronics fault can interrupt the signal.
Throttle Signal Check
If the throttle feels normal but F2 remains, check whether your manufacturer provides an app diagnostic, service procedure, or electrical specification for the throttle. Use those values only. A generic statement such as “the throttle should read 0–5 volts” is not reliable enough because connector pinouts and signal ranges differ between designs.
- Confirm that the throttle is fully at rest before startup.
- Check the manufacturer’s app or diagnostic instructions, if available.
- Use a multimeter only at approved test points and compare the reading with the service specification.
If the expected signal is missing or erratic and the wiring is intact, the throttle assembly may require replacement. Use the correct part number for your scooter rather than a visually similar universal throttle.
Controller Response Test
Do not diagnose the controller by riding a scooter that already has an active throttle or braking fault. Instead, use the manufacturer’s diagnostic procedure. Check for visible external signs such as a burned connector, water intrusion around accessible wiring, or a fault that reappears immediately after startup.
Opening the controller housing and testing live circuits is an advanced repair. If the throttle and accessible wiring pass their manufacturer-specified checks but the controller still does not receive or process the signal correctly, professional diagnosis is the safer next step.
Check Battery Health and Voltage
A low or unstable battery can cause performance problems on an electric scooter, but you should not assume that it causes F2 unless your model’s error chart says so. Battery voltage is also model-specific. A scooter advertised with a particular nominal battery voltage does not necessarily show that same voltage when fully charged.
Start by charging the scooter with the original or manufacturer-approved charger and following the charging procedure in the manual. The U.S. Consumer Product Safety Commission advises micromobility users to use the charger supplied with or approved for the device and warns that incompatible “universal” chargers can create a fire hazard. See the CPSC Micromobility Information Center.
- Check the battery indicator before and after charging.
- Inspect only accessible charging connectors for looseness, contamination, heat damage, or corrosion.
- If the manual provides safe external voltage test points, compare the reading with the exact manufacturer specification.
Do not open, bypass, rebuild, or directly probe a lithium-ion battery pack as part of basic F2 troubleshooting. If the battery is swollen, unusually hot, leaking, damaged, or producing an unusual odor, stop using and charging the scooter and follow the manufacturer’s safety instructions.
Look for Motor or Brake Problems
Motor and brake problems deserve attention because they affect scooter safety, but they are not automatically F2 causes. Check these systems when your scooter’s manual links F2 to them or when you have separate symptoms such as motor stuttering, grinding, abnormal braking, wheel drag, or another fault code.
Motor Wiring Check
Inspect visible motor wiring for cuts, crushed insulation, loosened connectors, moisture, or heat damage. Pay particular attention to wiring near the axle and any point where the harness flexes or enters the deck.
- Power the scooter off before touching connectors.
- Inspect the external motor harness for obvious physical damage.
- Stop if testing requires opening the battery or exposing live high-current connections.
If your error chart identifies a separate motor Hall-sensor, phase, or controller code, follow that procedure instead of assuming F2 covers all motor faults.
Brake Sensor Faults
Many electric scooters use a brake sensor or electronic brake signal so the controller knows when the brake lever is applied. A failed sensor can cause its own error, disable electronic braking, or prevent normal motor operation depending on the design.
Inspect the brake lever and visible sensor wiring for damage and confirm that the lever returns normally. If braking feels inconsistent or the scooter does not respond correctly to the brake input, do not ride it. Have the brake system inspected even if the displayed F2 code ultimately turns out to be throttle-related.
Caliper Drag Issues
A dragging mechanical brake can reduce speed, range, and efficiency and can overheat the rotor or pads. However, brake drag should be treated as a separate mechanical problem unless your manufacturer specifically states that it can produce F2.
- With the scooter powered off and safely supported, check whether the wheel rotates normally.
- Inspect the brake pads and caliper for obvious misalignment or debris.
- Follow the manufacturer’s brake-adjustment procedure rather than loosening safety-critical hardware by guesswork.
If the rotor becomes unusually hot after a short ride or the wheel is difficult to turn, correct the brake problem before riding again.
Fix Loose or Damaged Connections
If you find a loose user-serviceable connector, switch the scooter off and reseat it according to the manual. Damaged connectors, burned pins, cracked insulation, or stretched wires should normally be replaced with the correct manufacturer-compatible part rather than temporarily twisted, taped, or bypassed.
If contacts are dirty, use only a cleaning method approved for that connector and allow it to dry completely before reconnecting. Do not automatically fill electrical plugs with dielectric grease; some sealed scooter connectors are designed to remain clean and dry without added compounds.
After each permitted repair, restart the scooter once with the throttle and brake controls released. If F2 remains, stop replacing unrelated parts and move to manufacturer or technician diagnosis.
Prevent the F2 Error From Returning
Preventive care can reduce wiring and control problems. Keep the scooter dry within its rated water-resistance limits, avoid pinching cables when folding it, and periodically inspect the throttle, brake controls, and visible harnesses.
- Check visible connectors and cables for looseness, abrasion, or damage.
- Keep the throttle housing clean and make sure the control returns freely; do not spray cleaner inside the electronics unless the manufacturer instructs you to.
- Store and charge the scooter according to the battery instructions in its manual.
- Stay within the manufacturer’s load and operating limits.
- Use the correct charger and manufacturer-approved replacement electrical parts.
CPSC also recommends being present while charging micromobility products and not charging them while sleeping. Following those practices reduces battery and charging risk even though battery problems may be unrelated to your specific F2 code.
When to Call a Scooter Tech
Stop DIY troubleshooting and contact the manufacturer, an authorized service center, or a qualified scooter technician when F2 remains after the safe basic checks or when diagnosing it requires opening sealed electronics.
Professional service is especially appropriate when:
- The throttle sticks or does not return to rest.
- The motor starts, surges, or behaves unpredictably.
- The brake system does not respond normally.
- You find melted insulation, burned connectors, or signs of water damage.
- The battery is swollen, leaking, unusually hot, or physically damaged.
- The fault returns immediately after the manufacturer-approved restart procedure.
- The scooter is under warranty and disassembly could affect coverage.
- The manufacturer requires component replacement or diagnostic equipment.
A technician can isolate the throttle, wiring, display, controller, brake, or motor circuit using the correct schematic and test values for your scooter instead of relying on generic readings.
Frequently Asked Questions
How to Fix F2 Error on Scooter?
First confirm what F2 means for your exact brand and model. If the manual identifies it as a throttle fault, fully release the throttle, restart the scooter once, and inspect accessible throttle and handlebar wiring. If the code returns, follow the manufacturer’s diagnostic procedure or arrange service.
What Does F2 Mean in a Scooter?
F2 is manufacturer-specific. Pure Electric documentation uses F2 for a throttle that is not at its off position during startup, while VMAX describes F2 as a throttle/display communication problem detected during self-test. Check your own manual before assuming the same meaning.
How to Fix F2 Error?
Use a model-specific approach: identify the scooter, look up F2 in its manual, release the controls, restart once, and inspect permitted connectors. Do not replace the battery, controller, brake, or motor unless the manufacturer’s diagnostics point to that component.
Can I Ride an Electric Scooter With an F2 Error?
It is safer not to ride until you know what the code means and the scooter operates normally. Do not ride if the throttle sticks, power delivery is unpredictable, the brakes behave abnormally, or the manufacturer says the fault requires service.
Can a Low Battery Cause an F2 Error?
Only if your scooter’s error-code documentation says so. Some scooters use separate codes for low battery or undervoltage, while F2 is reserved for a throttle fault. Charge with the approved charger and use your model’s error chart rather than a generic voltage threshold.
What Tools Are Needed to Fix an F2 Fault?
Basic inspection usually needs the owner’s manual, a flashlight, and any hand tools specifically allowed by the manufacturer. A multimeter is appropriate only when service documentation provides the correct connector pinout, safe test points, and expected readings.
Conclusion
The safest way to handle an F2 error on an electric scooter is to avoid treating the code as universal. On several current scooter systems, F2 is connected to the throttle or its startup self-test, so begin by checking your exact model’s documentation, releasing the throttle, restarting once, and inspecting accessible throttle wiring.
Do not rely on generic battery thresholds, throttle voltages, or assumptions that F2 automatically means a motor, brake, or controller failure. If the throttle sticks, the brakes behave abnormally, wiring is damaged, or F2 keeps returning, stop riding and have the scooter diagnosed with the correct manufacturer specifications.
Sources
- Pure Electric — Error Codes — current F2 throttle-fault definition and safety guidance.
- VMAX — E2/F2 Throttle Lever Fault — F2 self-test and throttle/display communication guidance.
- U.S. Consumer Product Safety Commission — Micromobility Information Center — e-scooter riding, charging, charger, and battery safety.
- U.S. CPSC — Universal Charger Warning — risks from incompatible micromobility chargers.
- Hiboy — Official User Manuals — model-specific scooter manuals and troubleshooting documentation.
