Last Updated on July 30, 2026 by Caleb Warren
A well-adjusted backpack should feel stable, close to your body, and supported mainly by your hips rather than hanging from your shoulders. The exact hardware varies by pack, but the fitting order stays mostly the same: set the torso length, position the hip belt, tighten the shoulder straps, adjust the load lifters, and finish with the sternum and stabilizer straps.
Quick Answer
Loosen every strap, put on a realistically loaded pack, and center the hip-belt padding over the top of your hip bones. Tighten the shoulder straps until they wrap smoothly without carrying most of the weight. Snug the load lifters, then fasten the sternum strap about an inch below your collarbones without restricting breathing.
Key Takeaways
- Fit the pack with the gear and weight you expect to carry, not while it is empty.
- Set torso length before fine-tuning the straps; shoulder tightening cannot correct a pack that is the wrong size.
- The hip belt should carry most of the load, while the shoulder straps keep the pack close and stable.
- Load lifters and sternum straps should be snug, not cranked tight.
- Readjust in small steps when the load, clothing layers, or terrain changes.
At a Glance
| Time Required | 5–10 minutes for the first fitting; quick checks during the hike |
| Difficulty | Easy |
| Tools Needed | Your backpack, its planned load, and a mirror or helper |
| Cost | $0 |
Disclosure: As an Amazon Associate I earn from qualifying purchases. Some links on this page are affiliate links, at no extra cost to you.
Preparing Your Backpack for Adjustment
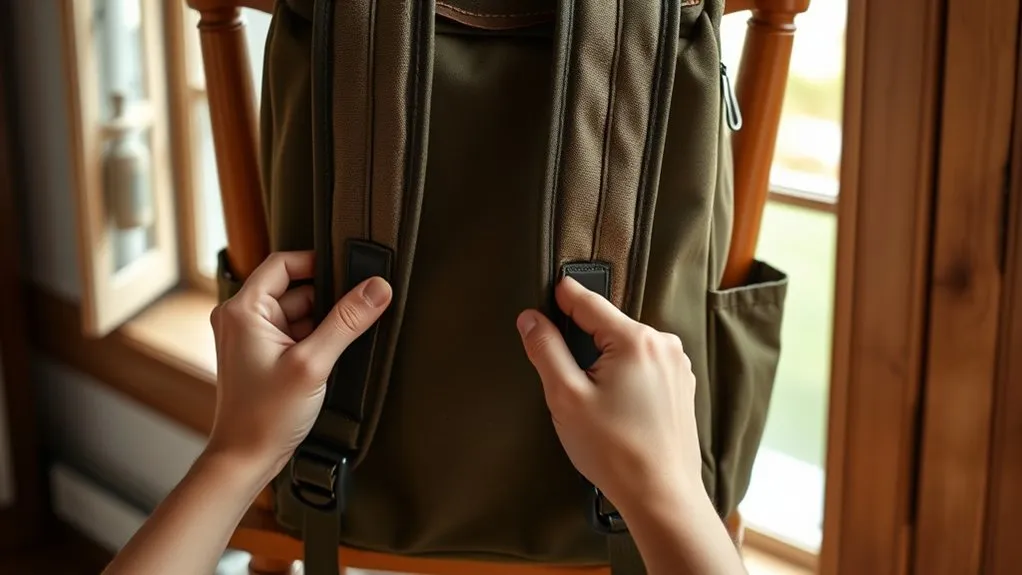
Before adjusting the straps, load the backpack with the gear you will actually carry. An empty pack can feel fine even when its torso length, hip belt, or harness is wrong. Official fitting guides from Osprey and Gregory recommend trying on a pack with a realistic test load.
Place soft, light items such as a sleeping bag or spare clothing in the bottom. Pack heavier items close to your back, usually around the middle to upper part of the main compartment. Keep the load balanced from side to side and reserve easy-access pockets for items you need during the day. Deuter’s packing guidance also notes that load position may change with terrain: a slightly lower center of gravity can improve balance on steep or technical ground.
Once packed, loosen the hip belt, shoulder straps, load lifters, sternum strap, and any hip-belt stabilizers. Put on the pack and settle it into place before tightening anything.
Check the Torso Length Before Tightening
Torso length matters more than overall height. On an adjustable pack, set the back length so the shoulder harness wraps smoothly over your shoulders and the hip belt can sit on your hip bones at the same time. Osprey’s fitting guide places the harness yoke about 1–2 inches below the C7 vertebra at the base of the neck, while other brands use their own reference points and size charts.
Note: A strap adjustment cannot fix a pack that is too long, too short, or the wrong hip-belt size. Follow the fit instructions for your exact model when they differ from general guidance.
Properly Positioning the Hip Belt
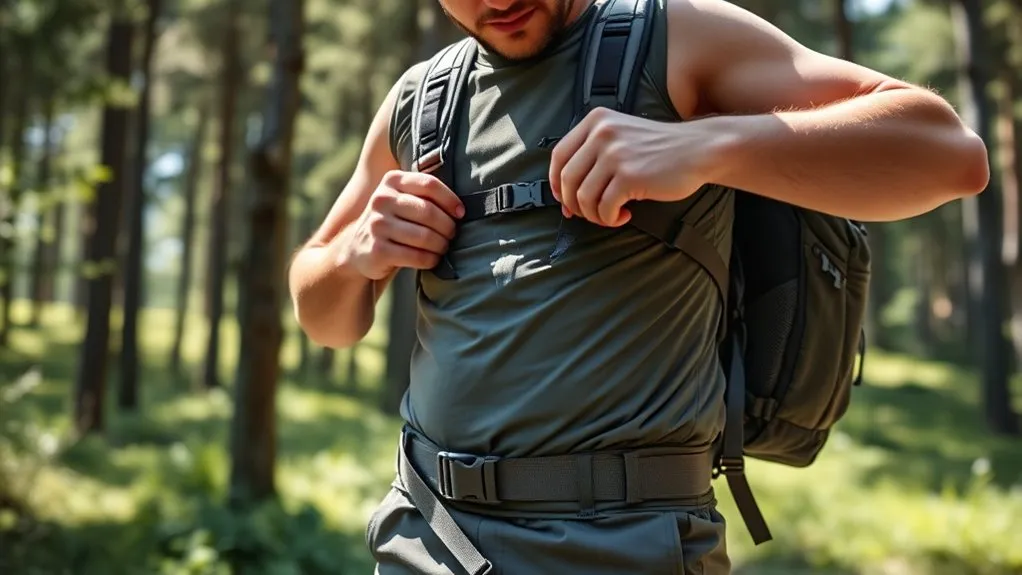
Center the padded portion of the hip belt over the top of your hip bones, also called the iliac crest. Depending on the pack and your body shape, the padding may sit partly above and partly below the crest. Buckle the belt and tighten both sides evenly until it is secure without pinching your stomach or limiting your stride.
The belt should grip well enough that the pack does not slide downward. Most of the load should feel supported through the hips, while the shoulder harness controls the pack rather than suspending all of its weight. If the buckle reaches the end of its adjustment range or the padding does not wrap your hips, the hip-belt size may be wrong.
| Fit Check | What You Should Feel |
|---|---|
| Hip-belt position | Padding wraps the top of the hip bones instead of sitting on the waist or thighs |
| Tension | Snug and secure, but not painful or restrictive |
| Load transfer | Most weight rests on the hips, not the tops of the shoulders |
| Movement | The pack stays in place without rubbing the thighs or sliding down |
Adjusting the Shoulder Straps
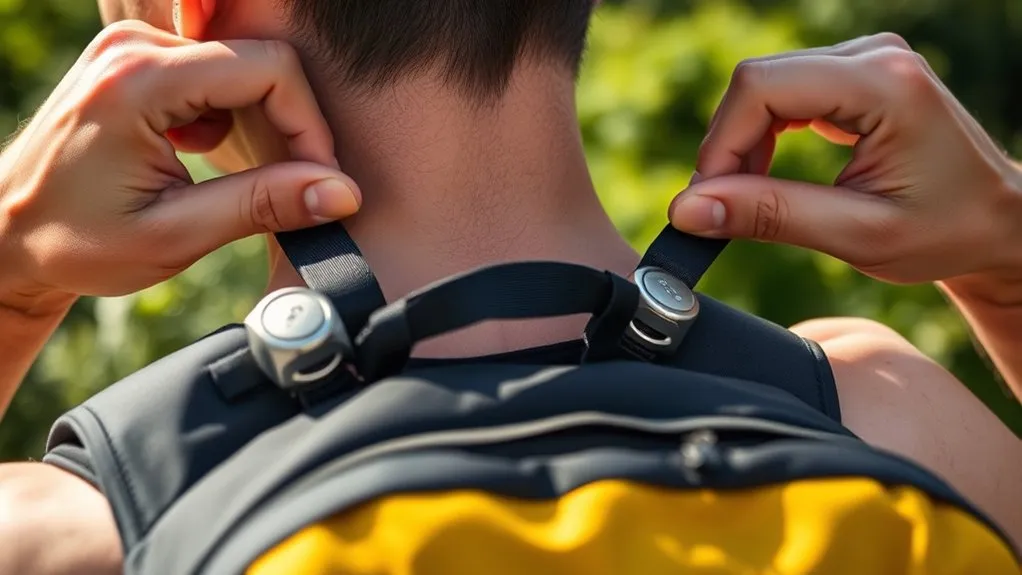
After the hip belt is secure, pull the shoulder-strap ends down and back. Tighten until the padded straps follow the curve of your shoulders with no large gaps, but stop before they lift the hip belt or place heavy pressure on your neck and shoulders. REI’s backpack fit guide notes that the shoulder straps should wrap closely without carrying significant weight.
Check the anchor point where the harness meets the pack. It should sit in the position recommended by the manufacturer—commonly near the upper shoulder-blade area. If the straps cut into your neck, run under your armpits, leave a large gap behind your shoulders, or end too high, recheck the torso-length setting before tightening harder.
Adjusting the Load-Lifter Straps
If your pack has load lifters, they run from the top of the shoulder harness to the upper pack body. Pull them forward until they become snug and draw the load closer to your back. Do not crank them tight enough to create a gap above your shoulders or pinch the shoulder joints.
On many framed backpacking packs, the load lifters form roughly a 30–60 degree angle, with about 45 degrees being common. Small daypacks and frameless packs may use a lower angle or have no load lifters at all, so treat the angle as a fit clue rather than a universal rule.
Pro Tip: Make one small change at a time. If you tighten several straps at once, it becomes difficult to tell which adjustment fixed—or caused—the pressure point.
Securing the Sternum Strap
The sternum strap connects the shoulder straps and helps keep them in a comfortable position. Slide it to a comfortable upper- or mid-chest height, commonly about an inch below the collarbones, then buckle it and pull it just snug enough to prevent the harness from spreading.
Importance of the Sternum Strap
The sternum strap improves stability, especially on uneven ground, but it is not designed to carry the backpack’s main load. A correct adjustment should:
- Keep the shoulder straps from sliding outward.
- Reduce side-to-side pack movement.
- Allow full arm movement.
- Leave enough room for deep, unrestricted breathing.
Proper Height Adjustment
There is no single perfect height for every body or harness. Start around one inch below your collarbones and move the strap up or down until it feels natural. It should not cross your throat, press uncomfortably on breast tissue, or pull the shoulder straps into an unnatural shape.
Enhancing Stability and Comfort
Tighten the sternum strap only enough to hold the shoulder straps at a comfortable width. Overtightening can restrict breathing and distort the harness fit. If the strap keeps riding up, check its height and shoulder-strap tension rather than simply pulling it tighter.
Warning: Stop and readjust if you feel numbness, tingling, sharp pain, breathing restriction, or persistent rubbing. Straps should secure the load without cutting off circulation or forcing you into an awkward posture.
Understanding Load Distribution
Straps work best when the backpack itself is packed well. Keep dense items close to your spine and balance the load from left to right. Soft, light gear belongs lower in the pack, while frequently used items should stay accessible without making the lid top-heavy.
| Load Placement | Effect on Fit |
|---|---|
| Heavy gear close to the back | Keeps the center of gravity close and reduces backward pull |
| Main support through the hip belt | Reduces excessive shoulder loading |
| Soft, light gear at the bottom | Creates a stable base without concentrating hard objects against the lower back |
| Lower heavy items on technical terrain | Can improve balance when scrambling or moving on steep ground |
Use compression straps to stop the load from shifting. Keep outside attachments compact and secure because dangling gear can sway, snag branches, catch wind, or become wet. As the terrain changes, small adjustments to the shoulder straps, load lifters, and hip-belt stabilizers can shift pressure and improve control.
A comfortable pack fit comes from the entire system—pack size, torso length, load placement, hip belt, harness, load lifters, and sternum strap—not from tightening one strap as hard as possible.
Common Mistakes to Avoid
- Wearing the hip belt on the waist: This can prevent the belt from transferring the load to the hip bones.
- Letting the pack hang too low: The shoulder harness may pull backward and the hip belt may rub the thighs.
- Overtightening the shoulder straps: This shifts too much weight onto the shoulders and may lift the hip belt.
- Skipping the load lifters: On packs that have them, loose lifters can let the load lean away from your body.
- Cranking down the sternum strap: It should stabilize the harness, not squeeze the chest.
- Ignoring torso length: Strap tension cannot compensate for a back panel that is set too long or too short.
- Using height alone to choose a size: Pack fit is based mainly on torso length, hip circumference, and body shape.
- Leaving gear loose outside the pack: Unsecured equipment can sway, snag, and upset balance.
Do not completely release the hip belt during normal hiking just to relieve your shoulders. Instead, make small alternating changes to the hip belt, shoulder straps, and load lifters. Refasten every buckle before moving over uneven ground.
Using Adjustable Back Systems for a Better Fit
Many larger hiking and travel packs let you change the torso length by moving the shoulder harness on the back panel. The mechanism may use hook-and-loop material, webbing loops, clips, a sliding rail, or a ladder-style track. The number of positions and the adjustment method are model-specific.
VariQuick and Similar Hook-and-Loop Systems
VariQuick is Deuter’s name for one adjustable back-length system. Deuter instructs users to open the central hook-and-loop strap, move it through the appropriate loop, and fasten it securely. It is a brand-specific system, not a universal name for all adjustable backpacks.
- Better torso matching: The harness can be moved to suit different back lengths.
- Improved load transfer: Correct back length helps the hip belt and shoulder harness work together.
- More stable carry: A properly positioned harness keeps the pack closer to the body.
- Shared-pack flexibility: Some adjustable models can be refitted for another user, although the pack should be removed before changing the back panel.
Clip, Loop, Ladder, and Sliding Adjustments
Do not assume every clip-and-loop system has three settings. Some have two positions, while others have several steps or continuous adjustment. Check the label, owner’s guide, or markings on the back panel before moving the harness.
For most systems, remove the pack, loosen the harness, release the locking point, move both sides evenly to the correct torso setting, and lock everything back into place. Then put the loaded pack on and repeat the full fitting sequence.
| Step | Action |
|---|---|
| 1 | Remove the pack and loosen the harness |
| 2 | Release the hook-and-loop panel, clip, buckle, or slider |
| 3 | Move the harness evenly to the setting for your torso length |
| 4 | Secure the adjustment fully and check that both sides match |
| 5 | Reload the pack and repeat the hip-belt-to-sternum fitting order |
Troubleshooting Backpack Fit Problems
| Problem | Likely Cause | Adjustment |
|---|---|---|
| Shoulders feel overloaded | Hip belt is loose, too low, or the wrong size | Reposition and tighten the hip belt, then slightly ease the shoulder straps |
| Pack pulls backward | Heavy gear is too far from the back or load lifters are loose | Repack dense items close to the spine and snug the load lifters |
| Gap behind the shoulders | Torso length or load-lifter tension is wrong | Loosen the lifters and recheck the harness-height setting |
| Neck or armpit chafing | Harness is too narrow, too long, or poorly positioned | Reset torso length or try a different harness or pack size |
| Hip belt slips down | Belt is loose, too large, or poorly shaped for your hips | Tighten evenly or use the correct hip-belt size or model |
| Chest feels restricted | Sternum strap is too tight or too high | Loosen it and slide it to a more comfortable height |
Frequently Asked Questions
How do I know if my backpack fits properly?
The hip belt should stay centered on your hip bones, the shoulder straps should wrap smoothly without large gaps, and the pack should remain close to your back without swaying. You should be able to move your arms and breathe normally, with no numbness, sharp pressure, or painful rubbing.
Can I adjust my backpack while wearing it?
Yes. Hip-belt tension, shoulder straps, load lifters, sternum straps, and stabilizer straps are meant for small on-body adjustments. Remove the pack before changing the torso-length mechanism, moving the harness on the back panel, or fixing twisted webbing.
What if my backpack is too heavy?
Strap adjustments cannot make an overloaded pack safe or comfortable. Remove nonessential items, repack dense gear close to your back, check the pack manufacturer’s load guidance, and test the revised load on a short walk before committing to a long hike.
Are there specific adjustments for different body types?
Yes, but the correct adjustment is based on torso length, hip shape, shoulder width, and harness contour—not simply whether a person is short or tall. Some brands offer different torso sizes, interchangeable hip belts, extended straps, or harness shapes for a wider range of bodies.
How often should I adjust my backpack straps?
Check the fit whenever the load, clothing layers, or terrain changes. During a long hike, small changes can shift pressure between the hips and shoulders. Recheck the full setup after another person uses the pack or after the torso system has been moved.
What angle should backpack load lifters be?
On many framed backpacking packs, they sit around 30–60 degrees, often near 45 degrees. Smaller packs may use a lower angle or no load lifters. The better test is whether they pull the load closer without lifting the harness off your shoulders.
Do daypacks need a hip belt and load lifters?
Not always. Light daypacks may use a simple webbing belt for stability rather than weight transfer, and many do not have load lifters. As load and distance increase, a supportive hip belt, frame, and load lifters become more useful.
Why do my hands tingle while wearing a backpack?
Shoulder straps or a sternum strap may be too tight, the hip belt may not be carrying enough weight, or the harness may be the wrong size. Stop, remove the pack, and readjust. Seek medical advice if tingling continues after pressure is removed or is accompanied by weakness or severe pain.
Conclusion
Adjusting a backpack is a sequence, not a single pull on the shoulder straps. Start with a correctly sized, realistically loaded pack. Set the torso length, center and tighten the hip belt, snug the shoulder straps, bring the load closer with the load lifters, and finish with the sternum and stabilizer straps. Recheck the fit as conditions change so the pack stays stable, balanced, and comfortable.
Sources
- Osprey Size and Fit Guide — fitting order, hip-belt position, harness fit, torso length, and load-lifter guidance
- REI Backpack Fit and Torso Size Guide — shoulder-strap, load-lifter, sternum-strap, and on-trail adjustment guidance
- Deuter: How to Adjust a Backpack — six-step fitting sequence, stabilizer straps, and VariQuick instructions
- Deuter: How to Pack a Backpack — load placement and terrain-specific packing guidance
- Gregory Pack Fit Guide — torso-based sizing, hip-belt position, harness wrap, and body-shape considerations