
Last Updated on July 28, 2026 by Caleb Warren
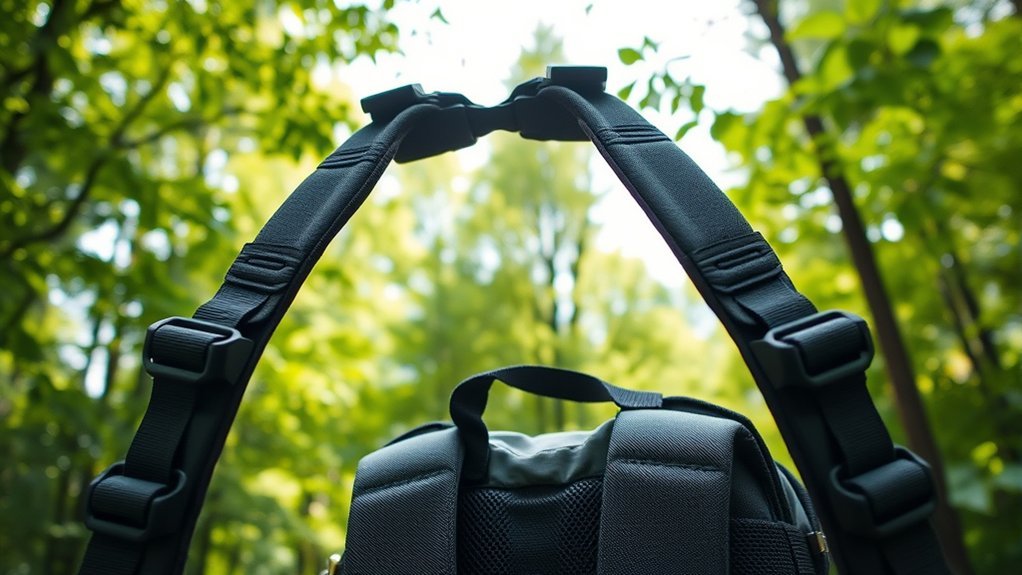
Load lifters are the adjustable straps that connect the upper part of a backpack’s shoulder harness to an anchor higher on the pack. Their main job is to pull the top of the load closer to your body, helping control rearward pull and pack movement. The familiar 45-degree angle is a useful fitting target, but it is not a universal rule: pack design, torso length, anchor height, and suspension geometry all affect the final angle.
Quick Answer
Backpack load lifters pull the upper pack closer to your body and fine-tune stability and shoulder-to-hip load sharing. Set your torso length first, then adjust the hipbelt, shoulder straps, load lifters, and sternum strap. About 45 degrees is common, but roughly 30–60 degrees can be normal depending on the pack.
Key Takeaways
- Load lifters mainly control the position of the upper pack, reducing rearward pull and helping the load stay stable.
- There is no universal 25–30 lb load threshold or 35–40 L minimum pack size for load lifters to be useful.
- Fit the torso length first, then tighten the hipbelt, shoulder straps, load lifters, and sternum strap in that order.
- A roughly 45-degree lifter angle is a good visual target, but some correctly fitted packs use approximately 30–60 degrees.
- Overtightening can pull the shoulder harness away from the tops of your shoulders and create uncomfortable pressure.
- Recheck the fit as food and water are used, gear settles, or the pack begins to feel different during the hike.
At a Glance
| Time Required | About 1–2 minutes for final lifter adjustment; allow longer for a complete pack fitting |
| Difficulty | Easy once torso length, hipbelt, and shoulder straps are fitted |
| Tools Needed | None; a mirror or helper can make fit checks easier |
| Cost | No separate cost if your backpack is already equipped with load lifters |
Disclosure: As an Amazon Associate I earn from qualifying purchases. Some links on this page are affiliate links, at no extra cost to you.
Understanding Load Lifters
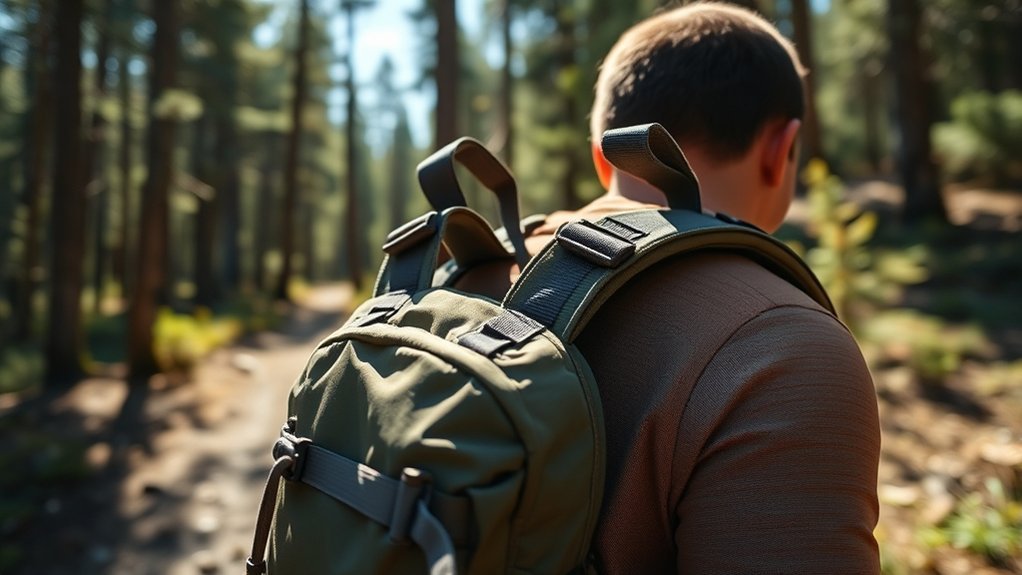
On a multi-day hike, load lifters can noticeably change how a backpack feels. They are the short adjustable straps running from the upper shoulder harness toward an attachment point higher on the pack. Tightening them changes the position of the upper pack and draws it closer to your back.
That movement can reduce the feeling that the backpack is pulling you backward, limit upper-pack sway, and change how pressure is shared between the shoulder harness, hipbelt, and suspension. The hipbelt and frame or suspension remain the main parts responsible for transferring a large share of the load to your pelvis; load lifters fine-tune that system rather than replacing it.
Load lifters are common on larger backpacking packs, but there is no universal pack-volume or weight threshold. Their usefulness depends more on the suspension, anchor height, torso fit, pack shape, and how the load is packed than on whether the label says 30, 40, or 60 liters.
Note: Torso length matters, but do not judge fit from a 45-degree angle alone. Osprey’s current fitting guidance says correctly fitted load lifters can naturally sit at roughly 30–60 degrees. If the straps are nearly horizontal, pull the shoulder harness away from you, or cannot tension the upper pack effectively, recheck the pack’s torso setting and sizing instructions.
How Load Lifters Function

Load lifters connect the upper shoulder harness to an attachment point toward the top of the backpack. When you shorten the straps, they pull the upper pack toward your shoulders and back.
That produces several useful effects:
- Upper-pack positioning: The top of the load sits closer to your body instead of hanging rearward.
- Load sharing: Changing pack position can alter pressure on the shoulders and how the suspension shares load with the pelvis.
- Stability: A closer, well-packed load is less likely to swing or feel top-heavy during uneven movement.
- Fine adjustment: Small tension changes let you tune the carry without completely resetting the hipbelt or shoulder harness.
Load lifters work best when the pack gives them something useful to pull against. A structured frame, frame sheet, stays, or another supportive suspension can provide that leverage. On a very soft pack with a low attachment point, tightening the straps may simply deform the pack instead of meaningfully repositioning the load.
Load lifters are fine-tuners, not the backpack’s primary support system: the hipbelt, shoulder harness, suspension, and correct torso fit have to work first.
Load Lifters vs. Other Backpack Straps
Backpacks use several straps that can look similar but do different jobs. Knowing which one controls what makes fitting much easier.
- Hipbelt: Wraps around the top of your hips and supports much of the backpack’s load through your pelvis.
- Shoulder straps: Hold the pack against your torso and stabilize it without needing to carry all of its weight.
- Load lifters: Control the position of the upper pack and help reduce rearward pull.
- Sternum strap: Connects the shoulder straps across your chest and helps keep them positioned comfortably.
- Hipbelt stabilizer straps: On packs that have them, these connect the hipbelt area to the lower pack and reduce movement around the hips.
- Compression straps: Squeeze the pack contents into a more compact load so gear shifts less as you walk.
Trying to solve every fit problem by tightening the load lifters usually makes the harness less comfortable. Each adjustment needs to do its own job.
Advantages of Using Load Lifters
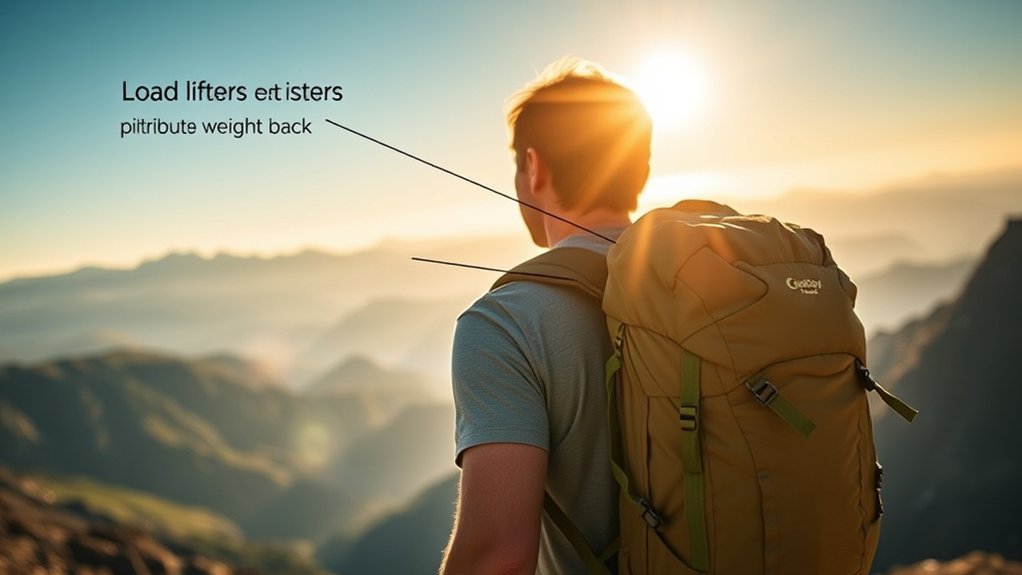
The biggest advantage of load lifters is control over where the upper backpack sits. A top-heavy load that hangs away from your body creates a backward-pulling sensation. Gentle load-lifter tension can bring that mass closer to you and make the pack feel more stable.
That becomes especially useful when a pack is heavily loaded, tall, or being used on rough terrain where side-to-side movement is distracting. The benefit is often noticeable on multi-day trips, but a smaller properly structured pack can benefit as well.
Correct adjustment can also reduce concentrated pressure on the shoulder harness and make it easier to maintain a balanced walking position. It should not, however, be treated as a cure for back or shoulder pain. Pain, numbness, pinching, or persistent pressure is a reason to stop and reassess pack fit, total load, and strap tension.
Ideal Conditions for Load Lifters
There is no single load weight at which load lifters suddenly start working. Instead, their value tends to increase when several conditions come together:
- A taller or heavier load: The farther the pack’s mass sits from your body, the more noticeable upper-pack control can become.
- A supportive suspension: The pack needs enough structure for the lifters to reposition the upper load rather than simply wrinkle the fabric.
- An anchor above the shoulder: Useful upward-and-backward geometry gives the strap leverage.
- Uneven terrain: Keeping the load controlled can be particularly helpful when stepping over rocks, climbing, descending, or changing direction.
- A properly fitted torso length: Load lifters cannot compensate for a pack that is fundamentally too long or too short for the wearer.
You may see 25–30 pounds and 35–40 liters quoted as convenient rules of thumb. Those figures can describe the point where some hikers begin to notice the feature more, but they are not universal specifications.
Minimum Backpack Size for Load Lifters
There is no official minimum backpack capacity for effective load lifters. Liter capacity describes how much a pack holds, not whether its suspension geometry gives the lifter straps useful leverage.
Load lifters are more common on backpacking packs and larger daypacks because those packs are more likely to carry enough weight to justify a structured harness. However, a smaller pack can still have functional load lifters, while a much larger soft or poorly fitted pack may gain little from them.
Instead of shopping by a 35- or 40-liter cutoff, look for these features:
- A supportive frame sheet, stays, frame, or other load-bearing suspension.
- A hipbelt designed to support load rather than a thin webbing-only waist strap.
- Load-lifter anchor points positioned high enough to pull the upper pack toward your body.
- A torso size or adjustable harness that matches your body.
What Angle Should Load Lifters Be?
About 45 degrees is the best-known rule because it is easy to recognize and is recommended in REI’s backpack fitting guidance. It is better treated as a starting point than a precise requirement.
Pack geometry varies. Osprey currently describes approximately 30–60 degrees as a normal range when torso length is adjusted correctly. Other manufacturers may specify a different range for a particular suspension.
The practical test matters more than chasing an exact number. When the lifters are snug:
- The upper pack should move closer to your body.
- The shoulder straps should continue to wrap your shoulders naturally.
- The harness should not lift away from the tops of your shoulders.
- You should not feel sharp downward pressure or pinching.
- The pack should feel controlled without becoming rigid against your upper body.
If the lifters are almost horizontal, the pack may have a low anchor point or a torso-fit mismatch. If they are extremely steep, check the manufacturer’s sizing instructions before assuming that more tension is the answer.
How Packing Affects Load Lifters
Even perfectly adjusted straps cannot fully correct a poorly packed load. Dense, heavy gear is generally more stable when it sits in the pack’s core and relatively close to your back. Weight carried far away from your torso increases the backward-pulling effect that the suspension has to control.
For a more stable load:
- Keep dense items close to the back panel rather than at the outer edge of the pack.
- Balance weight from left to right.
- Fill empty spaces so heavy objects cannot shift while walking.
- Use compression straps to keep the load compact.
- Avoid stacking unnecessary dense weight at the very top, where it can make the pack feel tippy.
A well-packed backpack should feel balanced on the hips and resist excessive shifting before you make the final load-lifter adjustment.
Proper Adjustment Techniques
Adjust load lifters only after the backpack’s basic fit has been established. REI and major pack manufacturers use a similar overall sequence.
- Set the torso length. If the pack has an adjustable suspension, match it to your measured torso range before fine-tuning the straps.
- Position and tighten the hipbelt. Center the padding around the top of your hip bones, or iliac crest, and tighten it firmly without uncomfortable pinching.
- Snug the shoulder straps. Pull them down and back until they wrap your shoulders smoothly. They should stabilize the pack without carrying all of its weight.
- Adjust the load lifters. Pull them forward gradually until the upper pack moves closer to your body. Aim near 45 degrees where the pack design allows it, but follow the manufacturer’s specified range.
- Check shoulder contact. The shoulder harness should still lie naturally against your shoulders. Back off the lifters if a gap appears.
- Set the sternum strap. Position it around an inch below the collarbones or where the manufacturer recommends, then tighten only enough to keep the shoulder straps comfortably positioned without restricting breathing.
Pro Tip: Make your first fit adjustment with the backpack loaded similarly to how you will actually carry it. Recheck the lifters later in the trip as food and water are used and the contents settle. A setting that worked on the first morning may need a small change later.
Walk around for several minutes after fitting the pack. Small adjustments are normal. The goal is a balanced, stable carry, not maximum strap tension.
Common Mistakes With Load Lifters
Load lifters are simple to operate, but several fitting mistakes can make them feel ineffective or uncomfortable.
- Tightening them first: Load lifters cannot establish the basic fit. Set torso length, hipbelt, and shoulder straps first.
- Pulling them as tight as possible: Maximum tension is not the goal. Excess tension can distort the shoulder harness.
- Chasing exactly 45 degrees: A pack can fit correctly with a different angle when its suspension is designed that way.
- Ignoring the load inside the pack: Heavy gear far from your back can make the pack pull backward even when the lifters are snug.
- Using lifters to compensate for the wrong torso size: Adjustment straps cannot completely fix a basic sizing mismatch.
- Setting them once and forgetting them: Gear settles and consumable weight changes during a trip.
Warning: If tightening the load lifters creates a gap between the top of your shoulders and the shoulder harness, loosen them. Stop and refit the pack if you develop persistent pinching, numbness, tingling, or significant discomfort rather than trying to solve the problem by pulling the straps tighter.
Load Lifter Troubleshooting
| Symptom | Likely Cause | What to Do |
| Gap above your shoulders | Load lifters are too tight, or basic torso fit is off | Loosen the lifters first, then recheck torso length and shoulder-strap fit |
| Top of pack sways or pulls backward | Lifters may be too loose, or heavy gear is packed too far from your back | Snug the lifters gradually and repack dense gear closer to the back panel |
| Lifters are nearly horizontal | Low anchor geometry or torso-size mismatch | Check the manufacturer’s torso adjustment and sizing instructions rather than forcing more tension |
| Shoulders feel pinched | Shoulder straps or load lifters may be overtightened | Back off the tension and confirm that the hipbelt is carrying its share of the load |
| Hipbelt keeps sliding down | Hipbelt sizing, torso adjustment, or load distribution may be wrong | Refit the hipbelt and torso before changing the load lifters again |
It is also worth checking fit as conditions change. Small tension changes during a hike can improve comfort, but there is no universal rule requiring one setting for uphill travel and another for downhill travel. Use the setting that keeps your particular pack balanced and comfortable.
Personal Experiences With Load Lifters
Personal experience with load lifters varies because body proportions, pack geometry, load weight, packing style, and suspension design all change how noticeable the adjustment feels. One hiker may feel a large difference after a small adjustment, while another may barely notice the feature on a light, compact load.
Individual Comfort Variations
Three factors explain much of that variation:
- Proper Adjustment: The lifters should be snug enough to control the upper pack without distorting the shoulder harness. Around 45 degrees is a useful reference, not an absolute requirement.
- On-the-Move Tuning: Small changes may help after gear settles, water is consumed, or pressure points develop.
- Pack Fit: A correctly sized torso and supportive hipbelt matter more than trying to achieve a specific lifter angle.
Adjustment Challenges Experienced
A common challenge is trying to solve the wrong problem with the load lifters. If a pack is too long, too short, badly packed, or riding on a poorly fitted hipbelt, tightening the lifters harder rarely fixes the underlying issue.
Another challenge is recognizing the difference between snug and overtightened. The ideal setting usually feels controlled rather than rigid. The upper pack moves closer to the body, while the shoulder straps continue to follow the shape of your shoulders.
Impact on Hiking Performance
When the whole suspension system fits correctly, load lifters can contribute to:
- Less Rearward Pull: Keeping the upper load closer reduces the sensation that the pack is hanging away from you.
- More Balanced Carry: Better positioning can make it easier to maintain a natural walking stance.
- Improved Stability: A controlled upper pack is less likely to sway noticeably on uneven terrain.
The benefit generally becomes more noticeable as the load becomes taller, heavier, or farther from the body, but there is no single weight at which every hiker will experience the same result.
Additional Considerations for Backpack Design
Backpack design affects how useful load lifters can be. The straps need suitable anchor geometry and enough suspension structure to reposition the upper pack. That does not necessarily mean every effective design requires a completely rigid frame, but a soft bag that simply folds when the lifters are tightened offers little useful leverage.
Frame height matters too. An attachment point positioned above the shoulder generally gives a lifter more useful pulling geometry than one positioned at or below shoulder level.
The hipbelt also matters. Because a major purpose of a backpacking suspension is to support load through the pelvis, a thin waist strap that provides little structural support limits what the rest of the adjustment system can accomplish.
Finally, fit should be judged with realistic weight in the backpack. An empty pack can look perfect in a mirror but behave differently once food, water, shelter, clothing, and equipment are loaded.
Frequently Asked Questions
Can load lifters be added to any backpack?
Not effectively in every case. A functional retrofit needs a suitable shoulder-harness connection, a higher anchor point, and enough pack structure for the strap to pull against. Simply sewing webbing onto a soft backpack may change its shape without providing meaningful load control.
How do load lifters help with weight distribution?
They pull the upper backpack closer to your body. That change in pack position can alter shoulder pressure, pelvic load sharing, rearward torque, and stability. The hipbelt and suspension still do most of the primary load-support work.
Are load lifters suitable for all body types?
They can work across many body types, but effectiveness depends on whether the specific backpack’s torso range, shoulder harness, hipbelt, and lifter-anchor geometry fit the wearer. Correct pack sizing matters more than trying to force a particular strap angle.
Do load lifters affect the backpack’s overall weight?
The webbing and buckles themselves add very little weight. Their purpose is not to reduce the backpack’s actual weight but to change how the upper load is positioned and supported while you carry it.
Can I use load lifters for day hikes?
Yes. If your daypack has a supportive suspension and functional load lifters, they can help control the upper load. The difference may simply be less noticeable when the pack is light and compact.
Do backpack load lifters have to be exactly 45 degrees?
No. Roughly 45 degrees is a common fitting target, but the correct angle depends on the backpack. Osprey, for example, currently describes approximately 30–60 degrees as normal when its adjustable torso system is fitted correctly.
Why do my shoulder straps lift off my shoulders when I tighten the load lifters?
The load lifters are probably too tight, although an incorrect torso setting can contribute. Loosen the lifters until the shoulder harness follows your shoulders naturally, then recheck torso length, hipbelt position, and shoulder-strap tension.
Conclusion
Load lifters are a small adjustment with an important job: controlling where the upper part of your backpack sits. Rather than thinking of them as straps that simply move weight from your shoulders to your hips, treat them as part of a complete suspension system that includes the torso adjustment, hipbelt, shoulder harness, and sternum strap.
Set the pack’s torso length first, secure the hipbelt, snug the shoulder straps, and then tighten the load lifters only enough to bring the upper pack closer. Roughly 45 degrees is a useful target, but a correctly fitted pack may fall elsewhere in its manufacturer’s recommended range. Recheck the fit as the load changes, and let comfort, shoulder contact, and pack stability guide the final adjustment.
Sources
- REI Expert Advice — How to Size and Fit a Backpack — supports torso fitting, hipbelt and shoulder-strap adjustment, roughly 45-degree load lifters, overtightening symptoms, and on-trail fine-tuning.
- Osprey — Backpack Size and Fit — supports the fitting sequence and approximately 30–60-degree load-lifter range on correctly adjusted Osprey packs.
- Kelty — My Pack Doesn’t Fit — supports torso adjustment, hipbelt positioning, load-lifter adjustment, and minor trail readjustment.
- Waseda University / IEEE — Investigation of Relationship Between Multi-Point Mechanical Stimuli on Shoulder and Overall Pain on Backpack Wearers — supports the importance of backpack weight, load position, and shoulder-loading conditions.
- TrailGroove — Backpacking Jargon: What Are Backpack Load Lifters? — provides additional background on load-lifter geometry, pack design, and sizing.
- Outside — Backpack Fit Guidance — provides supplemental guidance on fitting and adjusting a backpack suspension.

