
Last Updated on July 27, 2026 by Mason Reed
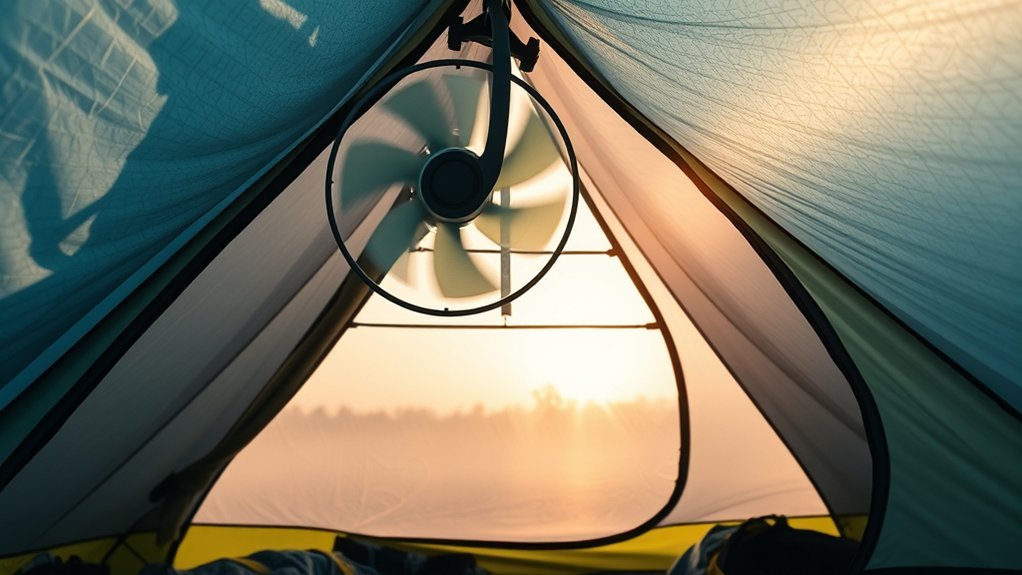
A well-placed tent fan can turn a stuffy, damp tent into a much more comfortable place to sleep. The fan itself is only part of the solution, though. Good results come from creating a clear airflow path, opening the right vents, keeping wet gear out, and adjusting the setup as wind, rain, and temperature change.
Quick Answer
Set the fan where it can move air across the sleeping area toward an open upper vent or opposite door without touching tent fabric. Open at least two vents when weather allows, keep wet gear outside, and use the lowest effective fan speed. A fan helps ventilation, but it cannot completely prevent condensation when the outside air is already very humid.
Key Takeaways
- There is no universal CFM requirement for a tent. Compare airflow, size, runtime, noise, and mounting options instead of relying on one number.
- Create an airflow path from one opening toward another instead of pointing the fan at a closed tent wall.
- High vents are especially useful because warm, moisture-laden air tends to collect near the top of a tent.
- Keep wet clothing, towels, boots, and cooking moisture out of the sleeping area whenever possible.
- Use only undamaged batteries and manufacturer-approved chargers, and never use loose or re-wrapped lithium-ion cells in a portable fan.
At a Glance
| Time Required | About 5–10 minutes |
| Difficulty | Easy |
| Tools Needed | Portable tent fan, existing tent vents or doors, and an approved battery or power source |
| Cost | $0 for setup if you already own the fan; fan and battery cost varies by model |
Disclosure: As an Amazon Associate I earn from qualifying purchases. Some links on this page are affiliate links, at no extra cost to you.
Choosing the Right Tent Fan
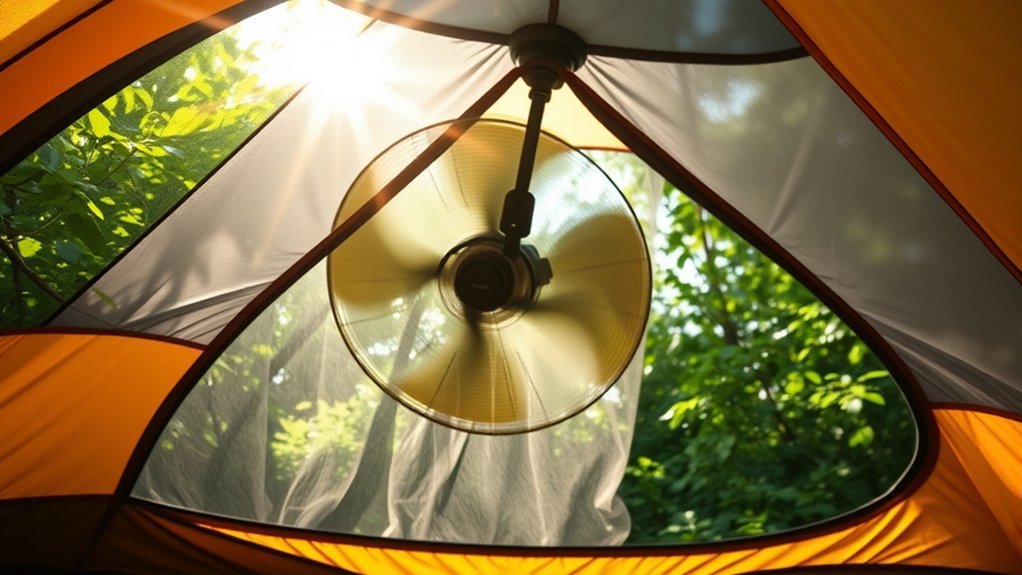
When choosing a tent fan, focus on usable airflow, size, weight, runtime, noise, and how the fan can be positioned. CFM, or cubic feet per minute, tells you how much air a fan can move under its test conditions, but there is no universal rule saying a certain tent size requires a specific CFM rating.
A small backpacking tent may only need a compact fan on low speed to keep air moving around one or two sleepers. A tall family or cabin tent has more interior volume and may benefit from a larger fan, a more powerful setting, or two fans placed in different areas. Vent size, tent shape, wind, and gear placement can matter as much as the fan’s advertised airflow.
Look for several speed settings. Low speed saves battery power and is often enough overnight, while a higher setting can help air out the shelter after you wake up. Check the manufacturer’s runtime at the speed you actually expect to use rather than relying only on the maximum advertised runtime.
Noise matters too. The National Institute on Deafness and Other Communication Disorders lists a whisper at about 30 decibels. A fan advertised around that level on low speed may be easier to sleep beside, although motor pitch and measurement distance can make two fans with similar ratings sound different.
Note: Rechargeable fans with protected, built-in lithium-ion battery packs can be convenient for camping, but battery quality matters. The U.S. Consumer Product Safety Commission warns against loose 18650 lithium-ion cells, including cells marketed for personal fans, because unprotected cells can short-circuit, overheat, catch fire, or explode. Use the battery and charger approved by the fan manufacturer.
How to Set Up a Tent Fan Step by Step
- Open the tent’s built-in vents first. Ventilation works best when moist air has somewhere to leave. Open high vents, mesh panels, or protected door openings as weather permits.
- Create an airflow path. Choose one opening as the main air-entry area and another vent or opening on the opposite or upper side as the exit.
- Place the fan in that path. Aim it across the sleeping area and toward the exit vent rather than directly at a closed wall.
- Secure the fan. If it is designed to hang, attach it to a suitable tent loop and make sure the housing and blades cannot touch the roof, mesh, sleeping bags, hair, or loose fabric. Otherwise, place it on a stable floor or gear shelf.
- Start on low speed. Increase the speed only if the tent still feels stagnant or humid. The lowest effective setting usually gives the longest battery life and least noise.
- Recheck the setup after conditions change. Wind direction, rain, and temperature can shift during the night. Adjust vents or fan angle if rain starts entering or air stops moving through the shelter.
- Air the tent out in the morning. Open protected doors and vents widely when conditions allow, then dry the rainfly and inner tent before long-term storage.
Pro Tip: Instead of blasting air directly at your face, aim the fan slightly upward or diagonally across the tent toward a high vent. This moves warm, moist air out of the upper part of the shelter while still creating a gentle breeze around the sleeping area.
Optimal Placement for Airflow
Good placement matters more than simply turning the fan to its highest setting. Think about where fresh air can enter, where humid air can escape, and whether sleeping bags, packs, or clothing are interrupting that path.
Tent Orientation Matters
When weather permits, orient the tent so a protected vent or door can take advantage of the prevailing breeze. Sea to Summit recommends using wind-facing vents and cross-flow to help remove humid air from a tent. However, follow your tent manufacturer’s pitching instructions and avoid opening a door directly into wind-driven rain.
Site selection also matters. Avoid depressions where colder air can settle and avoid pitching directly at the edge of lakes, streams, or marshy ground when you have a drier alternative. A suitable site beneath healthy tree cover can sometimes reduce radiative cooling of the tent at night, but always check for dead branches or other overhead hazards before pitching.
Ventilation Panel Positioning
You cannot move the vents built into your tent, so use the ones the manufacturer provides strategically. High vents are valuable because warm, moist air tends to collect near the roof. Open them whenever weather protection allows, and keep mesh openings clear of packs, jackets, and sleeping bags.
If your tent has vents on opposite sides, opening both can create cross-flow. If it has only one main door, pair that opening with a peak vent, rear vent, or mesh panel instead.
Avoid Gear Blockage
Gear blockage is one of the easiest airflow problems to fix. Keep bulky packs and damp clothing away from tent walls, mesh panels, and the fan’s intake and outlet. Hanging lightweight items from approved storage loops can free floor space, but do not overload tent loops or hang heavy gear from structural fabric.
| Gear Management | Airflow Benefits | Tips for Organization |
|---|---|---|
| Store gear away from walls | Leaves room for air to circulate | Use pockets or approved hanging loops |
| Keep vents clear | Lets humid air escape | Move packs away from mesh panels |
| Keep fan intake clear | Prevents restricted airflow | Leave open space around the fan |
Good gear organization allows the tent’s ventilation system and the fan to work together instead of fighting blocked openings.
Ensuring Proper Ventilation
A fan can circulate air inside a closed tent, but real moisture control requires ventilation. Humid interior air needs a path to escape and be replaced by outside air when conditions allow.
Tent Design Matters
Single-wall and double-wall tents handle condensation differently. In a double-wall tent, a breathable or mesh inner tent separates sleepers from the waterproof rainfly, where much of the condensation collects. In a single-wall shelter, the waterproof wall is also the interior surface, so occupants are more likely to touch condensation directly.
Neither design is condensation-proof. Sea to Summit notes that ventilation, correct pitching, keeping the inner and fly separated, and opening vents are central to moisture management. Its condensation guidance recommends orienting a tent to available wind and maintaining cross-flow through vents.
Pitch your tent tightly enough for the rainfly and inner tent to maintain the spacing intended by the manufacturer. Correctly tensioned guylines also help keep fabric away from sleeping bags and other gear.
| Tent Feature | Why It Helps |
|---|---|
| Double-wall construction | Separates sleepers from much of the condensation on the rainfly |
| High adjustable vents | Give warm, humid air an escape path |
| Multiple doors or openings | Can create cross-ventilation when weather allows |
| Proper fly-to-inner spacing | Helps keep wet outer fabric away from occupants and gear |
Effective Airflow Techniques
A few habits make the fan more effective:
- Open at least two protected vents or openings when your tent design and weather allow.
- Direct airflow across the tent toward an exit rather than continually recirculating air in one corner.
- Keep guylines properly tensioned so vents and rainfly gaps remain open.
- Keep wet rain jackets, socks, towels, and boots outside the sleeping compartment when practical.
- Open the shelter more widely in the morning to release moisture accumulated overnight.
- In cold weather, keep some ventilation open rather than sealing the tent completely; adjust openings gradually so you balance moisture control with warmth and weather protection.
A tent fan moves air; it does not remove water from the air like a dehumidifier. It works best when the tent also has a clear path for humid air to escape.
Managing Humidity Levels
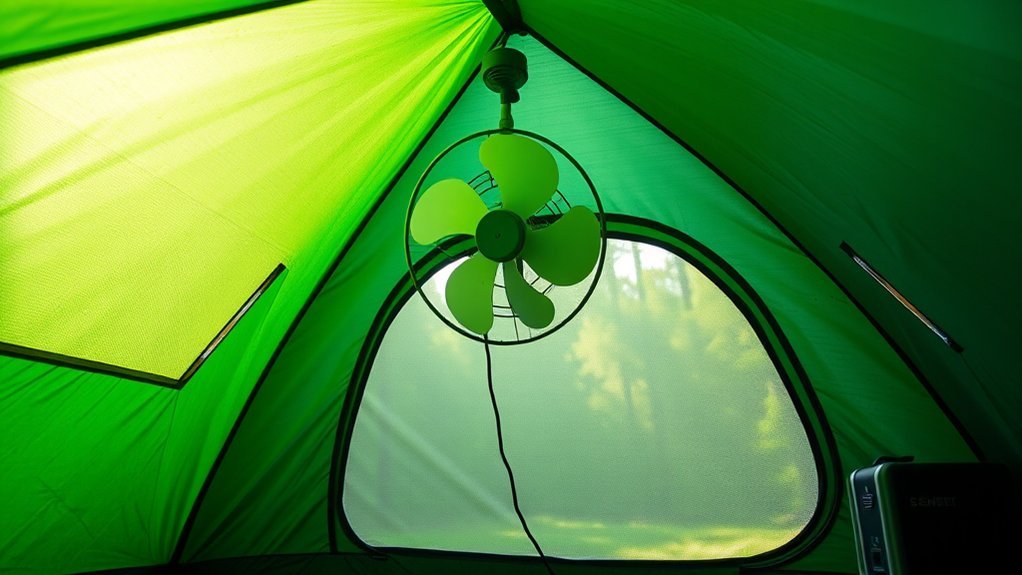
Tent condensation is caused by a combination of moisture and temperature. The National Weather Service explains that the dew point is the temperature at which air becomes saturated. When moist air inside your shelter touches tent fabric that has cooled to or below that point, water vapor can turn into droplets.
Your breath adds moisture throughout the night. Wet clothing and gear add more. Cooking can add both moisture and serious fire or carbon-monoxide hazards, so keep cooking outside the sleeping shelter and follow your stove manufacturer’s safety instructions.
Choose the driest practical campsite rather than pitching at the immediate edge of a stream, lake, marsh, or damp depression. Keep wet gear outside the sleeping compartment when possible, and ventilate early instead of waiting until the tent walls already feel wet.
A fan is most useful when it helps replace damp interior air with outside air. If the outside air is extremely humid, however, the fan cannot magically make it dry. You may still see condensation when the tent fabric cools overnight.
Warning: Keep portable fans, charging ports, cords, and battery packs away from leaks and standing water. Do not operate or charge a fan that is wet, swollen, unusually hot, corroded, cracked, or giving off an unusual odor. Follow the manufacturer’s instructions after water exposure. Never use loose or re-wrapped 18650 lithium-ion cells. A fan also does not make generators, charcoal, fuel-burning heaters, lanterns, or stoves safe inside a tent; carbon monoxide can still build to deadly levels.
Using Vestibules, Doors, and Vents Together
If your tent has two vestibules or doors, opening protected portions on opposite sides can create an effective cross-breeze. If it has only one vestibule, pair that opening with a roof vent, rear vent, or mesh panel.
- Position the fan so it helps move air from an intake opening toward another vent or door.
- Keep the exit vent unobstructed so the fan is not simply circulating the same humid air.
- Open vestibule panels only as far as weather conditions safely allow.
- Keep packs, shoes, and clothing from blocking the bottom or sides of the openings.
- During dry daytime conditions, open the shelter more widely to release overnight moisture.
Wind direction can change, so there is no single fan angle that works for every campsite. Adjust the fan and openings together rather than treating either one as a fixed setting.
Regular Maintenance and Adjustments
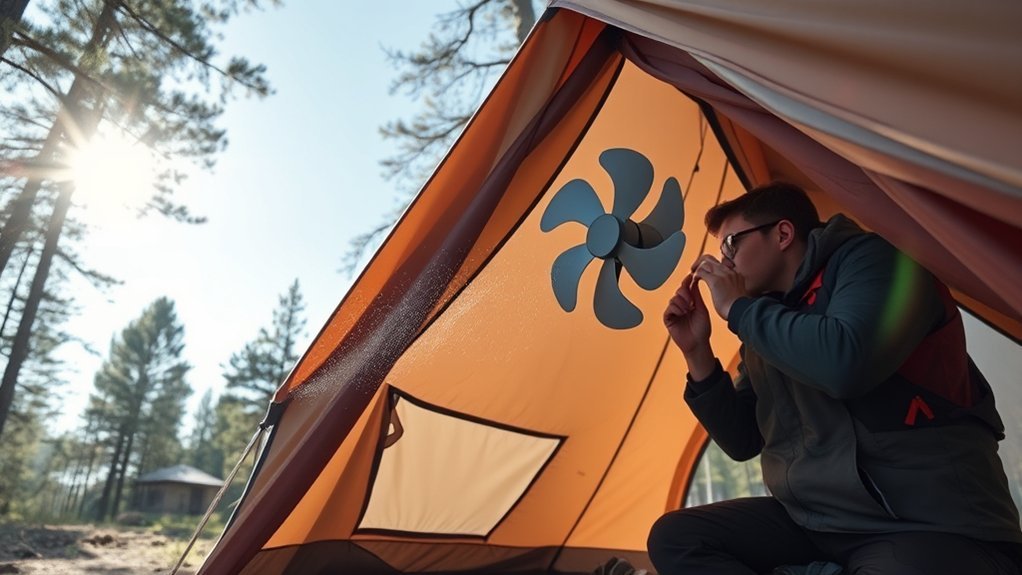
Keeping your setup in good condition takes only a little regular attention. Check that vents and mesh panels are unobstructed, and adjust guyline tension when the rainfly begins to sag.
Clean tent fabric and zippers according to the tent manufacturer’s instructions. Dirt and debris can interfere with zippers and vent openings. Always dry the tent thoroughly before long-term storage to reduce the chance of mildew and coating damage.
Inspect the fan too. Remove dust or hair from the grille and blades with the fan switched off, check the housing and charging port for damage, and examine removable batteries according to the manufacturer’s instructions. Stop using a lithium-ion product if the battery swells, overheats, leaks, or shows other signs of damage.
Adapt the setup each day. Hot, dry weather may allow large openings and strong cross-flow. Rain may require smaller protected openings. Cold conditions may call for modest but continuous ventilation rather than a completely sealed shelter.
Practical Tips for a Better Setup
- For direct cooling, place a stable fan low enough to move air across sleepers without blowing loose dust or gear around the tent.
- For condensation control, aim the airflow slightly upward toward a high vent or across the shelter toward an opposite opening.
- Use the lowest speed that keeps the air moving comfortably; this reduces noise and extends battery runtime.
- In a large tent, two smaller fans can be useful when one fan leaves obvious dead-air areas, but test placement before assuming you need more airflow.
- Do not hang a fan unless its design includes a secure hook, clip, or hanging system. Keep rotating blades and the fan housing clear of tent fabric.
- If condensation remains heavy, focus first on more ventilation, wetter-than-normal gear, campsite location, and outside humidity rather than automatically buying a stronger fan.
What to Do if Condensation Is Still Heavy
If you still wake up to wet tent walls, work through the setup in this order:
- Open more protected ventilation. A stronger fan cannot compensate for a nearly sealed shelter.
- Check for blocked vents. Packs, rain jackets, sleeping bags, and sagging fly fabric can restrict airflow.
- Move wet gear out. Drying clothing or towels inside adds moisture to the air.
- Check the campsite. Low ground and immediate waterside sites can be colder and more humid.
- Adjust fan direction. Aim toward an exit vent instead of at a wall or directly into a closed corner.
- Accept some condensation in difficult weather. During rain, fog, calm conditions, or very high dew points, even a well-ventilated tent may collect moisture.
Frequently Asked Questions
Can I use a solar-powered fan for my tent?
Yes. A solar fan works best when it has a built-in battery or compatible energy storage so it can continue running after sunset. A panel-only fan may slow or stop as sunlight fades, so check how the specific model stores and supplies power.
How loud are tent fans during operation?
It depends on the fan and speed. A whisper is about 30 dB, so a model rated near that level on low speed may be comfortable for many sleepers. Motor pitch, vibration, and how close the fan is to your head can matter just as much as the published decibel number.
What battery types are best for tent fans?
Integrated rechargeable battery packs are convenient, while fans using manufacturer-approved replaceable batteries can be useful when charging is unavailable. Whichever system you choose, use approved batteries and chargers. Do not use loose or re-wrapped 18650 lithium-ion cells in a personal fan.
Can I use multiple fans in one tent?
Yes. A large tent may benefit from two fans when one unit leaves obvious areas with little air movement. Position them so they support the same overall airflow path instead of blowing directly against each other.
Are there any safety concerns with tent fans?
Yes. Keep the fan and batteries dry, stop using damaged or swollen batteries, use the manufacturer’s charger, and keep blades clear of fabric, hair, and sleeping gear. Only hang a fan if it is designed for hanging and can be secured safely. Never rely on a fan to make fuel-burning equipment safe inside a tent.
Should a tent fan blow air in or out?
Either can work, but the best setup creates a complete path. You can draw fresher air through one protected opening and aim the fan toward an opposite or upper vent, or place the fan near an opening to help exhaust humid air. Avoid pointing it into a closed corner where it only recirculates the same air.
Will a fan completely stop tent condensation?
No. A fan can improve air movement and help humid air escape, but condensation can still form when tent fabric cools to the dew point, especially during rain, fog, calm nights, or very humid weather. Ventilation, campsite choice, dry gear, and correct pitching all matter.
Conclusion
A tent fan works best as part of a complete ventilation setup, not as a standalone fix. Give humid air somewhere to escape, keep vents clear, aim the fan along a useful airflow path, and keep wet gear out of the sleeping area. Those steps will usually do more than simply buying the highest-powered fan you can find.
Expect to make small adjustments as the weather changes. On humid or rainy nights, some condensation may still form even with good ventilation. The goal is to reduce trapped moisture, keep sleeping gear away from wet tent surfaces, and maintain steady airflow without sacrificing weather protection or battery safety.
Sources
- Sea to Summit: 7 Ways to Manage Tent Condensation — tent orientation, campsite selection, wet-gear management, ventilation, and condensation control
- REI Co-op: Best Camping Tents of 2026 — current guidance on tent ventilation, vents, multiple doors, and cross-breezes
- National Weather Service: Dew Point vs. Humidity — dew point, atmospheric moisture, and when condensation occurs
- U.S. Consumer Product Safety Commission: Loose Lithium-Ion Cell Safety Warning — hazards from loose 18650 cells, including cells used in personal fans
- U.S. Consumer Product Safety Commission: Portable Heaters and Camping Equipment — carbon-monoxide hazards from fuel-burning equipment in enclosed tents
- National Institute on Deafness and Other Communication Disorders: Sound Levels — reference showing whispering at about 30 decibels
