
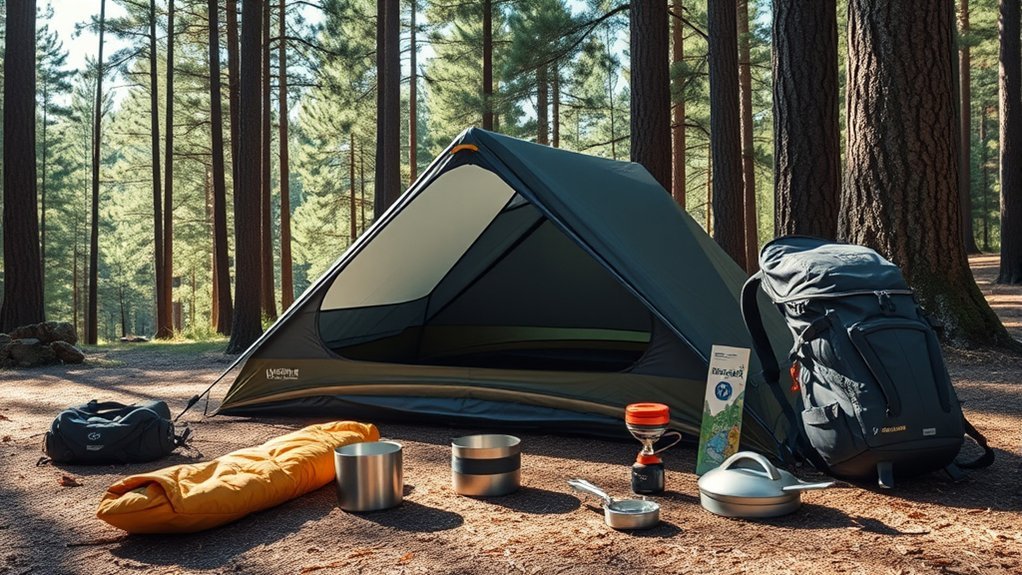
Last Updated on July 29, 2026 by Mason Reed
Ultralight backpacking is not about chasing the lowest number at any cost. It is about carrying only what you need, choosing gear that fits the route, and protecting your sleep, warmth, water, navigation, and emergency margins. Start with the heaviest systems, weigh every item, and test the full kit before relying on it in the backcountry.
Quick Answer
A safe ultralight backpacking kit starts with a well-fitted pack, weather-ready shelter, insulated sleep system, simple cook kit, reliable water treatment, layered clothing, navigation, lighting, first aid, and emergency supplies. Reduce duplicate and unused items first; never cut gear that protects you from cold, storms, dehydration, injury, wildlife, or getting lost.
Key Takeaways
- Treat shelter, sleep, backpack, and clothing as connected systems rather than choosing each item by weight alone.
- Match temperature ratings, sleeping-pad R-value, water capacity, and shelter strength to the actual forecast and route.
- A lightweight food sack is not automatically bear-resistant; follow the exact storage rules for the land you are visiting.
- Carry the safety basics listed in the National Park Service Ten Essentials, even when trimming pack weight.
- Use a scale and a written gear list, then test the packed setup on a short trip before taking it farther into the backcountry.
At a Glance
| Time Required | About 1–3 hours to weigh, compare, and pack an existing kit; longer when selecting new gear |
| Difficulty | Moderate—requires route planning, honest risk assessment, and field testing |
| Tools Needed | Digital scale, gear list, route map, weather forecast, and local regulations |
| Cost | Varies widely; removing duplicates costs nothing, while premium shelters and down sleep systems can be expensive |
Disclosure: As an Amazon Associate I earn from qualifying purchases. Some links on this page are affiliate links, at no extra cost to you.
Essential Gear for Ultralight Backpacking
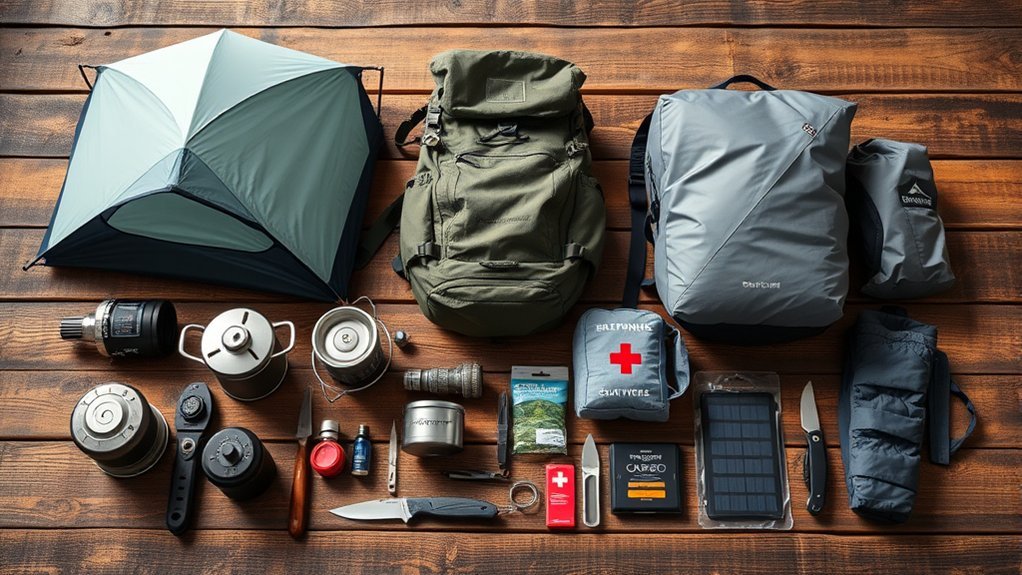
Begin with your base weight: the packed gear you carry before adding food, water, and stove fuel. There is no official weight that makes a trip “ultralight,” though many backpackers use about 10 pounds as an informal benchmark. Your safe target depends on climate, trip length, group size, water availability, and skill.
The best early savings usually come from the “big four”: your backpack, shelter, sleeping bag or quilt, and sleeping pad. A three-season shelter under 3 pounds and a sleep system under 3 pounds are realistic goals for many solo hikers, but those numbers are not requirements. A slightly heavier item is the better choice when it fits you better, handles the forecast, or gives enough insulation.
One liter of water weighs about 2.2 pounds—often more than an ultralight tent—so route planning can save more carried weight than replacing a few small accessories.
Complete Ultralight Gear Checklist
| Category | Core Items | Main Decision |
|---|---|---|
| Backpack | Pack, waterproof liner, optional hip-belt pockets | Fit and load comfort |
| Shelter | Tent, tarp, or bivy; stakes; guylines; groundsheet if required | Weather, insects, terrain, and pitching skill |
| Sleep | Bag or quilt, insulated pad, dry sleep clothing | Expected low temperature and pad R-value |
| Clothing | Base layer, insulation, rain shell, socks, hat, gloves as needed | Layering for the worst reasonable conditions |
| Kitchen | Stove, fuel, lighter, pot, utensil, food storage | Meal style, fire rules, and wildlife regulations |
| Water | Filter or purifier, clean bottle, dirty-water container, backup treatment | Source spacing and likely contaminants |
| Safety | Map, compass or GPS, headlamp, first aid, fire starter, emergency shelter, whistle | Route remoteness and rescue delay |
| Hygiene and repair | Tooth care, toilet kit, hand cleaning, medications, repair tape and patches | Local waste rules and likely gear failures |
Pro Tip: Weigh every item on the same scale and record the number. A written list quickly reveals duplicate clothing, oversized containers, heavy packaging, and “just in case” items that do not match the route.
Choosing an Ultralight Backpack
Choose the pack after you know the volume and total weight of the rest of your kit. A frameless pack may feel excellent with a compact load but uncomfortable when food, water, or a bear canister pushes the weight beyond its useful range. A light internal frame often carries moderate loads more comfortably for only a small weight increase.
- Fit: Match the torso length and hip-belt size to your body. Shoulder straps should wrap smoothly without painful gaps or pressure points.
- Capacity: Many three-season ultralight kits fit in roughly 35–55 liters, but bulky synthetic insulation, winter gear, or a bear canister may require more room.
- Load rating: Check the maker’s recommended load range and include your heaviest expected food and water carry.
- Water protection: Use a waterproof pack liner for your sleeping bag, dry layers, and electronics rather than assuming the pack fabric is fully waterproof.
- Access: Side pockets, a front mesh pocket, and reachable snacks reduce stops and help separate wet shelter fabric from dry insulation.
Tent and Shelter Options
Choose a shelter for the expected wind, rain, insects, site conditions, and your pitching experience. Current examples under 3 pounds include the Tarptent ProTrail Li and the double-wall Durston X-Mid 1. These examples show what is possible, not what every hiker needs.
Trekking-pole tents save dedicated pole weight when you already carry trekking poles. They also require solid staking, enough room for guylines, and practice on hard or uneven ground. Freestanding or semi-freestanding tents may be easier on platforms, rock, sand, or tight sites.
When selecting your shelter, check:
- Packed size and setup: Practice pitching it in wind and rain before the trip.
- Usable interior space: Confirm that your pad, body, and gear fit without pressing insulation against wet walls.
- Ventilation: Lightweight single-wall shelters can collect condensation, so venting and campsite choice matter.
- Fabric and hardware: Very light fabrics require more careful site selection and repair habits.
- Season rating: “Three-season” does not mean safe for every spring or fall storm. Check wind, snow, and temperature limits.
Solo hikers can also consider a tarp or bivy sack. These minimalist options can be very light, but they demand better site selection and may offer less insect protection, privacy, or living space.
Sleep System Considerations
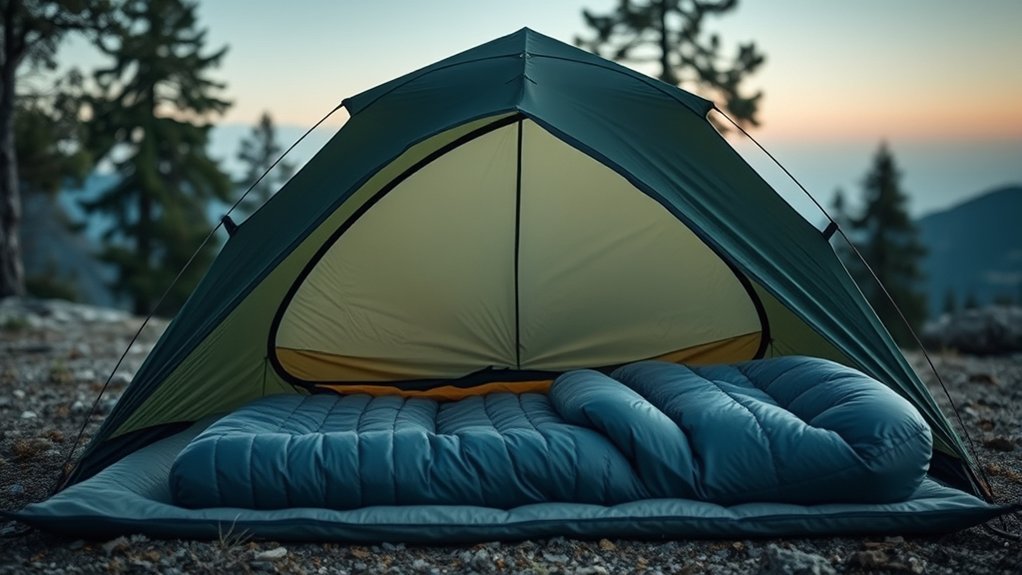
A dependable sleep system includes both top insulation and ground insulation. Do not choose a bag or quilt by weight alone. Start with the lowest temperature you reasonably expect, account for whether you sleep warm or cold, and add a safety margin. Feathered Friends recommends selecting a bag about 10°F below the coldest expected temperature, with a larger margin for cold sleepers.
High-fill-power down often gives an excellent warmth-to-weight ratio and packs small. Current 20°F examples such as the Feathered Friends Swallow UL and the Western Mountaineering UltraLite show that a sub-2-pound bag is possible, but 20°F is not a universal three-season choice. Down can last many years with proper care, but it costs more and must be protected from prolonged moisture. Synthetic insulation is often bulkier for the same warmth, yet it can be a practical choice in persistently damp conditions.
For the sleeping pad, compare R-value, size, durability, and comfort—not just ounces. The ASTM F3340 test allows more consistent pad comparisons; a higher R-value means more resistance to heat loss. A pad under 1 pound can work for many three-season trips, while colder ground may require a warmer pad such as the Therm-a-Rest NeoAir XTherm NXT or a layered pad system.
A thin foam pad can double as a sitting pad, protect an inflatable pad, or add some insulation. Test the full system at home or on a low-risk overnight before using it near its temperature limit.
Note: Sleeping-bag temperature labels are not a promise that every person will sleep comfortably at that temperature. Clothing, food, wind, humidity, pad warmth, shelter, and individual metabolism all affect comfort.
Clothing and Footwear
Build a small layering system that covers the worst reasonable weather instead of packing a fresh outfit for every day. Quick-drying clothing helps manage sweat, but even good fabrics cannot replace enough insulation or a waterproof shell.
- Hiking layer: A breathable shirt and shorts or pants suited to sun, brush, and insects.
- Warm layer: A lightweight fleece or insulated jacket sized to fit over the hiking layer.
- Rain protection: A waterproof jacket; add rain pants, a skirt, or wind pants when the route calls for them.
- Sleep layer: Keep one dry base layer and dry socks protected inside the pack liner.
- Small weather items: Hat, gloves, sun hat, or bug head net can add important comfort for little weight.
- Footwear: Choose shoes that fit when feet swell. Carry blister care and replace wet socks when practical.
Avoid cotton for cold or wet trips because it holds moisture and dries slowly. Wash or air clothing as conditions allow rather than carrying many duplicates.
Cooking Gear and Food Storage
A simple cook system can be light and efficient: one stove, one fuel canister, one lighter, one pot, and one utensil. The BRS-3000T is commonly listed at about 0.9 ounce, but its narrow pot supports and wind performance make it better suited to careful water boiling with a small pot than to heavy cookware. Stability and fuel efficiency matter more than saving a fraction of an ounce.
- Compact stove: Choose a model that supports your pot securely and works with available fuel. Check fire restrictions before the trip.
- Titanium pot or cup: The TOAKS Titanium 450 ml cup weighs 2.7 ounces without a lid, but its small capacity is best for a drink or a minimal boil-only setup. A 650–750 ml pot is often easier for full meals.
- Utensil: The older Sea to Summit Alpha Light Long utensil is no longer the clearest current product reference. Sea to Summit’s current Frontier Ultralight Long Spoon weighs about 0.4 ounce, while its Frontier spork is a different, shorter product.
- Food plan: Use calorie-dense meals, remove excess packaging, and carry enough food for delays.
Warning: Never use a fuel-burning stove in a tent, vehicle, or other enclosed space. Carbon monoxide is colorless and odorless, and camping stoves can create fatal concentrations. Cook outside on a stable surface away from dry vegetation and follow all fire restrictions.
Food Storage Is a Safety and Legal Requirement
A lightweight DCF food sack organizes food and can be part of a legal bear-hang system where hanging is allowed. It does not automatically protect food from bears or small animals. The maker of the UltraLite Sacks food/bear bag specifically states that the bag is not claimed to be bear-proof or smell-proof.
Some parks require an approved hard-sided bear canister or another specific animal-resistant container, while others provide lockers or permit a proper hang. Check the land manager’s current rules before packing. Store food, trash, toothpaste, sunscreen, and other scented items as required, and keep them out of your tent.
Hydration Solutions and Water Filtration
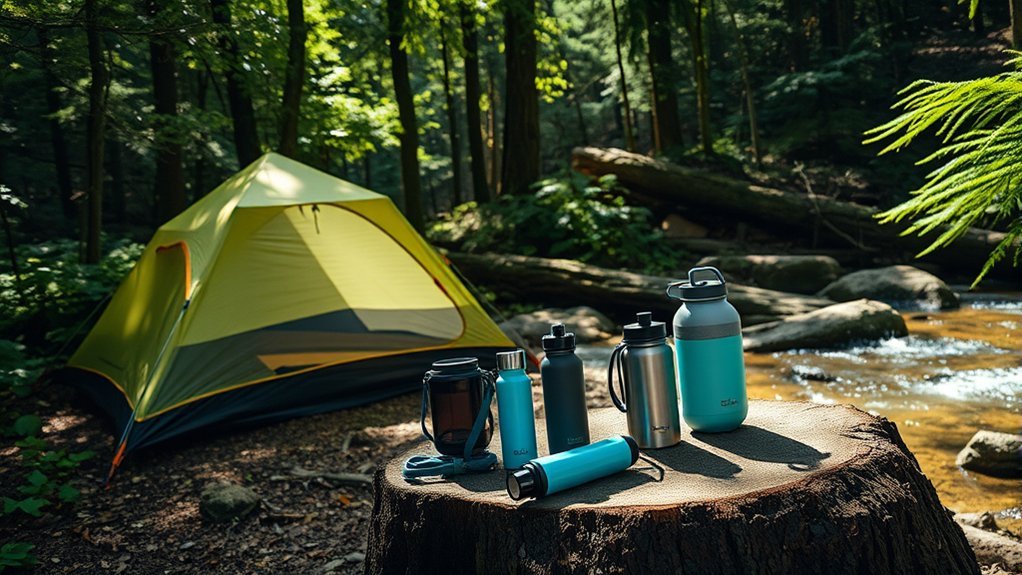
Plan around the longest dry stretch, heat, elevation, campsite water, and the reliability of seasonal sources. Carry enough capacity for the route plus a reasonable delay. A filter and bottle are useful only when water is actually available.
| Solution | Current Detail | Best Use |
|---|---|---|
| Sawyer Squeeze Filter | 3 oz; 0.1-micron absolute hollow-fiber filter | Bacteria, protozoa, cysts, sediment, and microplastics; not reliable virus removal |
| Iodine tablets | Very light; treatment time and limits depend on the product label | Backup disinfection; not a dependable Cryptosporidium treatment |
| CNOC Vecto 2L Reservoir | 2.8 oz; wide opening and 28 mm filter-compatible neck | Dirty-water collection and carrying extra water to a dry camp |
| Smartwater bottle or similar narrow-mouth bottle | Weight varies by bottle size and cap | Light, easy-to-replace clean-water storage when the threads are compatible with the filter |
The Sawyer Squeeze removes bacteria and protozoa but does not reliably remove viruses. The CDC recommends choosing treatment based on the germs likely to be present. In places with poor sanitation or heavy human impact, filtration may need to be followed by disinfection, or replaced with a method designed to address viruses.
Keep dirty-water threads and hands from contaminating the clean side. Backflush and store the filter according to the manufacturer’s directions. Hollow-fiber filters can be damaged by freezing after they have been used, so protect a damp filter from subfreezing temperatures.
Navigation, Lighting, and Emergency Gear
Ultralight does not mean unprepared. Carry the safety items that match the route and know how to use them:
- Navigation: A paper map and compass or a reliable offline map, plus the skill to use them. Protect electronics from water and cold.
- Lighting: A headlamp with enough battery for an unplanned night hike or delayed setup.
- Communication: A charged phone may help near service. A satellite communicator or personal locator beacon adds a stronger emergency option on remote routes, but it does not replace a trip plan.
- Emergency shelter: Your tent may serve this role on an overnight trip; carry a light backup when separation from the main shelter is possible.
- Fire and warmth: Carry a dependable ignition source where fires are legal, plus insulation that works without a fire.
- Whistle and identification: A whistle carries farther than a voice. Carry emergency contacts, permits, and needed medical information.
Leave an itinerary with a trusted person, including the route, camps, vehicle details, and the time they should contact authorities if you do not return.
Personal Care and First Aid Essentials
A lightweight first aid kit should match your medical needs, group size, trip length, and distance from help. Bandages and blister pads are useful, but they are not a complete kit. Consider:
- Adhesive bandages, sterile gauze, and medical tape
- Blister treatment such as hydrocolloid pads or pre-cut tape
- Antiseptic wipes and clean gloves
- Tweezers and small scissors if your repair tool does not include them
- Personal medications, allergy treatment, and pain relief that you know how to use
- An elastic wrap or other supplies appropriate to your training and route
- Emergency contact information and a compact first aid reference
Tenacious Tape belongs in the repair kit rather than the wound-care kit. Use it for small tears in tents, rainwear, sleeping pads, or stuff sacks when the material and repair instructions allow it.
For personal hygiene, bring a toothbrush and a small amount of toothpaste, hand-cleaning supplies, and a toilet system that follows local rules. Smelly Proof storage bags can help contain used toilet paper, but all used paper and hygiene products should be packed out where required.
The Igneous Bottle Cap Bidet is a 4-gram attachment for compatible 28-410 bottles. A Kula Cloth is an optional reusable pee cloth with an antimicrobial finish intended to limit odor-causing bacteria on the fabric. Wash and handle reusable hygiene items as directed.
Where catholes are allowed, Leave No Trace guidance calls for a hole 6–8 inches deep and at least 200 feet from water, camp, trails, and drainages. Some fragile or heavily used areas require all solid waste to be packed out, so check the current rule before leaving the trailhead.
How to Reduce Pack Weight Safely
- Define the trip. Record distance, elevation, forecast lows, wind and rain exposure, water sources, fire rules, food-storage rules, permits, and likely rescue delay.
- List everything. Separate base weight, worn items, food, water, and fuel. Do not hide heavy electronics or accessories in an “optional” category.
- Remove duplicates. One pot, one knife or small tool, one repair kit, and a simple clothing system are often enough.
- Right-size containers. Repackage toiletries, fuel, food, and first aid supplies without removing labels or instructions you may need.
- Replace the heaviest weak links. Upgrade shelter, sleep, or pack only after identifying the largest safe savings.
- Check total carried weight. Add the heaviest food and water load, not just base weight, and compare it with the backpack’s load range.
- Test the system. Pitch the shelter, cook a meal, filter water, walk with the full load, and sleep near expected conditions on a low-risk trip.
- Review after every trip. Mark what was used, what was not used, and what you wished you had. Keep emergency gear even when it goes unused.
Note: Multi-use gear is valuable only when it performs every required job well. A sleeping pad can be a seat, but a repair tape cannot replace medical tape unless it is specifically safe for skin.
Frequently Asked Questions
How do I choose the right backpack for lightweight camping?
Choose the backpack after the rest of your kit. Match torso and hip-belt fit, then compare the pack’s recommended load range with your heaviest total load, including food and water. A light framed pack is often more comfortable than a frameless pack when carries are bulky or heavy.
What clothing is best for lightweight backpacking trips?
Use quick-drying hiking clothes, one warm layer, a waterproof shell, dry sleep layers, and small weather items such as a hat or gloves. Pack for the forecast plus a reasonable safety margin rather than bringing a clean outfit for each day.
How can I pack efficiently to minimize weight?
Use a scale, remove duplicate tools and clothing, right-size containers, and keep dense items close to your back. Protect the sleep system in a waterproof liner, fill empty spaces with soft items, and avoid bulky compression sacks that create hard shapes and wasted space.
Are there lightweight options for emergency gear?
Yes. Compact first aid supplies, a small headlamp, whistle, fire starter, emergency blanket or bivy, offline maps, and a satellite device can be light. Choose by risk and reliability, not by the smallest advertised weight.
What should I consider for lightweight camping in cold weather?
Use a warmer bag or quilt, a pad with enough R-value, dry sleep clothing, insulated layers, gloves, a hat, and a shelter suitable for the wind and snow risk. Protect filters and electronics from freezing, carry enough stove fuel, and test the system before a remote trip.
What base weight counts as ultralight?
There is no official cutoff. About 10 pounds is a common informal target for three-season base weight, excluding food, water, and fuel. Conditions matter more than the label, so winter, desert, group, and bear-canister trips may safely weigh more.
Can I use a DCF food bag in bear country?
Only when the local rules allow the storage method you plan to use. A standard DCF food bag is not bear-resistant by itself. Some areas permit a proper hang, while others require a specific approved canister, certified bag, locker, or other method.
Does the Sawyer Squeeze remove viruses?
No. It is designed to remove bacteria, protozoa, cysts, sediment, and microplastics, but it does not reliably remove viruses. Use a treatment plan suited to local contamination risks, which may include disinfection or a purifier.
Conclusion
A lighter pack can make climbing, long days, and camp routines more enjoyable, but the smartest ultralight kit is the one that still works when the weather changes or the day goes wrong. Start by removing duplicates, then improve the big systems as your budget allows. Match every item to the route, test it before the trip, and keep the safety margin that lets you enjoy the trail with confidence.
Sources
- National Park Service: Ten Essentials — navigation, lighting, first aid, emergency shelter, food, water, and other safety essentials.
- CDC: Water Treatment While Hiking and Camping — filter pore size, disinfection, and virus limitations.
- National Park Service: Bear Safety and Food Storage — why food-storage methods and regulations differ by location.
- Interagency Grizzly Bear Committee: Bear-Resistant Products — certification limits and proper use of approved containers.
- Leave No Trace: Dispose of Waste Properly — cathole placement, depth, and pack-out guidance.
- U.S. Consumer Product Safety Commission: Camping Equipment and Carbon Monoxide — stove and fuel-burning equipment hazards in enclosed spaces.
