

Last Updated on July 30, 2026 by Mason Reed
Choosing a backpacking tent means balancing trail weight with enough room, weather protection, durability, and setup reliability for the trips you actually take. The lightest tent is not automatically the best choice. A good shelter should fit your sleeping pads, handle expected conditions, pack into your backpack, and remain simple enough to pitch when you are tired or the weather turns.
Quick Answer
Choose a backpacking tent by comparing its actual carried weight, interior dimensions, vestibule space, seasonal rating, structure, ventilation, packed size, and setup requirements. Start with the weather and terrain you expect, then select the lightest model that still gives you enough room, storm protection, and durability.
Key Takeaways
- Do not rely on the stated person capacity alone. Compare floor length, width at the head and foot, peak height, and sleeping-pad fit.
- Use actual carried weight—not only minimum or packaged weight—when comparing tents.
- A three-season tent suits most spring, summer, and early-fall trips, while strong wind, exposed terrain, and heavy snow require a more protective structure.
- Freestanding tents are usually easiest to pitch, while semi-freestanding and trekking-pole shelters can reduce weight but require more careful staking.
- Ventilation, fly coverage, seam construction, and a taut pitch matter as much as a single waterproof rating.
At a Glance
| Time Required | About 20–40 minutes to measure your sleep setup and compare several models |
| Difficulty | Easy to moderate |
| Tools Needed | Tape measure, sleeping pads, backpack, and an optional luggage scale |
| Cost | Research and measurement cost $0; tent prices vary widely by size, materials, design, and weather rating |
Disclosure: As an Amazon Associate I earn from qualifying purchases. Some links on this page are affiliate links, at no extra cost to you.
Understanding Your Backpacking Needs
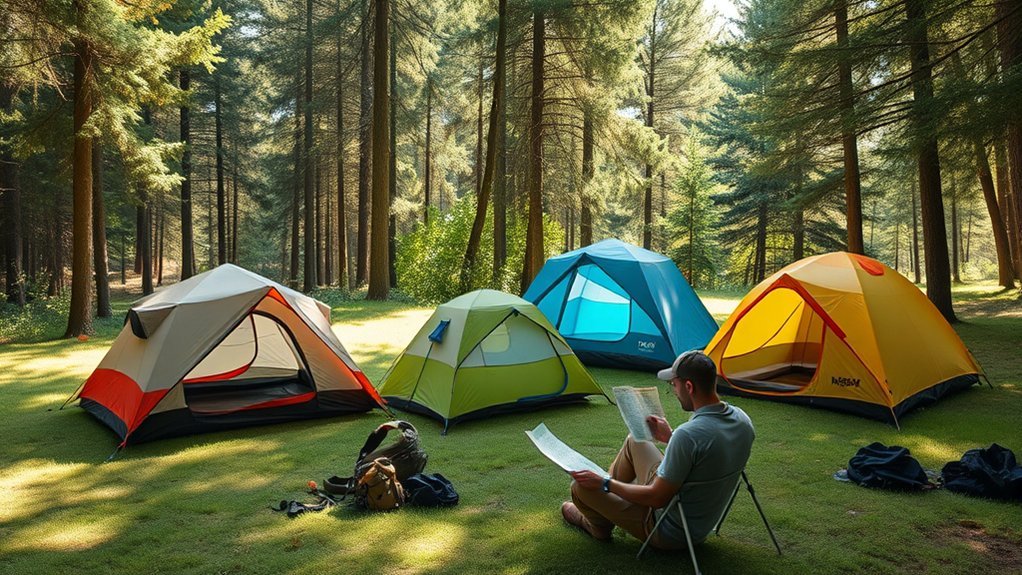
Begin with the trips you expect to take rather than a target weight or brand. A weekend trip below the tree line in mild summer weather creates different shelter needs from an exposed high-elevation route, a humid forest, or a winter trip with blowing snow.
Write down the following before comparing tents:
- Number of sleepers: Include adults, children, and pets.
- Sleeping-pad dimensions: Record the length and width of every pad that must fit inside.
- Expected weather: Consider rain, wind, temperature, insects, humidity, and possible snow loads.
- Trip length: Extra room and organization become more valuable during long trips or storm days.
- Terrain: Note whether campsites are likely to be soft soil, rock platforms, snow, sand, or small forest clearings.
- Group habits: Decide whether packs will stay outside under vestibules or come into the sleeping area.
- Budget and durability: Determine how much weight you are willing to carry to gain stronger fabrics, simpler setup, or a lower price.
A three-season tent provides suitable protection for many spring, summer, and early-fall trips when it is properly pitched. It is not designed for prolonged severe wind or heavy snow. An extended-season or four-season shelter is more appropriate when the expected exposure exceeds the tent maker’s stated use.
Assessing the Key Features
The most useful comparison points are capacity, measured interior space, actual carried weight, seasonal construction, packed dimensions, setup style, ventilation, and materials. The REI backpacking-tent selection guide also recommends evaluating capacity, seasonality, weight, livability, setup, and materials rather than choosing from one specification alone.
Weight and Packed Size
Compare both weight and bulk. A tent may be light on a scale but awkward to fit horizontally inside a small backpack. Long pole sections can also be difficult to carry in bikepacking bags or compact packs.
Do not treat a single weight target as a universal requirement. A roomy two-person tent for protected summer camps can reasonably weigh less than a reinforced shelter intended for exposed wind or snow. The better question is whether each added ounce provides space, strength, weather protection, or convenience that you will use.
Tent Capacity Options
Backpacking tents commonly range from one- to five-person models, but there is no universal industry standard for the space assigned to each sleeper. A two-person tent may fit two standard pads closely with little remaining floor space, while another model with the same capacity may be wider, longer, or more vertical.
Moving up one capacity can help larger sleepers, people using wide pads, campers traveling with a dog, or anyone who values room during long trips. However, a larger tent usually adds weight, packed bulk, cost, and a bigger campsite footprint. Compare dimensions before automatically sizing up.
Seasonality and Weather Exposure
Choose the seasonal category according to the most demanding likely conditions, not the month printed on a calendar. A sheltered autumn forest trip may place less stress on a tent than a summer night above the tree line with powerful wind.
Also examine pole geometry, guy-out points, fly coverage, vent placement, and the amount of exposed mesh. The seasonal label is useful, but it does not describe every aspect of performance.
Understanding Tent Weight and Packed Size
Minimum Trail Weight vs. Packaged Weight
Tent specifications commonly list more than one weight:
- Minimum trail weight: For a conventional double-wall tent, this usually includes the tent body, rainfly, and poles. Stakes, sacks, a footprint, repair items, and optional guylines may be excluded.
- Packaged weight: This includes the components supplied in the retail package, such as stakes, sacks, instructions, and repair pieces.
- Actual carried weight: This is the weight of everything you personally put in your backpack for the shelter system.
Actual carried weight is the most useful number for trip planning. It commonly falls between minimum and packaged weight, although it can exceed packaged weight when you add a footprint, extra stakes, stronger guylines, a pole splint, or repair materials.
Weight per sleeper = actual carried shelter weight ÷ the number of people sharing the shelter.
For example, if the complete shelter system you plan to carry weighs 4 pounds and two people divide it, the group carries 2 pounds per sleeper. One person might carry the poles and fly while the other carries the canopy, stakes, and footprint.
Importance of Packed Dimensions
Check both the packed length and diameter. A shorter package may fit vertically inside a backpack, while long pole sections may need to ride in an outside pocket. Make sure the packed tent does not crowd out food, insulation, or other essential equipment.
Components can often be separated for easier packing. Poles may ride outside the pack while the fabric is compressed inside. Do not overcompress coated tent fabrics for long-term storage, and make sure sharp pole ends cannot damage the fly or canopy.
Pro Tip: Pack the tent into your actual backpack before committing to it. A specification can tell you the package dimensions, but only a real packing test shows whether it works with the rest of your gear.
Capacity and Livability
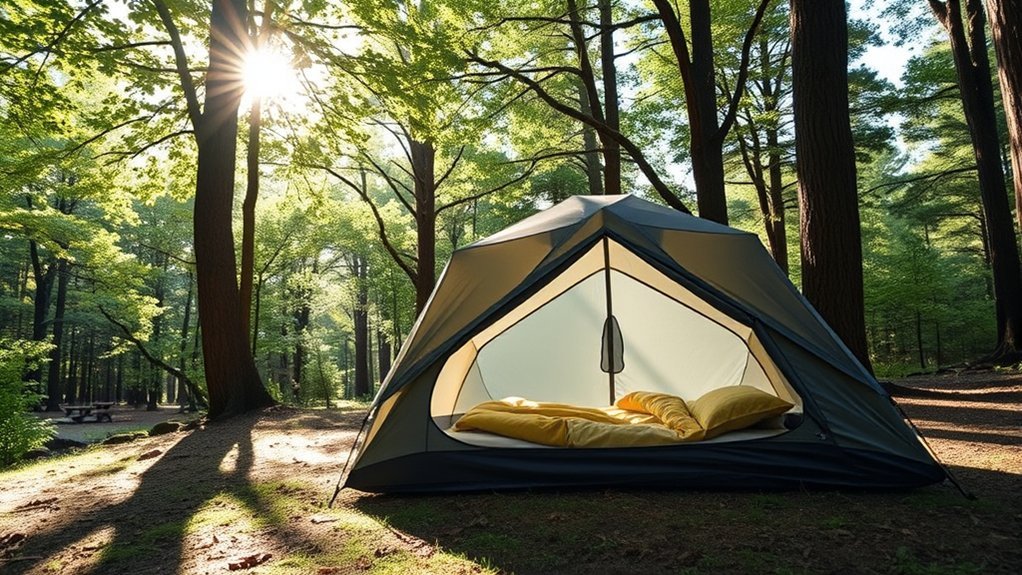
Capacity tells you the maximum intended number of sleepers, while livability describes how usable the space feels. Compare the full floor plan instead of relying only on square footage.
Measure the Sleeping Area
Review these specifications:
- Floor length: Tall sleepers need enough room to prevent their sleeping bag from pressing against a damp inner wall.
- Head and foot width: Tapered floors save weight but may not fit multiple wide pads.
- Floor area: Useful for broad comparisons, but it does not reveal the exact shape.
- Peak height: Affects sitting room and ease of changing clothes.
- Wall shape: More vertical walls create usable shoulder and head space without necessarily increasing floor area.
Place your sleeping pads side by side at home and measure the resulting rectangle. Compare those measurements with the tent’s head width, foot width, and floor length. Leave enough space that pads do not force the tent walls outward.
Doors, Vestibules, and Storage
Two doors make a shared tent easier to use because each sleeper can enter without climbing over the other. Two vestibules also allow each person to store shoes and a backpack near a separate door.
Vestibules provide covered gear storage without adding the full weight of a larger bathtub floor. Compare vestibule area as well as floor area, and check whether the door can be opened in rain without letting water drip onto the sleeping area.
Interior pockets, a ceiling loop, and a gear loft can help organize small items. These features add convenience, but too many pockets and fabric panels can increase weight.
Note: A tent labeled for two people may be comfortable for two narrow pads but cramped with two wide pads. Measure the equipment you already own before relying on the capacity number.
Seasonality, Weather Resistance, and Warmth
Season ratings describe the type of weather a tent structure is designed to handle. They are not temperature ratings and do not replace a sleeping bag or insulated sleeping pad.
| Tent Type | Best Use | Typical Construction |
|---|---|---|
| Three-season | Spring, summer, and early fall without sustained severe wind or heavy snow | More mesh, fewer poles, lighter fabrics, and strong ventilation |
| Extended-season or 3+ | Exposed high-elevation trips, early spring, late fall, and occasional light snow | Additional poles or fabric panels and less exposed mesh |
| Four-season or mountaineering | Powerful wind, blowing snow, and substantial snow loads | Stronger pole structure, more solid fabric, lower fly coverage, and fewer large mesh panels |
What a Tent Does—and Does Not Do—for Warmth
A tent blocks wind and precipitation and creates a more stable sleeping environment, but it contains little insulation. Ground insulation comes mainly from the sleeping pad, while the sleeping bag or quilt and clothing retain body heat.
A four-season tent may feel less drafty because it uses more solid fabric and less mesh. That does not give it a dependable temperature rating. Choose your pad and sleeping bag for the expected low temperature independently of the tent rating.
Wind and Snow Performance
For exposed camps, look for intersecting poles, multiple guy-out points, sturdy stakes, a fly that can be tensioned evenly, and a shape that avoids broad unsupported panels. A low-profile structure usually presents less surface area to the wind than a tall shelter.
Snow-loading claims should come from the manufacturer. A standard three-season tent may tolerate a brief dusting when properly pitched, but it is not intended for sustained heavy accumulation. Remove accumulating snow only when it is safe to do so.
Ventilation and Condensation
Condensation can occur in almost any tent when warm, moist interior air reaches a cold fly or wall. Mesh panels, adjustable vents, opposing doors, and a gap between the inner tent and rainfly improve airflow.
Pitch the fly taut, open opposing vents, keep wet clothing outside the sleeping area when practical, and avoid placing the tent in a low spot where cold, damp air settles. The REI condensation guide emphasizes campsite selection, moisture control, and ventilation.
Tent Categories and Structures
Freestanding Tents
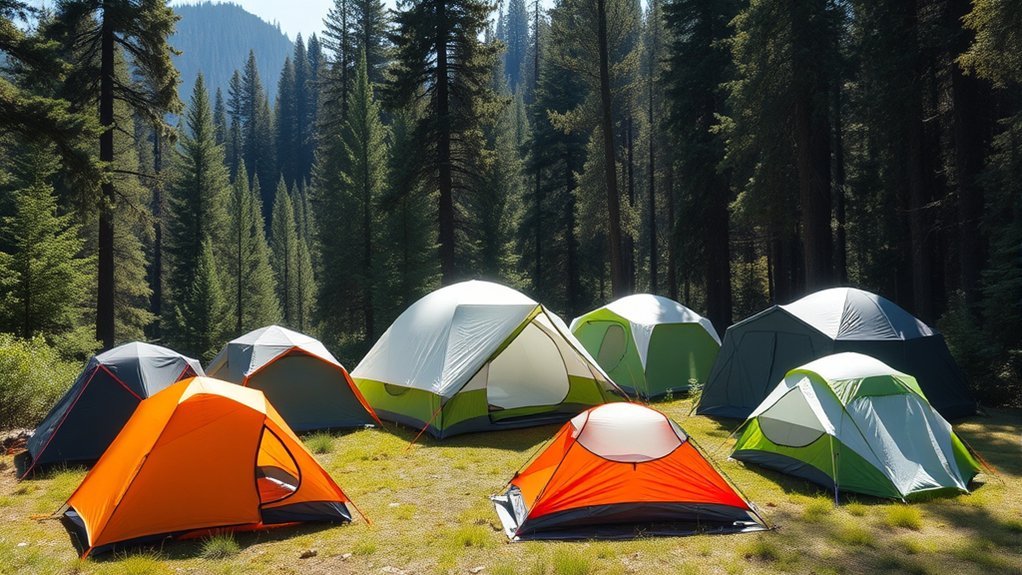
Freestanding tents support their basic shape with a dedicated pole structure. They are usually easy to move before staking and can be convenient on platforms or compact campsites.
“Freestanding” does not mean staking is unnecessary. Stake the corners, vestibules, and guylines whenever possible so the shelter maintains its designed shape and is less likely to shift or collapse in wind.
Semi-Freestanding Tents
Semi-freestanding tents use poles for most of the structure but require one or more corners to be staked out for full floor area and vestibule shape. They can reduce weight while remaining easier to pitch than many non-freestanding shelters.
They work best where stakes can be placed securely. On rock, frozen ground, or wooden platforms, you may need approved platform anchors, weighted tie-outs, or suitable cord techniques.
Trekking-Pole and Non-Freestanding Shelters
These shelters use trekking poles, dedicated vertical supports, or tensioned guylines instead of a conventional freestanding frame. They can provide excellent space for their weight, but their performance depends on stake placement, pole height, ground tension, and a suitable campsite.
Before choosing one, confirm that you are comfortable pitching it on uneven ground and in rain. Check whether stakes, trekking poles, a groundsheet, an inner bug net, or additional guylines are included in the listed weight.
Double-Wall vs. Single-Wall Construction
A double-wall tent has a separate inner canopy and rainfly. The gap between them helps manage condensation and allows the inner canopy to use mesh for airflow.
A single-wall tent combines weather protection and the interior wall into one layer. This can reduce weight and speed setup, but interior moisture management may require more attention. Single-wall designs are common in ultralight shelters and specialized alpine tents, so compare their intended climate and vent design carefully.
Tent Fabrics, Coatings, and Waterproofness
Nylon, Polyester, and DCF
- Nylon: Common in lightweight tents because it provides useful strength at a low weight. Some nylon fabrics absorb moisture and relax when wet, so the fly may need retensioning.
- Polyester: Common in both backpacking and camping tents. It generally changes shape less when wet, although final performance depends on the weave, yarn, coating, and construction.
- Dyneema Composite Fabric: A waterproof, low-stretch composite used in some ultralight shelters. The material manufacturer describes DCF as lightweight, waterproof, and resistant to wet-weather sagging. DCF shelters are often expensive, and their packed shape, abrasion behavior, and repair method differ from woven fabrics.
Understanding Denier
Denier describes yarn mass and is often used as a rough indication of fabric weight or thickness. Within otherwise similar fabrics, a higher denier may indicate a heavier and more abrasion-resistant material.
Do not compare denier in isolation across different fibers, weaves, coatings, or laminates. A lower-denier fabric with a strong yarn and well-designed reinforcement may outperform a heavier fabric in a particular test.
Waterproof Coatings and Ratings
Woven tent fabrics commonly rely on polyurethane, silicone, or blended coatings to resist water. Composite materials may use waterproof films instead of a coating applied to a weave.
A hydrostatic-head rating measures the water pressure a fabric withstands under a particular test. A higher number can be useful when comparing similar components, but it does not guarantee that a complete tent will remain dry. Also consider:
- Whether the rating applies to the fly or floor
- Full or partial rainfly coverage
- Bathtub-floor height
- Seam construction
- Zipper protection
- Vent and door design
- Fabric age and coating condition
- Whether the tent is pitched and tensioned correctly
Seams and Long-Term Waterproofing
Needle holes and fabric joins must be made watertight. Depending on the material and manufacturer, this may be done with factory seam tape, liquid seam sealer, welded seams, or bonded construction.
Check the product manual before applying a sealer. Silicone-coated fabrics, polyurethane-coated fabrics, and composite shelters may require different repair products. Using an incompatible adhesive can fail to bond or damage the coating.
Warning: Never operate a backpacking stove, heater, candle, or open flame inside a tent. Fire can spread rapidly, and combustion in an enclosed shelter can produce dangerous carbon monoxide. Follow local rules and prepare food in the designated cooking area or a safe location away from the sleeping area. See the National Park Service cooking guidance.
How to Choose the Right Backpacking Tent
1. Define the Most Demanding Expected Conditions
List the likely wind, rain, insects, humidity, temperatures, elevation, and snow exposure. Select a seasonal construction that can handle those conditions with a reasonable safety margin.
2. Measure Your Sleep System
Arrange every sleeping pad as it will be used. Measure the total head width, foot width, and length. Add room for a pet only if the animal will sleep inside.
3. Set a Shelter Weight Budget
Decide how much of your total pack weight can be assigned to shelter. Compare actual carried weight and divide shared components among the group. Avoid removing stakes, guylines, or repair items that may be needed for the expected weather.
4. Choose a Structure for the Terrain
Select freestanding construction for the simplest setup and flexible placement. Consider semi-freestanding or trekking-pole designs when lower weight matters and suitable staking is likely.
5. Compare Livability and Storage
Review floor shape, peak height, wall angle, doors, vestibules, pockets, and vent access. Give extra value to features you will use every night rather than decorative additions.
6. Practice the Pitch
Set up the tent at home before the first trip. Confirm that all components are present, learn how the pole structure is oriented, test the fly tension, and time the setup. Repeat the process in low light if possible.
Pro Tip: Lie inside the pitched tent on your own pad before removing tags or passing the return period. Sit up, turn around, reach the door, and check whether your sleeping bag touches the walls.
Quick Buyer Comparison
| Backpacker | Prioritize | Watch For |
|---|---|---|
| First-time backpacker | Easy setup, reliable weather protection, clear instructions, durable materials | Choosing an advanced pitch only to save a few ounces |
| Solo long-distance hiker | Low actual weight, compact packed size, fast setup, adequate ventilation | Giving up essential storm protection or usable length |
| Two-person team | Pad fit, two doors, vestibule space, splittable components | Assuming every two-person floor fits two wide pads |
| Tall sleeper or camper with a dog | Floor length, vertical walls, durable floor, extra usable width | Relying on capacity or total floor area alone |
| Exposed shoulder-season traveler | Pole strength, guylines, fly coverage, solid fabric panels | Using a highly ventilated summer shelter beyond its intended conditions |
| Winter mountaineer | Snow-load design, wind stability, protected vents, glove-friendly setup | Treating a standard three-season tent as a winter shelter |
Final Considerations Before Buying
Setup Reliability
Color-coded clips and poles, symmetrical designs, attached pole hubs, and simple fly orientation can reduce setup mistakes. More complex shelters may be worthwhile when you have practiced enough to pitch them securely in wind or rain.
Footprints and Useful Accessories
A footprint can reduce abrasion and help keep the tent floor clean, but it is not required for every campsite. It is most useful on gritty, rocky, or abrasive surfaces. Keep it fully under the tent floor so it does not collect rainwater.
Useful repair and setup items may include:
- A model-compatible pole splint
- Fabric repair tape approved for the tent material
- Spare cord or guylines
- Stakes suited to the expected soil, sand, or snow
- The correct seam sealer, when required by the manufacturer
- A small cloth for wiping moisture or grit
Care and Maintenance
Shake out dirt after each trip and allow the tent to dry completely before storage. Store it loosely in a cool, dry place rather than leaving it compressed in a hot vehicle or damp storage area.
For cleaning, follow the manufacturer’s instructions. Spot cleaning is often safest. A dedicated gear cleaner or mild non-detergent soap may be appropriate, while household detergent, bleach, dry cleaning, hot water, and machine washing can damage some coatings. The REI tent-care guide provides additional setup, cleaning, drying, storage, and waterproofing guidance.
Final Buying Checklist
- Does the seasonal rating match the strongest likely weather?
- Do all sleeping pads fit within the measured head and foot widths?
- Is the floor long enough for the tallest sleeper and sleeping bag?
- What is the actual carried weight with required stakes and guylines?
- Will the packed tent fit in or on the backpack?
- Can the structure be pitched on the expected ground?
- Are the doors and vestibules practical for the group?
- Can vents be adjusted from inside?
- Does the manufacturer require seam sealing?
- Are replacement poles, repair materials, and warranty support available?
- Can you pitch the tent confidently without instructions?
Frequently Asked Questions
How do I clean and maintain my backpacking tent?
Follow the manufacturer’s care instructions. Shake out loose dirt, spot clean with water and an approved gear cleaner or mild non-detergent soap, rinse away cleaner residue, and air-dry the tent completely. Avoid bleach, dry cleaning, hot water, and machine washing unless the manufacturer specifically permits them. Store the dry tent loosely in a cool location.
What accessories should I consider for my backpacking tent?
Consider a fitted footprint for abrasive ground, stakes suited to local soil, additional guylines for exposed camps, a pole splint, compatible repair tape, and the correct seam sealer. Carry only accessories that serve the terrain and weather you expect.
Can I use a backpacking tent for car camping?
Yes. A backpacking tent works for car camping, but it may feel smaller and have a lower ceiling than a dedicated camping tent. Because weight matters less beside a vehicle, car campers often prefer more floor space, taller walls, and larger doors.
How do weather conditions affect my tent choice?
Frequent rain increases the value of full fly coverage, protected doors, reliable seams, and a high bathtub floor. Wind calls for a stable pole shape and useful guy-out points. Humidity requires strong ventilation, while sustained snow and severe wind require a shelter specifically designed for those loads.
What are the best brands for lightweight backpacking tents?
There is no single best brand for every backpacker. Compare current models from established manufacturers by actual carried weight, measured space, weather rating, setup requirements, material care, repair support, warranty terms, and independent field testing. A strong model-level fit matters more than the logo.
Should I buy a two-person tent for solo backpacking?
A two-person tent can give a solo backpacker more room for gear, changing clothes, or waiting out poor weather. The tradeoffs are additional weight, bulk, cost, and campsite area. Compare the lightest suitable one-person and two-person models rather than choosing by capacity alone.
Is a four-season tent warmer than a three-season tent?
It may feel less drafty because it commonly uses more solid fabric and less mesh, but “four-season” is mainly a structural weather rating. Your sleeping pad, sleeping bag or quilt, clothing, and campsite determine most of your overnight warmth.
Conclusion
The best backpacking tent is not simply the lightest model or the one with the highest capacity number. It is the shelter that fits your body and sleeping pads, handles the expected weather, works on the available terrain, and carries comfortably with the rest of your gear.
Measure your sleep setup, compare actual carried weight, study the structure and fly coverage, and practice pitching the tent before a trip. That process gives you a more reliable balance of comfort, weight, durability, and protection than any single specification can provide.
Sources
- REI Expert Advice: Backpacking Tents—How to Choose — capacity, seasonality, weight definitions, packed size, structure, and livability
- REI Expert Advice: How to Prevent Condensation in a Tent — ventilation, campsite selection, and moisture control
- REI Expert Advice: How to Clean, Waterproof, and Care for a Tent — cleaning, drying, storage, and coating maintenance
- National Park Service: Cooking in Camp — cooking-area placement, food handling, and campsite safety
- Dyneema: Tents, Packs, and Bags — DCF waterproofing, low water absorption, and wet-weather stability
