

Last Updated on July 28, 2026 by Mason Reed
There is no single perfect guyline length for every tent or tarp. Shelter height, guyout location, knot or tensioner style, terrain, and the anchors available at your campsite all change how much cord you need. Still, a few field-tested starting lengths make it much easier to build a setup that works without carrying excessive cord.
Quick Answer
Use about 4 feet for ground-level perimeter tie-outs, 5 feet for many side-panel tie-outs, and about 8 feet for apex guylines on a shelter with a 48-inch peak as practical starting points, not universal rules. A-frame tarps often work with 8-foot ridge-end lines and 5-foot sides. Add extra cord for knots, terrain, and alternate anchors.
Key Takeaways
- About 4 feet is a useful starting point for ground-level tent and mid tie-outs, while higher side-panel points often need around 5 feet.
- A 48-inch apex may need roughly 8 feet of cord because the higher attachment point must reach farther to a useful anchor.
- For A-frame tarps, 8-foot ridge-end lines and roughly 5-foot side lines are versatile starting points; flat tarps often benefit from longer, movable lines.
- On hammock tarps, a 10-foot measurement commonly refers to the guylines extending from the ends of the tarp ridgeline, not the tarp’s ridgeline itself.
- Manufacturer-supplied guylines and setup instructions take priority over generic measurements, especially for high winds or unusual shelter designs.
- Knots, tensioners, difficult terrain, and buried snow anchors all increase the amount of cord you may need.
At a Glance
| Time Required | About 10–20 minutes to measure, cut, attach, and test a basic set of guylines |
| Difficulty | Easy |
| Tools Needed | Guyline cord, tape measure, scissors or cord cutter, stakes or other suitable anchors, and compatible tensioners if used |
| Cost | $0 when using the shelter’s supplied guylines; replacement cord, tensioners, or specialized stakes add cost |
Disclosure: As an Amazon Associate I earn from qualifying purchases. Some links on this page are affiliate links, at no extra cost to you.
How to Choose the Right Guyline Length
The numbers in this guide are starting points. The best length is the shortest line that still lets you reach a strong anchor, obtain the pitch geometry your shelter requires, and operate your chosen knot or tensioner without running out of cord.
- Start with the shelter instructions. If your tent comes with precut lines and tensioners, pitch it with those first. Manufacturers design guyout locations around the shelter’s pole structure and fabric geometry. MSR’s tent guidance, for example, emphasizes properly anchoring the shelter and adding specialized stakes or cord when conditions require them.
- Identify how high the guyout is. A ground-level corner may work with roughly 4 feet, while a mid-panel or apex point usually needs more because it begins farther above the ground.
- Allow room to reach a good anchor. A slightly longer line can reach firm soil, a suitable tree, a solid rock, or another secure anchor when the ideal stake position is unusable.
- Account for the tensioning system. Knots consume line, and pulley-style systems may double part of the cord back on itself. Hardware tensioners also need enough free line to adjust properly.
- Test before trimming. Pitch the shelter at home, try several anchor distances, and shorten a line only after you know the extra cord is genuinely unnecessary.
Treat 4-, 5-, and 8-foot measurements as useful starting points, not fixed standards. A line that reaches a strong anchor and tensions correctly is more valuable than one cut to an exact number.
Recommended Guyline Lengths for Various Shelters
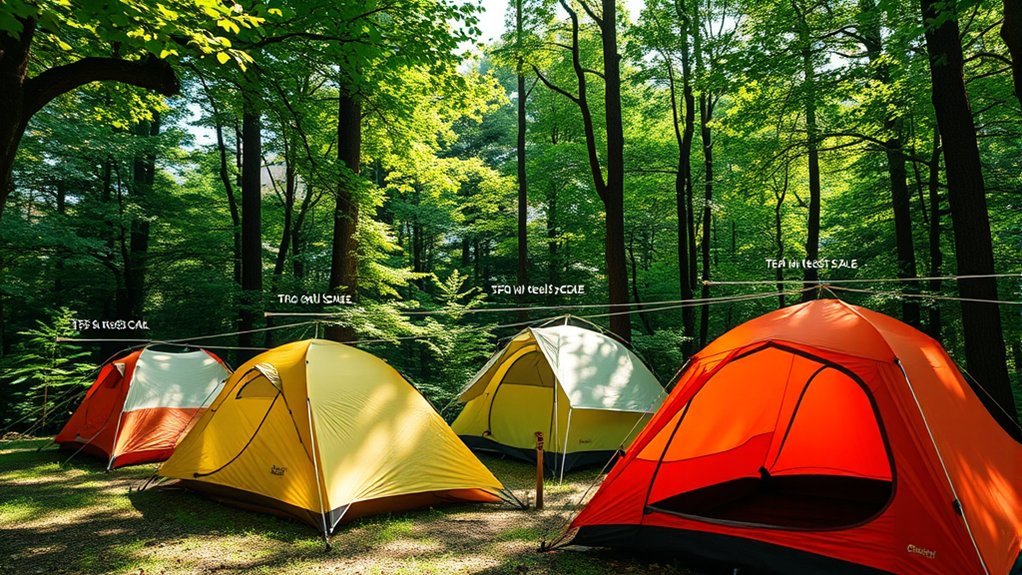
For a useful baseline, backpacker Andrew Skurka’s field-tested system uses about 4 feet at ground-level tent and mid perimeter points, about 5 feet for certain side-panel points, and about 8 feet at a 48-inch-high apex. These figures assume his knot-based tensioning system, so another shelter or tensioner may need different lengths.
| Shelter / Guyout | Practical Starting Length |
| Tent or mid, ground-level perimeter | About 4 ft |
| Tent or mid, mid-height side panel | About 5 ft, sometimes more |
| 48-inch shelter apex | About 8 ft |
| A-frame tarp ridge ends | About 8 ft at the head; roughly 6–8 ft at the lower foot end |
| A-frame tarp sides | About 5 ft |
| 9 × 9 ft flat tarp example | Eight 8-ft lines for maximum pitch flexibility |
| Hammock tarp ridge-end guylines | About 10 ft in Skurka’s 11-ft tarp example |
| Hammock tarp side/corner lines | About 8 ft |
Longer is not automatically better. Excess cord adds tangles and setup time. The goal is to leave enough adjustment for real campsites without carrying yards of line you never use.
Cordage and Anchor Considerations
The material and diameter of your guylines affect handling, visibility, stretch, knot security, and compatibility with hardware tensioners. Thin reflective cord around 1.5–2 mm is common on lightweight shelters because it is easy to see after dark and weighs very little. For example, Sea to Summit offers reflective accessory cord in a 1.8 mm diameter. Slightly thicker utility cord is easier to handle with cold hands and may be easier to knot.
Do not assume every replacement cord works in every factory line tensioner. Some tensioners grip only a narrow range of cord diameters. Before replacing a factory line, check the shelter or tensioner manufacturer’s specifications.
Anchor choice matters just as much as cord length. Y-, V-, hook-, and needle-style stakes behave differently in firm soil, soft ground, and rocky terrain. Sand and snow may require broader anchors or buried deadman systems. MSR notes that specialized stakes and additional guy cord may be necessary for extreme or varied ground conditions.
Warning: Attach structural guylines only to load-bearing guyout points identified by the shelter manufacturer. A vent flap, zipper pull, mesh loop, or other convenient-looking feature is not automatically designed to take wind load.
Understanding Cord Loss and Knot Considerations
A 4-foot piece of cord does not give you 4 feet of usable anchor distance once knots and tensioning are added. Bowlines, fixed loops, slip loops, tails, and pulley sections all consume line.
The amount depends heavily on your tensioning system. In Skurka’s system, the McCarthy hitch doubles the line back between the shelter and anchor, so it needs substantial working length. His trucker’s-hitch arrangement also uses extra cord for the fixed loop, pulley, and tie-off, but its exact requirement should not be reduced to a universal “twice the distance” rule.
Cord thickness, loop size, knot choice, tail length, and the type of hardware tensioner all affect the final working range. This is why it is usually smarter to begin with an extra foot or two and trim only after testing the complete pitch.
Inspect guylines for fuzzing, cuts, melted areas, damaged sheaths, and slipping knots. Abrasion does not create the same kind of “cord loss” as tying a knot, but it can reduce the line’s strength and reliability.
Note: When in doubt, cut a new guyline longer rather than shorter. An extra foot or two normally adds little weight but can make the difference between using poor soil and reaching a much stronger anchor.
Guidelines for Tents and Mids
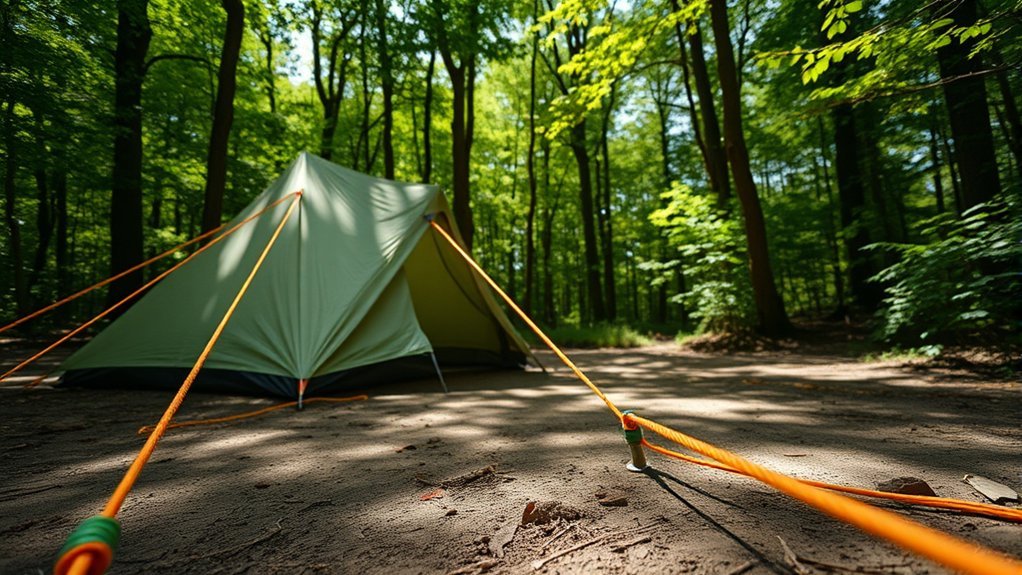
Tents and mids usually use shorter lines near the ground and longer ones at elevated load points. A practical starting point is about 4 feet at ground-level corners and vestibules, around 5 feet at many side-panel points, and about 8 feet at a 48-inch apex. Taller shelters or unusually high guyouts may need more.
Ideal Guyline Lengths
There is no ideal length independent of the shelter design. Skurka’s 4-, 5-, and 8-foot recommendations work because they combine specific guyout heights with his knot system and enough flexibility to reach imperfect anchor locations.
If your tent already has precut lines, begin there rather than replacing them automatically. Many current shelters are sold with lines and tensioners already sized for their fly geometry. Extra cord is most valuable when factory lines cannot reach a secure anchor or when you regularly camp in snow, rock, or unusually soft ground.
Angle and Attachment Points
Do not rely on a universal 15–45 degree guyline angle. Shelter geometry determines the useful direction of pull. REI’s tent setup guidance recommends pulling structural guylines directly outward from the pole-supported guyout and, where possible, routing the line perpendicular to that guyout.
Structural guyout points are commonly positioned over or near tent poles because that allows the line to transfer wind load into the frame. Other fly loops may exist primarily to tension fabric or improve ventilation rather than strengthen the structure.
Stake installation also depends on the stake design and soil. Manufacturer instructions differ, so follow the guidance for your shelter and stake rather than assuming that every stake should be driven at one specific angle.
A-Frame Tarp Setup and Guidelines
An A-frame tarp normally needs longer lines at the two ridge ends and shorter lines along its edges. A versatile starting configuration is:
- Head-side ridge-end guyline: about 8 feet.
- Foot-side ridge-end guyline: roughly 6 to 7 feet if that end is pitched lower, or simply use another 8-foot length for more flexibility.
- Side guylines: about 5 feet each for a conventional pitch.
- Adjustment: move each anchor until the ridgeline and tarp panels are evenly tensioned rather than trying to force every guyline into the same angle.
Low pitches generally improve weather protection and reduce exposed surface area, while higher pitches increase ventilation and living space. The best line length is therefore the one that lets you use both kinds of pitch without changing cord.
Flat Tarp Length Recommendations
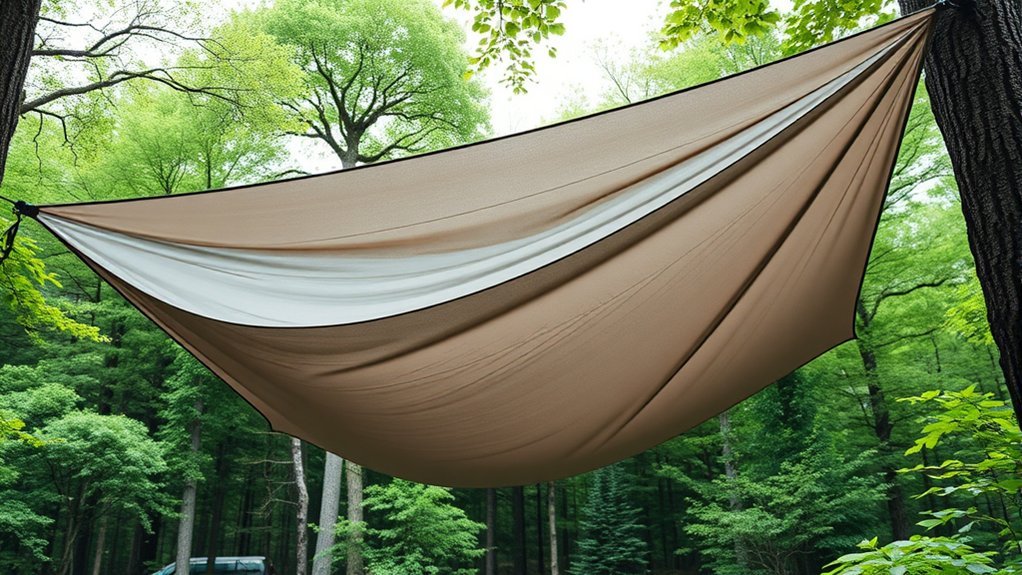
Flat tarps need more flexibility than shaped shelters because the same tie-out points may be used in many different configurations. On his 9 × 9-foot flat tarp, Skurka uses eight 8-foot lines and leaves them attached. That is a useful example rather than a requirement for every flat tarp.
There is also no universal 10-foot ridgeline or ridge-line guyline specification for flat tarps. The tarp dimensions, chosen pitch, support height, trees or poles, and anchor locations determine the distance required. Keeping several longer lines makes it easier to switch between A-frame, lean-to, half-pyramid, and other configurations.
Hammock Tarp Guidelines
Hammock-tarp terminology is easy to mix up. The tarp ridgeline is the long center dimension running over the hammock. The cords extending from the two ends of that ridgeline are ridge-end guylines or suspension lines.
In Skurka’s example, the tarp itself has an 11-foot ridgeline, while roughly 10-foot guylines at the ridge ends provide enough reach around trees. He uses approximately 8-foot lines at the side corners.
Ideal Lengths for Setup
For a similar hammock tarp, practical starting lengths are:
- Ridge-end guylines: about 10 feet when enough reach is needed to wrap or tie around trees.
- Side/corner guylines: about 8 feet for normal ground staking, porch mode, or tying to nearby vegetation.
- A-frame tarp used independently: around 8 feet at the higher ridge end, 6–8 feet at the lower end, and roughly 5 feet on the sides.
- Ground-level tent or mid points: about 4 feet as a general three-season starting point.
Larger hammock tarps may actually need less cord between the tarp and tree because the tarp itself spans more of the distance, so measure your own setup before copying a fixed number.
Tensioning Techniques Explained
A continuous ridgeline can make centering a hammock tarp between two trees easier, while separate ridge-end lines reduce the amount of cord in one system. Either can work when properly sized and secured.
A trucker’s hitch provides mechanical advantage without dedicated hardware. Line tensioners are faster for many campers, but they need cord of the correct diameter. Recheck tension after changing weather, especially when shelter fabric becomes wet and begins to sag.
| Technique | Benefit | Recommended Use |
|---|---|---|
| Trucker’s Hitch | Strong mechanical advantage | Adjustable stake or anchor lines |
| Continuous Ridgeline | Makes tarp centering easy | Hammock tarp suspension |
| Hardware Tensioner | Fast adjustment | Compatible factory or replacement cord |
| Regular Retensioning | Controls sag as conditions change | Rain, humidity, wind, and overnight use |
Attachment Point Considerations
Attachment points determine both the direction and amount of load applied to the shelter. Keep these points in mind:
- Use designated points: Connect structural guylines only to reinforced guyouts or suspension points designed for the task.
- Allow enough reach: Tree diameter, branch placement, nearby vegetation, and campsite spacing can make longer ridge-end lines useful.
- Adjust each side independently: Uneven ground rarely leaves every stake or tree at the same distance.
- Protect trees: Avoid arrangements that saw narrow cord back and forth against bark. Use appropriate tree-friendly suspension where the system bears significant load.
Winter Guyline Adjustments
Snow camping usually calls for longer guylines because stakes may not reach firm ground and anchors often have to be buried. Skurka describes increasing ground-level tent and mid lines to about 6 feet in winter so they can reach deadman anchors below the snow surface.
NOLS winter-camping guidance describes placing deadman anchors in trenches roughly 6 to 12 inches deep and perpendicular to the direction of pull. Suitable anchors can include purpose-built snow stakes or other equipment intended for the technique.
After burying an anchor, compact the snow and allow it to consolidate when conditions permit before loading it heavily. Snow consistency varies dramatically, so no single cord length or anchor depth works everywhere.
Personal Preferences in Guyline Lengths
Personal preference still matters once your shelter’s structural needs are covered. Some campers like longer guylines because they can reach trees, rocks, roots, and patches of firm soil that would otherwise be out of range. Others prefer shorter lines because they are faster to manage and less likely to tangle.
Your camping experience, typical terrain, shelter height, and tensioning method should guide the final choice. A camper who spends most nights on established forest campsites may want different lengths from someone pitching on exposed alpine rock or winter snow.
The most reliable approach is to begin slightly long, use the shelter for several trips, and then trim only the lines whose extra length has clearly proven unnecessary.
Practical Tips for Guyline Setup
- Practice at home first. Pitch the complete shelter with every guyout you expect to use in bad weather.
- Start around 4 feet at ground level. Use longer lines for higher side panels and apexes as required by the shelter geometry.
- Pull from the intended structural direction. Do not force every line to match a generic angle.
- Use compatible tensioners or knots. Very short lines leave little adjustment range and can make pulley-style hitches impractical.
- Use the strongest available anchor. Move or lengthen a line rather than forcing a stake into poor soil simply to preserve a neat layout.
- Recheck after weather changes. Rain, humidity, wind, and shifting soil or snow can alter tension.
- Make guylines visible. Reflective or brightly colored line reduces the chance of tripping over lines after dark.
Pro Tip: Practice your preferred tensioning knot at home and leave a little more cord than you think you need. It is easy to shorten a line later; adding length in the middle of a windy setup is much harder.
Regularly inspect cord for abrasion and check anchors before going to sleep or leaving camp. A well-cut guyline cannot compensate for a damaged cord, loose stake, weak snow anchor, or incorrect attachment point.
Troubleshooting Guyline Length and Tension
The line will not reach good soil: Add an extension or replace it with a longer line. Do not accept a weak anchor simply because the cord was cut too short.
The line is always tangled: Shorten excessive unused length after several real pitches confirm you do not need it, or bundle the loose portion with a simple cord wrap.
The fly sags overnight: Retension the line and check whether wet fabric has stretched. Also confirm that the line tensioner is gripping correctly.
The stake keeps pulling out: Changing line length alone may not solve the problem. Try firmer ground, a different stake suited to the soil, a larger anchor, or a different direction of pull.
A knot slips: Confirm that the knot is appropriate for the cord material and diameter. Very slick or very thin cord can behave differently from thicker utility line.
The tent deforms when tightened: Make sure the line is attached to the correct structural guyout and is pulling in the direction intended by the manufacturer. Excessive tension can distort a fly or overload a pole system.
Share Your Guyline Length Experiences
Guyline length has a noticeable effect on how easily a shelter adapts to a campsite. About 4 feet is a useful baseline for many ground-level perimeter points, while higher side panels often benefit from about 5 feet and a 48-inch apex may need around 8 feet.
For an A-frame tarp, roughly 8-foot ridge-end guylines and 5-foot sides provide a versatile starting setup, while the lower ridge end can often use 6 to 7 feet. On a hammock tarp, remember that a 10-foot recommendation refers to the cord extending from a ridge end in the cited example, not to the tarp’s physical ridgeline.
Knot choice changes the usable distance too. A McCarthy hitch doubles part of the cord back on itself, while a trucker’s hitch needs working length for its loop, pulley section, and tie-off. By matching your line length to the shelter, terrain, tensioning system, and available anchors, you can create a more adaptable outdoor setup without carrying unnecessary cord.
Frequently Asked Questions
How do weather conditions affect guyline length choices?
Wind does not automatically mean you need longer guylines. Prioritize secure anchors, the manufacturer-designated structural guyouts, even tension, and an appropriate low or storm-ready pitch. Extra length is useful when it helps you reach stronger anchors. Rain and humidity can also make some shelter fabrics sag, so recheck tension after conditions change.
Can I use different materials for guylines?
Yes. Lightweight reflective cord reduces weight and improves nighttime visibility, while thicker utility cord is often easier to handle and knot. Check the cord diameter before using factory tensioners because hardware designed for one diameter may slip or bind with another.
How do I adjust guylines for uneven terrain?
Adjust every line independently. Uneven terrain may require a shorter working length on one side and a much longer one on another. Prioritize secure soil, rocks, roots, trees, or other appropriate anchors rather than trying to keep every guyline the same length.
What are the risks of using overly short guylines?
Lines that are too short can prevent you from reaching firm soil or another secure anchor, reduce adjustment range, and leave too little cord for some knots or tensioning systems. Higher guyout points are especially likely to become restrictive when the line is cut to the bare minimum.
How can I prevent guyline tangling during setup?
Coil or wrap each guyline before packing the shelter instead of stuffing loose cord into the bag. Permanent lines can be bundled individually near their attachment points. Avoid carrying dramatically more line than you routinely use because excessive cord is more difficult to manage.
Should I replace the guylines that came with my tent?
Not automatically. Factory lines are normally selected for the shelter’s intended pitch and tensioners. Replace or extend them when they are damaged, too short for your usual campsites, difficult to see, or unsuitable for the conditions where you regularly camp.
Do I need longer guylines for snow camping?
Usually, yes. Snow anchors may need to be buried below the surface, increasing the distance from the shelter to the anchor. One field-tested system increases ground-level tent and mid lines to roughly 6 feet for winter use, but actual needs depend on snow depth, anchor type, and shelter design.
Conclusion
The right guyline length is a range, not a universal measurement. About 4 feet at ground-level tent points, 5 feet at many side panels, and 8 feet at a 48-inch apex are proven starting points, while tarps and hammock shelters often benefit from longer lines and more adjustment.
Use those measurements as a baseline, then let your shelter instructions, knot or tensioner system, anchor location, terrain, and weather determine the final length. Starting slightly long is usually the safer choice because you can always trim unused cord after you know how the shelter behaves in real campsites.
Sources
- Andrew Skurka, “Recommended guyline lengths for backpacking shelters” — primary source for the 4-foot perimeter, 5-foot side-panel, 8-foot apex, tarp, and hammock-tarp examples used in this guide.
- Andrew Skurka, “My guyline & tension system for tents, tarps, and hammocks” — knot systems, winter line extensions, alternate anchors, and the value of adjustable cord.
- REI Co-op, “How to Set Up a Tent” — structural guyout placement, windward stabilization, line direction, tensioning, and stake-use guidance.
- Mountain Safety Research, Tent and Shelter Owner’s Manual — anchoring, guyout tension, and the need for additional or specialized stakes and cord in varied conditions.
- NOLS, Winter Camping: Pitch Your Tent — buried deadman anchor placement and winter snow setup.
- Sea to Summit, Reflective Accessory Cord — example of lightweight reflective guyline cord and current 1.8 mm cord sizing.
