
Last Updated on July 28, 2026 by Mason Reed
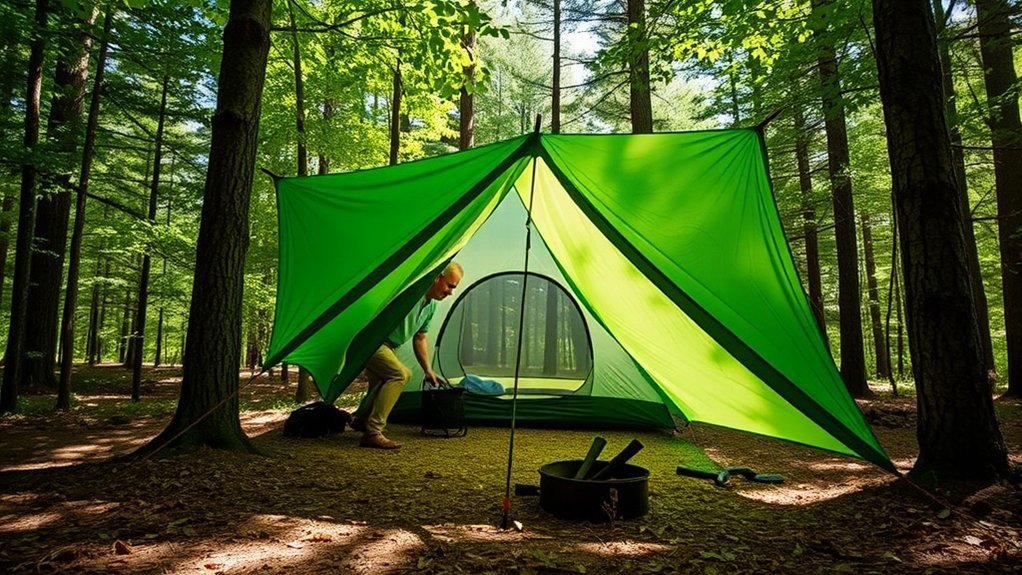
A tarp porch turns the entrance of your tent into a dry, usable extension of your camp — a dedicated spot to cook, store muddy boots, or relax during a downpour without feeling trapped inside your shelter. Pitching a stable tarp porch relies on four core principles: selecting the right tarp size and fabric, setting support poles at proper angles, anchoring guylines to withstand wind, and using adjustable tension knots as weather conditions shift.
Quick Answer
To build a tarp porch, pitch a waterproof tarp over your tent entrance using adjustable support poles, secure the corners with grommets and guylines staked at wide 45-degree angles, and use adjustable tensioning knots like the Prusik or Taut-line hitch to maintain tautness as wind and rain shift.
At a Glance
| Time Required | 30–45 minutes for a first setup; 10–15 minutes once familiar |
| Difficulty | Beginner to Intermediate — basic stake placement and knot work |
| Tools Needed | Waterproof tarp, 2–3 adjustable poles, heavy-duty stakes, guyline cord, mallet |
| Cost | Budget setup under $50 total; $75+ for lightweight aluminum poles |
Key Takeaways
- Select a waterproof, UV-resistant tarp with reinforced grommets or webbing loops extending beyond your tent vestibule.
- Use adjustable telescoping poles (5–6.5 feet tall) and angle them outward to shed rain and wind effectively.
- Stake guylines at wide angles and integrate shock-absorbing bungee loops to protect anchor points from sudden wind gusts.
- Use adjustable knots such as the Prusik or Taut-line hitch to tension lines easily as moisture causes fabric stretch.
- Maintain a clear gap between the tarp and tent wall to foster airflow and reduce overnight condensation inside your shelter.
Disclosure: As an Amazon Associate I earn from qualifying purchases. Some links on this page are affiliate links, at no extra cost to you.
Selecting the Right Tarp Material
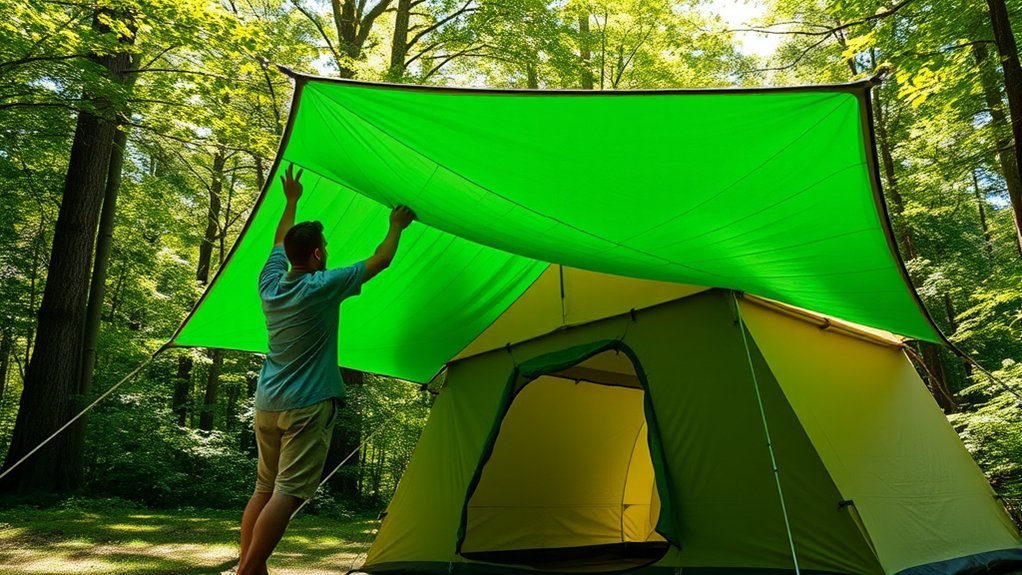
When selecting the right tarp material for your porch extension, prioritize durability, weight, and weather resistance. Heavy-duty polyethylene tarps with reinforced corner patches and taped seams hold up well to repeated car camping trips. Alternatively, silnylon or silpoly tarps offer superior packability and strength for lightweight shelter setups. A reflective silver-coated tarp bounces back solar radiation and keeps the area underneath significantly cooler than a dark tarp, which absorbs solar heat — an important consideration when camping in hot, sun-exposed environments.
Size selection depends on your tent footprint: choose a tarp that extends at least 2 to 3 feet past the sides of your tent entrance for optimal rain coverage. Reinforced perimeter webbing loops or heavy-duty grommets are essential for secure tie-down points against wind pressure. Non-stretch guyline cordage (such as Dyneema or reflective polyester cord) prevents sagging overnight when wet.
Pro Tip: Pitch your porch tarp using either a lean-to (single-slope) or A-frame ridgeline configuration. A lean-to sheds wind from a single dominant direction and pitches quickly; an A-frame with a center ridgeline handles multi-directional rain better but requires more poles or elevated anchor trees.
Step-by-Step Tarp Porch Setup Process
Building a secure porch requires a logical assembly sequence so the fabric remains controlled during installation, even in breezy weather:
- Overlapped Position: Drape the back edge of the tarp over the front peak or fly of your tent, leaving a 6 to 12-inch overlap for rain protection.
- Back Anchors: Stake the two rear corners of the tarp securely into the ground at 45-degree angles behind or beside the tent entrance.
- Front Pole Insertion: Insert the top spikes of your adjustable telescoping poles into the front corner grommets of the tarp.
- Primary Line Tensioning: Attach guylines to the front grommets, pull them out diagonally at wide angles, and stake them down loosely.
- Elevate and Dial-In: Extend the poles to their target height, lean them slightly outward against the guyline pull, and cinch your friction knots taut.
Setting Up the Support Poles
To build a stable tarp porch, sturdy telescoping aluminum or steel poles work best because they adjust easily to uneven terrain and shelter heights. A common, functional arrangement uses a shorter rear height near the tent peak (around 5 feet) and taller front support poles (6.5 feet), or vice versa depending on pitch geometry. Always keep the front edge angled slightly down relative to the highest peak so rain drains immediately off the sides rather than pooling in the center.
When positioning support poles, angle them slightly outward away from the center of the tarp. Angling the poles transfers force directly down the guyline vector, improving stability under high wind loads. Check guyline tension regularly, especially after rain or gusty weather, to keep the pole bases grounded.
Securing the Tarp Effectively
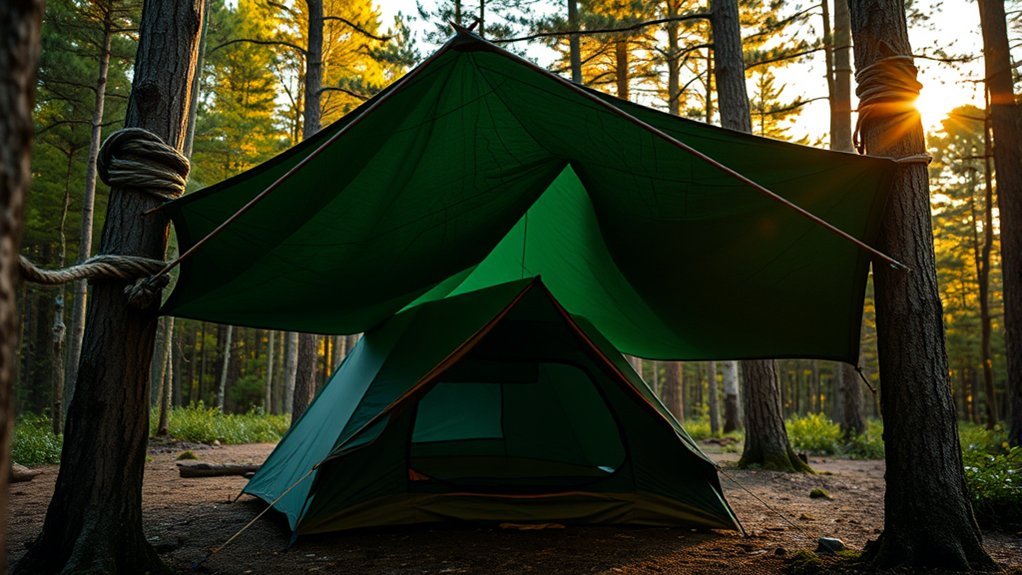
Securing the tarp effectively keeps your porch stable when conditions deteriorate. Use the reinforced grommets or webbing loops built into the tarp corners for line attachments. Adding elastic bungee loops between the tarp grommet and the guyline adds essential flex during heavy gusts, allowing the shelter to absorb impact rather than tearing out grommets.
Stake guylines out at wide 45-degree angles relative to the tarp edge to maximize stability. For tensioning your guylines, an adjustable friction knot like the Prusik knot or Taut-line hitch allows effortless line adjustments without pulling stakes out of the ground.
Warning: Avoid pitching your tarp porch so it rests directly against the main body of the tent or seals the entrance completely. Direct contact points and trapped ambient air encourage moisture transfer and internal condensation.
Adjusting Tension for Stability
Proper guyline tension prevents water pooling (often called a “water belly”) and keeps wind from lifting the structure. Adjustable knots allow on-the-fly modifications as cords stretch when wet.
Importance of Tensioning
Consistent tension ensures your porch functions smoothly during unexpected storms:
- Start setup with slightly loose guylines to simplify pole placement.
- Use adjustable friction knots on all main tie-outs for quick tension shifts.
- Angle support poles outward to balance outward tension and downward loading.
- Inspect line tension right after the first rain shower, as many fabrics relax when wet.
Prusik Knot Technique
The Prusik knot is a reliable, friction-based hitch for managing tarp guyline tension. To tie it, wrap a small loop of cord around your main guyline and pass it back through itself three to four times. The knot slides smoothly along the main line when manually pushed, but grips firmly when tension is applied. It is widely used in climbing, rescue, and tarp tensioning setups because it holds dependably in both wet and freezing conditions.
Regular Tension Checks
Checking guyline tension periodically prevents fabric flap and hardware strain:
- Inspect regularly: Check line tautness after heavy wind or temperature drops.
- Use adjustable knots: Tension lines quickly without pulling stakes up.
- Maintain pole angles: Re-angle leaning poles if ground soil softens.
- Set wide anchor points: Wide stakes give better leverage against sudden side gusts.
Maintenance and Storage Tips
Taking proper care of your tarp gear ensures long-term weather resistance and prevents fabric degradation.
Dry Before Storage
Never pack away a wet or damp tarp for long-term storage:
- Air Dry: Spread the tarp completely flat or hang it over a line in the sun to dry.
- Inspect Fabric: Check seams and grommet stitching for stress cracks or tears.
- Clean Off Debris: Wipe away mud, pine sap, or organic dirt with fresh water before folding.
- Loose Roll: Roll or stuff the dry tarp loosely rather than creasing it along identical fold lines every time.
Proper Stake Removal
Pull stakes straight out along their insertion axis to avoid bending aluminum or steel pegs. Use a stake puller or another stake hooked under the notch to extract stubborn anchors cleanly. Store stakes in a reinforced pouch to prevent sharp edges from puncturing your tarp during transit.
Preventing Mildew Growth
Mildew breaks down waterproof polyurethane and silicone coatings quickly in dark, damp conditions:
- Always verify the tarp is completely dry before long-term storage.
- Air out the tarp in sunlight if it was stored damp after an emergency pack-up.
- Clean sap or dirt gently with a soft sponge and mild non-detergent soap.
- Store gear in a cool, dry place away from humid basements or hot attics.
Managing Ventilation and Condensation
A tarp porch pitched flush against your tent door can trap exhaled moisture and humid ground air. Leaving a gap between the tarp roof and the tent body allows warm air to escape rather than condensing on tent walls overnight. Pitching over dry ground under tree cover further cuts down on ambient night moisture accumulating inside your vestibule.
Overcoming Weather Challenges
Adapt your tarp porch layout to match environmental shifts:
| Weather Condition | Recommended Pitch Adjustment |
|---|---|
| Heavy Rain | Lower one corner pole to create a steep runoff channel |
| Strong Winds | Lower total pole height and stake edges closer to ground |
| High Sun / Heat | Raise poles high to maximize cross-breeze and shade footprint |
Enhancing Your Outdoor Experience
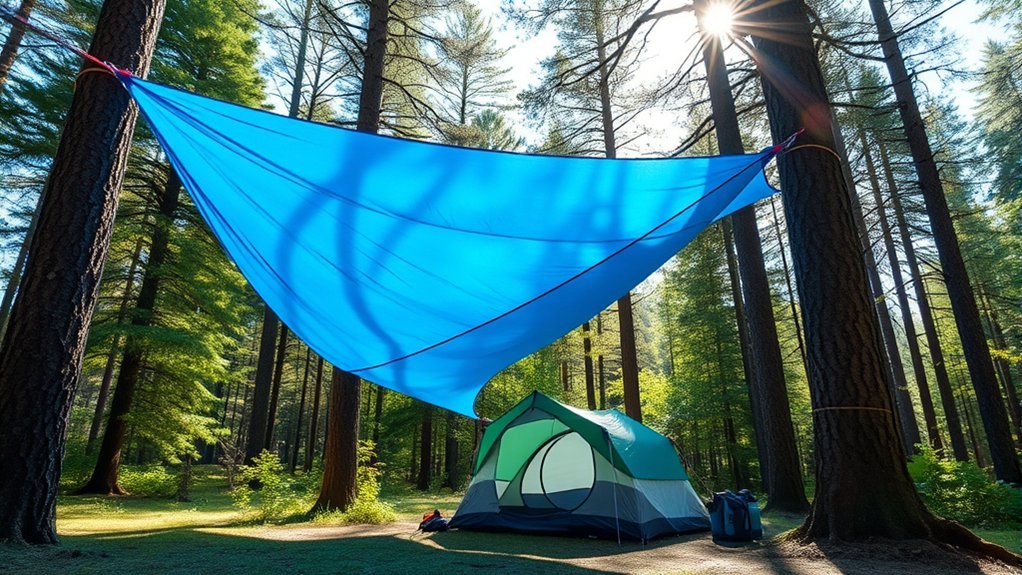
A well-pitched tarp porch dramatically improves camp comfort by adding sheltered living space directly outside your tent door.
A tarp porch transforms a tight tent doorway into a functional, dry lounge area for cooking, resting, and enjoying the outdoors regardless of rain.
- Shaded Camp Kitchen: Set up your camp stove near the outer porch boundary for safe, dry cooking out of direct rain.
- Dry Gear Storage: Keep muddy boots, packs, and wet rain jackets out of your main sleeping area.
- Group Gathering Point: Create a dry space to sit with fellow campers during afternoon rain storms.
- Camp Lighting: Hang small, lightweight solar lanterns or string lights from interior tarp loops for easy night illumination.
Frequently Asked Questions
Can I use a regular poly tarp instead of a specialized camping tarp?
Yes. Standard utility tarps work fine functionally; the primary differences are weight, pack size, and heat retention. Silver or reflective tarps reflect sunlight better to keep the space cooler, whereas dark standard poly tarps absorb heat faster and take up more storage volume.
What tools do I need to build a tarp porch?
You will need a waterproof tarp, 2 to 3 adjustable support poles (or trekking poles), heavy-duty stakes, guyline cord, and a mallet or heavy rock for driving stakes into tough soil.
How much wind force can a tarp porch withstand?
A well-anchored tarp porch pitched low to the ground with shock-absorbing bungee cords and wide stake angles can withstand moderate gusts up to 20–25 mph. In higher winds, drop the pole heights and pitch the tarp steep and close to the ground to reduce lift.
Can I build a tarp porch solo without help?
Yes. By staking out the rear tarp corners first, you anchor the fabric to the ground so you can raise and guy out the front support poles one at a time without needing assistance.
Is it safe to add lighting under a tarp porch?
Yes. Low-voltage LED string lights, solar lanterns, or battery-operated camp lamps attached to corner loops provide safe overhead light without generating high heat hazards.
Conclusion
Building a sturdy tarp porch converts your tent entrance into a practical, weather-protected living space. By selecting appropriate materials, angling support poles, establishing solid anchor points, and using adjustable friction knots, your shelter will comfortably withstand shifting weather conditions. Dry your equipment thoroughly after each trip, maintain your stakes, and enjoy the added comfort on your next outdoor adventure.
Sources
- Animated Knots — Prusik Knot — Step-by-step tying instructions for tensioning guylines with a friction knot
- Gossamer Gear — Tips to Prevent and Manage Tent Condensation — Expert guidance on ventilation and airflow principles in shelter design
- SectionHiker — How to Prevent Tent Condensation — Field-tested advice for campsite selection and managing moisture under tarps
