

Last Updated on July 28, 2026 by Mason Reed
A loose guy line can mean a sagging fly or an unstable tent when wind and rain arrive. One of the simplest fixes is the taut-line hitch, an adjustable friction hitch that lets you tighten or loosen a tent guy line without untying it. The key is tying it correctly, using compatible cord, and setting the stake so the whole system can resist the direction of pull.
Quick Answer
For a tent guy line, pass the working end around the stake, wrap it twice around the standing part inside the loop, then make one outside half-hitch in the same direction. Dress the wraps snugly. Slide the hitch to adjust tension when lightly loaded; on suitable cord, it grips once steady tension is applied.
Key Takeaways
- The taut-line hitch is adjustable, but it is not self-tightening. Recheck it when the tent, soil, or weather changes.
- The basic hitch uses two turns inside the loop and one outside half-hitch around the standing part.
- Set the stake to resist the direction of the guyline pull; with a typical low guyline, the top of an angled stake points away from the tent.
- Very slick UHMWPE, Dyneema, or Spectra cord may not hold a traditional friction hitch reliably. Use compatible tensioning hardware when the tent or cord manufacturer recommends it.
- Test every hitch by loading the guyline firmly before relying on it overnight.
Disclosure: As an Amazon Associate I earn from qualifying purchases. Some links on this page are affiliate links, at no extra cost to you.
The Importance of Guy Lines for Tent Stability
Guy lines do more than steady a tent in a breeze. They can pull the rainfly away from the inner tent, help maintain the shelter’s intended shape, and transfer part of the wind load through the guyline and stake instead of leaving the poles and fabric to handle it alone. The Appalachian Mountain Club’s guyline guidance recommends proper guying both for rain protection and for greater structural stability in wind.
Guyline tension can change through the night. Nylon-based shelter fabrics may sag as they cool or become wet, elastic cord can stretch under load, and stakes can move as soft ground settles. Other materials behave differently, so do not assume every cord changes the same way in rain.
Before settling in, walk around the tent and check the tension, stake placement, cord condition, and every knot or hardware tensioner.
Warning: Before high winds or an overnight storm, recheck every stake and guyline. A taut-line hitch can loosen when its line loses tension, so the knot should never be treated as a self-tightening system.
Overview of the Adjustable Knot
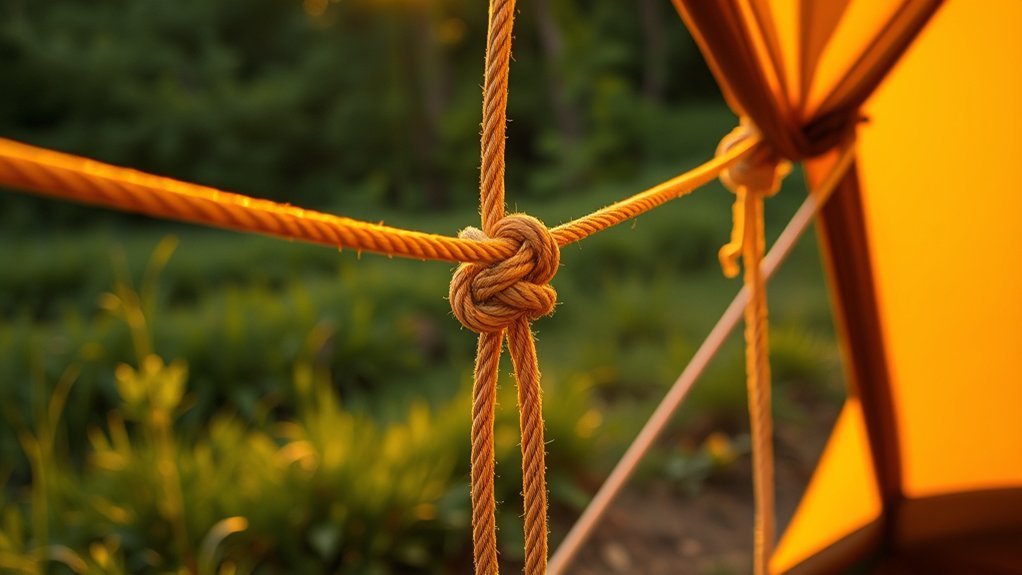
The knot campers commonly use here is the taut-line hitch, an adjustable friction hitch tied around the standing part of the same line. AMC’s taut-line instructions describe the same basic pattern: two turns around the standing line toward the anchor, followed by an outside turn that completes the hitch.
Scouting programs also teach the taut-line hitch specifically for adjusting tent guylines. The important limitation is that the hitch depends on friction and maintained tension. It slides when deliberately adjusted under little load and should grip when the line is tensioned, but its performance depends on the cord and how neatly the knot is dressed.
At a Glance
| Time Required | About 1–2 minutes while learning; under 1 minute with practice |
| Difficulty | Beginner |
| Tools Needed | Compatible guyline plus a tent stake or other suitable anchor |
| Cost | $0 if you already have the guyline and stake |
Before You Tie the Taut-Line Hitch
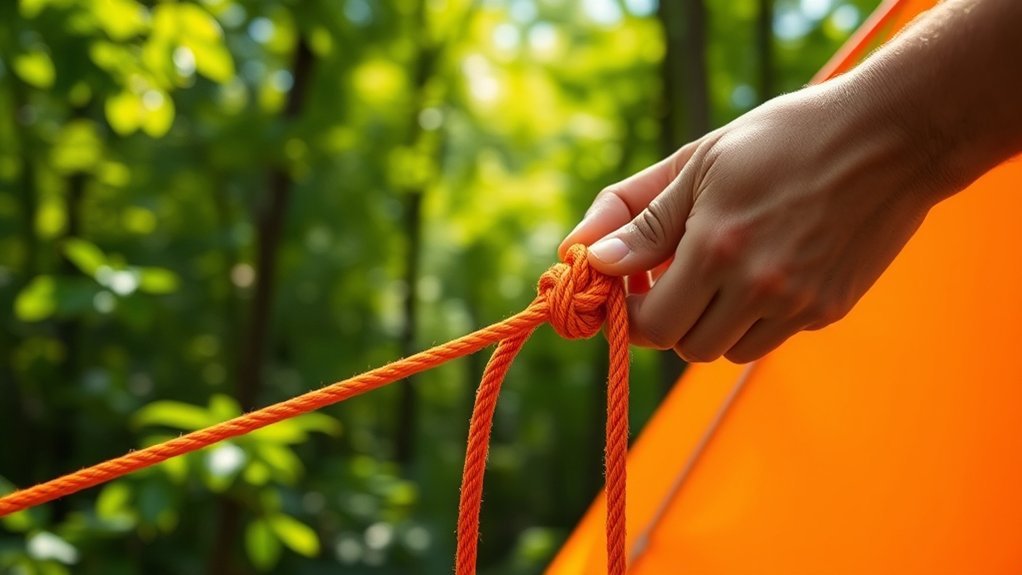
Check the line before making the knot. Friction hitches work best when the cord provides enough surface grip for the wraps to bite into the standing part. A fuzzy or badly abraded guyline should be replaced, while extremely slick cord may need the tensioning hardware supplied for that line.
Also leave enough working end to tie the three wraps cleanly and still have a visible tail after the knot is dressed. Avoid tying the hitch at the very end of a damaged or frayed section.
Note: Many modern tents already include LineLoc-style or similar guyline tensioners. When your tent manufacturer supplies an adjuster matched to its cord, there is usually no reason to replace that system with a friction hitch.
Step-by-Step Guide to Tying the Knot
Start by placing the stake so it resists the direction of pull. The stake shaft should be close to perpendicular to the guyline’s pull rather than simply pushed straight down. For a typical low tent guyline, this often means driving the stake into the soil at an angle with the top pointing away from the shelter. AMC’s tent-pitching guidance describes a roughly 45-degree stake with its top pointing away from the shelter, while its guyline guide emphasizes keeping the stake close to a right angle to the line itself. Follow your tent and stake manufacturer’s instructions when they specify a different setup.
- Anchor the line: Pass the working end around the tent stake or other suitable anchor. Bring the working end back across the standing part to form an adjustable loop.
- Make the first inside wrap: Pass the working end around the standing part inside the loop, working toward the stake.
- Make the second inside wrap: Wrap it around the standing part a second time in the same direction. Keep the two turns side by side rather than crossing them.
- Add the outside half-hitch: Continue in the same direction and take the working end around the standing part once more outside the first two turns. Pass the end through the new loop to form the final half-hitch.
- Dress and test the knot: Pull the wraps snug so they sit neatly together. Slide the entire hitch along the standing line to set the desired tension, then pull firmly on the guyline. The knot should grip without creeping.
Once you learn how the two inner wraps feel in your fingers, the hitch becomes much easier to tie in low light or while wearing gloves.
Pro Tip: If a conventional braided guyline creeps, unload it, dress the wraps again, and test it. One additional friction turn can help some cords. For very slick UHMWPE, Dyneema, or Spectra line, however, do not assume extra wraps make the hitch secure; use a compatible tensioner or another system proven with that exact cord.
A taut-line hitch is adjustable, not automatic: when a stake moves or the shelter sags, slide the hitch yourself to restore tension.
How to Test and Troubleshoot a Taut-Line Hitch
Do not wait for the first gust of wind to discover that the hitch was tied incorrectly. Test it as soon as the tent is pitched.
- If the hitch slides under load: Remove tension, check that the two inner wraps and outside half-hitch are oriented correctly, dress them tightly, and test again. If the cord is unusually slick, switch to compatible tensioning hardware.
- If the wraps cross each other: Untie and dress them side by side. Crossed coils reduce predictable contact between the cord surfaces.
- If the knot will not slide for adjustment: Take most of the load off the line before moving it. A friction hitch is meant to grip when loaded.
- If the line keeps becoming slack: Check the stake for movement, the tent fly for sag, and the attachment point before blaming the knot.
- If the stake pulls out: Change the stake angle or location, use a stake suited to the soil, or use a secure alternative anchor where appropriate. A stronger knot cannot compensate for a weak anchor.
- If the cord is damaged: Replace it rather than relying on additional wraps around a worn section.
Choosing the Right Guyline Material
There is no single guyline diameter or fiber that is best for every tent. The safest starting point is the cord supplied or recommended by the shelter manufacturer because the line diameter, attachment points, and hardware are designed to work together.
Nylon cord is flexible, easy to knot, and can absorb some shock through stretch. Polyester is commonly used where lower stretch and good abrasion resistance are useful. Modern ultralight systems may use UHMWPE or Dyneema-core cord for very high strength with very little stretch.
That low stretch does not automatically make an HMPE line better for a taut-line hitch. For example, Zpacks’ current UHMWPE/polyester guyline uses a polyester sheath to add grip and is designed to work with LineLoc-style adjusters. Its all-UHMWPE slick cord is specifically described as having less grip than the sheathed version.
Reflective or brightly colored line is also worthwhile around camp. Guylines can be difficult to see at night, and the AMC notes reflective material as one way to make them easier to spot.
Benefits of Using This Knot
The biggest advantage of the taut-line hitch is simple adjustment. Instead of untying a fixed knot every time the fly sags, you can reduce the load, slide the hitch along the standing line, and restore tension in seconds.
On suitable cord, a properly dressed hitch can hold steady tent and tarp loads well while remaining relatively easy to readjust. That combination is why Scouting and outdoor-skills organizations continue to teach it for shelter guylines.
Its limitation is just as important: it does not automatically take up slack when a stake moves or the fabric changes shape. Periodic inspection is part of using the knot correctly.
When Not to Use a Taut-Line Hitch
A taut-line hitch is a campsite tensioning knot, not a universal safety knot. Do not depend on it for climbing, rappelling, rescue loads, supporting people, or other life-safety applications.
Scouting’s pioneering guidance specifically warns against taut-line hitches for pioneering structures because the hitch can slip if tension is eased. For those applications, use the knot, rope system, or hardware specified by the relevant activity and organization.
Do not treat a tent taut-line hitch as a default roof-rack cargo tie-down either. NHTSA advises drivers to secure vehicle cargo so it cannot shift, drop, or escape. Use a load-securement method and equipment appropriate for the vehicle and cargo rather than assuming an adjustable camping hitch is sufficient.
Warning: Never use a tent guyline knot as a climbing, rescue, fall-arrest, or other life-safety connection.
Additional Resources for Knot Tying Techniques
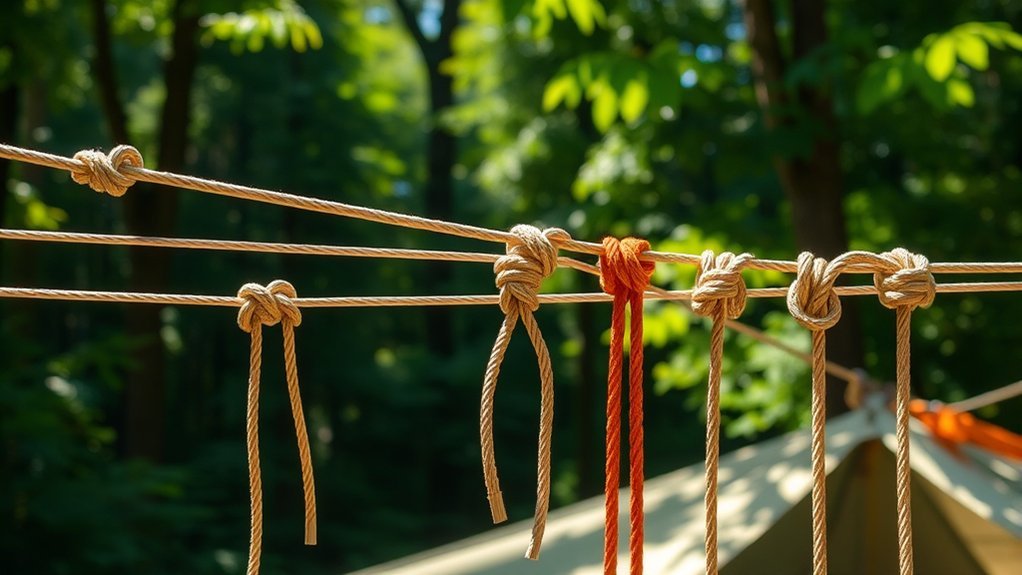
Once you are comfortable with the taut-line hitch, two related knots are especially useful. A bowline forms a fixed loop that does not adjust like a taut-line hitch, making it useful when you need a consistent loop at an attachment point. A trucker’s hitch creates mechanical advantage and is useful when greater line tension is needed for an appropriate shelter or tarp setup.
A midshipman’s hitch is another closely related adjustable friction hitch. Knot names and versions vary between traditions, so learn one verified method and practice it using the actual cord you carry.
The Appalachian Mountain Club’s knot guide is a useful reference for comparing common shelter knots before practicing them at home.
Frequently Asked Questions
What materials are best for tent guylines?
Use the cord recommended for your tent whenever possible. Braided nylon and polyester cords can work well with traditional knots, while modern UHMWPE or Dyneema-core lines offer high strength and low stretch. Very slick cords may work better with compatible hardware tensioners than with a taut-line hitch.
How do weather conditions affect knot performance?
Rain, cooling temperatures, wind, and softening soil can all change a tent’s pitch. Nylon-based shelter fabrics may sag when cool or wet, while stakes can shift under repeated gusts. Recheck both the hitch and the anchor after significant weather rather than assuming the knot will take up slack automatically.
Can I use this knot for other outdoor gear?
Yes, for noncritical adjustable lines such as tarps, campsite clotheslines, and similar shelter tasks. Do not use a taut-line hitch for climbing, rescue systems, structural pioneering, or other applications where slipping could injure someone. Vehicle cargo also requires an appropriate load-securement system rather than assuming a camping friction hitch is adequate.
How often should I check my knots during camping?
Check every guyline when you pitch the tent, again before going to sleep, and after strong wind, heavy rain, or a noticeable temperature change. Recheck immediately if the fly begins to sag or a stake appears to have moved.
What should I do if my knot slips?
Unload the line, confirm that the wraps are tied in the correct direction, dress them neatly, and retest the hitch. An extra friction turn may help on some conventional cord. If very slick UHMWPE or Dyneema line still creeps, use a compatible tensioner or another adjustment system designed for that cord.
Which way should a tent stake lean?
Position the stake so it resists the direction of the guyline’s pull. With a typical low guyline, a commonly taught setup drives the stake into the ground at an angle with its top pointing away from the shelter. Aim for the stake shaft to be roughly perpendicular to the loaded guyline, and follow the tent or stake manufacturer’s instructions when they differ.
Can I use a guyline tensioner instead of a taut-line hitch?
Yes. Many tents include small hardware tensioners that make adjustment faster and are matched to a specific cord diameter. They are especially useful with low-stretch or slick ultralight cord. If your tent already includes them, using the manufacturer’s supplied system is usually the simplest option.
Conclusion
A well-tied taut-line hitch is a small camping skill with a big payoff. It gives you a fast way to adjust a tent guyline as the pitch changes without repeatedly untying a fixed knot. The most important details are simple: make two neat inside wraps and one outside half-hitch, set the stake to resist the line’s pull, test the hitch before relying on it, and recheck the system when conditions change.
Practice the knot at home with the same cord you take camping. If that cord is too slick to grip reliably, use the tensioning hardware recommended for it rather than forcing a friction hitch to do a job it cannot do safely.
Sources
- Appalachian Mountain Club — How to Tie a Taut-Line Hitch Knot — basic knot sequence, adjustment method, and warning to maintain tension.
- Appalachian Mountain Club — How to Set Up a Tent Guyline — guyline function, structural stability, re-tensioning, stake-to-line geometry, and nighttime visibility.
- Appalachian Mountain Club — How to Pitch a Tent — tent staking guidance, including angled stakes with the top pointing away from the shelter.
- Scouting — Rope Tackle Further Information — limits on taut-line hitches where loss of tension could allow slipping.
- Zpacks — Z-Line UHMWPE / Polyester Cord — current example of low-stretch UHMWPE-core guyline, polyester grip sheath, cord diameters, and LineLoc compatibility.
- National Highway Traffic Safety Administration — Secure Your Load — vehicle cargo-securement safety requirements and guidance.
