
Last Updated on July 29, 2026 by Mason Reed
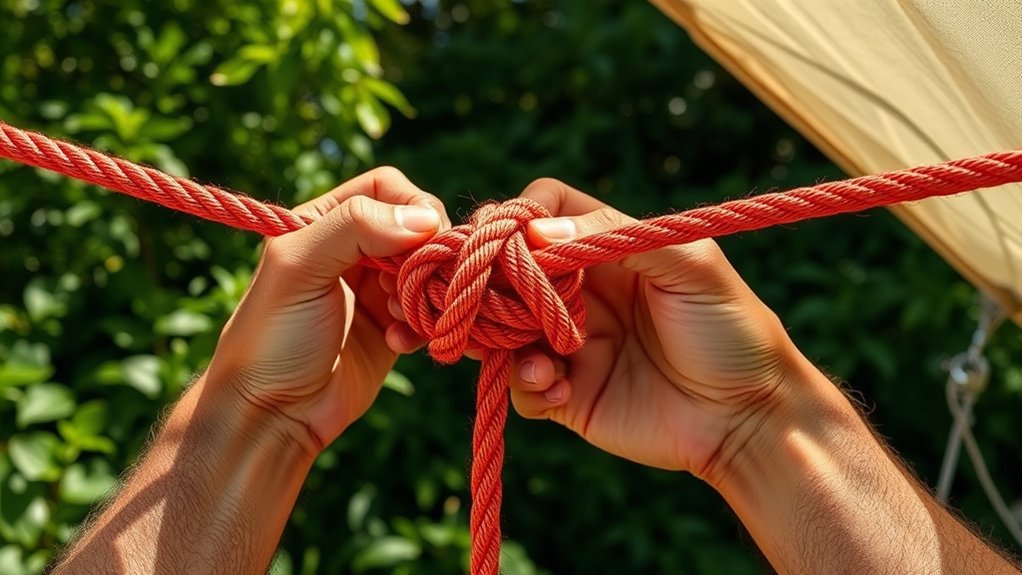
A trucker’s hitch gives you strong, adjustable tension when a tent or tarp guyline needs more pull than a basic hitch can provide. The key is to form a midline loop in the slack part of the cord, route the working end around a secure stake or anchor, pass it through the loop, and lock the tension without overtightening the shelter.
Quick Answer
Attach the guyline to the tent, form a secure midline loop in the slack cord, run the working end around the stake and back through the loop, then pull until the line is taut. Pinch the crossing point and finish with two half hitches so the tension cannot slip.
Key Takeaways
- The midline loop and redirected working end create the pulley-like purchase; twists alone do not create the mechanical advantage.
- Form the loop in the slack part of the guyline so it does not tighten around itself.
- Pull only until the rainfly or tarp is evenly taut. Excessive tension can damage fabric, seams, poles, stakes, or guyout loops.
- Lock the line with two properly dressed half hitches and leave enough tail that the finish cannot pull through.
- Use this guide for recreational guylines and light-duty camp tasks, not climbing, rescue, towing, lifting, or unverified vehicle cargo securement.
At a Glance
| Time Required | About 3–5 minutes while learning; usually under 1 minute with practice |
| Difficulty | Beginner to intermediate |
| Tools Needed | Tent or tarp guyline, secure stake or anchor, and optional gloves |
| Cost | $0 with existing gear; replacement cord varies by length and material |
Disclosure: As an Amazon Associate I earn from qualifying purchases. Some links on this page are affiliate links, at no extra cost to you.
Understanding the Trucker’s Hitch
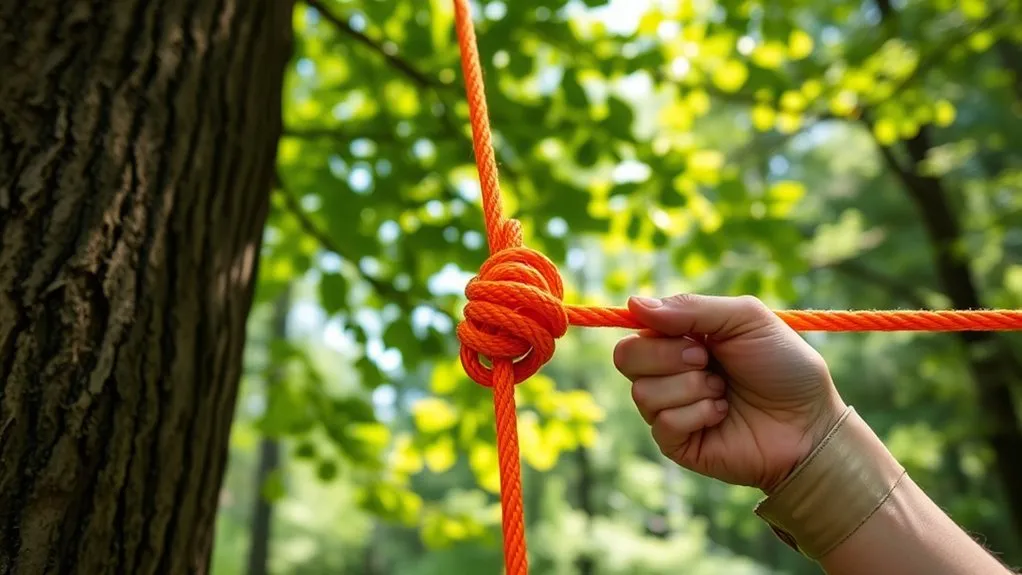
A trucker’s hitch is a compound rope system rather than one isolated knot. It combines an attachment point, a loop formed in the middle of the line, a redirected working end, and a locking finish. Together, these parts create a pulley-like purchase that helps you tighten a line with less hand force.
The U.S. Antarctic Program field manual describes the trucker’s hitch as a block-and-tackle-style knot that uses mechanical advantage and friction. It specifically lists tensioning tent guylines as a common use. REI’s tent setup guidance also recommends a trucker’s hitch when a normal guyline tensioner is missing or unavailable.
You may see the system described as providing a theoretical 3:1 advantage. Treat that as an idealized model, not a guaranteed result. The actual pulling benefit depends on the direction of pull, the loop style, cord stiffness, anchor shape, and friction where the line bends or rubs.
A trucker’s hitch should make a guyline easier to tension—not encourage you to pull harder than the shelter can safely handle.
Useful Rope Terms
- Standing end: The end attached to the tent, tarp, or another fixed point.
- Standing part: The main section of cord between the standing end and the working area.
- Working end: The free end you route around the stake and through the loop.
- Bight: A curved section of rope formed without using either end.
- Midline loop: The loop formed in the standing part that acts as the upper part of the purchase.
- Anchor: The stake, tree, post, or other secure point that redirects and holds the line.
Warning: Do not use this recreational guyline method for climbing, rappelling, rescue, fall arrest, towing, suspending people, hoisting overhead loads, or stopping a moving object. For vehicle cargo, use properly rated tiedowns, anchor points, and tensioning devices that meet the applicable working-load-limit and securement requirements.
Materials Needed for Tying
You do not need thick utility rope to tension an ordinary tent guyline. Use cord that matches the shelter manufacturer’s instructions and fits its guyout loops, stakes, and any line hardware. A fixed 1/4-inch minimum is unnecessary for most tents and may not fit the supplied components.
- Suitable guyline: Use clean, undamaged cord with enough grip to hold the chosen knots.
- Secure shelter attachment: Use a reinforced guyout loop, approved tarp point, or another point intended to carry tension.
- Stable anchor: Use a well-set stake, tree, post, deadman anchor, or other point appropriate for the terrain.
- Enough working length: Allow room for the full span, midline loop, turn around the anchor, locking hitches, and later adjustment.
- Gloves, if helpful: Gloves can improve comfort when using coarse or larger cord, but they do not make an unsafe system safe.
Before tying, inspect the entire working area of the cord. Look for cuts, severe fuzzing, exposed core fibers, flat or lumpy sections, melted or glazed spots, chemical contamination, and damage from sharp edges. Samson’s rope guidance recommends continuous inspection before, during, and after use and warns that significant abrasion or cut strands can require repair or retirement.
Note: Avoid routing a tensioned guyline across sharp rocks, metal burrs, rough bark, or damaged hardware. Protecting the cord from abrasion is more important than choosing an unnecessarily large diameter.
Step-by-Step Guide to Tying the Knot

Set up the system while the line is still slack. That gives you enough room to form the midline loop correctly, route the working end, and lock the final tension without fighting a loaded knot.
Required Materials and Setup
- Inspect the guyline. Remove tangles and check for abrasion, cuts, glazing, stiffness, or contamination.
- Check the tent attachment. Use a reinforced guyout point rather than a zipper pull, mesh panel, vent loop, or decorative tab.
- Set the anchor. Place the stake far enough from the shelter to create a useful pulling angle and make sure the soil holds it firmly.
- Leave slack in the cord. You need enough loose line between the shelter and anchor to form the midline loop.
If your tent already has a factory line tensioner, use it according to the manufacturer’s instructions. A trucker’s hitch is most useful when the adjuster is missing, broken, frozen, too small for replacement cord, or unable to provide the adjustment range you need.
Detailed Tying Instructions
- Attach the standing end. Secure one end of the guyline to the tent or tarp’s reinforced guyout point. A correctly tied bowline is one common option when the line is not already attached.
- Run the line toward the anchor. Keep it clear of doors, walkways, sharp edges, and places where someone could trip.
- Form a midline loop. In the slack standing part, create either the quick twisted loop described below or a dependable fixed loop such as an alpine butterfly.
- Route the working end around the anchor. Pass the free end around the stake, post, or other approved anchor point.
- Feed the working end through the midline loop. The line should now run from the tent to the loop, down around the anchor, and back through the loop.
- Pull smoothly. Draw the working end back toward the anchor while keeping the line aligned. Stop when the guyline is firm and the shelter fabric is evenly tensioned.
- Pinch the line at the loop. Hold the tension by pinching the working end against the section it just passed through.
- Lock the system. Tie two half hitches with the working end around the standing part. Dress them neatly and leave a usable tail.
- Inspect the finished setup. Confirm that the anchor has not shifted, the loop is stable, the hitches are snug, and the shelter is not distorted.
Tips for Maximum Tension
For a shelter, the goal is not the greatest force you can generate. The goal is enough controlled tension to remove loose fabric, preserve ventilation, and reduce flapping without overloading the tent.
- Pull in line with the guyout point. Sideways pulling can twist the loop or drag the stake.
- Use steady pressure. Avoid jerking the cord or bouncing your body weight against it.
- Watch the shelter while pulling. Stop if poles bend, seams distort, guyout stitching stretches, or the stake begins to move.
- Tension related guylines evenly. Tightening one line as hard as possible can pull the shelter out of shape.
- Recheck the setup. Wind, rain, softening soil, and temperature changes can alter the tension.
Pro Tip: Form the midline loop in the slack portion of the line. If the wrong section passes through the loop, the eye may tighten around itself, jam, or become difficult to release.
Creating Leverage With Twists
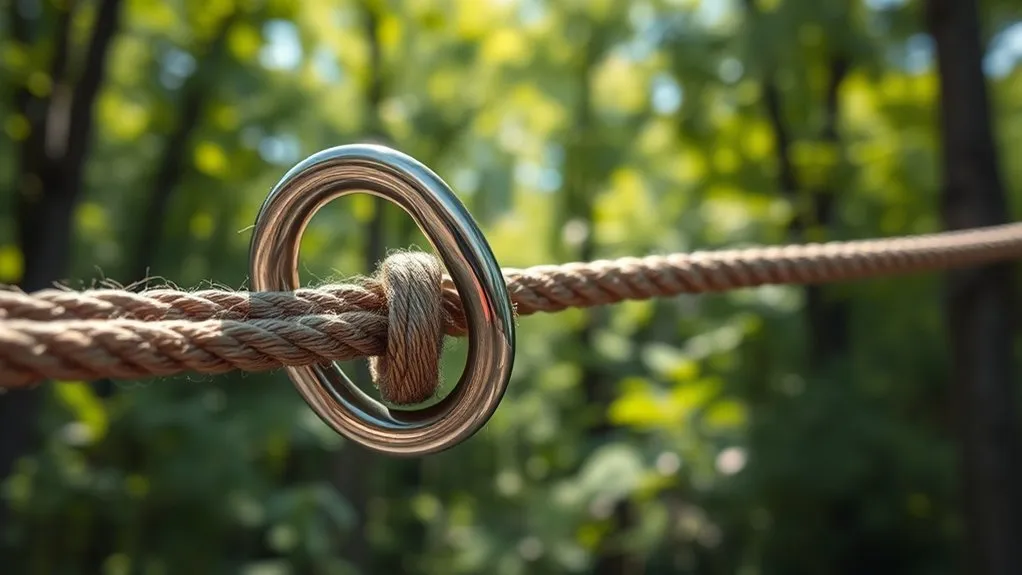
A quick twisted loop is one way to create the midline eye used in a trucker’s hitch. The twists help shape and stabilize the temporary loop, but they are not the source of the mechanical advantage. The purchase appears only after the working end goes around the anchor and back through the eye.
- Make a bight in the slack standing part of the guyline.
- Rotate the bight two or three times to create a compact twisted section.
- Reach through the center of the twisted section and pull a second bight through it.
- Dress the new eye so it is large enough for the working end to pass through without scraping excessively.
- Keep the loop oriented in the expected direction of pull while you complete and tension the hitch.
Three rotations are a common quick-loop method, but three is not a universal rule for every cord. Thin, stiff, soft, or slippery line may behave differently. When the loop will remain loaded for a long period, when the weather is severe, or when the quick loop will not stay properly dressed, use a fixed midline loop instead.
| Action | Actual Purpose |
|---|---|
| Form a bight | Creates the material needed for a loop without using either end |
| Rotate the bight | Shapes the temporary twisted-loop structure |
| Pull a second bight through | Forms the eye that receives the working end |
| Route the working end through the eye | Completes the pulley-like purchase |
| Add two half hitches | Prevents the tensioned working end from feeding back through the loop |
Forming the Pulley Loop
The loop must remain stable while the working end slides through it. It should be large enough to pass the cord without excessive rubbing but not so large that it reaches the stake before you achieve the desired tension.
Loop Creation Technique
You have two practical options for a guyline:
- Quick twisted loop: Fast to form and easy to release when used correctly. It works well for ordinary, attended camp setups with compatible cord.
- Fixed midline loop: An alpine butterfly or another suitable fixed loop is more dependable when the quick loop collapses, deforms, or slips in the chosen cord.
Whichever method you choose, keep the loop in the slack part of the standing line. Position it far enough from the anchor that it can travel toward the stake as the system tightens without running out of space.
Leverage for Tension
Once the working end passes around the anchor and through the loop, pulling the free end shortens more than one section of the system at once. That is what creates the pulley-like advantage.
Real cord does not behave like a frictionless pulley. Rope-on-rope contact, a rough stake, a tight loop, dirt, moisture, and sharp bends all consume part of your pulling force. Friction can help you hold temporary tension while tying off, but it also reduces the amount of force that reaches the main guyline.
Note: If the working end is difficult to pull, do not compensate by yanking harder. Check for a twisted loop, crossed strands, a rough anchor, dirty cord, or an eye that is too small.
Securing the Load With Half Hitches
After reaching the correct tension, keep one hand on the working end and pinch it against the line where it exits the midline loop. This prevents the cord from slipping backward while you form the lock.
- Wrap the working end around the standing part immediately below or beside the tensioned crossing.
- Pass the working end through the loop made by that wrap.
- Pull the first half hitch snug while maintaining the main-line tension.
- Repeat the process to add a second half hitch.
- Dress both hitches so they sit neatly together and leave several inches of tail, or more if the cord is unusually slippery.
For a temporary, attended camp setup, the final half hitch may be tied with a slipped bight to make release faster. A slipped finish is easier to disturb, however, so use a full second half hitch when the line will be unattended or exposed to strong wind.
Caution: Never place fingers inside a tightening loop or wrap the working end around your hand. A suddenly shifting stake, wind-loaded tarp, or slipping knot can trap or injure your fingers.
Achieving Maximum Tension
“Maximum tension” should mean the maximum useful tension for the shelter—not the maximum force the hitch can generate. A properly tensioned rainfly looks smooth, holds its intended shape, and remains separated from the inner tent without pulling the frame out of alignment.
Stop pulling when:
- The loose fabric has been removed without stretching the seams.
- The poles and frame remain in their normal shape.
- The stake stays fixed instead of leaning, lifting, or cutting through the soil.
- The guyout point stays flat and does not pucker or deform.
- Other guylines still share the load evenly.
After rain, recheck the complete pitch. REI notes that many rainfly materials stretch when damp, so a line that was taut during setup may need adjustment later. Also check the shelter after a strong gust, a temperature drop, or any movement of the stake.
Pro Tip: When several guylines support the same shelter panel, tighten them in small alternating adjustments. This keeps one line from carrying most of the load while the others remain loose.
Tips for Effective Knot Tying
- Practice before the trip. Learn with a larger, easy-to-handle rope before trying the method in darkness, rain, wind, or cold.
- Dress every part. Remove unintended crossings and make sure the loop and half hitches follow the expected direction of pull.
- Leave a safe tail. A very short tail can pull through as the cord stretches, vibrates, or becomes wet.
- Avoid shock loading. Pull steadily rather than jerking or bouncing against the guyline.
- Protect the cord. Keep it away from sharp edges, hot surfaces, chemicals, vehicle exhaust, and places where people may step on it.
- Inspect repeated wear points. The working end rubs against the midline loop each time you tension the system. Move or replace a damaged section instead of repeatedly loading it.
- Learn related knots. A bowline can secure the tent end, an alpine butterfly can form a fixed midline loop, and a taut-line hitch can provide easier ongoing adjustment when less pulling power is needed.
Troubleshooting Common Mistakes
| Problem | Likely Cause and Fix |
|---|---|
| The loop collapses while pulling | The wrong section may be loaded, the twisted loop may be poorly dressed, or the cord may be too slippery. Retie the loop in the slack part or use a fixed alpine-butterfly loop. |
| The line slips after tie-off | The half hitches may be loose, crossed, or missing. Maintain tension while tying two snug half hitches and leave a longer tail. |
| The working end is hard to pull | The eye may be too small, the strands may be crossed, or the anchor may be rough. Enlarge and redress the eye, align the cord, and remove abrasive contact. |
| The stake moves instead of the line tightening | The soil or anchor is too weak for the applied force. Reset the stake, use a more suitable stake or deadman anchor, change the pulling angle, or choose firmer ground. |
| The shelter becomes distorted | The guyline is overtightened or pulling at the wrong angle. Release some tension and rebalance the surrounding lines. |
| The knot jams after the trip | The finish may have been overtightened under a heavy load. Support the shelter, remove load from the line, loosen the half hitches first, and work the knot gently rather than pulling harder. |
| The rainfly sags after rain | The fabric, cord, soil, or stake position has changed. Inspect the system, reset the anchor if needed, and apply a small amount of fresh tension. |
Efficiently Untying the Trucker’s Hitch
A trucker’s hitch is easiest to untie after the load has been removed. Do not begin by yanking the midline loop while the shelter is still pulling against it.
Release Tension First
- Support or steady the tent, tarp, or line so a sudden release will not let it strike someone.
- Loosen and remove the second half hitch.
- Loosen the first half hitch while controlling the working end.
- Feed a small amount of cord back through the midline loop to remove the main tension.
Keep your face and hands away from the direct line of pull. A bent stake, stretched cord, or wind-loaded tarp may move suddenly when the lock is released.
Pull to Remove
After the line is slack, pull the working end completely out of the midline eye. Then collapse the twisted loop or untie the fixed loop. Work the cord gently if it is dirty or tightly set; forcing it can create heat, glazing, or unnecessary fiber damage.
Before storing the guyline, remove knots and tangles, inspect the high-friction sections, and let wet cord dry with airflow away from direct heat. Store it clean and loosely coiled so it is ready for the next setup.
Frequently Asked Questions
Can I use different types of rope for a trucker’s hitch?
Yes, but the cord must suit the shelter, anchor, knot, and expected load. Use the diameter and material recommended by the tent or tarp manufacturer when possible. Avoid damaged cord and test unfamiliar, stiff, or slippery line at low tension before relying on it.
Is the trucker’s hitch suitable for heavy loads?
Do not assume it is suitable merely because you can pull the line tight. Heavy, valuable, overhead, moving, or vehicle-borne loads require correctly rated rope or tiedowns, approved anchors, appropriate safety factors, and compliance with applicable rules. This guide is intended for recreational guylines and light-duty camp tasks.
How does weather affect the knot’s performance?
The effect depends on the cord material, construction, contamination, temperature, and shelter fabric. Rainfly fabric and some lines may change length or tension when wet. Inspect the anchor and knot after rain, strong wind, or a temperature change, then retension only as needed.
Can I tie a trucker’s hitch with one hand?
Some experienced users can form variations one-handed, but it is not the safest or clearest way to learn. Use both hands for controlled tension, proper dressing, and a secure finish. Never practice one-handed while the line is heavily loaded or capable of snapping back.
What are the common uses for a trucker’s hitch?
Common recreational uses include tightening tent and tarp guylines, tensioning a ridgeline or clothesline, and securing light camp gear. Do not extend those uses to climbing, fall protection, rescue, towing, lifting people, or overhead suspension.
Should I use a trucker’s hitch or a taut-line hitch?
Use a trucker’s hitch when you need stronger initial pulling power and a firm lock. Use a taut-line hitch when you want a simpler sliding adjustment and do not need as much purchase. A factory line tensioner is usually fastest when it is present and compatible with the cord.
Why does my trucker’s hitch keep slipping?
Common causes include a weak or moving anchor, a poorly dressed midline loop, slippery cord, crossed strands, loose half hitches, or too little tail. Release the load, inspect the cord, retie the loop in the slack part, and secure the working end with two snug half hitches.
Conclusion
A dependable trucker’s hitch starts with the right layout: one end attached to the shelter, a stable loop in the slack standing part, the working end routed around a secure anchor, and two half hitches locking the final tension. The twists used in one quick-loop variation help form the eye, but the complete reeved system creates the pulling advantage.
Practice the knot before relying on it in poor weather. Pull smoothly, stop when the shelter is evenly taut, inspect the anchor and cord, and recheck the pitch after rain or strong wind. Used within those limits, the trucker’s hitch is a practical way to tighten tent and tarp guylines without a separate tensioning device.
Sources
- REI Expert Advice: How to Set Up a Tent — guyline placement, use of a trucker’s hitch, and wet-weather retensioning.
- U.S. Antarctic Program Peninsula Field Manual 2026 — trucker’s-hitch mechanics, loop placement, guyline use, and knot terminology.
- Scouting America Troop Leader Resources: Rope Tackle — trucker’s-hitch applications and mechanical advantage.
- Samson Rope Warning Statement — rope selection, sharp edges, shock loading, inspection, abrasion, and retirement guidance.
- Federal Motor Carrier Safety Administration Cargo Securement Rules — rated tiedowns, working load limits, and vehicle cargo-securement requirements.

