
Last Updated on July 29, 2026 by Mason Reed
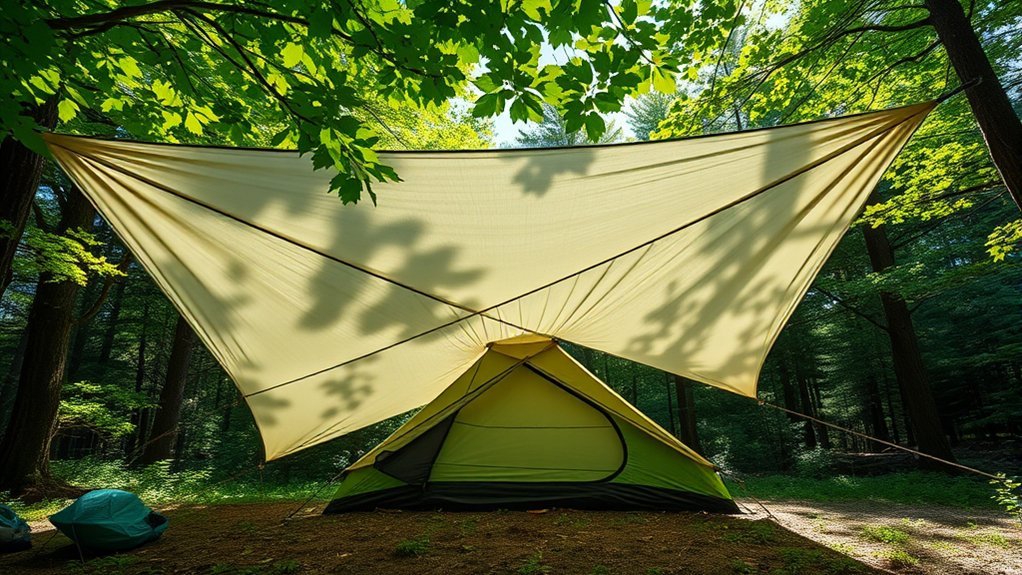
Setting up a tarp over your tent adds a useful second layer against rain, dripping trees, intense sun, and light debris. The key is to choose a safe campsite, use a tarp that fits the tent and expected weather, create a sloped and well-tensioned pitch, and secure every line without damaging nearby trees.
Quick Answer
To set up a tarp over a tent, run a ridgeline between two healthy trees or poles, center the tarp above the tent, and tension its corners with guylines and stakes. Pitch one side lower so rain drains away, keep the tarp from touching the tent, and inspect every connection before bad weather arrives.
Key Takeaways
- Inspect the ground, surrounding trees, overhead branches, drainage, and weather before setting up.
- Choose a tarp that extends beyond the tent roofline without becoming an oversized sail in the wind.
- Use a bowline, trucker’s hitch, and prusik or compatible tensioners to create an adjustable pitch.
- Angle the tarp so water drains away from the tent door, sleeping area, and natural depressions.
- Never treat a tarp as lightning shelter, throw hard tools into trees, or operate a stove inside the tent.
At a Glance
| Time Required | About 15–30 minutes after practicing the knots and layout |
| Difficulty | Beginner to intermediate |
| Tools Needed | Tarp, guylines, stakes, tree straps or padding, optional poles, and an optional stake mallet |
| Cost | No added cost if you own the gear; otherwise it varies by tarp material, size, cord, poles, and stakes |
Disclosure: As an Amazon Associate I earn from qualifying purchases. Some links on this page are affiliate links, at no extra cost to you.
Why Use a Tarp Over Your Tent?
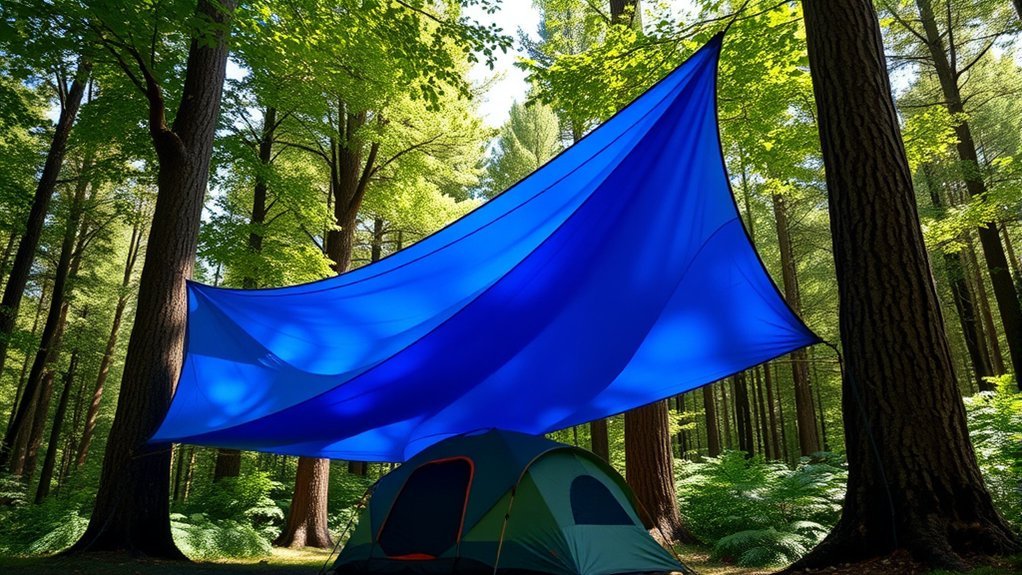
A well-pitched tarp can reduce the amount of rain that reaches your tent, provide shade during hot weather, and create a covered space near the entrance for removing wet footwear or organizing gear. It can also reduce prolonged sun exposure on the tent fabric.
The tarp must be pitched with enough slope for water to drain and enough tension to prevent deep pockets from forming. It should normally remain separated from the tent’s rainfly so the two fabrics do not rub, trap moisture, or transfer water through prolonged contact.
A tarp does not replace the tent’s rainfly, structural poles, stakes, or guylines. Continue to pitch the tent according to its manufacturer’s instructions and use the tarp as a separate weather layer.
A tarp is an extra weather layer—not a substitute for a sound tent, a safe campsite, or proper storm shelter.
Choose a Safe Location Before Unpacking
Walk the entire campsite before choosing attachment points. Look at the ground first, then inspect the trees and sky above you. The National Park Service campsite guide recommends checking for hazards such as flash flooding, lightning exposure, wind, dead trees, and overhead branches.
- Use an established or durable surface: Choose an existing tent pad, compacted ground, gravel, rock, or another permitted durable surface rather than expanding the campsite into vegetation.
- Avoid low spots: Do not pitch in a depression, dry wash, ravine, drainage channel, or area showing previous flood debris.
- Look overhead: Avoid dead, cracked, broken, leaning, or hanging branches. Do not assume a large tree is safe merely because its trunk looks thick.
- Check the wind: Use natural shelter where available, but do not camp directly beneath hazardous limbs or against unstable trees.
- Keep away from fire: Position the tent and tarp a safe distance from fire rings, grills, sparks, and hot exhaust.
- Follow local rules: Some campgrounds limit where tarps may be tied, prohibit attachments to trees, or require use of designated pads.
Warning: A tarp and tent do not protect you from lightning. When you hear thunder, move to a substantial enclosed building or an enclosed hard-top vehicle. Do not wait beneath the tarp, a picnic shelter, or an isolated tree.
Choose terrain that lets runoff continue downhill without passing beneath the tent. Do not dig drainage trenches. Leave No Trace rain-camping guidance advises campers to find suitable sites rather than reshape them.
Choose the Tarp, Cord, and Hardware
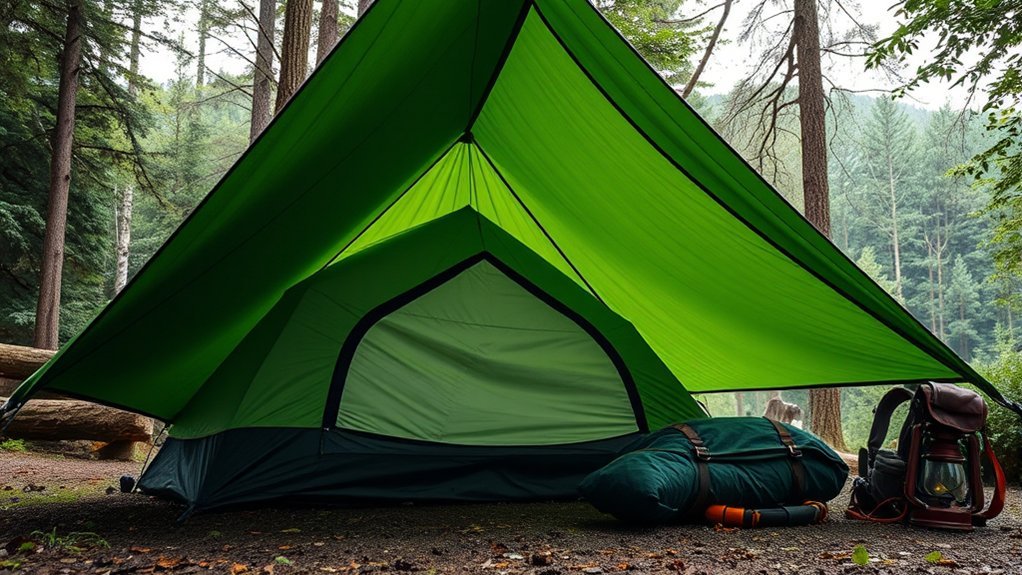
A dependable setup starts with gear that matches the tent, campsite, and forecast. Inspect every item before leaving home so a torn tie-out or missing stake does not become a problem during a storm.
Tarp Size and Material
Measure the tent’s roofline rather than relying only on the manufacturer’s floor dimensions. Choose a tarp that extends beyond the roof sufficiently to direct dripping water away from the walls and doors. The exact amount depends on the tarp shape, tie-out locations, pitch angle, wind, and available space.
A very small tarp may leave doors and upper walls exposed. An unnecessarily large tarp can catch more wind and may be difficult to tension over a compact site. The best tarp is large enough to provide useful coverage while still allowing every corner and side tie-out to be secured.
Common options include coated polyester, coated nylon, polyethylene, and purpose-built silpoly or silnylon tarps. Look for:
- Intact waterproof or water-resistant fabric suitable for the intended use.
- Reinforced corner and edge tie-outs.
- Sealed or sealable seams where required by the manufacturer.
- A packed weight and size appropriate for car camping or backpacking.
- Enough attachment points to spread wind loads across the tarp.
Guyline Types
Use weather-resistant accessory cord or guyline that fits the tarp’s tensioners, grommets, or loops. Low-stretch polyester guyline is easy to manage and usually needs less retensioning than highly elastic cord. Reflective line improves visibility around camp at night.
Paracord can work for moderate conditions, but many types stretch when loaded or wet and may need frequent adjustment. There is no universal requirement for 550-pound cord or a single correct diameter. Follow the tarp maker’s guidance and choose cord that is easy to knot, tension, and release.
Note: Do not confuse tarp guyline with life-safety or climbing rope. A tarp line must hold fabric under expected weather loads, but it is not designed to support a person.
Tools and Supplies
- A weather-resistant tarp with undamaged tie-outs.
- A ridgeline long enough to span the selected supports.
- Separate guylines for corners and side tie-outs.
- Enough stakes for every important tie-out, plus one or two spares.
- Wide webbing straps or padding where lines contact trees.
- Two trekking poles, tarp poles, or sturdy manufacturer-approved supports when trees are unavailable.
- A stake mallet if the soil requires it.
- A multi-tool or repair kit for minor gear repairs.
- Reflective markers or bright cord for lines near walking paths.
Never throw a hammer, rock, stake, or other hard object over a branch. Attach the ridgeline around a reachable trunk, use poles, or use a purpose-made lightweight throw system only where local rules allow it and no one is beneath the line.
Three Useful Tarp Knots
The REI tarp setup guide demonstrates three practical knots for a ridgeline pitch:
- Bowline: Creates a fixed loop for attaching a line to a tarp loop, strap, stake, or tree connection.
- Trucker’s hitch: Adds mechanical advantage so the ridgeline or guyline can be tensioned and released.
- Prusik: Slides along the ridgeline when unloaded but grips under tension, allowing the tarp to be centered and tightened.
A taut-line hitch or built-in line tensioner can also make corner adjustments easier. Do not rely on a square knot as a universal way to join two loaded guylines. A sheet bend or double fisherman’s knot may be more suitable depending on the cord, but carrying lines of adequate length is simpler and reduces failure points.
How to Set Up a Tarp Over a Tent Step by Step
1. Check the Forecast and Campsite
Review the forecast before pitching. Identify the likely wind direction, expected rainfall, and a safe place to go if thunderstorms develop. Inspect the ground, trees, overhead limbs, and evacuation route before placing the tent.
2. Pitch the Tent First
Set up the tent according to its instructions, including the footprint, rainfly, stakes, and tent guylines. This shows the exact roofline, door position, and space available for the tarp. Do not let a groundsheet extend beyond the tent floor, because exposed material can collect runoff beneath the tent.
3. Choose the Tarp Orientation
For balanced rain coverage, align the tarp’s centerline over the tent’s main ridge. Position the tarp so one edge or corner is lower than the others, allowing water to drain away from the door and sleeping area.
In wind, turn the lower, narrower, or closed side toward the prevailing wind. Avoid presenting a wide vertical wall to gusts.
4. Select and Protect the Supports
When using trees, select healthy living trunks that are properly spaced for the tarp and do not bend under light hand pressure. Avoid trees with cavities, fungal growth, loose bark, major cracks, exposed roots, or damaged crowns.
Wrap wide webbing or protective padding around each trunk before applying tension. The Leave No Trace Skills & Ethics Guide advises campers not to use nails or wire and recommends padding ropes or straps when necessary to protect bark.
5. Install the Ridgeline
- Wrap a tree strap or padded section of line around the first support at a reachable height.
- Secure the first end with a bowline or the tarp manufacturer’s recommended connection.
- Run the ridgeline to the second support without twisting it.
- Use a trucker’s hitch or compatible tensioner at the second end.
- Tighten until the line is firm but not guitar-string tight.
The ridgeline may run above or below the tarp depending on its design. A line above the tarp keeps abrasion away from the fabric but requires suitable top loops or prusiks. A line beneath the tarp supports the ridge directly but may channel water along the cord unless drip lines or suitable attachment methods are used. Follow the tarp maker’s instructions when available.
6. Attach and Center the Tarp
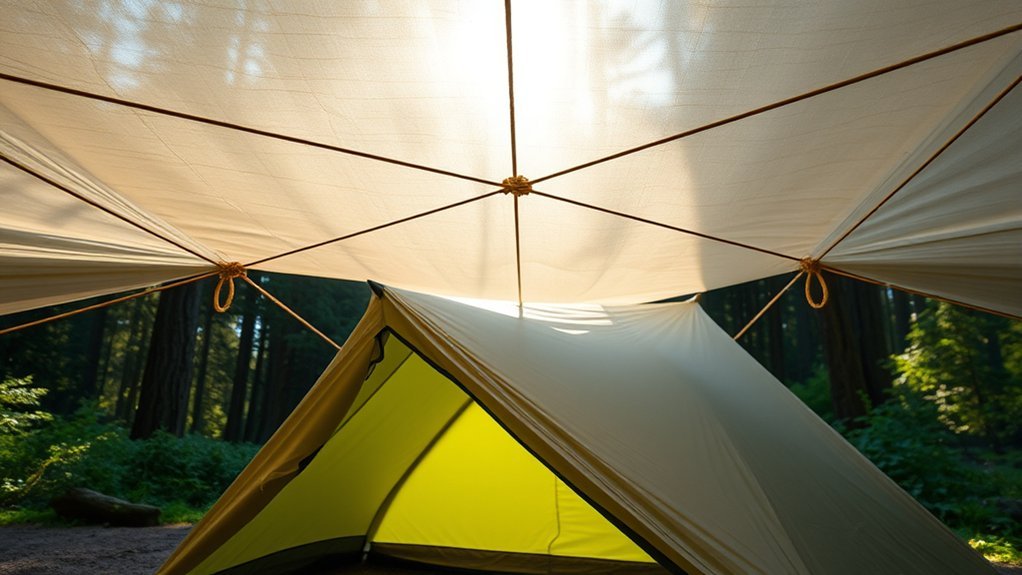
Connect the tarp’s ridge loops or reinforced tie-outs to the ridgeline. Prusik loops or compatible tensioners let you slide the tarp into position before tightening it.
Center the tarp so it covers the tent roof and important openings. Leave an air gap between the tarp and tent. Check that no grommet, buckle, knot, or rough cord rests against the tent fabric.
Pro Tip: Center the tarp loosely before staking any corners. Once the corner lines are under tension, shifting the whole tarp becomes much harder.
7. Stake the Corners
Attach a separate guyline to each important corner tie-out. Pull the line outward in the direction the reinforced tie-out naturally points. This spreads the load instead of twisting the fabric.
- Stake the windward or lower side first.
- Move diagonally to the opposite corner and apply light tension.
- Secure the remaining corners.
- Add side guylines where the tarp has reinforced intermediate tie-outs.
- Keep lines out of doorways and mark those near walking routes.
Drive stakes at an angle that resists the direction of pull and place them in firm soil. In sand, snow, or soft soil, use longer stakes, deadman anchors, or manufacturer-approved anchors suited to the surface. Rocks may supplement a correctly placed stake when local rules allow, but loose rocks should not be balanced where they can roll onto people or equipment.
8. Create a Drainage Slope
Lower one side, end, or corner so every section of the tarp drains. Look across the surface for flat pockets and shallow valleys. Water should flow off the tarp and continue downhill without landing on the tent door, pooling beneath the floor, or eroding the campsite.
Do not leave the tarp completely flat. Even a tightly stretched flat tarp can collect water as the fabric and cord relax.
9. Inspect Every Connection
- Confirm the ridgeline is secure and not cutting into tree bark.
- Check that knots are dressed, tightened, and backed up where appropriate.
- Make sure each stake is firm and aligned with the pull of the line.
- Confirm the tarp does not touch the tent.
- Check that runoff clears the door, vestibule, and sleeping area.
- Remove slack without overstressing grommets or seams.
- Walk around the setup and identify tripping hazards.
How to Set Up the Tarp Without Trees
You can create the same basic structure with trekking poles, dedicated tarp poles, or supports supplied by the tarp manufacturer.
- Place one pole at each end of the proposed ridgeline.
- Position each pole tip in a reinforced tarp grommet or approved pole pocket.
- Run a guyline from the top of each pole to a firm stake.
- Angle the poles slightly away from the tarp so the guylines stabilize them.
- Stake the tarp corners lightly.
- Alternate between the pole guylines and corner lines until the pitch is stable and even.
Do not place an unprotected pole tip directly against unsupported tarp fabric. In rocky areas where stakes cannot be driven, use manufacturer-approved anchors or secure guylines to stable natural anchors without moving or damaging vegetation.
Adjust the Pitch for Rain, Wind, or Shade
For Heavy Rain
- Use a steeper slope so water leaves the tarp quickly.
- Lower the windward side to block wind-driven rain.
- Keep the ridgeline and corner lines firm.
- Direct runoff away from the tent door and natural low spots.
- Check the setup after the fabric becomes wet because some materials stretch.
- Do not dig trenches or build drainage structures.
For Wind
- Pitch the tarp lower to reduce exposed surface area.
- Face the narrow, low, or closed side into the prevailing wind.
- Use reinforced intermediate tie-outs to distribute loads.
- Avoid loose fabric that can snap and flap.
- Do not overtighten one corner while leaving the opposite side slack.
- Take the tarp down if conditions exceed the tarp’s rating or safe anchor points are unavailable.
For Sun and Ventilation
- Raise the tarp enough to let warm air escape.
- Use a broader, more open pitch when strong wind and rain are not expected.
- Leave clear airflow around the tent vents.
- Reorient the tarp as the sun moves if practical.
- Keep reflective guylines visible in shaded areas.
Cooking and Fire Safety Around a Tarp
A tarp can create a useful covered work area, but the cooking space should be separate from the sleeping tent. Do not place a stove, lantern, grill, or open flame inside the tent or where flame, heat, sparks, or exhaust can contact the tarp.
Warning: The U.S. Consumer Product Safety Commission warns that fuel-burning camping equipment can cause fatal carbon-monoxide poisoning in enclosed shelters. Use appliances only as their manufacturers direct, maintain open ventilation, and never use them inside a tent.
Keep the cooking tarp open-sided and maintain the clearance stated in the stove or lantern manual. Do not cook beneath low-hanging fabric, and do not position the cooking area so exhaust blows into the tent. Follow all campground fire restrictions and wildlife-food-storage rules.
Troubleshooting Common Tarp Problems
| Problem | Likely Cause | Fix |
|---|---|---|
| Water pools in the center | The pitch is too flat, the fabric has stretched, or one corner is too high | Increase the slope, retension the ridgeline, and lower a drainage corner |
| The tarp flaps loudly | Uneven tension or a broad side facing the wind | Lower the pitch, face a narrow edge into the wind, and balance opposing lines |
| A stake pulls out | Soft soil, shallow placement, or a poor pull angle | Reposition the stake, use a longer or surface-specific anchor, and reduce abrupt loading |
| A grommet or tie-out looks strained | The line pulls sideways or one point carries too much load | Realign the guyline and spread tension across additional reinforced tie-outs |
| The tarp touches the tent | The tarp is too low, off-center, or sagging | Raise or recenter the ridgeline and retension the affected corners |
| Runoff lands at the door | The drainage edge is aimed toward the entrance | Lower a different corner or shift the tarp so water exits beside or behind the tent |
Make Future Setups Faster
Practice the full pitch at home before the trip. Pre-cut and label the ridgeline and corner guylines, keep each line loosely coiled, and store stakes in a dedicated pouch. Learn the three main knots before rain or darkness makes the task harder.
At camp, keep the sequence simple:
- Inspect the site and overhead hazards.
- Pitch the tent.
- Install the ridgeline or poles.
- Center the tarp.
- Stake opposite corners.
- Create a drainage slope.
- Inspect and retension.
Check the tarp after strong gusts, heavy rain, or a major temperature change. Wet fabric, soft ground, and changing wind can alter tension even when the original pitch was secure.
Care, Takedown, and Storage
- Shake off standing water and debris before removing the lines.
- Release tension gradually so poles and stakes do not spring free.
- Remove stakes by pulling from the stake body rather than yanking the guyline.
- Untie or loosen tree attachments without scraping bark.
- Pack out every cord, marker, stake, and repair item.
- Dry the tarp completely as soon as practical before long-term storage.
- Inspect seams, coatings, grommets, loops, and guylines for abrasion or mildew.
- Store cord loosely coiled to reduce tangles and sharp bends.
Small holes can often be repaired with material-compatible tape or sealant. Follow the tarp manufacturer’s repair and cleaning instructions because strong detergents, heat, and incompatible coatings can damage waterproof treatments.
Frequently Asked Questions
How do I choose the right tarp size for my tent?
Measure the tent’s roofline and doors, then choose a tarp that extends far enough beyond them to direct runoff away. The exact overhang depends on the tarp shape, pitch, wind, and tie-out locations. Avoid a tarp so large that you cannot tension every important edge.
Can I use a tarp over a tent in windy conditions?
Yes, when the tarp, anchors, and campsite are suitable. Pitch it lower, face a narrow or closed edge into the wind, use reinforced side tie-outs, and keep tension balanced. Take it down if anchors begin failing or conditions exceed the equipment’s limits.
What type of rope is best for a tarp setup?
Use weather-resistant, low-stretch guyline that fits the tarp’s tie-outs and tensioners. Reflective polyester guyline is a practical choice for many campsites. Paracord may work but can stretch and require retensioning. Follow the tarp manufacturer’s recommendations.
How do I prevent water from pooling on the tarp?
Give the tarp a clear slope, remove valleys from the fabric, and retension it after it becomes wet. Lower one corner or side so water has an obvious exit path, and make sure that path does not lead beneath the tent or across the entrance.
Do I need to stake every tarp corner?
Every structural corner should normally be secured, especially in rain or wind. Additional reinforced side tie-outs may also be needed. Where stakes cannot be used, attach lines to suitable stable anchors or use surface-specific anchors permitted at the campsite.
How can I set up a tarp when there are no trees?
Use trekking poles, dedicated tarp poles, or manufacturer-supplied supports. Stabilize each pole with an outward-running guyline, then stake and tension the tarp corners gradually. Protect the fabric from bare pole tips unless the tarp has reinforced grommets or pole pockets.
Should the tarp touch the tent?
No. Leave an air gap whenever possible. Contact can create abrasion, trap moisture, block tent ventilation, and allow water to transfer where wet fabrics press together. Recenter or retension the tarp if it begins sagging onto the tent.
Conclusion
Setting up a tarp over a tent is straightforward once you follow a consistent order: inspect the campsite, pitch the tent, install a protected ridgeline or poles, center the tarp, secure the corners, and create a clear drainage slope. A firm, balanced pitch provides useful rain and sun coverage without placing unnecessary stress on the fabric.
Check the setup whenever weather changes, protect trees and durable surfaces, and keep flames and fuel-burning equipment away from the tent. Most importantly, remember that a tarp is not lightning shelter. With those limits understood, it can make a wet or sunny campsite much more comfortable.
Sources
- National Park Service: Finding and Setting Up a Campsite — campsite layout, falling-limb, flood, wind, fire, and low-ground hazards.
- REI Co-op: How to Set Up an Ultralight Tarp Shelter — ridgeline methods, tarp configurations, stakes, poles, and useful knots.
- Leave No Trace: Camping in the Rain — durable campsite selection and avoiding drainage trenches.
- Leave No Trace Skills & Ethics Guide — protecting tree bark and avoiding nails, wire, and branch damage.
- National Park Service: Lightning Safety — why tents and tarps are not safe thunderstorm shelters.
- U.S. Consumer Product Safety Commission: Camping Equipment and Carbon Monoxide — fuel-burning appliance hazards in tents and enclosed shelters.
