Last Updated on July 29, 2026 by Mason Reed
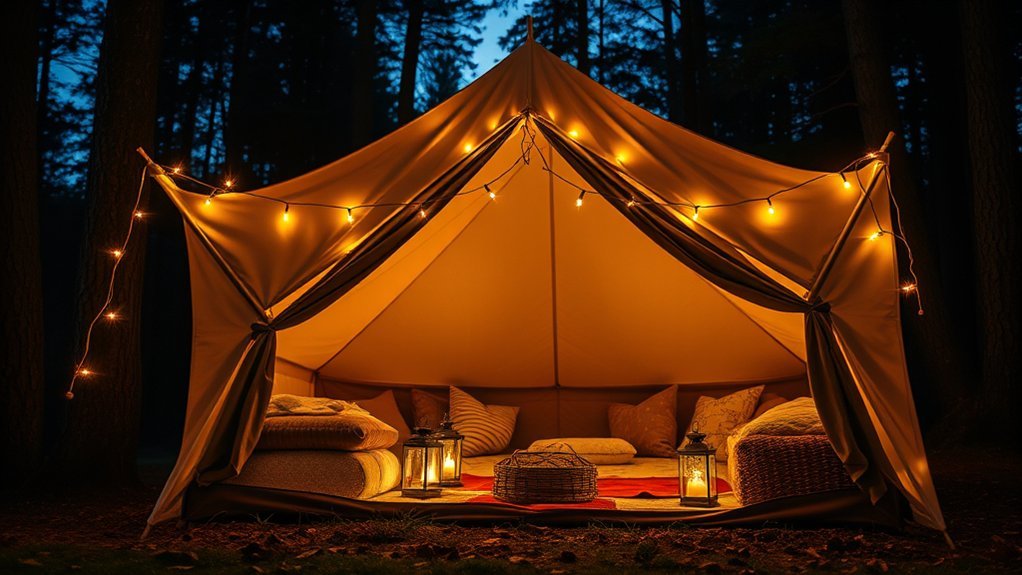
A good tent lighting setup should help you see, move safely, and relax without filling the campsite with harsh glare. The simplest approach is to layer one dependable lantern with softer decorative lighting, then match the power source and weather rating to where each light will be used.
Quick Answer
For most campsites, use a dimmable battery or rechargeable LED lantern as the main light, then add low-output warm-white string lights for ambiance. Keep fuel-burning lanterns and real candles outside the tent. Choose outdoor-rated lights, secure cords and clips, and use the lowest brightness that safely handles each task.
Key Takeaways
- Use battery-powered or rechargeable LED lights inside a tent; operate gas, propane, kerosene, and other fuel-burning lanterns only outside.
- Layer a lantern for general light, a headlamp for hands-free tasks, and low-output string or fairy lights for ambiance.
- Check the label for outdoor or wet-location suitability instead of assuming a light is waterproof.
- Choose warm white light around 2700–3000K for a softer look, and use a red mode when you want to preserve night vision.
- Keep electrical connections dry, use GFCI-protected power outdoors, and prevent cords from becoming trip hazards.
At a Glance
| Time Required | 10–20 minutes |
| Difficulty | Easy |
| Tools Needed | LED lantern, headlamp, clips or small carabiners, optional string or rope lights, spare batteries or a charged power bank |
| Cost | About $20–$150+, depending on brightness, runtime, weather rating, and the number of lights |
Warning: Never use a fuel-burning lantern, stove, heater, charcoal device, or generator inside a tent. These products can produce carbon monoxide, consume oxygen, create intense heat, and ignite tent fabric. Use battery-powered LED lighting inside the sleeping area.
Disclosure: As an Amazon Associate I earn from qualifying purchases. Some links on this page are affiliate links, at no extra cost to you.
Plan a Layered Tent Lighting Setup
One bright light rarely does every job well. A layered setup is more comfortable and gives you backup lighting if one device fails:
- General light: Hang or place a dimmable lantern where it can spread light across the tent without shining directly into anyone’s eyes.
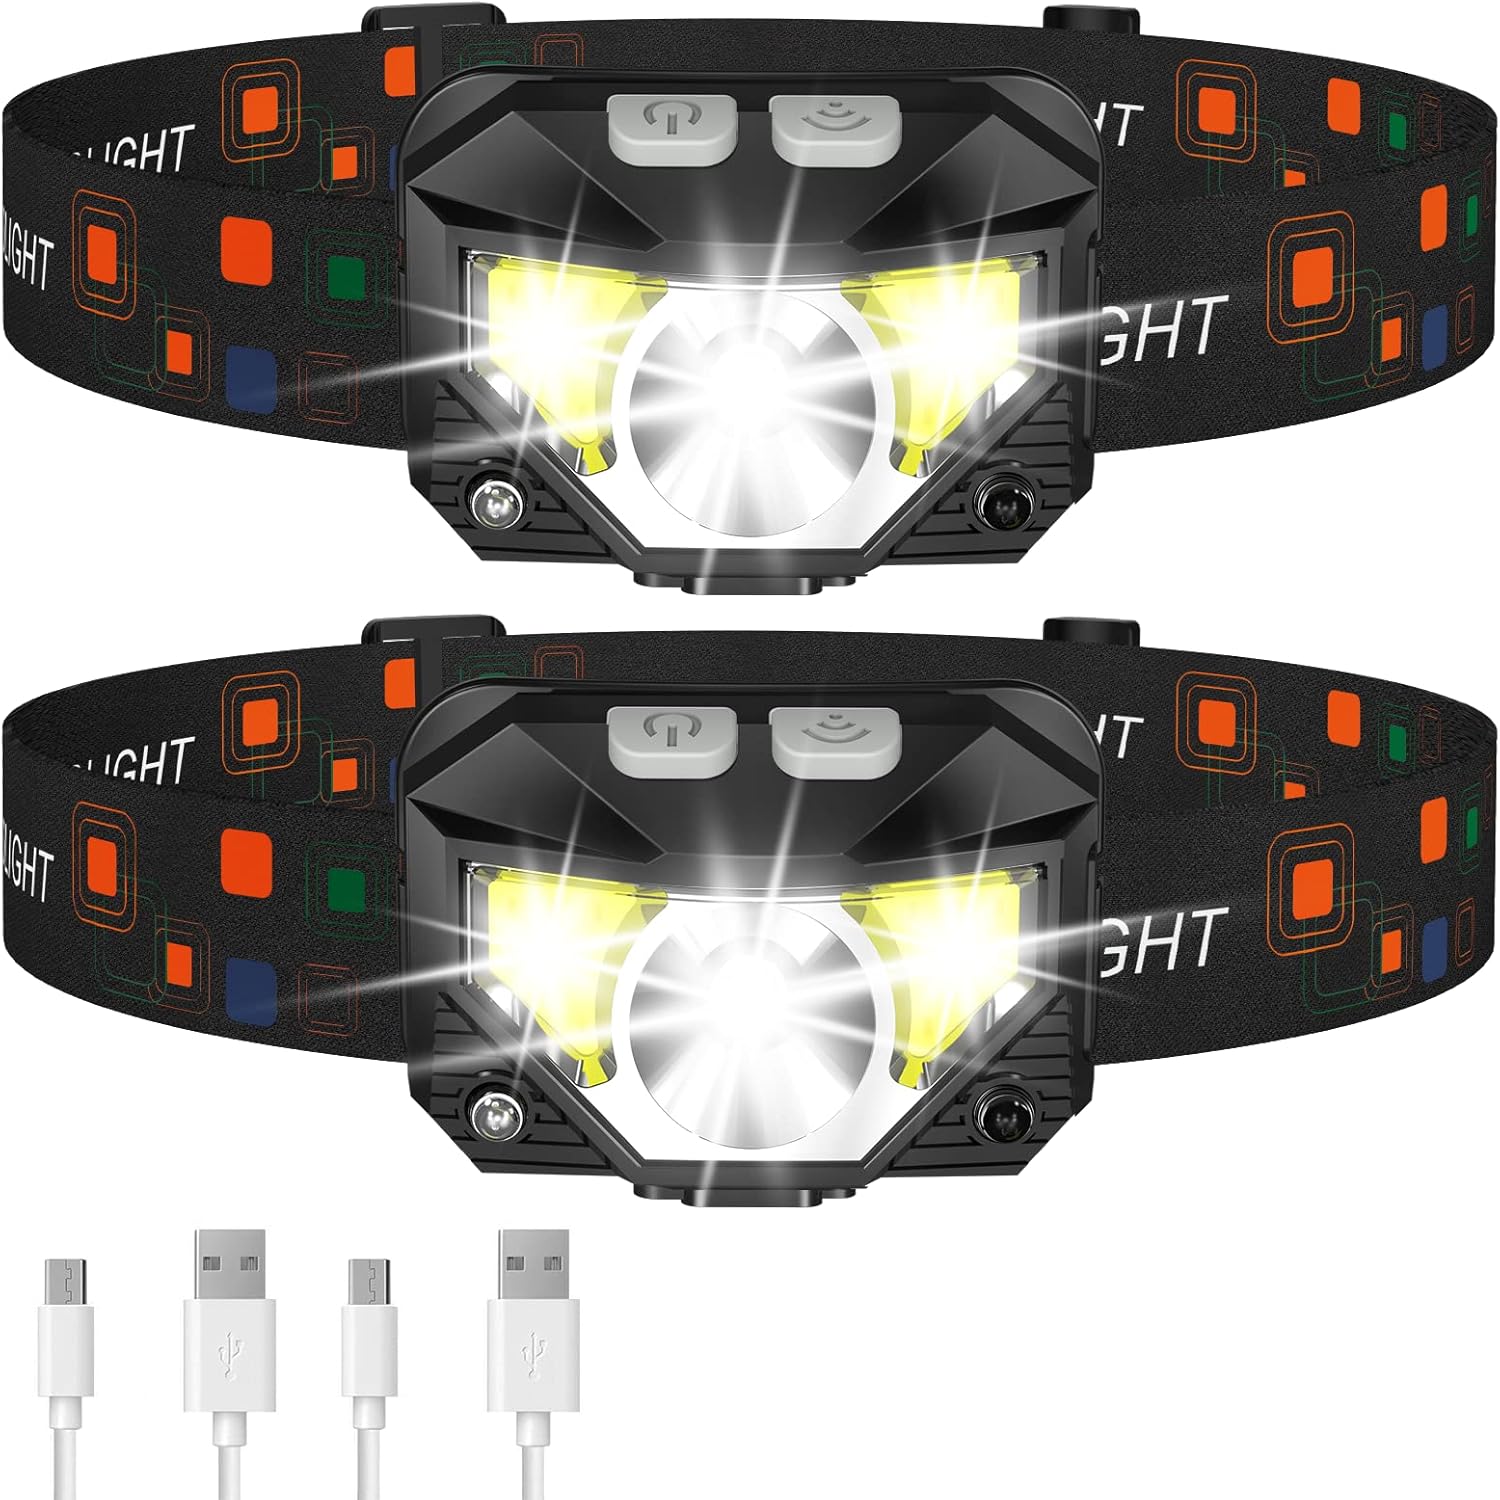
- Task light: Keep a headlamp or small directional light for cooking, reading, organizing gear, and nighttime walks.
- Ambient light: Add warm fairy lights, twinkle lights, or flameless candles at low brightness.
- Path light: Use a separate weather-rated light outside the tent for the entrance, guy lines, and route to the picnic table. Decorative lights alone may not be bright enough for safe footing.
Pro Tip: Set up and test every light at home. Confirm the runtime, charging cable, brightness controls, clips, and weather rating before you depend on the system at camp.
Camping Lanterns for Functional Illumination
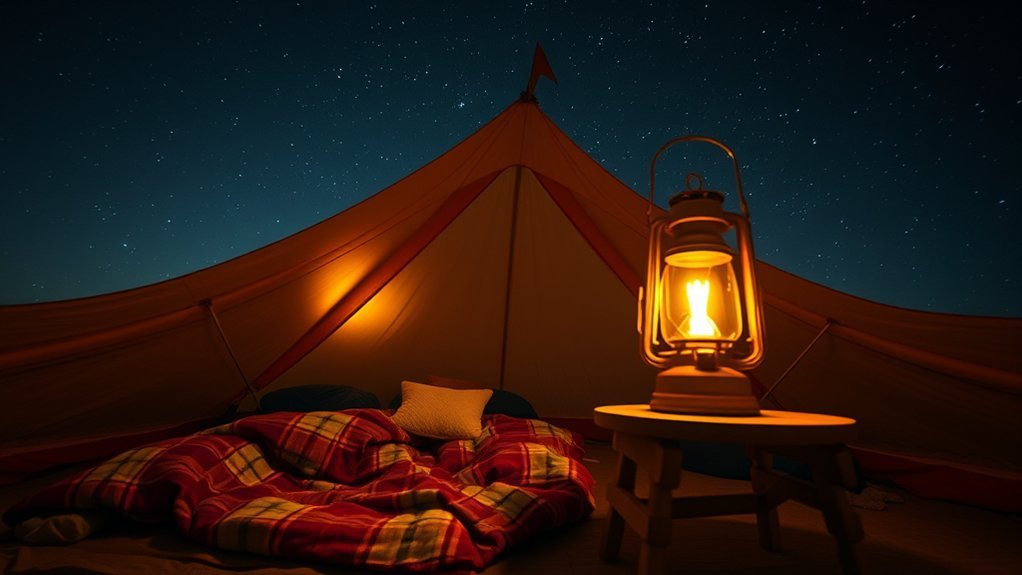
Camping lanterns provide the most useful all-around illumination. Inside a tent, choose an LED model powered by replaceable batteries, a rechargeable battery, or a USB power bank. Look for a stable base, a secure hanging point, multiple brightness settings, and a diffuser that reduces glare.
How Many Lumens Do You Need?
Lumens measure total light output, but beam shape, tent color, diffuser design, and hanging height also affect how bright a lantern feels. These practical ranges are starting points rather than safety standards:
- 20–50 lumens: Soft night-light or decorative use.
- 50–150 lumens: Reading, changing clothes, and organizing a small tent.
- 150–300 lumens: General illumination in a larger family tent.
- 300–600 lumens: A picnic table, cooking area, or broad campsite task lighting.
- 800–1000 lumens: Large-area lighting when high output is briefly needed; dim it when possible to reduce glare.
Real products vary widely. For example, the Barebones Edison Pendant String Lights list 40 lumens on low and 250 lumens on high, while the Coleman 1000 Lumens LED Lantern reaches 1000 lumens on high. Select output for the task instead of buying the brightest option by default.
Decorative and Packable Lantern Options
For vintage styling, the product sometimes described as an “Edison Hanging Camping Lantern” is more accurately represented by the current Barebones Edison Pendant Light, a USB-powered LED pendant intended for outdoor use. The Barebones Railroad Lantern offers adjustable brightness and a rechargeable battery in a heavier steel-and-glass design.
Backpackers may prefer an inflatable solar lantern that packs flat and adds little bulk. Treat solar charging as a convenience, not your only plan: charge the light before the trip and carry a backup headlamp or spare batteries.
Fuel-burning lanterns belong outside the tent. For sleeping areas, battery-powered LED lighting is the safer choice.
Fairy Lights for a Warm Glow
Fairy lights can soften the interior of a tent without taking up much room. Battery-operated sets are easiest at primitive campsites because they do not require an outlet. Solar sets can also work, but the panel needs enough daylight and should be positioned where it will not be stepped on or shaded all day.
Use the tent’s built-in gear loops, ceiling loops, or accessory line. Attach the lights with lightweight clips instead of piercing the fabric or wrapping wire tightly around poles. Leave enough slack for the tent to flex in wind, and keep the battery pack where it stays dry and can be switched off easily.
For a warm appearance, look for a color temperature around 2700–3000K. Fairy lights are best for ambiance and orientation; use a lantern or headlamp when you need enough light to inspect the floor, find hazards, or perform detailed tasks.
LED Rope Lighting for Enhanced Visibility
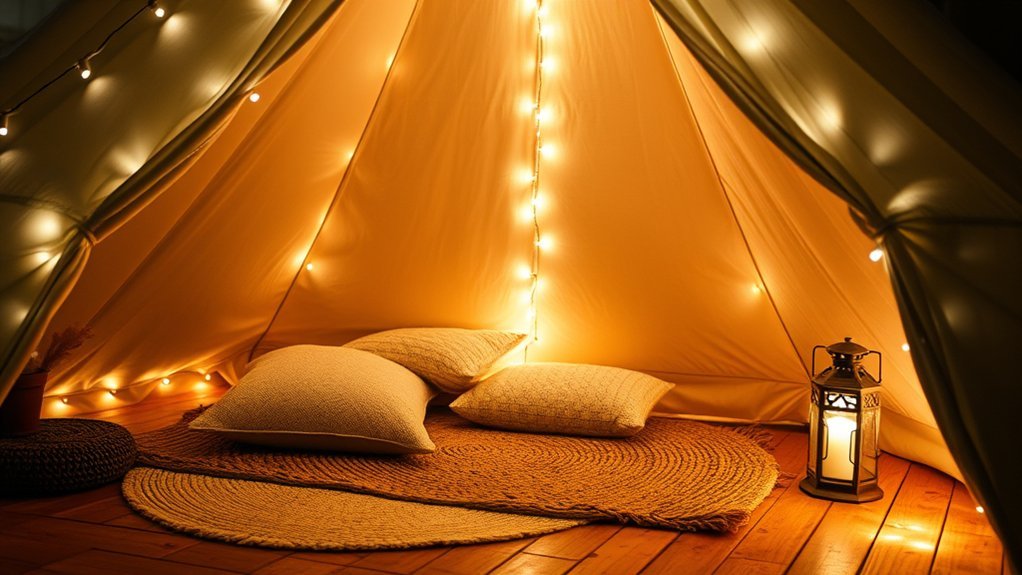
LED rope lighting can mark a vestibule edge, canopy, picnic area, or approach to the tent. Its enclosed shape is less likely to snag than a loose strand, but it can still create a trip hazard when placed across a walkway. Route it beside the path rather than through the middle, and do not place it under the tent floor, through a zipped doorway, or anywhere the cable can be crushed.
Do not assume every rope light is waterproof. Check the product label for its outdoor, damp-location, wet-location, or IP rating, and follow the manufacturer’s limits. A light described as water-resistant may handle rain or splashes but still be unsuitable for standing water or immersion.
Choose a low or dimmable setting for ordinary campsite use. Bright rope lighting aimed outward can disturb nearby campers, wash out the night sky, and create glare that makes dark areas harder to see.
Note: A weather rating applies to the specific product and sometimes to the light section only. The plug, controller, USB connection, or battery box may require separate protection from rain.
Twinkle Lights for a Magical Atmosphere
Twinkle lights are fairy or string lights with a flashing, fading, or sparkling mode. They can create a playful or romantic look for a family campout, backyard gathering, or glamping setup. Battery-operated models avoid long cords, while USB models can run from a charged power bank.
Use steady or slow-fade modes in shared campgrounds so the light does not distract neighbors. Turn decorative lights off when everyone goes to sleep, both to save power and to reduce unnecessary nighttime lighting. Keep the controls accessible so you do not have to pull on the strand or disturb the tent fabric.
Twinkle lights should support the main lighting plan, not replace it. A lantern or headlamp is still needed for cooking, first aid, checking tent stakes, and walking over uneven ground.
Flameless Candles for Safety and Ambiance
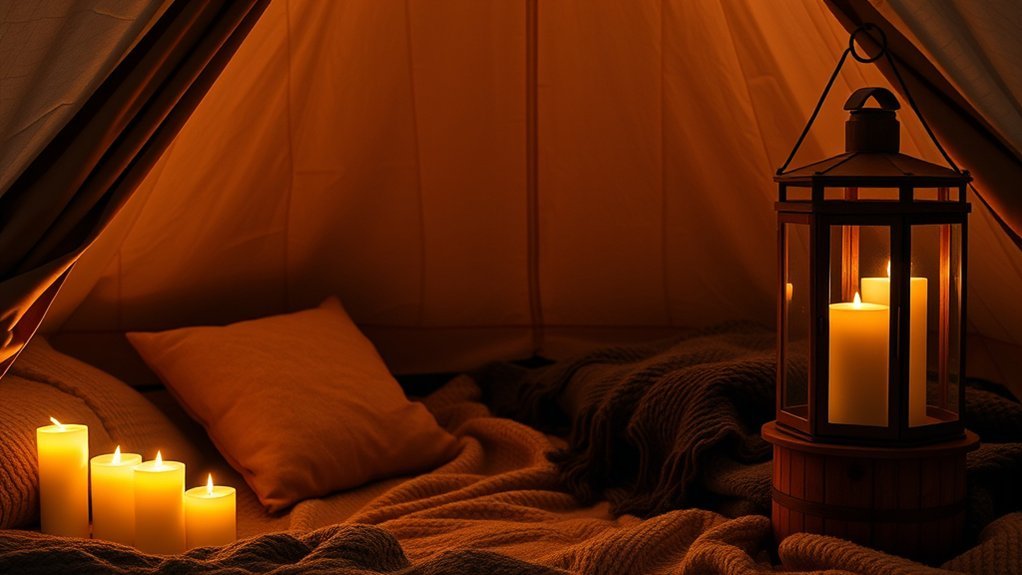
Flameless candles imitate a flickering candle without an exposed flame, making them a better tent option than real candles. Choose a stable model with a secure battery compartment, and place it where it will not be buried under bedding, stepped on, or knocked into a water bottle.
Automatic timers can save battery power and make the lights easier to manage, but test the timer before the trip. A reflective lantern shade, pale tent wall, or tabletop can spread the glow without requiring a brighter setting.
Scented flameless candles need extra care in bear country. The National Park Service advises campers to secure scented items because bears may treat almost anything with an odor as food. Use unscented lights when possible, and store scented candles with your other scented items when they are not in use.
Choose the Right Power Source
Replaceable Batteries
AA, AAA, C, and D batteries are simple to swap and work well for longer trips without charging access. Bring a full spare set in a dry container. Follow the device instructions, match battery type and orientation, and avoid mixing old and new batteries.
USB-Rechargeable Lights
Rechargeable lanterns reduce the number of disposable batteries you carry. Charge every light and power bank before leaving, pack the correct cable, and check whether the lantern can operate while charging. Cold conditions may shorten usable runtime, so keep a backup light available.
Solar-Powered Lights
Solar lights are useful for topping up power during a sunny trip, but charging speed depends on panel size, placement, weather, season, and daylight hours. Do not rely on a small solar panel as the only source of nighttime lighting.
Battery Care and Disposal
Stop using a light if its rechargeable battery swells, leaks, becomes unusually hot, or has a damaged charging port. Keep loose batteries away from metal objects that could bridge the terminals. The U.S. Environmental Protection Agency says lithium-ion and other rechargeable batteries should go to a dedicated battery-recycling or household hazardous-waste collection point, not into household trash or curbside recycling.
Hang and Power Tent Lights Safely
- Use built-in attachment points. Hang lightweight lights from ceiling loops, gear loops, accessory lines, clips, or small carabiners. Do not puncture the fly or tent body.
- Keep weight low. Heavy lanterns can deform the tent or tear unsupported fabric. Place them on a stable surface or use a structural hanging point approved by the tent maker.
- Prevent heat and abrasion. Even LED housings can become warm. Keep lights and power packs away from sleeping bags, loose clothing, and rubbing points.
- Route cords at the edge. Keep cords away from doors, sleeping areas, and walking paths. Do not pinch them under poles, stakes, furniture, or zippers.
- Use outdoor-rated electrical equipment. At an electric campsite, use lights and extension cords marked for outdoor use and GFCI protection, inspect the equipment for damage, and keep connections dry.
- Keep connections dry. Elevate plugs, USB joints, controllers, and power strips off the ground and protect them according to the manufacturer’s directions. Disconnect corded lighting during severe weather.
Reduce Glare and Protect the Night
More light is not always better. Aim lights downward, use the lowest practical brightness, and turn them off when they are no longer needed. These steps follow the Five Principles for Responsible Outdoor Lighting, which emphasize useful, targeted, low-level, controlled, and warm-colored light.
A red-light headlamp is helpful for late-night movement and stargazing because it affects dark-adapted vision less than bright white light. Keep a white mode available for hazards, first aid, and tasks where accurate color and detail matter.
Tent Lighting Troubleshooting
- The light is dim: Lower temperatures, aging batteries, a partially charged power bank, or a high-resistance cable may reduce output. Warm the battery gradually, recharge it, or install a fresh matched set.
- The light flickers: Check battery orientation, clean dry contacts, tighten detachable connections, and inspect the cord for damage. Stop using damaged equipment.
- A solar light did not charge: Move the panel into direct sun, remove protective film or dirt, switch the unit to its charging mode, and allow a full day before testing again.
- Condensation appears inside: Turn the light off, disconnect power, and dry it fully. Do not reopen a sealed product unless the manufacturer permits it.
- The setup feels too bright: Lower the lantern, aim it at a pale wall or diffuser, reduce the lumen setting, and switch off decorative lights that are not helping with a task.
Frequently Asked Questions
What are the best battery options for tent lights?
Rechargeable lithium-ion lanterns are convenient for regular use, while replaceable AA, AAA, C, or D batteries are easy to swap on trips without charging access. Solar charging can supplement either system, but it should not be your only power plan. Carry a backup headlamp and keep spare batteries dry.
How can I safely power lights inside my tent?
Battery-powered or USB-rechargeable LED lights are the simplest choice. At an electric campsite, use outdoor-rated cords and lights, connect through GFCI protection, keep every connection dry and off the ground, and route cords away from doors and sleeping areas. Never run a generator or fuel-burning lantern inside the tent.
Are there waterproof lighting options for camping?
Yes, but “water-resistant,” “weather-resistant,” and “waterproof” are not interchangeable. Read the manufacturer’s outdoor, wet-location, or IP rating and check whether it covers the entire system, including the controller, battery box, plug, and charging port. Keep all equipment out of standing water.
How do I hang lights without damaging the tent?
Use the tent’s ceiling loops, gear loops, accessory line, lightweight clips, or small carabiners. Do not pierce the fabric, tape lights to coated panels, or hang a heavy lantern from unsupported mesh. Leave enough slack for the tent to flex in wind.
What are the best light colors for a cozy atmosphere?
Warm white light around 2700–3000K creates a softer yellow-toned appearance. Use a dimmer or low mode to reduce glare. A red mode is useful when preserving night vision matters, while neutral or white task lighting is better for cooking, first aid, and checking gear colors.
How many lumens should a tent lantern have?
About 50–150 lumens is often enough for a small tent, while 150–300 lumens gives a larger family tent more general light. Higher output can help at a cooking table or large campsite, but a dimmable lantern is more useful than a single high setting.
Can I use a propane or gas lantern inside a tent?
No. Fuel-burning lanterns can produce carbon monoxide, consume oxygen, create high heat, and ignite nearby material. Operate them only outdoors as directed by the manufacturer, away from tent fabric and other combustibles. Use battery-powered LED lights inside the tent.
Conclusion
The best tent lighting setup combines function with restraint. Start with a dimmable LED lantern and a backup headlamp, then add warm fairy lights, twinkle lights, rope lighting, or flameless candles only where they improve comfort or visibility. Keep fuel-burning equipment outside, match every product to the weather and power conditions, secure cords carefully, and turn unnecessary lights off. The result is a campsite that feels cozy without sacrificing safety, battery life, or the night sky.
Sources
- U.S. Consumer Product Safety Commission: Portable Heaters and Camping Equipment — carbon-monoxide hazards from fuel-burning camping equipment.
- U.S. Consumer Product Safety Commission: Outdoor Electrical Lighting Safety — outdoor-rated lights, cord inspection, and GFCI protection.
- National Park Service: Stargazing 101 — red light and night-vision guidance.
- National Park Service: Bear Safety and Scented Items — storage of scented products at camp.
- ENERGY STAR: Color Appearance and Correlated Color Temperature — warm-white and cool-white Kelvin ranges.
- DarkSky International: Five Principles for Responsible Outdoor Lighting — targeted, low-level, controlled, warm-colored outdoor light.