
Last Updated on July 29, 2026 by Mason Reed
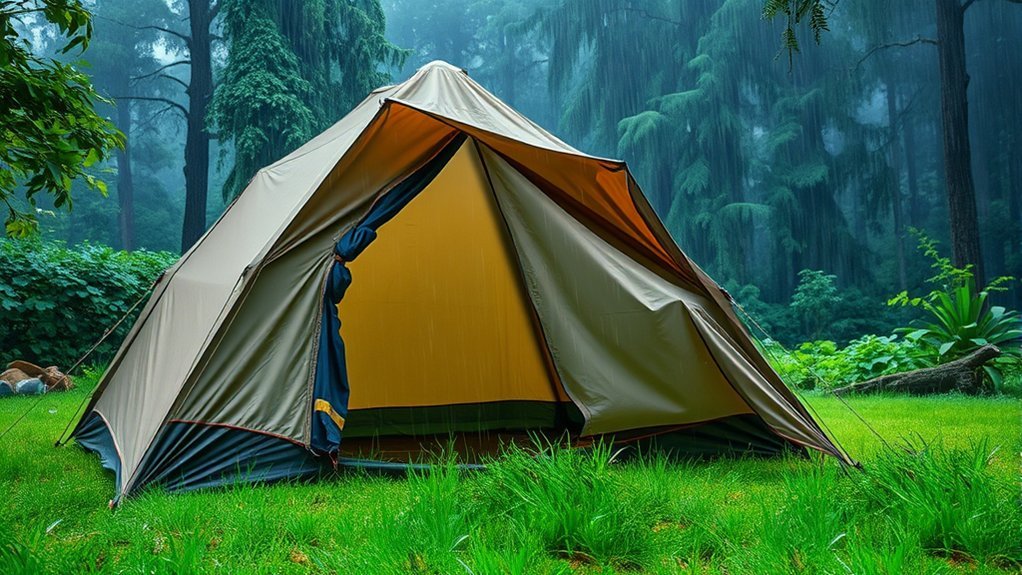
A dry tent entry starts before the rain reaches camp. The safest approach is to choose an established site that already drains well, tuck the footprint beneath the tent floor, tension the rainfly, and pitch a separate tarp so water runs beyond the doorway. Good setup matters, but it should never involve digging trenches or reshaping the campsite.
Quick Answer
Create a dry tent entry by choosing a raised, established site; tucking the footprint fully beneath the floor; pitching the rainfly taut; and suspending a sloped tarp over and beyond the doorway so runoff falls away from camp. Do not dig drainage trenches. If water begins pooling, move the tent to safer ground.
Key Takeaways
- Choose an established, slightly raised site rather than a low spot, drainage channel, stream edge, or steep slope.
- Let an overhead tarp extend beyond the doorway, but keep the under-tent footprint completely inside the tent-floor perimeter.
- Slope every tarp panel so runoff lands away from the tent, entrance, guylines, and neighboring campsites.
- Do not dig trenches, build dikes, move large rocks, or reshape the campsite to control water.
- Keep protected vents open, store wet gear outside the sleeping area, and relocate if water begins collecting beneath or around the tent.
At a Glance
| Time Required | About 15–30 minutes after choosing the campsite |
| Difficulty | Easy to moderate |
| Tools Needed | Tent with rainfly, correctly sized footprint, waterproof tarp, guylines, stakes, tensioners, stake mallet, towel, dry bags, and a headlamp |
| Cost | No added cost with gear you already own; otherwise varies by tarp size, fabric, stakes, and footprint |
Disclosure: As an Amazon Associate I earn from qualifying purchases. Some links on this page are affiliate links, at no extra cost to you.
Choose the Site and Plan the Tarp Setup
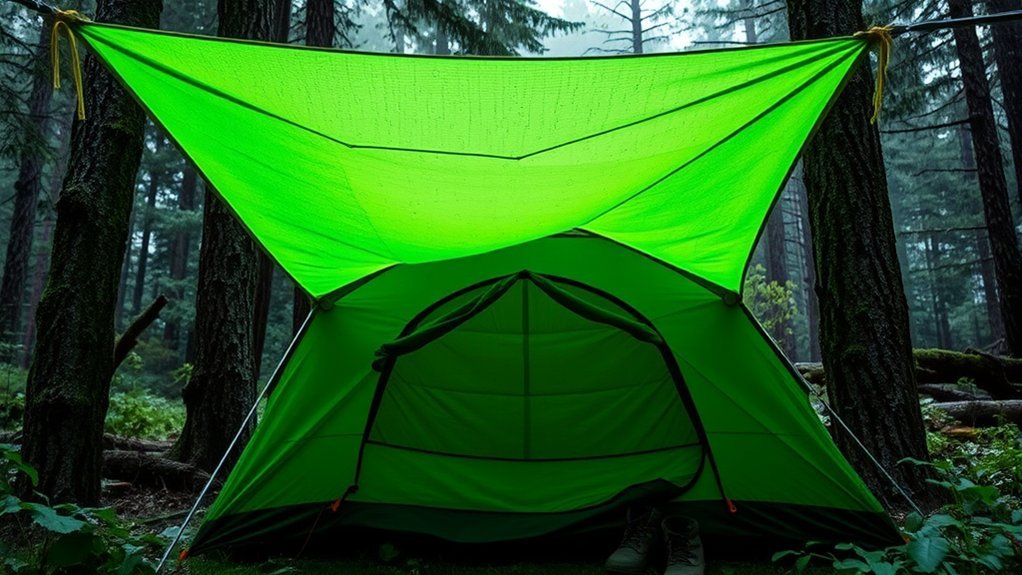
The best tarp cannot correct a campsite that sits in a natural drainage channel. Before unpacking, watch the ground during a shower or look for clues left by earlier rain: flattened leaves, exposed soil, silt lines, channels, puddles, and debris collected on the downhill side of rocks.
Use an existing campsite or designated tent pad whenever one is available. The National Park Service notes that many developed campgrounds provide gravel tent pads designed for rain drainage. In less-developed areas, follow local regulations and camp on durable surfaces.
Pick Raised, Stable Ground
Look for a level or gently crowned area that is slightly higher than the surrounding ground. Avoid depressions, gullies, dry streambeds, steep hillsides, and the bottom of slopes where runoff can gather. Do not level the site by digging or moving large rocks. If the ground requires major changes, choose another location.
Inspect the area overhead as well. Do not pitch beneath dead trees, broken branches, or damaged limbs that wind could bring down. Orient the tent door away from the direction of wind-driven rain when possible.
Warning: A tent is not safe lightning shelter. When thunder is audible, move to a substantial building or a fully enclosed hard-topped vehicle. Never remain in a low campsite during a flood warning; move to higher ground immediately.
Understand the Two Tarp Jobs
An overhead tarp and an under-tent footprint follow opposite sizing rules:
- Overhead tarp: It should provide enough coverage beyond the doorway to protect the entry. Pitch it with a clear slope so runoff falls away from the tent.
- Footprint or groundsheet: It should match the tent floor or be slightly smaller. Fold every exposed edge beneath the tent so rain cannot collect on top and flow underneath.
The REI tent setup guide recommends keeping a footprint inside the floor perimeter, using higher and drier ground, tensioning the rainfly, and adding guylines before poor weather arrives.
Pro Tip: Before staking the tarp, pour a small amount of water onto its upper edge or imagine where a steady stream would travel. Adjust the low edge until runoff lands beyond the doorway, footprint, tent walls, and main walking path.
Do Not Dig Trenches Around a Tent
Trenching may appear to offer quick drainage, but it is not an appropriate way to protect a modern tent. Leave No Trace guidance specifically says not to dig tent trenches. Excavation can damage roots and small organisms, increase erosion, redirect water toward another campsite, and leave a scar after you depart.
“Good campsites are found, not made.” — Leave No Trace
Do not create a moat, pile soil into a dike, or deepen an existing channel. A six-inch drainage trench is not a standard tent setup step. Use these low-impact alternatives instead:
- Choose an existing campsite that is already above surrounding runoff.
- Use the designated gravel or raised tent pad when one is provided.
- Keep the footprint tucked under the tent.
- Direct tarp runoff onto durable bare ground, not vegetation or another campsite.
- Keep gear and guylines out of shallow drainage paths.
- Move the tent before conditions worsen if water begins to collect.
Note: Do not try to save a poor campsite by constructing drains. If relocation is safe, moving a few yards to an established, higher spot is more effective and causes less damage than digging.
Choose the Right Dry-Entry Gear
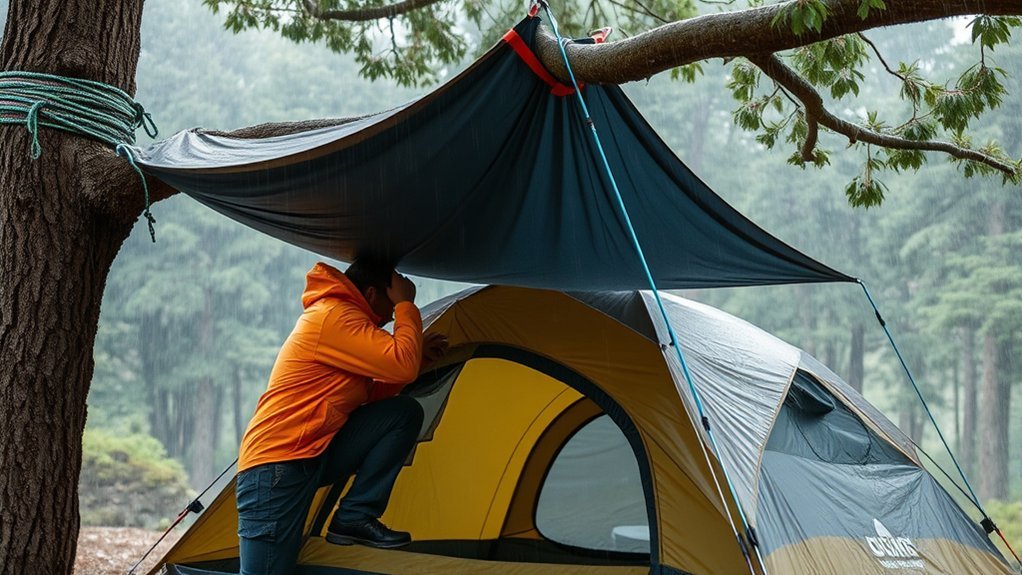
A shovel is not needed to create drainage around a tent. The most useful tools are the ones that improve coverage, anchoring, visibility, and moisture control without altering the campsite.
- Waterproof overhead tarp: Large enough to cover the doorway and create a protected standing or kneeling area.
- Correctly sized footprint: Made for the tent or folded so no edge is exposed.
- Guylines and tensioners: Long enough to create a useful tarp slope and keep the rainfly away from the tent body.
- Terrain-appropriate stakes: Standard stakes for firm soil, wider stakes for soft ground, and approved anchors for sand or snow.
- Stake mallet: Useful at developed campgrounds where soil is compacted.
- Absorbent towel or pack towel: For wiping the floor, door, zippers, and condensation.
- Dry bags or waterproof sacks: For sleepwear, insulation, electronics, and clothing.
- Headlamp: Lets you inspect runoff and retension lines after dark while keeping both hands free.
Check the tarp, rainfly, seams, tie-out loops, guylines, poles, and stakes before every trip. There is no universal two-year replacement schedule. Replace or repair equipment based on peeling coatings, lifting seam tape, tears, punctures, damaged hardware, or water entering during a controlled test.
How to Create a Dry Tent Entry in the Rain
1. Check the Forecast and Campground Alerts
Review the forecast before leaving and again when service is available near camp. Know where the nearest substantial building or hard-topped vehicle is located. Avoid camping near streams, dry washes, ravines, or low ground when heavy rain or flash flooding is possible.
2. Select an Existing, Well-Drained Site
Choose a designated pad or an established area on level, durable, slightly raised ground. Watch where water already travels instead of trying to create a new route. Position the door away from wind-driven rain and away from the tarp’s planned drip line.
3. Tuck the Footprint Under the Floor
Lay the footprint flat and center the tent over it. Walk around the tent and fold every visible edge underneath. Even a narrow strip of exposed groundsheet can catch water and guide it beneath the floor.
4. Pitch the Tent and Tension the Rainfly
Stake the tent corners, install the poles, and attach the rainfly according to the tent manufacturer’s instructions. Secure all fly clips or wraps. Tension the fly evenly so it does not rest against the inner tent. Recheck it after the fabric becomes wet because some materials relax when damp.
5. Suspend the Entry Tarp
Pitch the tarp above and slightly in front of the doorway rather than laying it directly on the tent. Keep enough separation for airflow and for the tent structure to move in gusts. Do not attach a large tarp to tent poles or fly loops unless the tent manufacturer permits it.
Create one clearly high edge and one clearly low edge. The low edge should send runoff downhill and away from the entrance. Avoid a flat roof, which can collect water and place heavy loads on the tarp, guylines, anchors, and nearby branches.
6. Stake and Guy Out the Tarp
Use every critical corner and windward tie-out. Keep the wind-facing edge lower and reduce exposed surface area when strong wind is expected. Lines should be firm but not so tight that they distort the tarp or tent. Use proper stakes or anchors rather than loose objects that could roll, shift, or become hazards.
When tying to a live tree is permitted, use wide, tree-friendly straps and avoid dead branches. Keep cords visible and out of the main walking route.
7. Create a Wet and Dry Zone
Use the covered area outside the sleeping compartment as a transition zone:
- Close the inner tent door before removing wet outerwear.
- Place muddy boots on a small mat, tray, or durable bare surface beneath the tarp.
- Shake rain jackets away from the door.
- Put wet clothing in a waterproof bag or hang it where drips cannot enter the tent.
- Keep a towel beside the door for hands, zippers, and accidental splashes.
- Move one person through the entrance at a time during heavy rain.
Keep food and scented products in the storage system required for the location. Never operate a stove, charcoal grill, fuel-burning heater, or fuel-burning lantern inside the tent or an enclosed vestibule. The U.S. Consumer Product Safety Commission warns that portable camping equipment can produce deadly carbon monoxide in enclosed shelters.
8. Maintain Protected Ventilation
Open rain-protected fly vents and opposing vents when conditions allow. Keep the fly taut so there is airspace between the fly and inner canopy. The REI condensation guide recommends opening fly vents and tent windows and maintaining proper tension to improve airflow.
9. Inspect the Setup During the Storm
From a safe position, check for sagging fabric, loose stakes, rubbing guylines, pooling on the tarp, and runoff moving toward the tent. Retension wet fabric as needed. Do not remain outside to adjust gear during lightning, dangerous wind, falling branches, or rapidly rising water.
Keep the Tent Dry During and After Rain
Keep Wet Gear Away From the Walls
Wet jackets, packs, and towels raise humidity and can transfer water to sleeping gear. Store them in the vestibule or covered tarp area when conditions and wildlife rules permit. Do not press bedding or gear against the tent walls, where condensation may collect.
Keep the Fly Separated From the Inner Tent
A sagging rainfly can touch the inner canopy and allow moisture to transfer inward. Use the fly’s corner straps, lower-edge loops, and appropriate guy-out points. Check the shape from every side rather than tightening one corner excessively.
Tell Condensation From a Leak
Condensation often appears as widespread droplets on the inside of the fly or canopy, especially after a humid night with closed vents and wet gear inside. A leak is more likely to follow one seam, puncture, zipper, or worn patch during rainfall.
- For condensation: Increase protected ventilation, remove wet gear, keep the fly taut, and wipe moisture with a towel.
- For a suspected leak: Mark the location, move valuables away, use a temporary patch if available, and inspect the seam or coating after the trip.
Dry the Tent Before Storage
Shake off water and air-dry the tent, fly, footprint, guylines, and stuff sacks as soon as conditions allow. If you must pack while wet, unpack and dry everything promptly after returning home. Long storage while damp can lead to odor, mildew, coating damage, and stuck seam tape.
Learn From Other Campers Without Copying Bad Practices
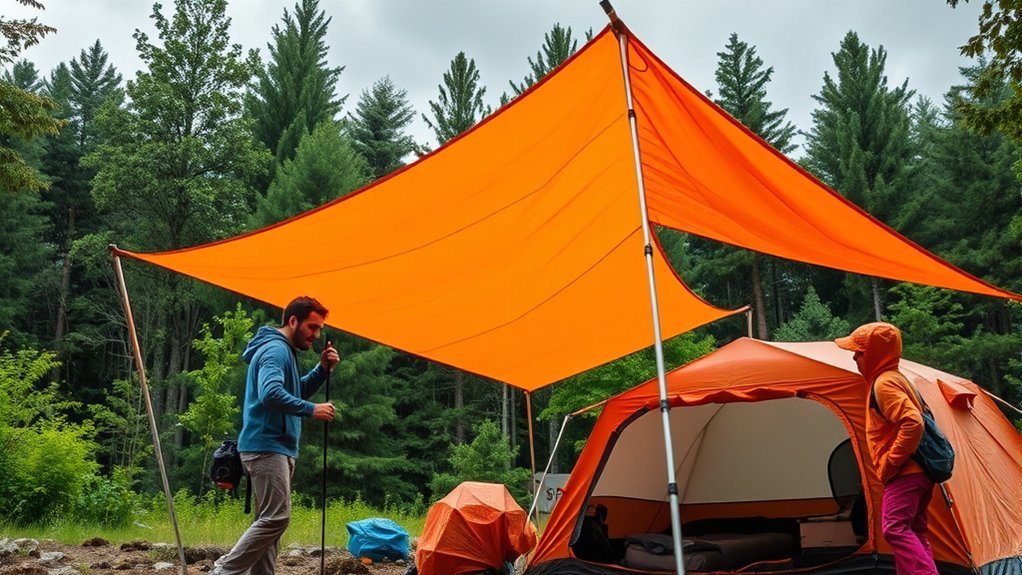
Watching experienced campers can reveal useful details, but popularity does not make every technique safe or low impact. Compare what you see with campground rules, equipment instructions, weather guidance, and Leave No Trace principles.
Useful details to observe include:
- Tarp slope: Where does water leave the tarp, and does it remain clear of the doorway?
- Low wind profile: Is the wind-facing edge lower and securely anchored?
- Rainfly separation: Does the fly remain clear of the inner tent?
- Entry routine: Where are wet boots, jackets, packs, and towels stored?
- Ventilation: Which protected vents remain open during rain?
- Site choice: Is the tent on an existing pad above natural runoff?
Do not copy trenches, dikes, cut branches, nails in trees, unstable rock anchors, or tarps tied to dead limbs. Ask the camper why a setup works and how it handles a change in wind direction before adopting it.
Troubleshooting Common Rain Problems
Water Is Pooling Under the Tent
Confirm that the footprint is fully tucked under the floor. Check whether tarp runoff or a neighboring shelter is sending water toward you. If the site itself is collecting water, move to an established higher location when it is safe. Do not dig a drain.
The Tarp Is Flapping Loudly
Lower the windward edge, shorten unsupported spans, use additional approved tie-outs, and tension the corners evenly. A little movement is normal; violent snapping usually means the tarp is too loose, too high, or presenting too much surface to the wind.
The Tarp Is Sagging and Holding Water
Increase the slope and remove any flat panel where water can collect. Retension damp fabric. Never stand beneath a large water pocket while releasing it; move to the side and drain it gradually.
Rain Blows Through the Door
Lower or extend the tarp on the windward side, close the exposed part of the vestibule, and open only the smallest section of the door needed for entry. Do not block every vent in an attempt to stop spray.
Stakes Keep Pulling Out
Use anchors designed for the soil, sand, or snow. Place the tarp lower, reduce the load on each line, and spread force across additional tie-outs. Do not attach lines to weak shrubs, dead trees, or movable objects.
The Inside Is Damp Without an Obvious Drip
This is often condensation rather than rain penetration. Open protected vents, remove wet items, wipe the walls, and restore the air gap between the fly and inner tent.
Water Is Rising Rapidly
Stop protecting equipment and move people to higher ground. The National Weather Service camping flood-safety guidance warns against camping on low ground near streams and advises moving to higher ground when flooding threatens.
Frequently Asked Questions
Can I Use a Regular Tarp Instead of a Camping Tarp?
Yes. A waterproof hardware-store tarp can work well for car camping, but it is usually heavier, bulkier, and noisier than a camping tarp. Inspect the tie-out points, bring enough cord and stakes, and pitch it with a clear slope. Do not confuse the overhead tarp with the footprint beneath the tent.
How Do I Secure the Tarp in Windy Conditions?
Lower the wind-facing edge, use the correct stakes or anchors for the surface, tension all main corners, and add approved tie-outs so one line does not carry the full load. Keep the tarp taut without distorting it. Avoid dead branches and loose weights that could shift or become airborne.
What Materials Are Best for Trenching Around the Tent?
None. Do not trench around a tent or pile soil into a dike. Choose an established site that already drains, use a designated tent pad where available, tuck the footprint beneath the floor, direct tarp runoff away, and relocate if water begins collecting.
How Can I Prevent Water Pooling Under the Tent?
Pitch on established, slightly raised ground outside natural drainage channels. Keep every footprint edge under the tent, point overhead-tarp runoff away from the floor, and check where water is moving during the first part of the storm. Move the tent if the site itself begins to flood.
Should I Pitch My Tent on a Slope or Flat Ground?
Choose level or gently crowned ground that is slightly higher than its surroundings. Avoid steep slopes, depressions, gullies, stream edges, and places where runoff has left channels or debris. A designated gravel tent pad is often the best choice in a developed campground.
Should an Overhead Tarp Touch the Tent?
No. Leave an air gap whenever possible. Separation reduces rubbing, helps ventilation, and lets the tent and tarp move independently in wind. Do not fasten a large tarp to tent poles or rainfly loops unless the tent manufacturer specifically allows it.
What Should I Do If Water Reaches the Campsite?
Move to an established higher site if conditions are safe. During rapidly rising water or a flood warning, leave the tent and move people to higher ground immediately. Do not enter moving water or remain in a low area to rescue equipment.
How Can I Tell Condensation From a Tent Leak?
Condensation usually forms as widespread droplets on cool inner surfaces and becomes worse with closed vents, humid air, and wet gear. A leak is more likely to follow a seam, tear, zipper, puncture, or worn coating while rain is falling. Dry the tent and test the suspected area after the trip.
Conclusion
A reliable dry tent entry comes from good site selection, correct tarp placement, a fully tucked footprint, secure anchors, and steady ventilation—not trenches or dikes. Before settling in, confirm that runoff leaves the tarp away from the door, the rainfly remains clear of the inner tent, and no water is collecting beneath the floor.
Continue checking the setup as weather changes, but never put equipment ahead of personal safety. Leave during flash-flood danger, use a substantial building or enclosed vehicle during lightning, and relocate when the campsite itself no longer drains safely. After the storm, dry and inspect every shelter component before storage.
Sources
- Leave No Trace: Leave What You Find — supports the instruction not to dig tent trenches or build campsite structures.
- REI: How to Set Up a Tent — supports campsite selection, footprint sizing, rainfly tension, stakes, and guyline practices.
- REI: How to Prevent Condensation in a Tent — supports protected ventilation and maintaining airspace between the fly and inner tent.
- National Weather Service: Flooding Safety for Camping and Hiking — supports avoiding low ground near streams and moving to higher ground during flood danger.
- National Weather Service: Outdoor Lightning Safety — supports the warning that a tent is not safe lightning shelter.
- U.S. Consumer Product Safety Commission: Portable Heaters and Camping Equipment — supports carbon-monoxide precautions for fuel-burning camping equipment.
