
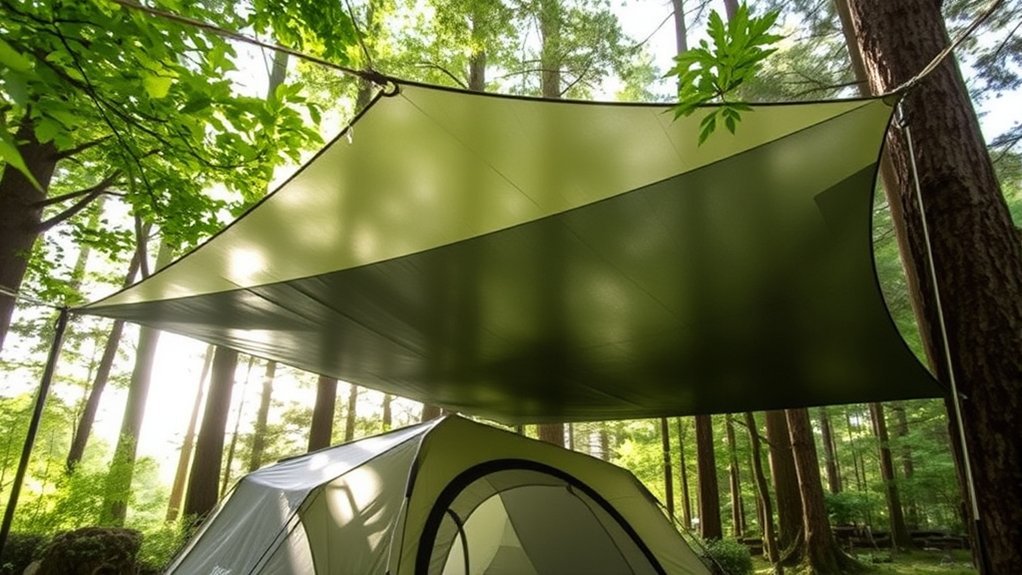
Last Updated on July 29, 2026 by Mason Reed
A camping tarp can add a dry entrance, a shaded sitting area, and another barrier against wind-driven rain when it is pitched correctly. The safest setup starts with a suitable campsite, sound anchors, the right tarp size, and a sloped surface that sends runoff away from the tent rather than toward it.
Quick Answer
Pitch the tent first, then suspend a tarp above or beside it on a taut ridgeline. Center the tarp, keep it clear of the rainfly, slope one side for drainage, and stake every guyline evenly. Use a low, tight pitch for rain and wind and a higher, open pitch for shade and airflow.
Key Takeaways
- Choose a tarp that provides useful overhang without becoming an oversized sail in the wind.
- Inspect trees, branches, soil, drainage, and campsite rules before installing a ridgeline.
- Use a fixed loop and tensioning hitch for the ridgeline, Prusik loops for positioning, and adjustable hitches for stake guylines.
- Keep the tarp sloped, evenly tensioned, and separated from the tent whenever possible.
- A tarp is not a lightning shelter, and a stove should never be used inside a tent or enclosed tarp setup.
At a Glance
| Time Required | About 15–30 minutes after practicing the knots |
| Difficulty | Easy to moderate |
| Tools Needed | Camping tarp, ridgeline cord, guylines, stakes, tree-protection straps or tarp poles, and a small repair kit |
| Cost | No added cost if you already own the gear; otherwise the total varies by tarp size, fabric, poles, and rigging |
Disclosure: As an Amazon Associate I earn from qualifying purchases. Some links on this page are affiliate links, at no extra cost to you.
Benefits of Using a Tarp With a Tent
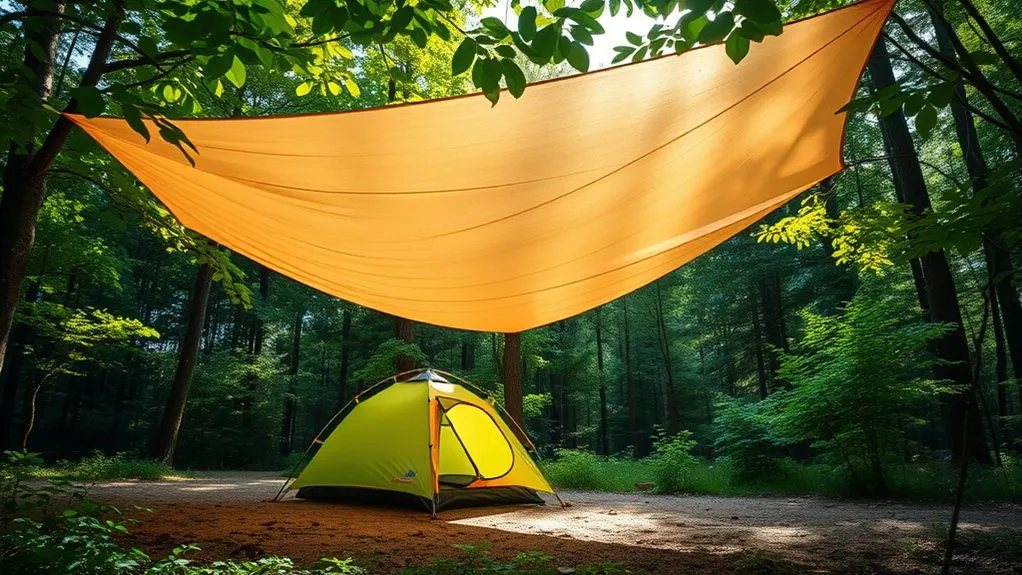
A tarp provides supplemental weather protection rather than changing the waterproof rating of your tent. It can reduce the amount of rain striking the rainfly, protect the doorway from dripping runoff, and create a covered place for wet boots, packs, or camp chairs.
A properly positioned tarp can also extend your usable campsite. A higher, open-sided pitch provides shade and ventilation in fair weather. A lower A-frame or wind-shed pitch gives better protection from wind-driven rain.
Air space between the tarp and tent helps reduce rubbing and allows warm, damp air to escape. However, a tarp cannot repair leaking seams, worn waterproof coatings, a damaged rainfly, or poor site drainage. The tent should still be pitched with its normal rainfly unless the manufacturer specifically approves another configuration.
Think of the tarp as an adjustable roof or porch—not as a substitute for a sound tent, rainfly, or safe campsite.
Choosing the Right Camping Tarp
Choose a Useful Size
The tarp should cover the part of the tent or campsite you want to protect while leaving enough room to create a clear slope. For full-tent coverage, choose a tarp that extends beyond the tent’s upper profile on the sides exposed to rain. For a porch, the tarp may cover only the entrance and sitting area.
A very small tarp may leave the doorway and windward side exposed. A very large tarp provides more living space but requires stronger anchors, more guylines, and more room to pitch. In exposed wind, a smaller and lower configuration is usually easier to control.
Compare Common Tarp Materials
- Ripstop nylon: Lightweight and packable, but some nylon fabrics stretch and sag after becoming wet.
- Polyester or silpoly: Often stretches less in rain and works well for taut shelter pitches.
- Polyethylene: Affordable and waterproof, but usually bulkier, noisier, and less suitable for backpacking.
- Canvas: Durable and useful for vehicle-based camps, but heavy and slow to dry.
Check the manufacturer’s description for waterproof construction, seam treatment, reinforced tie-outs, UV limitations, and approved setup methods. A tarp labeled only “water-resistant” may not perform like a fully waterproof shelter in prolonged rain.
Gather Your Tarp Setup Gear
- Camping tarp with reinforced loops or tie-outs
- Ridgeline cord long enough to span the anchors
- Four or more corner and side guylines
- Stakes suited to the soil
- Wide tree-protection straps, padding, or tarp poles
- Two short Prusik loops if using a continuous ridgeline
- Work gloves and a small tarp-repair kit
- Optional reflective cord markers to reduce nighttime trip hazards
Selecting a Safe Tarp Site
Before unpacking the tarp, confirm that the campground allows ropes, tarps, and attachments to trees. Some locations require freestanding poles or prohibit tying cord directly around trunks.
Inspect the entire site, not just the space at ground level. Avoid dead, cracked, leaning, burned, or visibly damaged trees. Look above for broken or hanging limbs. The National Park Service warns that branches and trees can fall even when they do not appear dead and when there is little or no wind.
Choose ground that drains away from the sleeping area. Do not pitch in a depression, dry stream channel, wash, or other place where runoff could collect. Position the tarp so water drains beyond the tent floor and does not pour through the doorway.
Warning: A tarp and tent do not provide safe protection from lightning. When thunder is heard, leave exposed ground, water, isolated tall trees, and the tarp setup. Seek a substantial building or hard-topped vehicle when one is available.
Essential Knot Techniques for Tarp Setup
You do not need a large knot collection. A few well-chosen knots can handle the ridgeline, tarp position, and stake guylines.
- Bowline: Creates a fixed loop for one end of the ridgeline. Attach it to a tree-protection strap, pole, or other approved anchor.
- Trucker’s hitch: Provides leverage for tensioning the opposite end of the ridgeline. Do not overtighten it.
- Prusik hitch: Slides along the unloaded ridgeline and grips when tension is applied. It is useful for centering the tarp between the anchors.
- Taut-line or midshipman’s hitch: Creates an adjustable loop for corner and side guylines connected to stakes.
- Sheet bend or double fisherman’s knot: Better choices than a reef knot when two cords must be joined.
A reef or square knot is useful as a binding knot, but it should not be trusted as a bend for joining two separate ropes. NOAA’s knot guidance warns that it can capsize and slip apart. Practice every knot at home before relying on it in rain, darkness, or wind.
Pro Tip: If your tarp includes line-lock tensioners, use the manufacturer’s routing method instead of adding unnecessary knots. Line locks are often faster to adjust with cold or wet hands.
How to Set Up a Tarp With a Tent
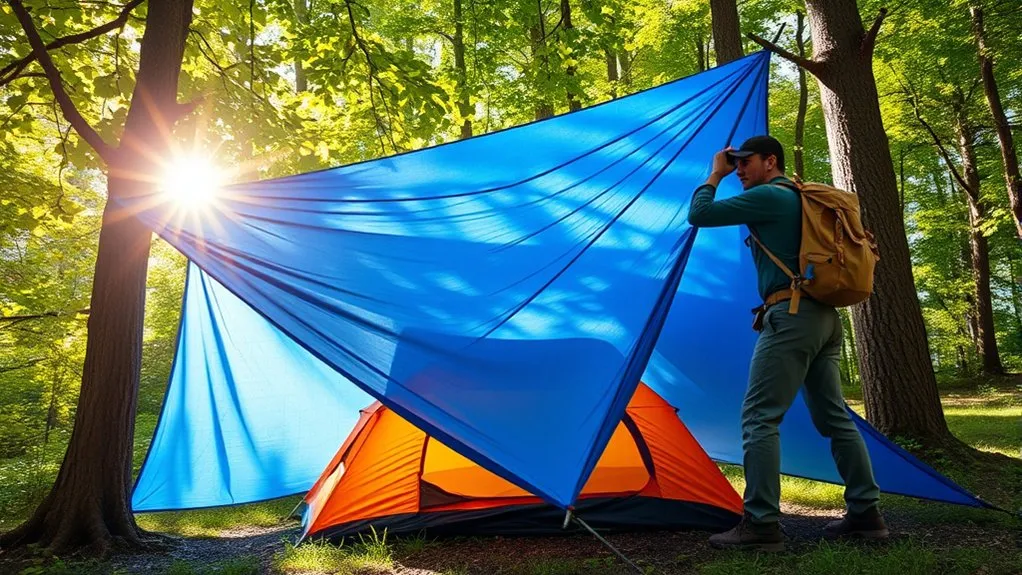
- Pitch the tent first. Install the tent, rainfly, stakes, and factory guylines according to the manufacturer’s instructions. This shows exactly where extra coverage is needed.
- Check the forecast and site. Confirm the likely wind direction, inspect overhead branches, and identify where rainwater will drain.
- Select two sound anchors. Use approved trees with wide protective straps, sturdy tarp poles, or other campground-approved anchor points. Keep the ridgeline away from roads, paths, and neighboring campsites.
- Install the ridgeline. Form a fixed loop at one anchor and use a trucker’s hitch or the tarp manufacturer’s tensioning system at the other. Pull the line firm, but not so tight that it damages trees, poles, cord, or hardware.
- Center the tarp. Place the tarp over or beside the tent. Attach its ridgeline tie-outs directly to the line or use Prusik loops so the tarp can slide into position.
- Create a drainage slope. Set one edge or corner lower than the opposite side. Make sure the lowest edge sends water beyond the tent, entrance, and sleeping area.
- Stake the corners. Extend each guyline in the natural direction of its tie-out, set the stake securely, and tension opposite corners a little at a time.
- Add side guylines when needed. Use reinforced side or panel tie-outs to reduce sagging and flapping. Never pull on unreinforced fabric.
- Check clearance. Keep the tarp from resting on the tent or rainfly whenever possible. Contact can cause abrasion, restrict ventilation, and transfer water where the fabrics touch.
- Perform a final inspection. Remove low cords from walkways, mark unavoidable lines, confirm that no water can pool, and retighten the system after the fabric becomes wet.
Note: A perfectly flat tarp can collect water. Every rain setup needs a clear high point, low point, or center ridge that allows water to leave the fabric continuously.
Useful Tarp Configurations for Rain and Shade
A-Frame Over the Tent
Drape the tarp evenly over a ridgeline and stake both long sides. This is a dependable rain configuration because the two sloped panels shed water in opposite directions. Keep the tarp high enough to avoid rubbing the rainfly but low enough to reduce exposure to wind.
Porch or Vestibule Setup
Extend the tarp from above the tent entrance to poles or trees in front of the tent. This creates a dry transition area for boots, chairs, and wet equipment. Lower an outer corner so rain cannot collect or flow back toward the doorway.
Lean-To for Shade
Raise one edge and stake the opposite edge closer to the ground. The open side provides airflow and shade in calm weather. Turn the lower side toward the expected wind or rain, but avoid this open design when wind direction is uncertain.
Low Wind-Shed Pitch
Lower the tarp, point a narrow edge or corner toward the wind, and secure every reinforced guy-out point. A low profile reduces the amount of fabric presented to the wind. Take the tarp down if poles bend, stakes pull repeatedly, fabric tears, trees move dangerously, or the setup can no longer be controlled safely.
Separate Kitchen Tarp
A separate tarp can shelter a food-preparation area from light rain, but the stove must remain outdoors with the sides fully open and generous clearance from fabric, cords, and dry vegetation. Follow the stove manufacturer’s clearance and ventilation instructions.
Warning: Never operate a camp stove, charcoal grill, heater, or lantern inside a tent or enclosed tarp shelter. Flames and hot exhaust can damage fabric, and combustion can produce deadly carbon monoxide.
Adjusting Your Tarp for Changing Weather
When Rain Approaches
- Lower the tarp and increase the drainage angle.
- Close the side facing wind-driven rain while preserving ventilation elsewhere.
- Confirm that runoff lands beyond the tent footprint and entrance.
- Retension nylon tarps if the fabric stretches after becoming wet.
- Remove leaves or debris that could block drainage.
When You Need More Shade
- Raise one or more edges to increase headroom and airflow.
- Move the shaded area as the sun changes position.
- Keep ventilation openings on the tent uncovered.
- Remember that shade performance and UV protection vary by tarp fabric.
When Wind Increases
- Lower the tarp and reduce its exposed surface area.
- Turn the narrowest edge toward the prevailing wind.
- Use reinforced side tie-outs to support large panels.
- Tension opposite guylines evenly instead of pulling one corner extremely tight.
- Remove the tarp if severe weather exceeds the safe limits of the fabric, anchors, poles, or surrounding trees.
Check tension after rain begins, after a major temperature change, and whenever the wind shifts. Adjustable hitches and Prusik loops should normally be unloaded before you try to slide them.
Securing the Tarp for Stability and Safety
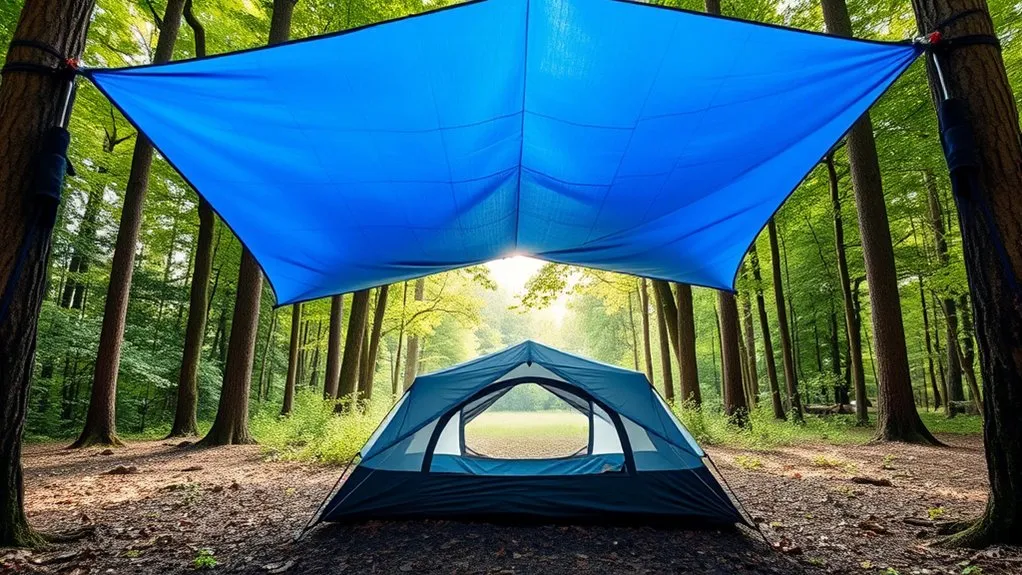
Stable tarp pitches spread force across several reinforced attachment points. The goal is firm, balanced tension—not maximum tension. Pulling too hard can deform poles, damage grommets, tear tie-outs, or place unnecessary force on trees.
Here is a quick reference for common tarp-securing methods:
| Securing Method | Best Use | Important Caution |
|---|---|---|
| Stakes | Anchoring corner and side guylines | Match the stake to the soil and keep lines out of walkways |
| Taut-Line Hitches | Adjusting stake guylines | Slick cord may require another hitch or a line tensioner |
| Trucker’s Hitch | Tensioning a ridgeline | Mechanical advantage makes overtightening easy |
| Prusik Knots | Sliding and centering tarp tie-outs on a ridgeline | Grip varies with cord size, texture, and moisture |
| Wide Tree Straps | Protecting bark at tree anchors | Use only where tree attachments are permitted |
| Height Adjustment | Switching between rain, shade, and wind pitches | Do not work beneath unstable branches or during lightning |
Troubleshooting Common Tarp Problems
Water Is Pooling on the Tarp
Increase the slope, raise the ridgeline, lower one corner, or reposition the guylines. Do not push a heavy pool upward from underneath because the sudden movement can damage the tarp or dump water into the tent.
The Tarp Flaps Loudly
Tighten opposite corners evenly, shorten loose guylines, and add approved side guylines. If the tarp remains broadside to the wind, rotate or lower the pitch instead of relying only on more tension.
Rain Runs Toward the Tent
Move the lowest tarp edge farther from the tent, change the pitch direction, or relocate the tarp so runoff clears the doorway and footprint. Check the ground as well as the fabric because surface water may travel back toward the tent.
The Tarp Touches the Rainfly
Raise the ridgeline, move an anchor, or shorten the tarp’s side guylines. Keeping a gap reduces abrasion and helps ventilation.
Stakes Keep Pulling Out
Use a stake designed for the soil, place it in firmer ground, reduce the tarp’s wind exposure, or use an approved buried anchor in sand or snow. Do not attach the tarp to fragile plants, signs, fences, or campground fixtures without permission.
A Grommet or Tie-Out Is Starting to Tear
Release tension immediately. Move the load to another reinforced point and repair the damaged area with a product approved for the tarp material. Do not continue pulling on bare or torn fabric.
Condensation Increases
Raise a leeward edge, open the tent’s vents, and keep the tarp from blocking the rainfly’s ventilation. A low storm pitch provides better rain protection but usually needs deliberate airflow.
Cleaning and Maintaining a Camping Tarp
- Shake off dirt, leaves, and loose debris.
- Check the care label or manufacturer’s instructions before using any cleaner.
- Spot-clean with cool or lukewarm water, a soft sponge, and a mild non-detergent or gear-specific soap when permitted.
- Avoid bleach, harsh household cleaners, pressure washing, machine washing, and machine drying unless the manufacturer expressly allows them.
- Rinse away cleaner residue and air-dry the tarp completely.
- Inspect seams, coatings, grommets, loops, and guylines before storage.
- Store the tarp in a cool, dry place only after every fold, seam, and cord is dry.
Small punctures or tears can often be repaired with material-specific tape, adhesive, or patches. Use products compatible with the tarp’s coating because silicone-coated, polyurethane-coated, polyethylene, vinyl, and canvas materials may require different repair methods.
Frequently Asked Questions
Can I use a tarp of any size with my tent?
No. The tarp should be large enough to cover the area you want protected and create useful overhang, but not so large that it becomes difficult to tension or control in wind. Measure the tent’s upper profile and consider the anchor spacing before choosing a tarp.
How do I clean and maintain my tarp?
Follow the manufacturer’s care label. In most cases, remove loose dirt, spot-clean gently with water and an approved mild cleaner, rinse well, and air-dry completely. Store the tarp only when it is fully dry to reduce odors, mildew, coating damage, and corrosion on metal hardware.
What materials are best for a camping tarp?
Ripstop nylon and polyester are common choices for portable camping tarps. Polyester generally stretches less when wet, while nylon can be lighter. Polyethylene is affordable but bulky, and canvas is durable but heavy. The best choice depends on pack weight, weather, expected use, and budget.
Can I use a tarp in windy conditions?
Yes, within the tarp’s limits. Pitch it low, place a narrow edge toward the wind, use reinforced tie-outs, and balance the tension. Remove it if anchors pull out, poles bend, fabric tears, nearby trees become unsafe, or severe weather makes the setup difficult to control.
Is it necessary to use a tarp with my tent?
No. A properly designed and maintained tent should work with its own rainfly. A separate tarp is optional, but it can create a dry entrance, protect equipment, provide shade, and reduce direct rain exposure during longer or wetter trips.
How high should a tarp be above a tent?
Use enough clearance to prevent the tarp from rubbing against the rainfly and to preserve ventilation. The exact height depends on the tarp, tent, wind, and anchors. Lower pitches handle wind and rain better, while higher pitches provide more headroom and airflow.
Can a tarp replace my tent’s rainfly?
Usually not. The rainfly is designed to fit the tent, protect its openings, manage ventilation, and direct runoff. Keep it installed unless the tent manufacturer specifically permits a fly-free configuration for the conditions.
Conclusion
Using a tarp with your tent can improve rain protection, shade, ventilation, and campsite comfort when the setup is matched to the conditions. Start with safe anchors and sound ground, use the correct knots for each job, create a clear drainage slope, and apply balanced tension across reinforced tie-outs.
Keep the tarp clear of the tent when possible, inspect it whenever the weather changes, and take it down when wind, lightning, damaged trees, or failing anchors create an unsafe situation. A careful pitch protects the tent and gear without replacing the tent’s rainfly or basic campsite safety.
Sources
- REI Co-op: How to Set Up an Ultralight Tarp Shelter — ridgeline, Prusik, staking, and tarp-configuration guidance
- NOAA Ocean Service: Tied Up in Knots — correct uses and limitations of common knots, including the reef knot
- National Park Service: Hazard Tree Safety — falling-tree and overhead-branch hazards
- National Park Service: Lightning Safety — campsite and tent precautions during thunderstorms
- Centers for Disease Control and Prevention: Carbon Monoxide Safety — warning against using portable camping stoves inside tents or campers
- REI Co-op: Tent and Shelter Care — gentle cleaning, drying, and storage practices for coated outdoor fabrics

