
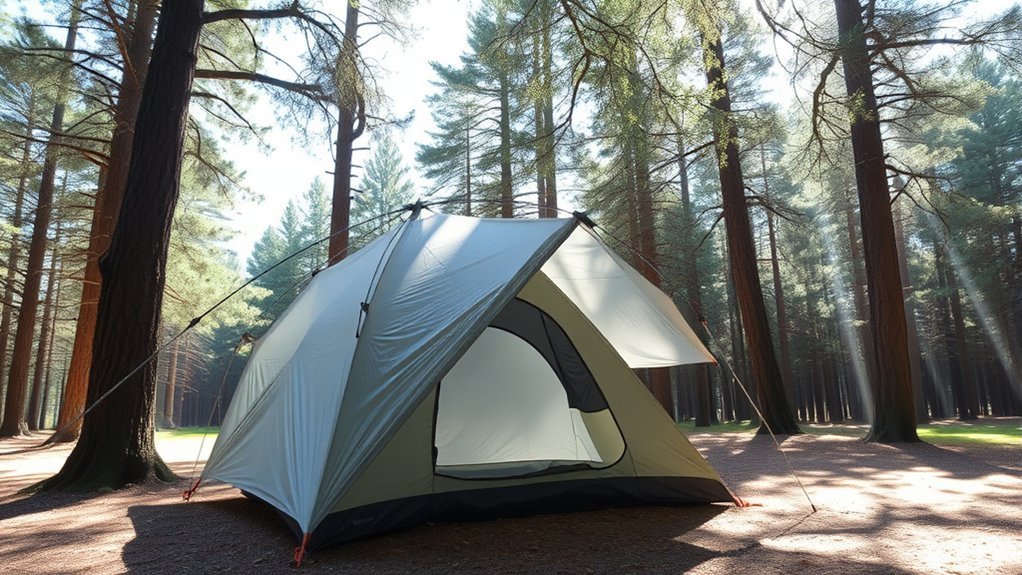
Last Updated on July 29, 2026 by Mason Reed
Setting up a rain tarp over your tent can create a drier entrance, reduce direct rain on the tent fly, and provide covered space for boots and wet gear. The tarp should supplement—not replace—a properly pitched tent and rainfly. A dependable setup uses a suitable waterproof tarp, safe anchors, an obvious drainage slope, even tension, and enough clearance to keep the tarp from rubbing against the tent.
Quick Answer
Choose a waterproof camping tarp larger than the tent, center it over the area you want protected, and pitch it with a clear slope so water runs downhill away from the tent. Keep the fabric off the tent, lower the windward edge in bad weather, anchor every active tie-out, and recheck tension after rain begins.
Key Takeaways
- Inspect the campsite for low ground, falling branches, exposed terrain, and runoff paths before unpacking the tarp.
- Use enough slope to shed water; a flat or sagging tarp is likely to collect a heavy pool.
- Pitch higher for headroom only in calm conditions. Lower the tarp and its windward edge when rain or wind increases.
- Use manufacturer-rated poles, suitable stakes, reinforced tie-outs, and tree-friendly straps where tree attachment is allowed.
- A tarp is not a safe lightning shelter and should not be assumed to handle heavy snow.
At a Glance
| Time Required | About 20–40 minutes after practicing the setup at home |
| Difficulty | Beginner to intermediate |
| Tools Needed | Waterproof tarp, guylines, stakes, tensioners or suitable knots, and approved tarp poles or legal anchor points |
| Cost | No added cost if you already own the gear; otherwise the total varies by tarp, cord, stakes, and poles |
Disclosure: As an Amazon Associate I earn from qualifying purchases. Some links on this page are affiliate links, at no extra cost to you.
Understanding Rain Tarp Design
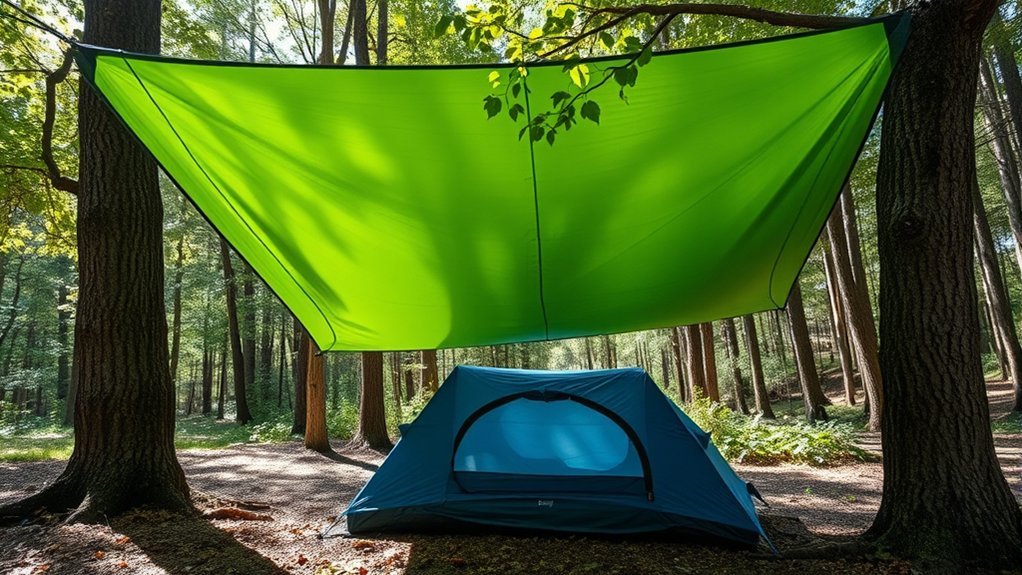
A rain tarp works by intercepting precipitation and directing it to controlled runoff edges before it reaches your tent or entry area. The tarp must have a continuous slope. If the fabric contains a low, flat pocket, rain can collect faster than it drains and place a large load on the fabric, poles, ridgeline, and tie-outs.
Choose a tarp made and sold for outdoor shelter use. Look for reinforced tie-out points, intact waterproof coating, sound seams, and attachment points that match the planned pitch. Both nylon and polyester camping tarps can work well. The construction, waterproof coating, seam treatment, tie-out strength, and condition of the fabric matter more than the fiber name alone.
A heavy utility tarp may suit car camping when packed size and noise are not concerns. A lighter camping tarp is easier to carry and often has more useful tie-outs, but thin fabric requires careful handling around rough bark, sharp pole tips, and abrasive ridgelines.
Note: An overhead tarp and a tent footprint serve different purposes. The overhead tarp sheds rain above the tent. A footprint lies beneath the tent and must not extend beyond the tent floor, where it could catch runoff.
Common Rain Tarp Configurations
- A-frame: The tarp folds over a ridgeline, with both long sides sloping toward the ground. This is a dependable choice for steady rain and offers balanced runoff.
- Porch or lean-to pitch: One side is high for access and the opposite side is low. It provides useful standing space but should face the low side toward incoming weather.
- Offset A-frame: The ridgeline sits off center, creating a steep windward panel and a wider sheltered area on the other side.
- Diamond pitch: One corner is raised while the opposite corner is anchored low. It can work in small or irregular spaces, although side coverage may be limited.
For a tent, an A-frame or offset A-frame is usually easier to weatherproof than a high, open canopy. A porch-style pitch works well when the main goal is covering the tent door, but it needs a lower storm-facing edge when wind-driven rain is expected.
Essential Tarp Configuration
A stable configuration starts with a safe site, suitable coverage, and a plan for where every gallon of runoff will go. Do not choose the tarp position first and then attempt to force the tent, trees, poles, and guylines to fit around it.
1. Choose a Safe Tent Site
Walk the site before unloading gear. The National Park Service campsite guidance recommends checking for hazards such as dead branches, wind exposure, lightning, flooding, low areas, and trip hazards.
- Use an established tent pad or durable surface where required.
- Avoid depressions, ravines, dry washes, drainage channels, and visibly saturated ground.
- Look overhead for dead limbs or damaged trees.
- Keep the tent and tarp safely separated from the fire ring and cooking area.
- Avoid placing guylines across the path to the tent door, vehicle, picnic table, or restroom.
- Check the campground’s rules before attaching anything to trees, posts, tables, shelters, or other structures.
Warning: A tent and rain tarp are not safe lightning shelters. If thunder is present, move to a substantial building or metal-topped vehicle when available and follow local emergency guidance. Do not remain beneath the tarp because it feels dry.
2. Estimate the Required Coverage
Measure the tent’s length, width, and peak height before the trip. Select a tarp large enough to cover the area that matters most: the full tent, the windward side, the door, or a combination of the tent and a small gear area.
There is no single overhang measurement that works for every tent. A low tent beneath a broad A-frame may need less extra fabric than a tall cabin tent beneath an open canopy. Aim for visible overhang beyond the area being protected, especially on the windward side and above the door. Leave enough room for runoff to land outside the tent footprint.
3. Gather the Setup Gear
- A waterproof tarp with reinforced tie-outs
- A ridgeline or separate corner guylines, as required by the tarp design
- Additional lines for side and panel tie-outs
- Stakes matched to the soil
- Purpose-built tarp poles, approved adjustable poles, or manufacturer-compatible trekking-pole supports
- Tree-friendly webbing straps where tree use is legal
- Line tensioners or cord suitable for the knots you know
- Reflective cord, flags, or other visible markers for low lines
- Small repair tape and spare cord
- Gloves for handling wet cord and stakes
4. Lay Out the Tarp Before Raising It
Spread the tarp on the ground near the intended shelter area, keeping it away from sharp rocks and sticks. Identify the center seam, ridgeline loops, reinforced corners, and additional panel tie-outs. Confirm which edge will face the expected wind and where the runoff will land.
Testing the orientation on the ground is easier than rotating a fully tensioned tarp. It also helps prevent the common mistake of placing the largest runoff edge uphill from the tent.
5. Build the Ridgeline or Main Support
If using trees, first confirm that the campground permits tree attachment. The National Park Service notes that many campgrounds restrict ropes tied to trees, while Leave No Trace guidance recommends broad straps rather than thin cord where attachment is allowed.
Wrap a wide strap around each sound, living tree at a reachable height. Connect the ridgeline to the straps instead of tightening thin rope directly against bark. Never use nails, screws, wire, chains, or hardware that cuts into a tree.
Set the ridgeline high enough to clear the tent and provide the needed working space, but not automatically as high as possible. High pitches catch more wind and admit more blowing rain. In wet or windy conditions, a lower ridgeline usually provides better coverage.
6. Attach and Center the Tarp
Use the tarp’s intended ridgeline loops, clips, sleeves, or tie-outs. Do not run a rough, highly tensioned rope directly against unsupported fabric unless the tarp manufacturer designed it for that arrangement.
Center the tarp over the protected area, then shift it slightly toward the incoming weather if extra windward coverage is needed. Maintain an air gap between the tarp and tent fly. Contact can transfer water, create abrasion, block ventilation, and produce noise as the two fabrics rub.
7. Stake the Windward Side First
Anchor the side facing the expected rain and wind before opening the sheltered side. Place that edge lower and pull each guyline away from the tarp in line with the reinforced tie-out. A badly angled line can twist a corner and concentrate force in the seam.
Insert stakes according to their design and the soil conditions. Keep the line close to the ground where practical, but do not create an unseen trip hazard. In loose soil, use longer or wider stakes. On sand or snow, use approved deadman anchors or purpose-built stakes. On rock, use legal, non-damaging anchors rather than forcing normal stakes into cracks.
8. Tension the Remaining Corners
Stake the opposite corners and then use the additional side or panel tie-outs needed for the chosen pitch. Apply firm, even tension until the surface is smooth and has a clear drainage path.
Do not pull one corner so hard that the center seam curves, the fabric puckers, or a reinforced tie-out twists. The goal is a balanced roof, not maximum force.
9. Test the Runoff
Stand downhill from each tarp edge and trace where the water will fall and flow. Make sure runoff will not:
- Enter the tent door
- Land on the tent footprint
- Flow beneath the tent
- Drain onto another campsite
- Cross a high-traffic walking route
- Collect against a pole, stake, cooler, or storage bin
Adjust the slope or move the runoff edge rather than digging a trench. Leave No Trace guidance specifically advises campers not to dig drainage trenches or construct campsite improvements.
10. Recheck After the Weather Changes
Inspect the tarp after the first rain, a wind shift, and any large temperature change. Some fabric and cord systems loosen when wet. Retension the lines, reseat stakes, and remove any developing sag before it becomes a water pocket.
Pro Tip: Practice the complete pitch at home and mark frequently used guyline lengths. Familiarity is more valuable than a complicated knot system when rain is already falling.
Key Benefits of Using a Rain Tarp
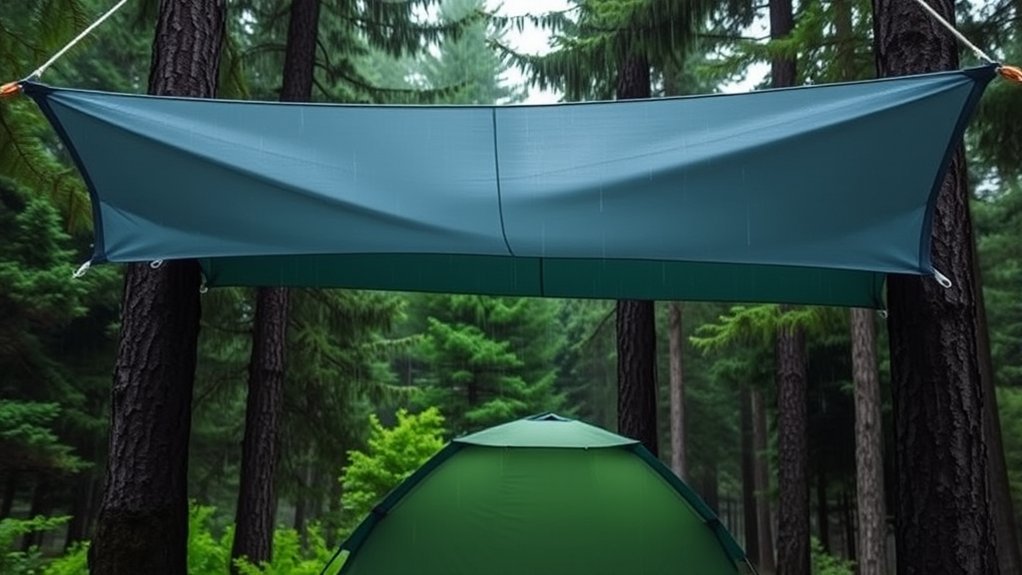
A correctly pitched rain tarp can improve camp comfort in several ways:
- Drier tent entry: Covering the door or vestibule reduces the amount of rain that falls inside while people enter and exit.
- Protected gear space: Wet boots, rain jackets, and packs can remain outside the sleeping area while staying under cover.
- Less direct rain on the fly: The overhead layer reduces direct impact on part of the tent, although the tent still needs its own rainfly and proper staking.
- More usable camp space: A carefully positioned tarp may create room for changing footwear, sorting equipment, or waiting out ordinary rain.
- Flexible weather adjustment: The same tarp can be opened high in calm weather or lowered when the weather becomes more severe.
A tarp can improve rain comfort, but it does not turn an unsafe campsite into a safe one—and it is never a substitute for lightning shelter.
Utilizing Poles for Setup
Poles make it possible to pitch a rain tarp when trees are unavailable, unsuitable, or prohibited as anchors. Use purpose-built tarp poles or another support system approved by the tarp manufacturer. Confirm that the pole tip fits the tarp’s grommet, ring, cup, or reinforced attachment without puncturing the fabric.
Avoid improvised conduit sections, exposed bolts, sharp fittings, or taped joints that have no published load rating. A support that appears sturdy in still air can bend, separate, or punch through the tarp when a gust loads the canopy.
How to Raise a Tarp With Poles
- Lay out the tarp and loosely stake the corners before raising the poles.
- Place the first pole tip in the designated reinforced fitting.
- Attach two guylines that pull in different directions, forming a stable support triangle.
- Raise and tension the first pole while another person steadies it when possible.
- Repeat at the opposite support point.
- Stake the remaining corners and side tie-outs.
- Adjust pole height and line tension until the tarp has a smooth drainage slope.
- Confirm that no pole can fall onto the tent if a stake pulls free.
For a porch-style pitch, the entrance-side poles may be taller than the storm-facing edge. In worsening weather, shorten the poles or lower their attachment points to reduce the open area beneath the tarp.
Alternatives When Normal Stakes Will Not Hold
- Sand or loose soil: Use broad sand stakes or properly buried deadman anchors.
- Snow: Use snow stakes, skis, or other manufacturer-approved anchors suited to winter use.
- Rocky ground: Tie to stable, legal anchors with abrasion protection, provided local regulations allow it.
- Vehicle-assisted shelter: Use only a tarp or attachment system designed for the vehicle. Do not connect lines to mirrors, door handles, hot exhaust components, or parts not rated for the load.
Best Practices for Tarp Setup
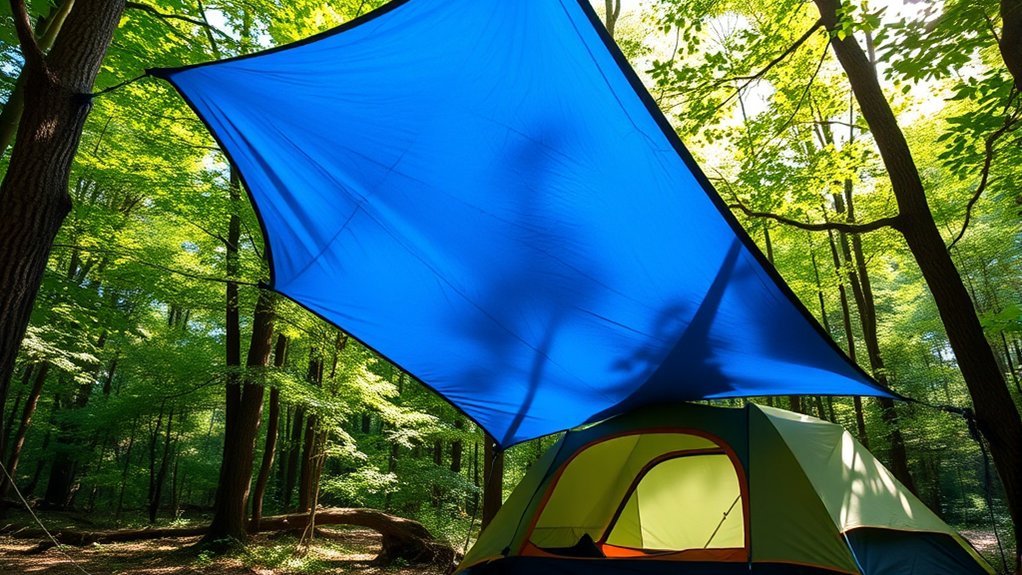
- Check the weather forecast and local campground regulations before leaving home.
- Inspect seams, coatings, tie-outs, poles, tensioners, stakes, and cord before each trip.
- Set up before the rain arrives whenever possible.
- Keep the tarp from touching the tent fly.
- Place the steepest or lowest side toward incoming weather.
- Use all structural tie-outs required for the conditions rather than relying on a fixed number of ropes.
- Keep runoff downhill and outside the tent footprint.
- Use reflective guylines or visible flags near walking routes.
- Retension the tarp after rain wets the fabric and cord.
- Lower or take down the tarp if the structure is becoming unstable.
- Do not dig trenches or alter the campsite to redirect water.
- Dry the tarp completely before long-term storage.
Warning: Keep campfires, grills, heaters, lanterns, and stoves away from tarp fabric. Never treat a low or partly enclosed tarp as a safe place for fuel-burning equipment. Heat can melt or ignite the shelter, and inadequate ventilation can allow dangerous carbon monoxide to accumulate.
Effective Rope Techniques
A reliable rope system does not need to be complicated. Each connection should perform one clear job: attach the main line, center the tarp, tension a corner, or secure an anchor.
Use the Right Line for the Job
Choose cord with enough strength for the tarp manufacturer’s intended use and enough diameter to handle comfortably when wet. Very thin line can be difficult to untie and may damage bark when wrapped directly around a tree. Some slick synthetic cords do not hold every friction hitch equally well.
Use Fixed Loops at Permanent Attachment Points
A bowline or another secure fixed-loop knot can form a dependable attachment that does not tighten around the anchor. Quick-connect hardware may also be used when it is compatible with the tarp, rated for the expected load, and positioned so it cannot abrade the fabric.
Use Adjustable Tension at the Stakes
Taut-line hitches, trucker’s hitches, line-lock tensioners, and other adjustment systems can make retensioning easier. Use a method that holds on your specific cord and that you can operate with cold or wet hands.
Use Prusik Loops Where They Fit the System
Prusik loops can slide along a compatible ridgeline when unloaded and grip when tensioned. They are useful for centering some tarps, but their holding power depends on the diameter, material, and condition of both cords. Test the combination before relying on it in bad weather.
Protect Anchors and Other Campers
Use broad straps where tree attachment is permitted, protect cord from sharp rock edges, and avoid tying lines to signs, picnic tables, plumbing, railings, or vegetation unless the land manager expressly permits it. Mark low lines with reflective cord, bright fabric, or purpose-made markers.
Pro Tip: Carry one short spare guyline and one longer spare line. They can replace a damaged line, reach a distant legal anchor, or create an extra panel tie-out when wind direction changes.
Making Adjustments for Weather Conditions
Tarp height and openness should respond to the conditions rather than follow one fixed measurement. More headroom increases comfort, but a lower and steeper pitch generally gives better protection from wind-driven rain.
Tarp Height Adjustments
- Calm and dry: Raise the sheltered side enough for comfortable access while maintaining drainage slope.
- Light rain: Keep a useful entrance opening but confirm that every panel drains without a flat pocket.
- Steady or heavy rain: Lower the ridgeline and edges, increase the roof angle, and move runoff farther from the tent.
- Wind-driven rain: Drop the windward edge close to the ground and reduce the size of open sides.
- Strong or shifting wind: Add legal tie-outs, shorten exposed lines, reorient the pitch, or take the tarp down if safe stability cannot be maintained.
Keep enough clearance so the tarp cannot strike the tent as it moves. A low pitch should improve coverage without pressing against the tent fly or blocking necessary ventilation.
Flexible Configuration Techniques
An adjustable ridgeline, pole height system, or line tensioner lets you change the pitch without rebuilding the shelter. Make adjustments gradually and move from one side to the other so the structure remains balanced.
Multiple tarps may provide more coverage, but they also create more wind area, anchors, lines, and potential failure points. If two tarps overlap, arrange them like roof shingles so the upper tarp sheds water over the lower tarp. Prevent the edges and hardware from rubbing against each other.
Do not stretch one tarp so tightly that it supports or pulls on another. Each tarp should have a clear load path to suitable poles, stakes, or legal anchors.
Troubleshooting Common Tarp Problems
Water Is Pooling on the Tarp
Increase the slope, shorten a low guyline, raise the nearby support, or use an appropriate panel tie-out. Do not stand beneath the pool or push it upward from below; the sudden release can damage the shelter or soak the tent.
The Tarp Is Flapping Loudly
Check for an untensioned corner, loose ridgeline, unused panel tie-out, or broad flat surface facing the wind. Lower the pitch and apply even tension. Do not keep tightening one line after the fabric is already distorted.
Stakes Keep Pulling Out
Use stakes designed for the soil, improve the insertion angle according to the stake maker’s instructions, shorten excessive leverage from long exposed lines, or move to firmer ground within the legal campsite. Sand, snow, and very loose soil need specialized anchors.
Runoff Is Moving Toward the Tent
Move the runoff edge downhill, rotate the tarp, or shift the tent if the site rules permit. Check that a footprint or groundsheet does not extend beyond the tent floor. Do not dig a trench around the tent.
The Tarp Touches the Tent
Raise or move the tarp, shorten the span, or add a suitable support point. Continued contact can transfer moisture, reduce ventilation, wear waterproof coatings, and create noise.
The Lines Loosen After Rain Starts
Some fabrics and cords change tension when wet. Retighten each line in small steps, maintain even loading, and inspect the stakes before increasing tension.
Condensation Forms Beneath the Tarp
Condensation can collect when humid air meets cool fabric. Increase side ventilation without exposing the tent to incoming rain. Avoid hanging large amounts of dripping gear directly above the tent, and keep the tarp separated from the tent fly.
Final Steps for Securing Your Rain Shelter
Before relying on the shelter, complete this final inspection:
- Every structural pole is seated in a reinforced fitting.
- Every active stake and anchor is stable.
- The tarp has a continuous drainage slope.
- No water pocket is beginning to form.
- Runoff lands outside the tent footprint and entrance.
- The tarp does not touch the tent.
- Guylines are visible and outside major walking routes.
- Tree straps are legal, broad, and not damaging bark.
- No flame, heater, hot exhaust, or cooking appliance is near the fabric.
- The campsite is not in a low drainage area or beneath dead branches.
- The tarp can be lowered or released safely if wind increases.
Check the setup again after the first period of rain and before sleeping. If stakes are moving, poles are bending, tie-outs are deforming, or fabric is collecting water, reduce the load immediately rather than waiting for the shelter to fail.
Frequently Asked Questions
What materials are best for a rain tarp?
Nylon and polyester camping tarps can both work well when they have a waterproof coating, sound seams, and reinforced tie-outs. Polyester generally changes shape less when wet, while lightweight coated nylon can pack very small. Check the manufacturer’s waterproofing, seam-care, and weather-use instructions instead of choosing by fiber alone.
How do I choose the right size tarp?
Measure the tent and decide whether you need full coverage, entrance coverage, or a combined tent-and-gear shelter. Choose enough overhang to place runoff outside the tent footprint and block wind-driven rain on the exposed side. Tall tents and open porch pitches normally need more total coverage than low tents beneath an A-frame.
Can I use a rain tarp in snow?
Only within the tarp manufacturer’s stated limits. An ordinary rain tarp provides little insulation and should not be assumed to support accumulating snow. Mild flurries may be manageable with a steep, monitored pitch, but expected heavy snow, strong winter wind, or alpine exposure calls for purpose-built winter shelter equipment and suitable snow anchors.
How do I clean and maintain my tarp?
Follow the care label. For many coated shelter fabrics, loose dirt can be rinsed away and soiled areas can be hand cleaned with a soft sponge and mild non-detergent cleaner. Rinse thoroughly, air-dry completely, inspect seams and tie-outs, and store the tarp loosely in a cool, dry place. Avoid bleach, harsh detergent, machine washing, or machine drying unless the manufacturer specifically permits them.
Are there alternatives to using trees for setup?
Yes. Use manufacturer-rated tarp poles, compatible trekking poles, specialized sand or snow anchors, or another legal anchor system designed for the load. Some vehicle-specific tarps are also available. Do not attach lines to signs, plumbing, picnic tables, vegetation, vehicles, or structures unless the land manager and equipment manufacturer allow it.
Should the tarp touch the tent?
No. Leave an air gap between the tarp and tent fly. Contact can transfer water, restrict ventilation, abrade coatings, and create noise. The gap must still be small enough that wind-driven rain cannot easily pass between the two shelters.
How high should a tarp be over a tent?
There is no universal height. Use enough clearance to keep the tarp off the tent and allow practical access. In calm weather, the sheltered side may be raised for headroom. During heavy rain or wind, lower the ridgeline and windward edge to reduce exposure while preserving ventilation and a clear drainage slope.
Conclusion
A dependable rain shelter comes from slope, coverage, suitable anchors, and regular inspection—not from one fixed ridgeline height or a specific number of ropes. Choose a safe campsite, keep the tarp separated from the tent, place the low side toward incoming weather, and direct every runoff edge away from the tent footprint. Lower the pitch when conditions worsen, and leave the tarp entirely when lightning, flooding, unstable trees, or severe weather makes the campsite unsafe.
Sources
- National Park Service — Finding and Setting Up a Campsite — campsite hazards, low-ground avoidance, fire separation, and trip-line placement
- Rocky Mountain National Park — Lightning Safety — safe shelter and thunderstorm precautions
- Leave No Trace — Leave What You Find — tree protection, wide straps, and no-trenching guidance
- U.S. Consumer Product Safety Commission — Portable Heaters and Camping Equipment — carbon-monoxide hazards from fuel-burning camping equipment
- MSR/Cascade Designs — Keeping Shelter Fabric Clean and Dry — washing, complete drying, and storage practices
- MSR/Cascade Designs — Four-Season and Mountaineering Shelters — snow, wind, anchoring, and winter-shelter limitations
