
Last Updated on July 29, 2026 by Mason Reed
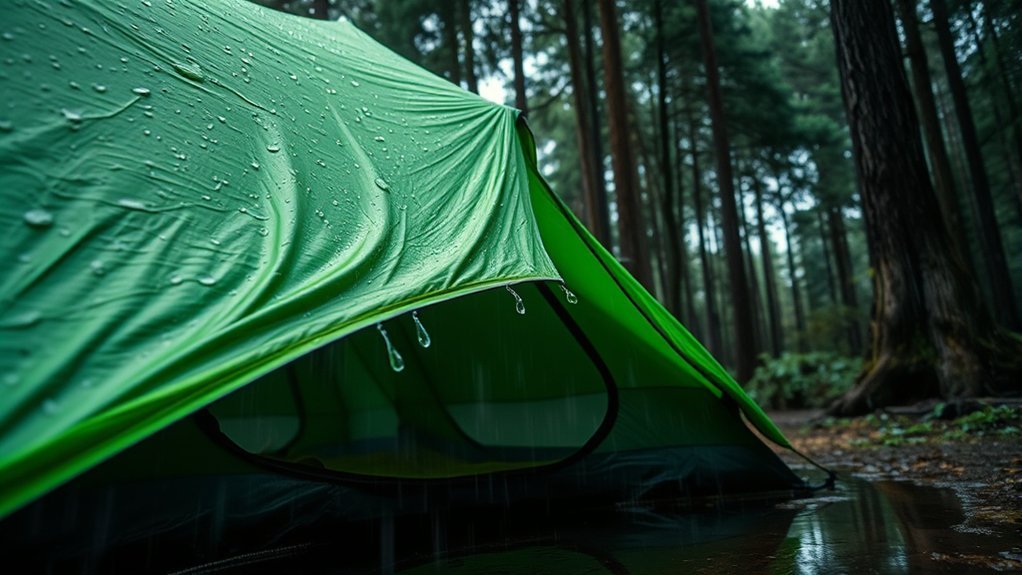
Yes—under most conditions, you should keep your tent’s protected vents open during rain. Ventilation lets moist air from breathing, damp clothing, and wet ground escape before it condenses on cool tent fabric. The goal is not to open every door fully, but to maintain airflow without giving wind-driven rain a direct path inside.
Quick Answer
Keep rainfly vents and other weather-protected openings open during rain unless water is blowing through them. Use opposing high and low vents when possible, keep the rainfly taut, and partly close the windward opening during a hard, slanting downpour. Reopen it as soon as conditions allow.
Key Takeaways
- Open protected tent vents in rain to reduce indoor humidity and condensation.
- Ventilation reduces moisture, but it cannot guarantee a completely dry rainfly or tent wall.
- Keep the rainfly taut and separated from the inner tent so air can move between the layers.
- Adjust openings when wind direction changes; a leeward or hooded vent is safer during wind-driven rain.
- Never use a stove, grill, lantern, or fuel-burning heater inside a tent, even with vents open.
At a Glance
| Time Required | About 5 minutes for setup, plus quick checks as weather changes |
| Difficulty | Easy |
| Tools Needed | Rainfly, stakes, guylines, and an absorbent camp towel |
| Cost | $0 with existing tent gear; about $5–$15 for optional extra stakes or cord |
Disclosure: As an Amazon Associate I earn from qualifying purchases. Some links on this page are affiliate links, at no extra cost to you.
Understanding Tent Condensation Dynamics
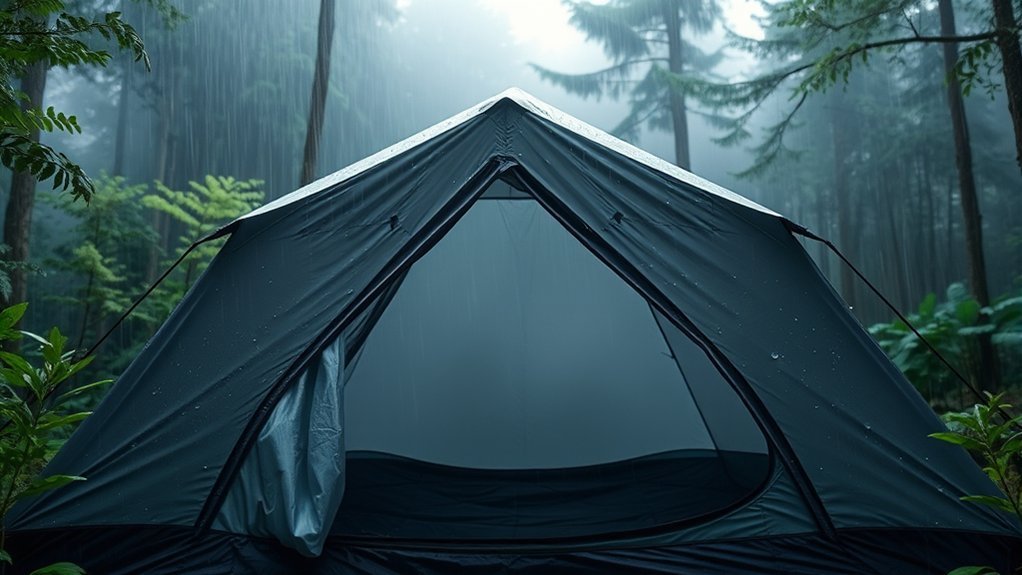
Tent condensation forms when moisture in the air meets a surface that is at or below the air’s dew point. During a rainy night, the rainfly can become cool while people inside add water vapor through breathing. Wet boots, jackets, towels, pets, and damp ground add even more moisture.
The National Oceanic and Atmospheric Administration explains that relative humidity describes how close air is to saturation at its current temperature, while dew point marks the temperature at which water vapor condenses. Rain often comes with humid air, but rainfall does not mean the relative humidity at your campsite is automatically 100%.
Ventilation reduces condensation by replacing humid interior air with outside air, but some moisture on a rainfly can still be normal in wet or cold conditions.
A double-wall tent helps manage this moisture by separating the inner tent from the rainfly. Condensation may collect on the inside of the fly while the mesh or fabric inner wall helps keep sleepers from touching it. In a single-wall tent, good vent use and careful moisture management matter even more because there is no separate inner layer.
The Importance of Proper Ventilation
Opening protected vents gives warm, moisture-laden air an escape route and draws in replacement air through lower openings. Opposing vents can create cross-ventilation, while high and low vents support natural air movement. Both REI’s condensation guidance and Big Agnes tent-care guidance recommend using rainfly vents and maintaining space between the fly and tent body.
Ventilation does not insulate the tent or guarantee a warmer interior. In fact, more airflow can make the air inside feel cooler. Your sleeping pad, sleeping bag, dry clothing, and shelter from wind provide warmth; the vents mainly control moisture and stale air.
Note: A dry-feeling tent is not always a leak-free tent, and a damp-feeling tent is not always leaking. Condensation can collect even when the waterproof fabric and seams are working correctly.
How Rain Affects the Tent Environment

Rain cools the fly, raises moisture around the campsite, and often forces campers to close doors and bring wet gear under cover. Those conditions make condensation more likely. Raindrops can also shake existing condensation loose from the fly, making it seem as though water is leaking through the roof.
Humidity Levels Inside the Tent
You do not need a humidity meter to manage a tent well. Watch for practical signs such as fogged mesh, droplets on the fly, clammy sleeping bags, or a strong difference between the damp air inside and the fresher air outside.
| Condition | What It Suggests | Action |
|---|---|---|
| Light rain with little wind | Good opportunity for cross-ventilation | Open opposing protected vents |
| Wind-driven rain | Rain may enter a windward opening | Reduce the windward opening and keep a leeward or hooded vent open |
| Droplets on the fly but dry seams | Likely condensation | Increase safe airflow and keep gear away from the fly |
| Water follows one seam or damaged spot | Possible leak | Protect the area during the trip and inspect or repair it when dry |
Condensation Prevention Strategies
Start with the tent’s designed ventilation features rather than improvising large openings. Open rainfly vents, roof vents, low vents, and mesh panels that remain covered from direct rain. Keep the fly off the inner wall, store wet gear in the vestibule when safe, and avoid pressing sleeping bags against damp tent fabric.
If conditions are extremely humid, ventilation may only reduce condensation rather than eliminate it. Wipe heavy droplets with an absorbent towel before they drip onto bedding, then wring or dry the towel outside the sleeping area.
Best Practices for Venting During Rain
Use this setup sequence to balance rain protection, airflow, and tent stability:
- Choose higher, well-drained ground. Avoid depressions, drainage channels, stream edges, and places where water can pool.
- Install the rainfly correctly. Attach every required buckle or clip and align the fly with the tent body.
- Stake the tent and fly taut. Use guylines so the fly does not sag onto the inner tent and so water can shed cleanly.
- Open protected vents. Use opposing vents or a combination of low and high vents when the design allows.
- Adjust for wind-driven rain. Partly close the opening taking direct rain while preserving airflow through a leeward, high, or hooded vent.
- Recheck after the fly gets wet. Wet fabric may relax or sag, so retension the fly and guylines without overstressing them.
Benefits of Ventilation
Good ventilation lowers the concentration of water vapor added by people and wet gear. It also reduces stale air and can keep condensation from soaking sleeping bags or clothing. The result is usually a more comfortable sleeping space, even though the fly itself may remain wet.
Managing Humidity Levels
Focus on moisture sources and airflow rather than trying to maintain a specific indoor temperature or humidity reading.
| Practice | Benefit | Best Use |
|---|---|---|
| Open high and low vents | Supports continuous air exchange | Most rainy nights |
| Use opposing vents | Improves crossflow | Light wind without blowing rain |
| Move wet items to the vestibule | Reduces indoor moisture sources | When the vestibule remains ventilated and gear does not block exits |
| Retension the fly | Restores airflow space and water shedding | After fabric becomes wet or wind changes |
Tent Setup Considerations
- Use the manufacturer’s pitching instructions because vent and wind orientation varies by tent design.
- Keep any footprint fully under the tent floor; exposed edges can collect rain and direct it underneath.
- Use all required poles, clips, stakes, and guylines in stormy weather.
- Do not block vents with backpacks, clothing, or a tightly packed vestibule.
- Keep doors and exits usable in case conditions worsen during the night.
REI’s tent setup guide recommends higher, drier ground, avoiding low areas where rain can collect, and rechecking rainfly tension after the fabric gets wet.
Positioning Vents for Optimal Airflow
There is no single rule that says every vent should always face directly into the wind. In a gentle breeze, an opening toward the airflow can improve ventilation. During a slanting downpour, however, a windward door or low opening may admit rain. In that case, reduce the exposed opening and rely more on leeward, high, or hooded vents.
For storm stability, orient the tent according to its pole structure and the manufacturer’s instructions. Keep the rainfly fully attached, and do not roll back a large section merely to increase airflow when the opening is not protected from rain.
Pro Tip: Open the safest leeward or hooded vent first. Then increase other openings gradually until you get useful airflow without visible spray entering the tent.
Managing Warm Air and Humidity
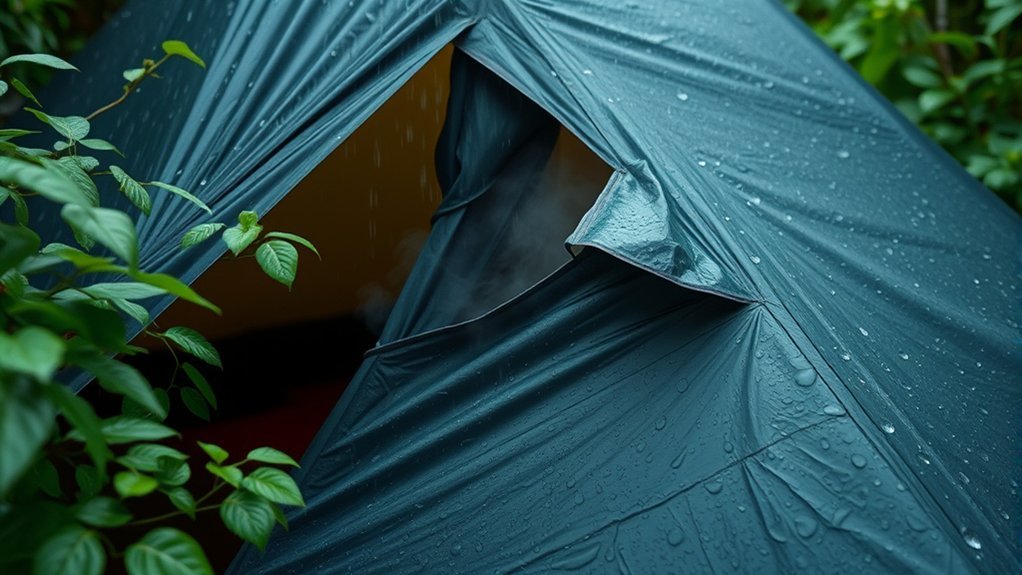
People warm and humidify the air inside a tent. Because warmer air is less dense, moisture-laden air often moves toward higher parts of the shelter, where a roof or rainfly vent can help it escape. Lower openings admit replacement air and support a steady flow.
Warm Air Rise
High vents are especially useful because condensation often develops near the roof and upper fly. Still, opening only a roof vent may not create much flow if no lower path allows replacement air to enter. Use the tent’s high and low ventilation features together when rain protection permits.
Humidity Escape Routes
Keep mesh panels, vent struts, and fly gaps clear. If a vestibule is packed tightly with wet boots and backpacks, it can restrict air movement. Arrange gear so it remains protected but does not seal the gap along the fly or block a door.
Do not use body heat or a fuel-burning appliance to “dry out” the tent. A warmer air temperature alone does not remove moisture, and combustion devices create a deadly carbon-monoxide hazard.
Additional Tips for Reducing Moisture
Ventilation works best when you also reduce the amount of water brought into the sleeping area.
The driest practical setup combines protected airflow, a taut rainfly, a well-drained campsite, and fewer wet items inside the sleeping compartment.
- Keep vents open: Use every weather-protected vent that is not admitting rain.
- Store wet gear wisely: Put rain jackets and boots in a ventilated vestibule or under a separate tarp without blocking the exit.
- Use dry sleepwear: Change out of damp layers before getting into the sleeping bag.
- Avoid touching the fly: Keep bedding and gear away from walls where condensation may collect.
- Wipe heavy moisture: Use a small absorbent towel when droplets begin to run or drip.
- Limit unnecessary water sources: Do not hang wet clothing throughout the sleeping area when another sheltered location is available.
Warning: Never use a charcoal grill, portable camping stove, fuel-burning lantern, or unapproved heater inside a tent. The Centers for Disease Control and Prevention warns that carbon monoxide can build up in enclosed or partly enclosed spaces. Opening vents or doors is not enough to make indoor stove use safe.
Is the Water Condensation or a Tent Leak?
Before blaming the waterproof fabric, look at where the water appears and what the weather is doing.
| Sign | More Likely Condensation | More Likely a Leak |
|---|---|---|
| Water pattern | Fine droplets spread across the inner fly | A repeatable stream or wet line from one seam, hole, or zipper |
| Timing | Builds overnight, especially with several occupants or wet gear | Appears quickly when rain hits a specific area |
| Location | Roof and broad wall surfaces | Damaged coating, seam, zipper, floor edge, or vent opening |
| Response to ventilation | Often improves with more airflow and fewer wet items | Usually continues at the same entry point |
Also check for user-caused water entry: a footprint extending beyond the floor, a loose fly touching the inner tent, an open vent facing spray, or gear pushing against the walls. Mark a suspected leak and inspect it after the tent is clean and dry.
Choosing the Right Tent for Wet Conditions
For frequent rainy camping, look for a tent with a full-coverage rainfly, protected high and low vents, enough guyout points, taped or sealed seams, a bathtub-style floor, and a vestibule that stores wet gear without blocking airflow. A double-wall design usually separates occupants from fly condensation better than a single-wall shelter.
Waterproof ratings can help compare fabrics within a manufacturer’s range, but a number alone does not guarantee a dry tent. Seam construction, zipper protection, floor design, rainfly coverage, fabric condition, and a correct pitch all matter. Check the specific model’s manual for vent positions, seam-care instructions, and any need for user-applied seam sealer.
Choose enough floor area and headroom for the number of sleepers. When people and gear press against the walls, moisture transfers more easily to clothing and bedding.
Exploring Alternative Shelter Options
Traditional tents are not the only option for a wet-weather trip. Depending on the campground and your budget, consider:
- Yurts: A roofed structure offers more separation from wet ground and may include heat or electricity where listed.
- Cabins: Rustic cabins can provide a dry sleeping space during prolonged storms.
- RVs: An RV offers hard walls and built-in amenities, but it still needs ventilation to manage indoor moisture.
- Tarps and canopies: A correctly pitched tarp can create a separate open-air area for gear or meals while keeping the tent entrance clearer.
Washington State Parks currently lists electrically heated yurts at Grayland Beach State Park and cabins at Ike Kinswa State Park. Check official park alerts, seasonal operations, fees, and reservation details before traveling.
Enhancing Your Camping Experience in Rainy Weather
A dry sleeping area is easier to maintain when muddy footwear, wet layers, and cooking activity stay outside the inner tent. Set up before the heaviest rain when possible, keep a towel near the entrance, and organize gear so nobody has to crawl over wet items.
| Activity | Useful Gear | Rainy-Weather Benefit |
|---|---|---|
| Reading or games | Dry bag, headlamp, waterproof cards | Low-mess entertainment inside the shelter |
| Short hike when conditions are safe | Rain shell, traction, waterproof footwear | Keeps the group active without soaking sleep clothing |
| Open-air meal preparation | Approved stove, stable surface, open-sided shelter | Keeps combustion and food moisture outside the tent |
| Gear check | Camp towel, spare cord, stakes | Catches sagging fly fabric or blocked vents early |
| Sky watching after clouds clear | Dry blanket or chair | Adds a calm end to a wet day without bringing moisture into bed |
Follow campground fire restrictions and the stove manufacturer’s clearance requirements. A tarp is not automatically a safe cooking shelter; it must be open enough for ventilation, high enough to avoid heat damage, and permitted by local rules.
Drying the Tent After Rain
Pack the tent wet only when you have no practical alternative, then unpack and dry it as soon as possible. Pitch it, hang it, or drape the fly and body in a shaded, ventilated place until every seam, corner, and stuff sack is dry.
MSR’s tent-care guidance warns that storing a tent wet or in a humid environment can damage coatings and allow mold or mildew to grow. Clean mud with the method recommended by your tent manufacturer, and never machine-dry a tent unless the care label specifically permits it.
Frequently Asked Questions
Can opening vents prevent mold growth inside the tent?
Ventilation helps reduce dampness during a trip, but it does not replace drying the tent afterward. Mold and mildew are most likely when a tent is packed or stored while damp. Dry the tent fully before long-term storage.
What if my tent does not have adjustable vents?
Use any protected mesh panels or double-slider doors the design provides. You may be able to crack the top of a vestibule zipper on the leeward side while keeping the rainfly over it. Follow the tent manual, and do not create an opening that lets rain reach bedding.
How often should I check vent positions in the rain?
Check after setup, when wind direction or rainfall changes, and whenever the fly begins to sag, flap, pool water, or admit spray. A fixed every-few-hours schedule is less useful than responding to actual conditions.
Will opening vents affect my tent’s waterproofing?
Using built-in vents does not damage the waterproof coating. However, rain can enter through an opening that faces wind-driven spray or is not covered by the fly. Adjust the vent rather than sealing the whole tent unnecessarily.
Can I use a tarp for extra ventilation?
Yes. A tarp can shield the tent entrance or create a separate gear area, allowing a door or vestibule to stay partly open. Pitch it so runoff drains away from the tent, leave an air gap, and do not let the tarp rub against the rainfly.
Should tent vents stay open all night?
Usually, yes. Keep weather-protected vents open through the night unless wind-driven rain, blowing snow, smoke, or another hazard requires an adjustment. Preserve at least one safe airflow path whenever conditions allow.
Why is the inside wet if the tent is not leaking?
Breathing, wet gear, damp soil, and humid outside air can produce condensation on the cool rainfly. Raindrops may knock those droplets loose. Check whether moisture is spread broadly across the fly rather than following one damaged seam or hole.
Conclusion
Keep protected tent vents open in the rain, then adjust them only enough to stop wind-driven water from entering. A taut rainfly, clear high and low vents, dry sleep gear, and a well-drained campsite will do more than sealing the shelter shut. Expect some condensation in very humid weather, and dry the tent completely after the trip.
Sources
- NOAA NESDIS: What Is Humidity? — relative humidity, dew point, and condensation basics
- REI: How to Prevent Condensation in a Tent — moisture sources and ventilation practices
- REI: How to Set Up a Tent — campsite selection, rainfly tension, and wind-and-rain setup
- Big Agnes: Tent Tips — manufacturer guidance on vents, guylines, rainfly spacing, and wet-weather retensioning
- CDC: Carbon Monoxide Safety — prohibition on using grills, lanterns, and portable camping stoves inside tents
- Washington State Parks: Rent a Place — official information on cabins, yurts, and other roofed accommodations
