

Last Updated on September 10, 2026 by Daniel Globe
If your inflatable travel pillow valve is leaking, do not start with glue or lubricant. First identify the exact valve design and find where the air is escaping. Dirt can stop a valve from sealing, but a pillow can also lose air through a puncture, damaged valve insert, cracked valve body, or welded seam. The right fix depends on the pillow and bladder material.
Quick Answer
To fix a leaking inflatable travel pillow valve, locate the leak first with a careful bubble test, clean the valve’s sealing surfaces, and check for a replaceable seal or valve. Use lubricant or adhesive only when the pillow manufacturer approves it for that valve and bladder material. Replace badly damaged valves, welds, or bladders.
Key Takeaways
- Identify the exact pillow and valve before taking the valve apart or applying any chemical.
- Use a bubble test to separate a valve leak from a bladder puncture or welded-seam failure.
- Clean accessible sealing surfaces before assuming the valve needs repair.
- There is no universal valve lubricant: use only what the manufacturer recommends for that material.
- Choose patches and adhesives by bladder material rather than treating silicone caulk, PVC cement, and other glues as interchangeable.
- A replaceable valve, valve seal, or bladder is usually a better fix than trying to glue a badly damaged valve assembly.
At a Glance
| Time Required | About 10–30 minutes to diagnose and clean; adhesive repairs may need several hours to cure according to the product directions. |
| Difficulty | Easy for cleaning and leak testing; moderate for valve or bladder repair. |
| Tools Needed | Lint-free or microfiber cloth, mild soapy water, soft brush, marker, and the manufacturer-approved replacement part or repair kit if needed. |
| Cost | Free if cleaning solves the problem; otherwise the cost varies by replacement valve, bladder, or compatible repair kit. |
Disclosure: As an Amazon Associate I earn from qualifying purchases. Some links on this page are affiliate links, at no extra cost to you.
Before You Repair: Identify the Valve and Check the Manufacturer
Inflatable travel pillows do not all use the same valve. Some have a simple check valve, while others use removable valve assemblies, silicone membranes, proprietary one-way inserts, or a replaceable internal air bladder. For example, NEMO says the valve in its Fillo pillow is removable and replaceable, while COCOON currently sells Air-Core pillows with exchangeable inflatable air cores.
Check your pillow’s care instructions or support page before pulling on an insert, adding lubricant, or gluing around the valve. A repair that works on one valve can damage another or make a warranty claim harder.
Note: Do not assume a replacement valve is universal. Valve inserts, seals, and bladders are often model-specific, so match the replacement part to the manufacturer and model whenever possible.
Common Problems With Inflatable Travel Pillow Valves and How to Fix Them
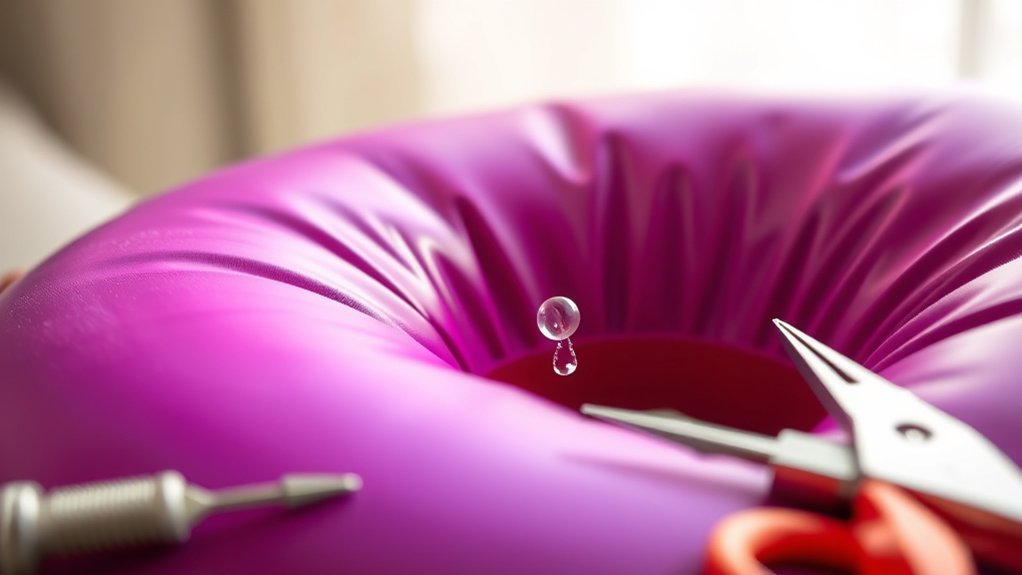
A pillow that gets softer does not automatically have a defective valve. Air may be escaping from the valve, a small bladder puncture, or a welded seam. A noticeable temperature drop can also make the air inside an inflatable contract, making the pillow feel softer even when there is no puncture.
Debris on the Valve Seal
Dirt, grit, hair, or fabric fibers can keep two sealing surfaces from meeting cleanly. NEMO specifically notes that dirt and debris can clog the removable valve on its Fillo pillow. Cleaning is therefore the best first repair when the valve looks intact.
Damaged Valve Seal or Insert
A flexible flap, membrane, gasket, or removable valve can become distorted or damaged. Some manufacturers sell replacement parts rather than recommending glue. Therm-a-Rest, for example, provides replacement options for certain mattress valves, although some valve systems require factory service. The same principle applies to pillows: check whether your exact part is meant to be replaced before trying to seal it permanently.
Bladder Puncture Near the Valve
Bubbles beside the valve do not necessarily mean the valve itself is defective. A pinhole in the inflatable bladder can sit very close to the valve base. A material-compatible patch or repair adhesive may solve this type of leak.
Weld, Barrier, or Valve-Base Failure
Damage where the valve joins the bladder is harder to repair. Sea to Summit says Aeros pillow air loss can come from punctures, the airproof barrier, or RF welds, and notes that replacement is often the best solution because these pillows can be difficult to repair.
How to Find the Exact Leak
- Inflate the pillow to its normal firmness. Do not deliberately overinflate it.
- Keep it at a stable indoor temperature for a short period so a temperature change does not confuse the test.
- Apply a small amount of mild soapy water around the closed valve and nearby bladder surface. Watch for steadily growing bubbles.
- If the bladder is removable and its manufacturer permits water testing, you can test the exposed inflatable section more thoroughly. Avoid soaking foam, fabric, or other components that are not meant to be submerged.
- Mark the leak location, remove any soap residue, and let the area dry completely before repairing it.
Pro Tip: Watch where the first bubbles form. Bubbles from the valve opening point toward a sealing problem; bubbles beside the valve may indicate a bladder puncture or failed bond instead.
How to Easily Clean and Check Your Pillow Valve
Routine cleaning can solve a valve that is being held open by grit or fibers. Work gently so you do not damage a thin flap or sealing surface.
- Wipe the valve’s exterior and accessible contact surfaces with a clean, damp, lint-free or microfiber cloth.
- Inspect the valve body, cap, membrane, and surrounding bladder for splits, distortion, or obvious punctures.
- Use a clean soft-bristle brush on accessible areas if dry debris remains.
- Do not push toothpicks, tweezers, pins, cotton swabs, or other rigid objects deep into the valve mechanism.
- If the maker provides instructions for removing and reseating a valve insert or seal, follow those instructions rather than forcing the part.
After cleaning, close the valve completely, inflate the pillow normally, and repeat the bubble test. If the bubbles have stopped, leave the pillow inflated at a stable temperature for several hours to confirm that it holds air.
Note: Dry the pillow fully before long-term storage. Sea to Summit specifically warns that condensed breath left inside an Aeros pillow during storage can contribute to air-barrier or RF-weld problems and recommends storing the pillow with the valve open so moisture can escape.
Should You Apply Silicone Grease for a Better Seal on Your Valve?
Do not treat silicone grease as a universal travel-pillow fix. Lubricant compatibility depends on the valve’s materials and the manufacturer’s design. Unless your pillow’s care instructions specifically call for a lubricant, cleaning and inspecting the valve should come first.
This is important because manufacturers do not all give the same advice. For example, Sea to Summit instructs owners of certain TPU sleeping-mat valves to apply a thin film of petroleum jelly to the valve contact surfaces. That does not mean petroleum jelly belongs on every travel pillow; it shows why blanket rules such as “silicone grease only” or “never petroleum jelly” are unreliable.
If your pillow manufacturer specifies silicone grease, petroleum jelly, or another valve treatment, use only the stated product and amount. If the instructions do not mention lubrication, do not experiment with cooking oil, general-purpose spray lubricant, or an unidentified grease.
Warning: Do not add an unknown lubricant simply because the valve feels stiff. The wrong chemical may be incompatible with the valve or bladder material, attract dirt, or interfere with a later adhesive repair.
Ensure a Tight Fit When Inflating Your Valve
Some apparent valve problems happen during inflation rather than after the valve is closed. Check the full inflation path before assuming the pillow needs repair.
- Make sure the valve is fully open in the inflation position before blowing into it or attaching an approved pump.
- If the pillow has a one-way flap, check that it moves freely and is not folded or blocked by debris.
- If you use a pump, use only a nozzle and inflation method the manufacturer permits. Do not force an oversized nozzle into a soft valve.
- Avoid high-pressure inflation equipment unless the manufacturer specifically approves it. Small travel pillows are designed for low-pressure inflation.
- After inflation, close every cap, flap, or locking part completely and repeat the bubble test around the closed valve.
Choosing the Right Repair for the Leak
The repair should match both the leak location and the bladder material.
| What You Find | Best Next Step |
|---|---|
| Dirt on an intact sealing surface | Clean it, close the valve, and retest. |
| Damaged removable flap, seal, or valve | Install the correct manufacturer replacement part if available. |
| Small bladder puncture | Use the maker’s patch kit or an adhesive/patch explicitly compatible with the bladder material. |
| Cracked nonreplaceable valve body | Contact the manufacturer or replace the bladder/pillow rather than filling the valve mechanism with glue. |
| Failed weld, air barrier, or valve-base seam | Check warranty or repair service first; replacement is often more dependable. |
For a compatible inflatable material, a flexible repair system can work better than a brittle household glue. GEAR AID describes Aquaseal FD as a flexible urethane adhesive for inflatables and lists compatibility with materials including neoprene, rubber, nylon, canvas, and vinyl. Its instructions call for a clean, dry repair area and an 8–12 hour cure for the standard product.
That does not make Aquaseal, clear silicone caulk, or PVC cement interchangeable. Check the bladder material and adhesive label first. EXPED likewise directs owners to model-appropriate mat repair methods and kits rather than one universal glue.
Warning: Follow the adhesive manufacturer’s ventilation, skin-contact, application, and cure instructions. Do not reinflate the pillow until the repair has cured for the full stated time.
Next Steps if Your Valve Still Leaks
If cleaning does not stop the leak, inspect the exact spot again before adding more repair material. A damaged removable valve or seal should normally be replaced with the correct part. Replacement pieces may be available from the manufacturer, repair specialists, hardware suppliers, or outdoor gear stores, but confirm that the part actually matches your pillow before installing it.
If the valve itself is intact but a small nearby bladder puncture bubbles, use the pillow maker’s repair kit or another repair product that explicitly supports that material. Clean and dry the surface, apply the patch or adhesive exactly as directed, allow the full cure time, then repeat the bubble test before putting the pillow back into use.
If bubbles come from a welded seam, the valve-to-bladder bond, a cracked nonserviceable valve, or several different areas, continued spot repairs are less likely to be dependable. Check the warranty or manufacturer repair program. Replacing a removable bladder can also preserve the outer pillow instead of replacing the entire product.
Find the first bubble before choosing the fix. The location of the leak matters more than the fact that the pillow feels soft.
Frequently Asked Questions
Can I use oil instead of silicone grease on the valve?
Do not substitute a random oil or lubricant. There is no universal lubricant for inflatable-pillow valves. Some manufacturers specify particular products for particular materials—for example, Sea to Summit recommends petroleum jelly on certain TPU sleeping-mat valve surfaces. Follow the instructions for your exact pillow rather than assuming silicone grease, petroleum jelly, or another lubricant is always correct.
How often should I check my pillow valve for leaks?
There is no universal maintenance interval. Check the valve before an important trip, after long-term storage, or whenever the pillow starts losing firmness faster than usual. A quick visual inspection and bubble test can catch debris or damage before you travel.
Is it safe to use my pillow while it’s slowly deflating?
A small leak is mainly a comfort and reliability problem, but it can leave the pillow flat when you need it. Test and repair or replace it before your next trip rather than relying on repeated reinflation.
What materials are inflatable travel pillow valves typically made from?
The materials vary by manufacturer. Many designs combine a rigid or semi-rigid valve body with a flexible check membrane, seal, or bladder made from an elastomer or thermoplastic material. Check the manufacturer’s specifications before choosing a lubricant, adhesive, or replacement part.
When should I replace the pillow instead of repairing it?
Consider replacement or manufacturer service when the valve body is cracked and nonreplaceable, a welded seam or internal air barrier has failed, several leaks are present, or a properly completed repair keeps failing. If the pillow has a removable bladder, replacing only the bladder may be enough.
Can I use super glue or epoxy on a leaking pillow valve?
Do not use a rigid household adhesive unless its manufacturer specifically lists the pillow material and application. Inflatable bladders flex as they are filled and packed, so a manufacturer-approved patch or flexible adhesive intended for that material is usually a better choice.
Why does my inflatable pillow feel softer overnight if I cannot find a leak?
A drop in temperature can make the air inside the pillow contract and reduce firmness. Retest the pillow at a stable indoor temperature. If it keeps losing firmness under stable conditions or produces bubbles during a leak test, an actual leak is more likely.
Conclusion
A leaking inflatable travel pillow is often fixable, but the best repair starts with finding the real source of the air loss. Clean an intact valve before replacing anything, use the manufacturer’s specified lubricant only when one is actually recommended, and match any patch or adhesive to the bladder material. Replace a serviceable valve or bladder when possible rather than burying a damaged valve in glue. If the leak comes from a failed weld, air barrier, or nonreplaceable valve assembly, manufacturer service or replacement is usually the more dependable solution.
Sources
- NEMO Equipment: Cleaning, Repairing and Storing Your NEMO Camp Pillow — backs valve cleaning, removable-valve replacement, bladder patching, and storage guidance.
- Sea to Summit: My Aeros Pillow Is Deflating — backs pillow-specific puncture, air-barrier, RF-weld, storage, and replacement guidance.
- Sea to Summit: Sleeping Mat Air-Loss Troubleshooting — backs bubble/submersion testing and demonstrates manufacturer-specific valve lubrication guidance.
- Therm-a-Rest / Cascade Designs: Valve Replacement Guidance — backs the distinction between user-replaceable and factory-service valve systems.
- GEAR AID: Aquaseal FD Flexible Durable Adhesive — backs compatible-material, flexible-adhesive, preparation, and cure guidance.
- COCOON Air-Core Pillows — backs current travel-pillow designs with check valves and exchangeable inflatable air cores.

