
Last Updated on September 10, 2026 by Daniel Globe
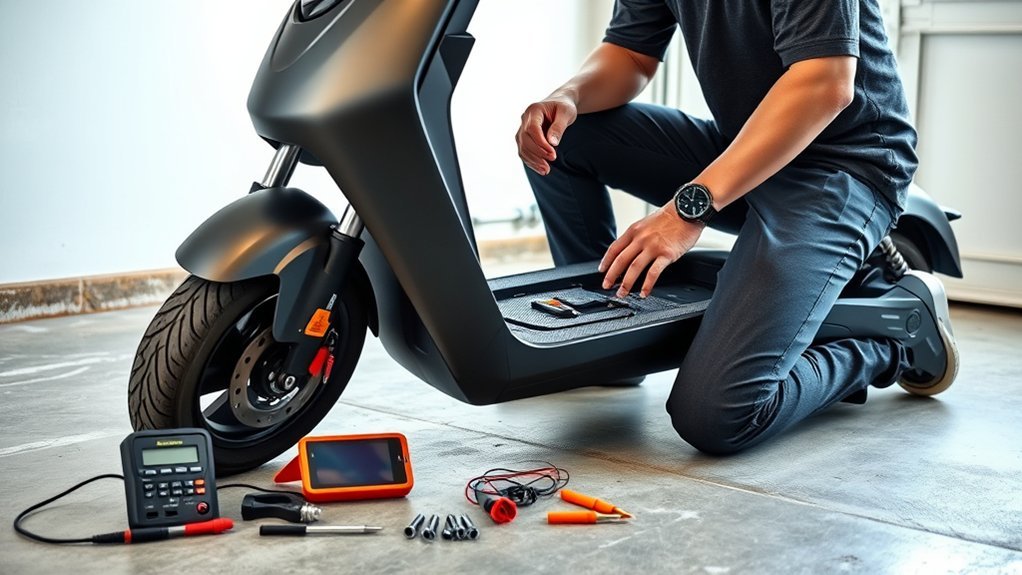
Start with the battery and charger: verify the pack is charged, the charger matches the scooter’s voltage, and the charger light works in a known-good outlet. Check battery terminals, the power button, wiring, fuses, and all safety switches for loose, corroded, or damaged connections. Make sure the brake lever and kill switch are fully released, then test the throttle and controller for faults. If it still won’t power up, you’ll want the next checks.
Disclosure: As an Amazon Associate I earn from qualifying purchases. Some links on this page are affiliate links, at no extra cost to you.
Check the Battery and Charger
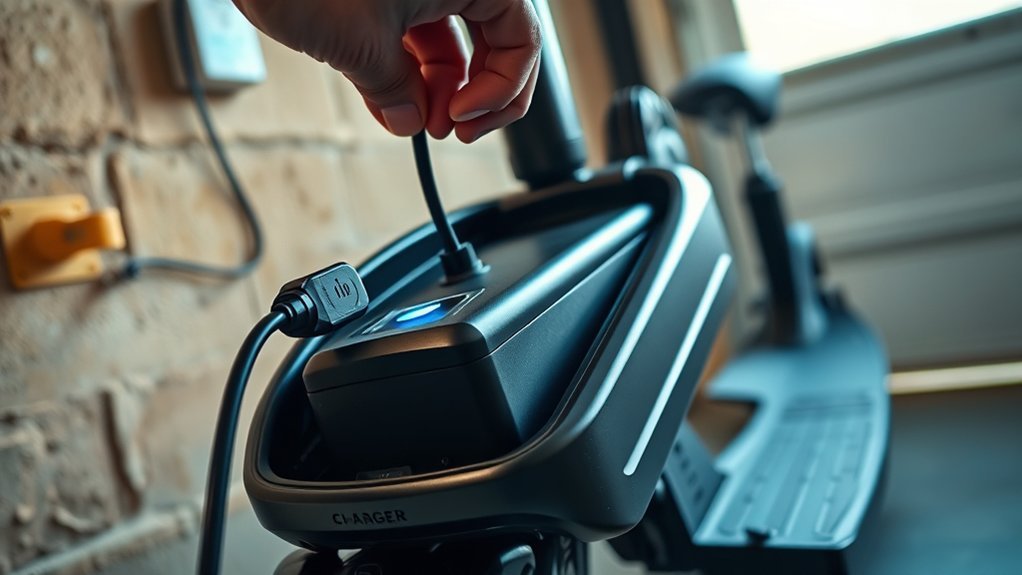
Start with the battery and charger, because a dead battery is often why your scooter won’t turn on. Check the charge level first; if it’s fully drained, charge it for the recommended time before you test anything else. Then use a multimeter to read battery voltage. If it’s far below nominal, the pack may be failing and need replacement. Good battery maintenance means keeping cells charged properly and connections clean. Inspect the charger by plugging it into a different outlet and watching for indicator lights or charging sounds. If the light stays green while connected, or output seems wrong, the charger may be faulty. Verify charger compatibility before replacing it: match the scooter’s voltage and Ah rating. Also check that battery terminals are secure and free from corrosion, because poor contact blocks power flow. When you confirm battery and charger health, you reclaim control from a dead scooter.
Inspect the Power Button and Wiring
If the battery and charger check out, inspect the power button and its wiring next. Look for cracks, sticking, or wear on the power button, because damage can block startup. Press it several times and, if your model needs it, hold it for 3-5 seconds so you’re using the switch as designed. If it still feels dead or inconsistent, the button may be failing. Then trace the wiring connections from the button into the scooter’s body. Check for loose plugs, bent pins, pinched insulation, or frayed wires that could interrupt power. Reseat any connector that isn’t secure, and make sure every internal power lead is intact and firmly attached. A broken signal path can keep the scooter silent even when the battery is charged. By verifying the power button and wiring connections, you rule out a simple control fault and move closer to restoring your ride on your terms.
Check the Fuses and Safety Switches
Start by locating the fuse box near the battery compartment or controller, since it protects the scooter’s electrical system from overloads. Check the fuses and safety switches for damage or tripped protection, including any thermal cutoff that may need resetting or cooling. If you find a blown fuse, replace it with one that matches the original amperage rating.
Locate The Fuse
Next, locate the fuse box, usually near the battery compartment or controller, so you can inspect the scooter’s fuses and safety switches. This fuse location gives you direct access for fuse maintenance and fast diagnosis. Open the box and check each fuse closely. Look for a broken filament, darkening, or melted wire inside the glass or blade body; those signs mean the fuse has blown. If the damage isn’t obvious, use a fuse tester to confirm continuity, though visual inspection often tells you enough. Replace any failed fuse with one that matches the exact amperage rating. Don’t up-rate it. After installation, power the scooter on again and re-test it. If it starts, you’ve isolated the fault and reclaimed control.
Inspect Safety Switches
With the fuse checked or replaced, inspect the scooter’s safety switches and interlocks. Check safety switch types like the brake lever, kickstand, and kill switch; each must sit in the correct state for power-up. Use troubleshooting techniques to isolate which switch blocks startup.
- Confirm the brake lever isn’t held
- Verify the kickstand is fully retracted
- Make sure the kill switch is disengaged
- Check any circuit breaker for a tripped state
- Test switch continuity if access allows
If a safety interlock stays open, the controller won’t energize, and you’ll stay grounded. Listen for clicks, watch indicator behavior, and compare each switch position against normal operation. Keep the process methodical so you can restore control without guesswork or wasted effort.
Replace Blown Fuse
Trace the scooter’s fuses by opening the fuse box, usually near the battery compartment, and inspect each one for a broken wire or darkened element. These common fuse issues point to a blown fuse and a dead circuit. If the damage isn’t obvious, use a multimeter; a good fuse shows continuity, while a failed one won’t. Replace only the blown fuse, and match the amperage rating exactly. Don’t improvise with a higher rating, because that can mask faults and risk wiring damage. These fuse replacement tips keep your diagnosis clean and your scooter safe. After installing the new fuse, power the scooter on and verify startup. If it still won’t wake, move on to deeper troubleshooting so you can restore control without guesswork.
Test the Brake Lever and Kill Switch
Make sure the brake lever is fully released, since many scooters will not power on if the brake is applied. Then verify the kill switch is in the off position; if it’s engaged, the scooter won’t wake up. This quick check clears two common lockouts and keeps you from chasing false faults.
- Inspect the brake lever for binding or incomplete return.
- Look for cracked housings, bent parts, or worn contacts.
- Confirm the kill switch moves freely and stays where you set it.
- Disconnect the brake lever switch and test continuity with a multimeter.
- Replace any switch that fails the test before restoring power.
If the brake lever switch reads open when it should close, or vice versa, it’s defective. A damaged switch can interrupt the circuit and block startup. After you verify both controls, try powering on again. If the scooter still stays dead, move on to other electrical components and keep tracing the fault until you reclaim control.
Check the Throttle and Controller
If the brake lever and kill switch check out but the scooter still won’t power on, inspect the throttle and controller next. Start with throttle troubleshooting: unplug and reseat the throttle connector, then verify the wiring isn’t pinched, corroded, or cracked. A loose or damaged throttle can block startup. Next, disconnect the throttle and try to power on the scooter. If it wakes up, replace the throttle; it’s likely failing. For controller inspection, open the housing and look for burnt parts, heat marks, or loose plugs that break power flow. If your display shows error codes, note them and match them to the manual, because they often point to throttle or controller faults. Follow the manufacturer’s diagnostics for your model, since connector layouts and test steps vary. Stay systematic, document each result, and you’ll narrow the failure fast without guessing or surrendering to dead electronics.
Look for Battery, Motor, or Load Issues
Next, check the battery, motor, and load conditions, because a weak pack or a failing drive system can mimic controller trouble. Use a multimeter to verify battery charge; if voltage is low, your pack may need replacement, not persuasion. Inspect terminals and leads for corrosion, slack, or heat damage, since poor contact cuts power. For battery maintenance, keep connections clean and tight.
- Measure resting battery voltage
- Wiggle connectors for intermittent drops
- Check the motor for debris or binding
- Look for worn wiring or casing damage
- Test under load for voltage sag
During motor troubleshooting, spin the wheel by hand and confirm it turns freely. Then power the scooter and watch for a sharp voltage drop when the motor engages; that sag points to a tired battery or excessive load. Keep payload within spec and avoid overloading hills or cargo. Respect the machine’s limits, and it’ll carry you farther with less risk.
Get Professional Scooter Repair Help
If your scooter still won’t power on after basic checks, you should get a professional diagnosis for the battery, controller, or motor. You can take it to local repair shops like Amped Adventure or SpoMoto, which community members recommend for electric scooter repairs. Bring clear details about the failure mode and charging symptoms so the technician can pinpoint the fault quickly.
Local Repair Shops
Local repair shops can save you time when your electric scooter won’t turn on or shows other electrical faults. You get local expertise and service quality from technicians who work on battery, wiring, and controller failures. Shops like Amped Adventure and SpoMoto can isolate faults fast, so you can reclaim mobility without guesswork.
- Call first to confirm model support
- Describe symptoms and error codes
- Ask about battery, wiring, and controller tests
- Compare turnaround time and parts access
- Request maintenance tips for longer service life
Being proactive cuts downtime before your next ride or boot camp. A good shop won’t just repair the fault; it’ll help you understand what failed and how to prevent repeat breakdowns, so you stay in control and keep moving.
When To Seek Help
When basic troubleshooting doesn’t bring your scooter back to life, it’s time to call a professional to diagnose the controller, motor, or battery system. You’ve already used practical troubleshooting tips; now watch for common symptoms that signal deeper faults.
| Symptom | Action |
|---|---|
| Burning smell | Stop riding |
| Smoke | Disconnect power |
| Visible damage | Schedule inspection |
| Error code | Get service |
| No charge hold | Test battery |
If the display flashes warning lights, if repairs didn’t restore power, or if the scooter stays dead, don’t force it. A qualified technician can trace wiring, test components, and replace failing parts safely. That frees you from guesswork and protects your ride.
Frequently Asked Questions
How to Fix Your Electric Scooter if It’s Not Turning On?
Check your battery first, then inspect connections, fuse, power button, and charger port. Use a multimeter, follow these troubleshooting tips, and practice battery maintenance. If you find damage or smell burning, get professional help.
Why Did My Scooter Suddenly Stop Working?
Your scooter likely suffered a catastrophic battery issue, wiring problems, motor failure, charging concerns, display malfunction, safety features trip, or environmental factors. Check connections, test the charger, inspect fuses, and follow maintenance tips to regain control fast.
How Do I Reset an Electric Scooter?
Turn off your scooter, disconnect the battery briefly, then reconnect it. If you’ve got a reset button, press it; otherwise hold power 3–5 seconds. Use battery maintenance and troubleshooting tips from your manual for liberation.
Why Does My Scooter Have Power but Won’t Start?
You’ve got power, but battery issues, wiring problems, throttle malfunction, or motor failure can stop startup. You’ll need to test voltage, inspect connections, verify switches, and confirm the controller sends current to the motor.
Conclusion
If your electric scooter still won’t turn on, don’t assume the battery is dead and stop there. About 30% of scooter no-start issues come from simple faults like blown fuses, loose wiring, or a stuck safety switch. Work through each checkpoint methodically: battery, controls, fuses, brake lever, throttle, and controller. If you can’t isolate the fault, get professional repair help before you risk further damage or a safety failure.
