Last Updated on August 22, 2026 by Caleb Warren
Start by testing the wall outlet with another device, then try your scooter charger in a different outlet. Inspect the cable, plug, and charger body for frays, burns, bent pins, or loose connections. Use a multimeter to confirm the charger outputs its rated DC voltage. If output is zero or low, check the internal fuse and wiring only if you’re trained and the charger is unplugged. Next, verify the scooter’s port and battery; more fixes follow.
Quick Answer
Most charging failures trace back to one of five things: a dead outlet, a damaged cable, a blown fuse, a dirty charging port, or a battery protection circuit that has locked out charging. Work through them in order, starting with the charger’s LED light, before assuming the whole unit is dead.
Key Takeaways
- Test the outlet and try a second one before touching the charger or scooter.
- Read the charger’s LED light first — it usually tells you whether the fault is the charger, the battery, or the connection.
- A good fuse shows near-zero resistance on a multimeter; a blown fuse shows an open (“OL”) reading, not the reverse.
- Lithium battery packs have their own internal protection circuit — flashing lights can mean the battery, not the charger, is at fault.
- Never open a sealed battery pack yourself; lithium-ion packs carry a fire risk if punctured or shorted.
At a Glance
| Time Required | 15–45 minutes for diagnosis; longer if a part needs replacing |
| Difficulty | Easy for outlet/cable/port checks; Moderate to Advanced for opening the charger |
| Tools Needed | Digital multimeter, small Phillips screwdriver, insulating tape |
| Cost | Free to diagnose; a replacement fuse or cable is typically $5–$15, a replacement charger $20–$60 |
Disclosure: As an Amazon Associate I earn from qualifying purchases. Some links on this page are affiliate links, at no extra cost to you.
Read the Charger’s LED Light First
Before you touch a screwdriver, plug the charger into the wall and then into the scooter, and watch the indicator light. Most chargers use a simple two-color system: solid red usually means the battery is actively accepting a charge, and solid green usually means the pack is either full or the charger is only connected to wall power, not the scooter. A fast-blinking red light signals a problem such as a loose connection, an overheating battery, or a faulty charger, and you should unplug and troubleshoot before continuing. An alternating red/green pattern more often points to a fault inside the battery pack itself, such as an internal circuit breaker or fuse, rather than the charger. Light codes vary by brand, so check your scooter’s manual for model-specific meanings before assuming the worst.
Note: Charging in cold temperatures (below roughly 32°F/0°C) can also trigger warning lights and slow or block charging entirely — this is the battery protecting itself, not necessarily a fault. Bring the scooter to room temperature and try again before assuming a hardware problem.
Check the Power Source First
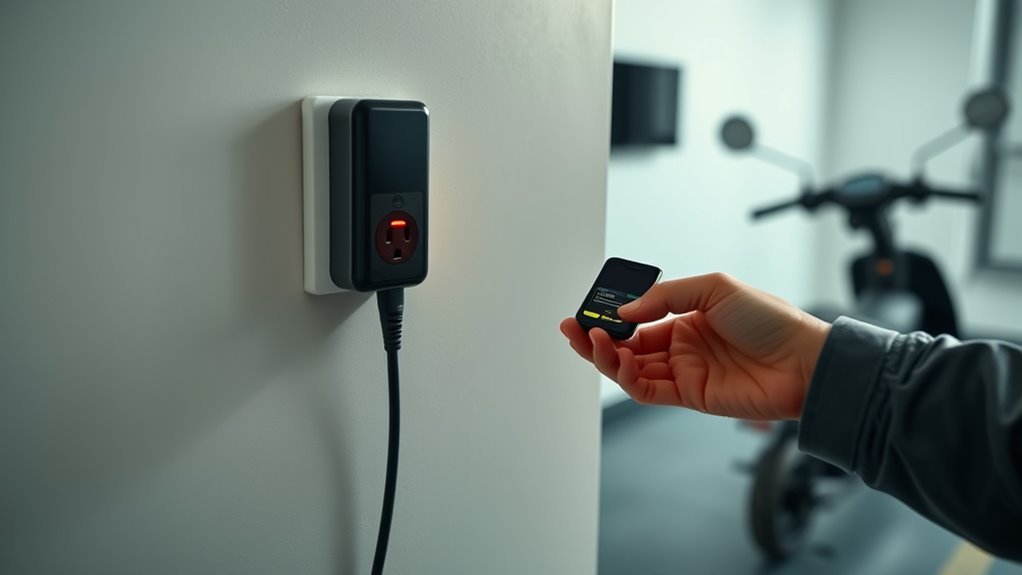
Start with the simplest check: plug the charger into a different wall outlet to see whether the original one is the problem. If the charger works elsewhere, you’ve isolated the fault to the first power outlet. Test that outlet with another appliance you trust; if it fails too, the outlet or the circuit breaker may be the issue. Check your breaker panel and reset any switch that’s tripped, but only if you can do so safely. Look at the wall outlet for scorch marks, looseness, or wear, because damaged hardware can threaten electrical safety and stop charging. Also confirm the charger’s voltage and plug type match the outlet requirements. A mismatch won’t power the scooter correctly, and it can keep you stuck. By verifying the source first, you avoid chasing false problems and keep control of the repair process.
Inspect the Charger Cable for Damage
Inspect the charger cable for frays, cuts, or exposed wires along its full length. Look for kinks, twists, or bent connectors that could interrupt charging or weaken the connection. If you find significant damage, replace the cable; don’t rely on a temporary fix for long-term use.
Check For Frays
Look over the charger cable from end to end for any frays, cuts, or exposed wires that could interrupt power flow. Check the full length, especially near connectors and bends, where wear shows up first. If you spot minor fraying, wrap it with insulating tape as a temporary fix, but don’t treat that as a long-term repair. If the insulation is split or the wiring shows, replace the cable immediately. A damaged cord can cause intermittent charging or total charger failure, so regular checks belong in your cable maintenance routine. Treat this as part of your charging safety precautions: stop using the charger at once when you find damage, and get a replacement before you power up again.
Look For Kinks
A single kink can be enough to damage the wires inside your charger cable and interrupt power flow, so run your hands along the full length and check for bends, pinch points, frayed spots, and exposed conductors, especially near connectors and any place the cord moves or flexes often.
| Checkpoint | What you’re looking for |
|---|---|
| Bend | Sharp fold or crushed section |
| Connector | Fray, gap, or exposed wire |
Kinks often hide internal breaks even when the jacket looks intact. Keep cable maintenance routine and practical: inspect the cord regularly, and use insulating tape only for minor wear as temporary damage prevention. If the cable feels stiff, twisted, or thin at a stress point, treat it as suspect. A quick visual and tactile check helps you catch reduced charging efficiency before it becomes total failure.
Replace Damaged Cable
Damaged charger cables often cause charging problems, so check the full length of the cord for frays, cuts, exposed wires, and kinks that can weaken the internal conductors. Inspect both connectors for bending, scorch marks, or looseness, because damaged ends can stop current transfer. If you find minor wear, wrap it with insulating tape as a temporary fix, then test the charger. For larger damage, replace the cable immediately; don’t trust patched wiring to keep your scooter powered safely. Make cable inspection routine maintenance, not a last-minute reaction.
Test the Electric Scooter Charger Output
Set your multimeter to DC voltage and probe the charger’s output pins to measure its actual output. Compare that reading with the charger’s rated voltage to see if it’s within spec. If it’s zero or much lower than expected, the charger likely needs further inspection or replacement.
Measure Charger Voltage Output
With your multimeter set to DC voltage and the expected range, connect the probes to the charger’s output pins and hold steady contact to get an accurate reading. Keep your hands steady and verify the leads stay seated; unstable contact can skew results. If you see a reading far below the charger’s spec, suspect a fault in the charger or cable. If the meter shows zero volts, treat the charger as nonfunctional and likely needing replacement. Record the reading, test conditions, and any cable damage you notice.
Compare Reading To Rating
Once you’ve measured the charger’s output, compare that reading against the rated voltage printed on the charger label or listed in the user manual. Small variance is normal, but major voltage discrepancies signal trouble.
| Reading | Meaning |
|---|---|
| Matches rating | Charger likely works |
| Slightly low | Inspect connections |
| Far below rating | Fault likely |
| Unstable reading | Possible internal damage |
| No output | Replace or repair |
Document each test, then watch for drift over time. Consistent records help you act fast and keep your ride powered.
Warning: Only open a charger’s casing if you’re trained in electrical work and the unit is unplugged. Chargers and lithium battery systems can carry a shock and fire risk if mishandled — UL 2272 exists specifically because scooter chargers, batteries, and wiring have to be evaluated as one system. If you’re not comfortable opening the case, skip to the replace-or-repair section below and let a qualified technician handle it.
Open the Charger and Check the Fuse
Unplug the charger before you open it to avoid electrical shock and damage. Use a screwdriver to remove the casing screws carefully, then lift the shell without stressing internal parts. As you work, note the fuse type used in this charger, since replacements must match the original rating and form factor. Inspect the fuse closely; a burnt body or a broken metal strip means it’s failed. Next, perform continuity testing with a multimeter set to resistance or continuity mode. Touch the probes to both ends of the fuse: a near-zero-ohm reading or an audible beep means the fuse is still good, while an open or “OL” reading with no beep confirms the fuse has blown and needs replacing. Install the correct replacement fuse, then reassemble the charger with every component seated properly. Tighten the screws evenly and make sure no wires get pinched.
Check the Charger’s Internal Wiring
After opening the charger casing, inspect the internal wiring for frayed wires, burnt spots, or melted insulation that could interrupt power flow. Check each wire, solder joint, and terminal for loose internal connections that can break charging under load. Look closely for overheating signs such as browned plastic, scorched insulation, or discoloration near components; these often point to failing wiring or heat-stressed parts. If you find a minor break in a low-voltage internal wire and the conductor itself is intact, a small wrap of insulating tape can hold as a short-term fix. When damage is extensive, replace the charger instead of gambling with unstable power.
Rule Out the Battery’s Own Protection Circuit
If the charger tests fine but the scooter still won’t charge, the fault may be inside the battery pack, not the charger. Lithium battery packs contain a Battery Management System (BMS) that can lock out charging on its own if it detects an unsafe condition — a cell imbalance, an internal fuse that has blown, or an internal circuit breaker that has tripped. These are common causes of a scooter that “charges” briefly, flashes an error pattern, and then stops. Do not open a sealed battery pack yourself to inspect or repair it — damaged lithium cells carry a genuine fire risk, and this kind of repair belongs with the manufacturer or a certified technician. If you suspect a battery-side fault, contact the manufacturer’s support line or an authorized repair shop rather than disassembling the pack.
Test the Scooter Battery and Charging Port
With the charger and wiring ruled out, test the scooter battery directly with a multimeter at the battery terminals and compare the reading to the rated voltage; a much lower value usually points to over-discharge or battery degradation. Then inspect the charging port for debris, corrosion, or bent contacts that can block a clean electrical path. If the port looks damaged, clean it carefully and recheck fitment. Next, plug in the charger and measure voltage at the port; the reading should match the charger’s output specification. If you see zero or a very low value, you’re likely dealing with a faulty charger or broken internal connection, not a healthy charging circuit. Make battery maintenance routine, and check the battery and port regularly for wear.
Pro Tip: Avoid leaving your scooter charging unattended overnight, and never charge it in direct sunlight or right after a hard ride while the pack is still warm. Letting the battery cool first, and staying nearby while it charges, reduces both fire risk and long-term wear on the cells.
Repair the Charger or Replace It
If the battery and charging port check out, the charger itself is the next likely fault. Inspect it for frayed cables, bent connectors, or heat damage; these common charger issues often block current and can’t be ignored. Open the case only if you’re trained and unplugged, then check for a blown fuse. Replacing a fuse can restore service without a full swap. Next, use a multimeter to measure output voltage. If it’s far below the rated value, the charger’s internal electronics are failing. Also confirm compatibility with your scooter model; the wrong charger can mislead you with symptoms that look like battery trouble. Follow basic charger maintenance: coil the cable loosely, keep contacts clean, and store the unit dry. If the charger still won’t deliver a stable charge after these checks, replace it with a new, compatible unit and move on with reliable power.
Frequently Asked Questions
What to Do if an Electric Scooter Charger Is Not Working?
Check the outlet, cable, and port first, then read the charger’s LED light for a clue. From there, test voltage with a multimeter and inspect the battery. These steps usually reveal a loose connection, a blown fuse, or a failed charger.
How to Fix a Charger Suddenly Not Working?
Test the outlet, inspect the cable, clean the port, then measure output with a multimeter. Working through these checks in order exposes most common issues fast and gets you back to riding.
What Do the Charger’s LED Lights Mean?
Solid red typically means the battery is charging; solid green usually means it’s full or only connected to the wall. A fast-blinking red light signals a fault and means you should stop charging and troubleshoot, while an alternating red/green pattern more often points to the battery pack itself rather than the charger. Check your manual, since light codes vary by brand.
How to Charge an Electric Scooter Without a Charger?
A manufacturer-approved universal charger matched to your battery’s exact voltage and connector is the only reliably safe substitute for emergency use. Using a mismatched power bank, car battery, or solar setup risks incorrect voltage or reversed polarity, which can damage the battery or start a fire — always verify voltage, polarity, and amperage with a multimeter before connecting anything unfamiliar, and when in doubt, wait for the correct charger instead.
How Do I Reset a Battery Charger?
Unplug your charger from the wall and the scooter, wait 5–10 minutes, then reconnect it. If it has a reset button, press it. If the light pattern still shows an error afterward, check the fuse and consult your manual.
Conclusion
If your scooter still won’t charge, you’ve already ruled out the usual suspects, and that’s no coincidence: the fault often hides in one small link. Recheck the LED light, outlet, cable, fuse, wiring, battery, and port in order. If the charger fails output tests or shows visible damage, replace it rather than forcing it to work. You’ll save time, avoid further damage, and get your scooter back on the road faster.
Sources
- U.S. Consumer Product Safety Commission — Batteries — overview of shock, fire, and overheating hazards associated with battery chargers
- UL Solutions — Personal e-Mobility Evaluation, Testing and Certification — explains the UL 2272 system-level standard covering scooter batteries, chargers, and wiring
- Fluke — How to Test for Continuity with a Multimeter — backs the correct continuity-testing procedure used in this guide
- Fluke — How to Check a Fuse with a Multimeter — confirms correct pass/fail readings for fuse testing