Last Updated on July 28, 2026 by Caleb Warren
A broken backpack buckle does not automatically mean the pack is finished. Many side-release buckles can be replaced at home in a few minutes, but the correct repair depends on how the buckle is attached. Before cutting anything, measure the webbing, identify whether the strap is adjustable or sewn into a closed loop, and choose replacement hardware designed for that exact setup.
Quick Answer
To replace a backpack buckle, first measure the webbing and identify whether the buckle is adjustable, dual-adjust, or trapped in a sewn loop. Use a matching side-release buckle; choose a one- or two-pin field-repair model for sewn loops. Remove only the broken plastic, install the new buckle, then test it under gradually increasing load.
Key Takeaways
- Measure the webbing itself, not the outside width of the broken buckle.
- Identify whether the buckle has free webbing, one sewn-in side, two fixed sides, or adjustment on both sides before buying a replacement.
- A one-pin or two-pin field-repair buckle can often replace hardware captured inside sewn webbing without opening the original stitching.
- Replace both mating buckle halves as a set unless the manufacturer confirms that a replacement half is compatible with the original.
- Test the repair gradually and repair damaged webbing as well as the buckle if the strap is cut, badly frayed, or thinning.
At a Glance
| Time Required | About 5–30 minutes for most no-sew replacements; longer if stitching must be repaired |
| Difficulty | Beginner for no-sew repair buckles; intermediate if sewing is required |
| Tools Needed | Ruler or calipers, matching replacement buckle, and possibly side cutters, pliers, or a Phillips screwdriver |
| Cost | Usually a few dollars to about $10 for common repair buckles; manufacturer-specific parts vary |
Disclosure: As an Amazon Associate I earn from qualifying purchases. Some links on this page are affiliate links, at no extra cost to you.
Assessing the Condition of Your Backpack Buckles
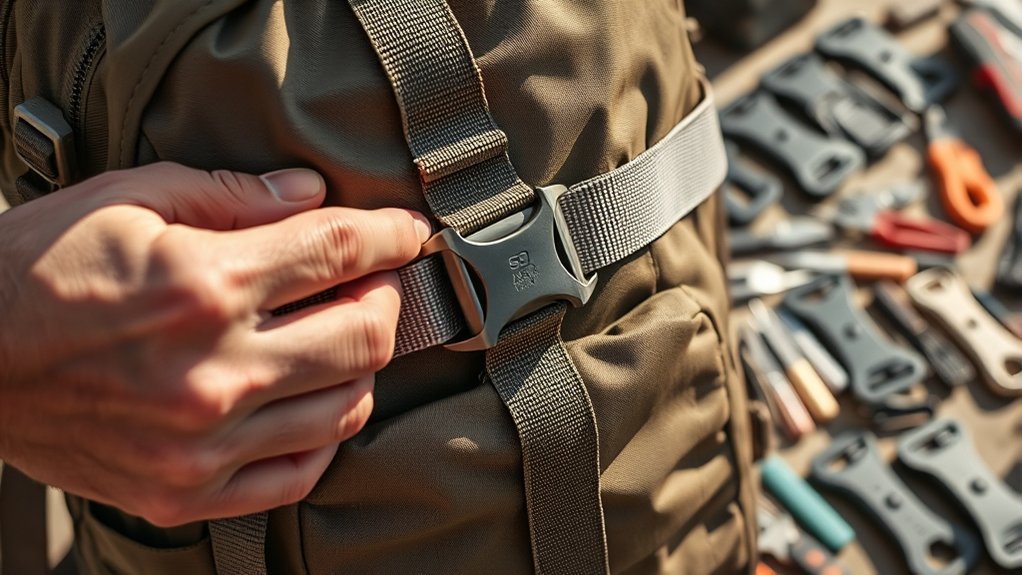
Backpack buckles help secure hipbelts, sternum straps, lids, compression straps, and other parts of a pack. Inspect the hardware before a long trip and whenever a buckle starts behaving differently.
Replace a buckle if you find a cracked body, broken release arm, deformation, a latch that no longer clicks securely, or a ladder-lock section that lets correctly threaded webbing slip. Also inspect the strap itself. A new buckle will not solve a problem caused by webbing that is badly cut, thinned, or torn at a load-bearing point.
Do not assume that ordinary surface fuzz means the buckle has failed. First check whether the webbing is routed correctly and whether dirt or grit is interfering with the mechanism.
Choosing the Right Replacement Backpack Buckle
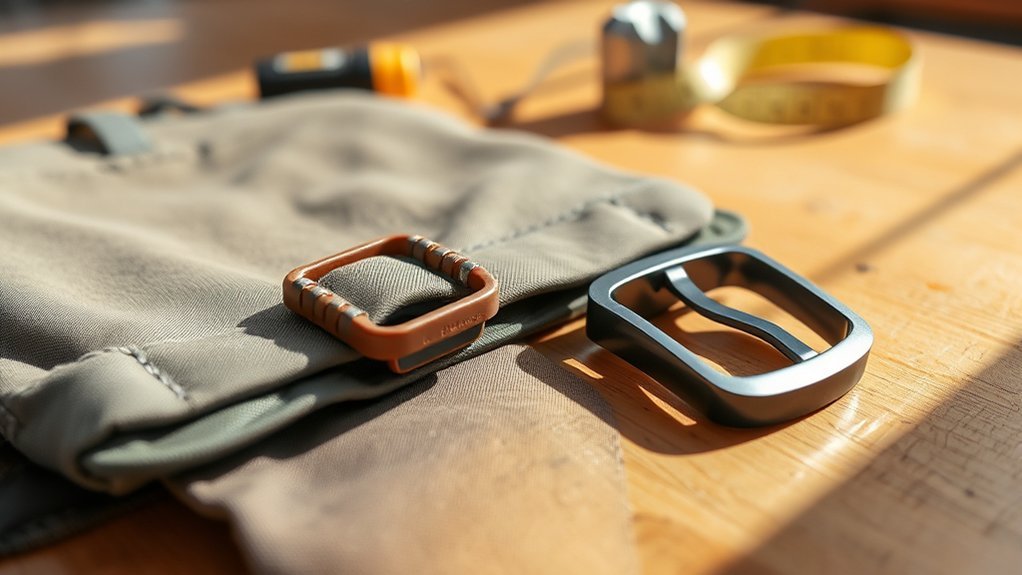
Before buying anything, identify both the webbing width and the attachment style. Buckle sizes are normally based on the width of the webbing that passes through them. Current Sea to Summit field-repair buckles, for example, are offered for several webbing widths from 15 mm through 50 mm.
Use a ruler or calipers to measure the webbing across its full width while it lies flat. Measure the strap rather than the outside shell of the buckle.
| Buckle setup | What to look for | Typical replacement |
|---|---|---|
| Free webbing end | Strap can be completely unthreaded from the buckle | Standard threaded side-release buckle of the correct width |
| One fixed side, one adjustable side | One buckle half is trapped in a sewn loop; the other uses a ladder-lock adjustment | One-pin field-repair buckle or manufacturer-approved equivalent |
| Two fixed sides | Both sides are captured by closed webbing loops | Two-pin field-repair buckle where appropriate |
| Dual-adjust buckle | Webbing adjusts through both halves, common on some waist or hipbelt closures | Matching dual-adjust buckle |
| Sew-on proprietary buckle | Replacement part is designed to be stitched to the strap | OEM part, gear-repair service, or compatible sew-on hardware |
Side-release hardware is sold in many designs. ITW Nexus, which developed the original Side Release buckle, currently sells multiple buckle families as well as dual-adjust versions. “Fastex” is therefore best treated as a familiar brand/trade name rather than a guarantee that two random buckle halves will fit each other.
Pro Tip: Photograph both sides of the original buckle and the exact webbing path before removing anything. The photo gives you an instant threading reference when the replacement goes on.
When practical, replace the male and female halves as a matched set. Reusing one old half can create a poor fit if the replacement comes from a different buckle family.
Gathering the Necessary Tools and Materials
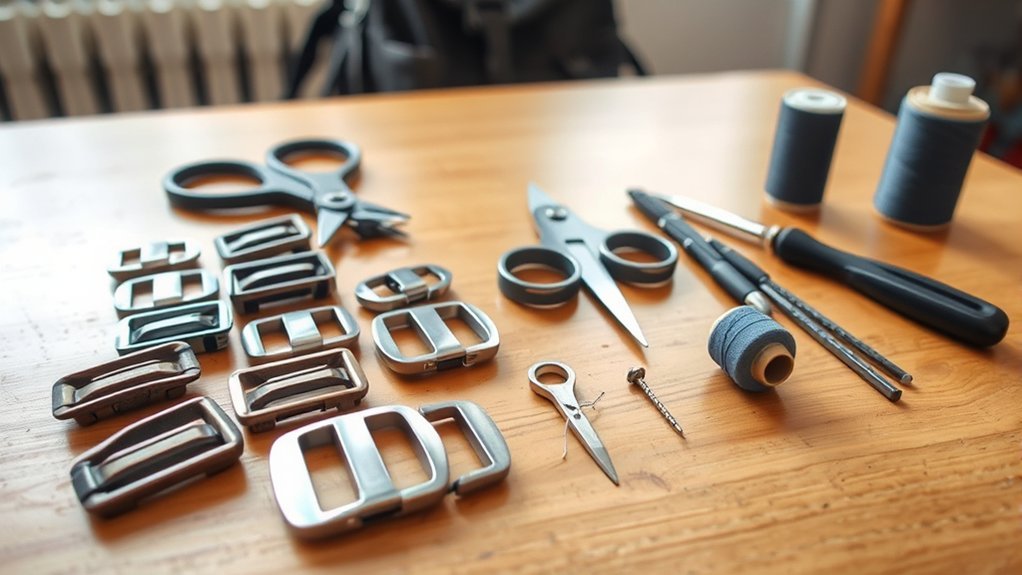
The exact tool list depends on the buckle you choose. Gather the replacement hardware first, then add only the tools needed for that design:
- Replacement buckle matched to the webbing width and attachment style
- Ruler or calipers for measuring the webbing
- Electrical side cutters or strong flush cutters if broken plastic must be removed
- Pliers for gripping stubborn pieces or guiding stiff webbing
- Phillips screwdriver if the repair buckle uses removable screw-in pins
- Good lighting and a flat work surface
If the original manufacturer offers an exact spare part, that is often the simplest option. Brands including Osprey and Patagonia also maintain repair programs for damaged gear.
Warning: Cut away from your body, wear eye protection if brittle plastic may snap, and keep the cutter away from the webbing and factory stitching. Do not apply a generic buckle substitution to a climbing harness, PFD, child carrier, fall-protection system, or other life-safety equipment; follow that product manufacturer’s approved repair procedure.
Removing the Old Buckles
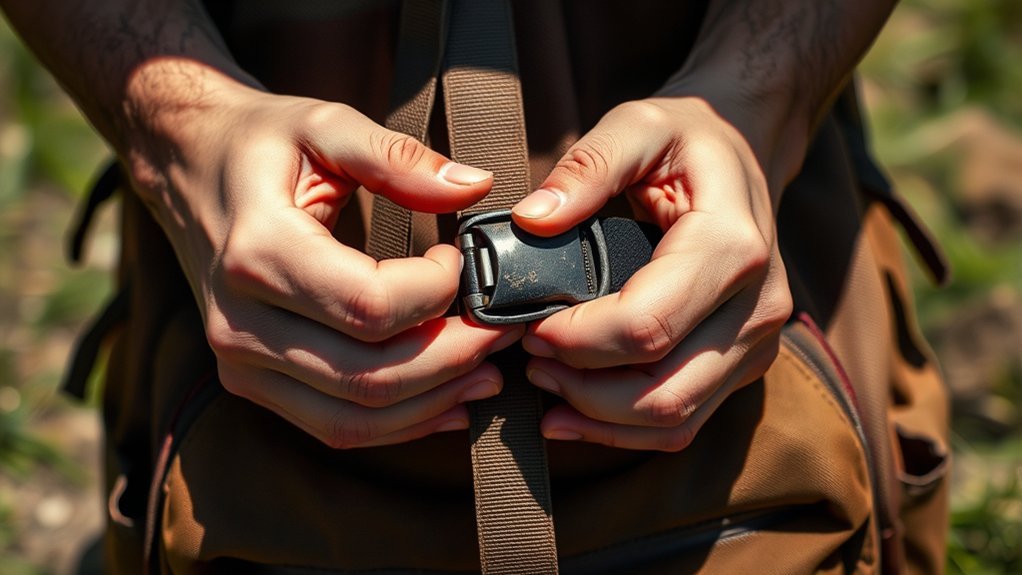
Start with the least destructive removal method. If the webbing has a free tail, loosen it completely and unthread it from the old buckle. You may not need cutters at all.
If one buckle half is trapped inside a sewn webbing loop, do not cut the loop just to install an ordinary buckle. A one-pin field-repair buckle is designed for this situation: the removable pin opens the replacement hardware so it can be fitted through the existing loop without taking apart the seam. Two-pin versions are available for certain nonadjustable two-loop installations.
When the broken plastic itself prevents removal, use side cutters carefully on the plastic body or bar. Work in small bites and keep the blades pointed away from the strap. Avoid cutting a bar-tack or other structural stitching unless the repair method specifically requires the seam to be rebuilt.
After removal, inspect the exposed webbing and stitching. Minor surface fuzz is different from a strap that has lost a meaningful part of its width or thickness. If the load-bearing webbing is cut, deeply abraded, or tearing near an anchor point, repair or replace the webbing before relying on the pack.
Note: A cut tail made from known meltable synthetic webbing such as nylon or polyester can sometimes be carefully heat-sealed to control unraveling. Keep flame and heat away from the pack body, coatings, foam, and stitching, and do not use melting as a substitute for repairing structurally damaged webbing.
Installing the New Side-Release Buckles
Once the old hardware is removed, install the replacement according to its attachment style. Do not force webbing through a buckle that is too narrow, and do not assume a loose-fitting buckle will grip properly.
Method 1: Free or Adjustable Webbing
If the strap has a free end, route it through the new ladder-lock section using the photo you took before disassembly. Keep the webbing flat and untwisted. Pull the strap through every bar in the same direction as the original installation.
- Confirm that the buckle faces the correct direction.
- Thread the webbing through the adjustment slots.
- Pull out slack and make sure the webbing lies flat.
- Leave enough tail for normal adjustment rather than trimming it immediately.
- Snap the matched buckle halves together and confirm a positive latch.
Method 2: One Fixed Side
A one-pin field-repair buckle is useful when one side of the original buckle is captured inside a closed sewn loop and the opposite side is adjustable. Current one-pin repair buckles use a removable stainless-steel pin so the fixed side can be attached without reopening the webbing seam.
Open the repair buckle as directed by its manufacturer, place the fixed end around the existing webbing loop, insert and secure the pin, then thread the adjustable side through its ladder-lock section. Tighten a screw-in pin firmly according to the product instructions without overtightening or damaging the plastic.
Method 3: Two Fixed Sides
If both sides of the buckle are held in closed, nonadjustable loops, a compatible two-pin repair buckle can bridge both loops without sewing. Sea to Summit specifically identifies its two-pin design for nonadjustable closures, including some backpack waist-belt arrangements.
Make sure the particular replacement is intended for the strap’s function. A two-pin buckle that has no ladder-lock adjustment is not a substitute for a buckle that must let the wearer tighten and loosen the webbing.
When Sewing Is Required
Some manufacturer-specific replacements are deliberately designed with a sew-on side. Deuter, for example, sells backpack replacement buckles with one side for sewing and another for threading. In that situation, either reproduce the original structural seam correctly or use the manufacturer’s repair service rather than weakening a heavily loaded anchor.
For future trips, a correctly sized field-repair buckle can be useful in your backpacking repair kit, particularly when your pack uses hardware that can be serviced without sewing.
Testing the New Buckles for Functionality
Never go straight from installation to a fully loaded trip. Test the buckle first with the pack on the floor or another stable surface.
Grip and Webbing Hold
Pull firmly on the strap by hand and watch the webbing where it enters the adjustment bars. A properly matched and threaded buckle should hold its adjustment without obvious creeping.
- The webbing should stay flat rather than folding at the buckle edge.
- The adjustment should hold after several firm pulls.
- The fixed side should remain centered in its loop.
- A removable repair pin should remain seated and secure.
- There should be no new fraying where the strap contacts the hardware.
Do not assume that a successful home repair has restored a particular factory load rating unless the pack or buckle manufacturer provides one. The practical goal is a correctly installed, undamaged closure that performs normally during progressive testing.
Quick-Release Efficiency
Snap the buckle together several times. Both release arms should engage, the buckle should stay latched when pulled, and the tabs should release smoothly when pressed as intended.
| Test Aspect | Expected Outcome | If It Fails |
|---|---|---|
| Locking mechanism | Both sides latch fully | Check orientation and confirm the two halves are a matched pair |
| Release action | Tabs release smoothly without sticking | Inspect for deformation, grit, or incompatible halves |
| Webbing grip | Adjustment stays in place under firm hand tension | Verify webbing width, thickness, and threading path |
| Repair pin | Pin remains fully seated | Stop using the repair and reinstall it according to the manufacturer instructions |
| Webbing condition | No cutting, bunching, or rapid fraying | Replace incompatible hardware or repair the damaged strap |
After the hand test, put a light load in the pack and test again. Increase the load gradually while watching for slipping, twisting, cracking, or movement at the repair. Run through these checks before your next trip.
Troubleshooting a Replacement Backpack Buckle
| Problem | Likely Cause | What to Do |
|---|---|---|
| Strap slips after tightening | Wrong webbing size, incorrect threading, or worn/damaged webbing | Recheck the threading path and buckle specification; replace damaged webbing if needed |
| New half will not click into old half | Different buckle families or incompatible geometry | Replace both halves with a matched set |
| One release tab sticks | Misalignment, grit, deformation, or incompatible parts | Clean and inspect the buckle; replace it if the problem remains |
| Webbing bunches at the slot | Buckle is too narrow or webbing is twisted | Use the correctly sized buckle and re-thread the strap flat |
| Fixed side twists or sits crooked | Wrong attachment style or poor installation | Confirm whether a one-pin, two-pin, dual-adjust, or sew-on design is required |
Tips for Maintaining Your Backpack Buckles
A simple inspection routine helps you catch problems before a buckle fails on the trail.
- Inspect before trips: Look for cracks, bent release arms, damaged stitching, and thinning or cut webbing.
- Clean dirty hardware: Rinse or wash away grit with mild soap and water, then let the buckle dry before storage.
- Do not force the latch: If a buckle suddenly becomes difficult to close, check for debris, deformation, or mismatched parts instead of squeezing harder.
- Avoid unnecessary overload: Use compression and accessory straps for their intended purpose rather than forcing them around oversized loads.
- Store the pack carefully: Keep it dry and away from prolonged high heat and direct sunlight when it is not being used.
- Carry the correct spare: For longer trips, a field-repair buckle matched to your pack’s webbing and attachment style can turn a broken closure into a manageable repair.
A replacement buckle does not need to be “better” than the factory part. It needs to be compatible, correctly sized, properly installed, and appropriate for the load and function of that strap.
Frequently Asked Questions
Can I replace buckles on any type of backpack?
Most ordinary backpack buckles can be repaired or replaced, but the method depends on the webbing and buckle design. Proprietary or heavily loaded sewn assemblies may be better handled with an original manufacturer part or professional repair. Do not use generic repair guidance for safety-critical equipment.
How do I choose the right size buckle?
Measure the width of the webbing while it lies flat and buy a buckle specified for that webbing width. Do not measure the outside width of the plastic buckle. Available sizes vary by manufacturer, so use the actual strap measurement rather than assuming a standard size.
Are there alternatives to Fastex-style buckles?
Yes. Backpack hardware includes several side-release designs, dual-adjust buckles, ladder locks, removable-pin field-repair buckles, magnetic closures, and other systems. Choose the same function and attachment style as the original rather than treating “Fastex” as a universal compatibility standard.
How often should I replace my backpack buckles?
There is no universal replacement interval. Replace a buckle when it is cracked, deformed, missing part of a release arm, no longer latches securely, or no longer holds correctly threaded webbing as designed.
What should I do if my straps are frayed?
Minor fuzz on a free strap tail may only need tidying, but deep abrasion, cuts, thinning, or damage near a loaded anchor needs a real webbing repair. Heat-sealing a synthetic edge can control unraveling, but it does not restore strength to damaged webbing.
Can I replace only one half of a side-release buckle?
Only when the replacement is confirmed to mate correctly with the remaining original half. Buckles of the same nominal webbing width can still use different latch geometry. When compatibility is uncertain, replace the male and female halves together.
What if the old buckle is sewn into the strap?
Look for a field-repair buckle with a removable pin or bar before opening the seam. A one-pin model can replace many buckles with one sewn-in side, while a two-pin model can fit certain closures with two fixed loops. If no compatible repair buckle exists, use an OEM part or have the seam properly re-sewn.
Do I need to sew a replacement backpack buckle?
Not always. Buckles on free webbing can often be threaded on directly, and removable-pin or snap-bar repair buckles are designed to fit many sewn loops without reopening the stitching. Sewing is still required for some manufacturer-specific or sew-on replacement parts.
Conclusion
Replacing a backpack buckle is often a simple repair, but choosing the correct hardware is more important than cutting off the broken piece quickly. Measure the webbing, identify how each side is attached, and use a standard, one-pin, two-pin, dual-adjust, or sew-on replacement that matches the original function.
Protect the webbing and factory stitching during removal, install both mating halves when compatibility is uncertain, and test the repair gradually before carrying a full load. When the strap itself is damaged or the buckle is part of a safety-critical product, use the manufacturer’s repair process rather than relying on a generic replacement.
Sources
- ITW Nexus — Classic Side Release Buckle — side-release buckle design, sizes, materials, and ladder-lock function.
- ITW Nexus — Classic SR Dual Adjust — dual-adjust side-release buckle configuration.
- Sea to Summit — 1-Pin Field Repair Buckle — removable-pin repair method, webbing sizing, and one-fixed/one-adjustable applications.
- Sea to Summit — 2-Pin Field Repair Buckle — replacement hardware for nonadjustable two-loop closures.
- Osprey — All Mighty Guarantee — manufacturer repair and replacement support for damaged backpack components including buckles.
- Patagonia — Product Care & Repair — manufacturer repair guidance and buckle-repair resources.