
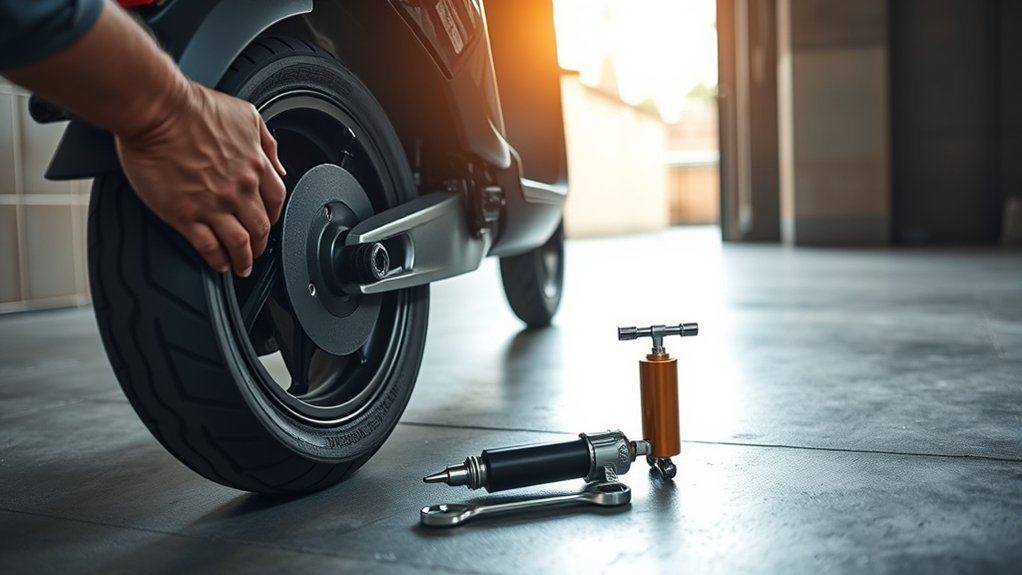
Last Updated on September 10, 2026 by Daniel Globe
Changing an electric scooter tire starts with safety: confirm the flat, disconnect power, gather the correct tools, and follow your scooter model’s instructions. Remove the wheel carefully, repair or replace the inner tube, reinstall everything correctly, and test the tire before riding.
Quick Answer
To change an electric scooter tire, remove the wheel, release all air pressure, separate the tire bead, inspect or replace the tube, reinstall the tire, inflate it to the recommended pressure, and check that the wheel spins freely. Always follow your scooter manufacturer’s manual because wheel designs vary.
Key Takeaways
- Disconnect power before working on your scooter.
- Do not assume every scooter uses the same wheel bolts or removal method.
- Inspect the tire for glass, wires, or debris before installing a new tube.
- Inflate slowly and confirm the bead seats evenly before riding.
At a Glance
| Time Required | 30 minutes to 2 hours depending on scooter model |
| Difficulty | Moderate |
| Tools Needed | Allen keys, spanners, tire levers, pressure gauge, pump, replacement tube |
| Cost | About $10–$100 depending on repair type |
Warning: Never work on a powered scooter while it is switched on. Support the scooter securely before removing a wheel to prevent falls or damage.
Disclosure: As an Amazon Associate I earn from qualifying purchases. Some links on this page are affiliate links, at no extra cost to you.
Confirm the Flat and Gather Tools
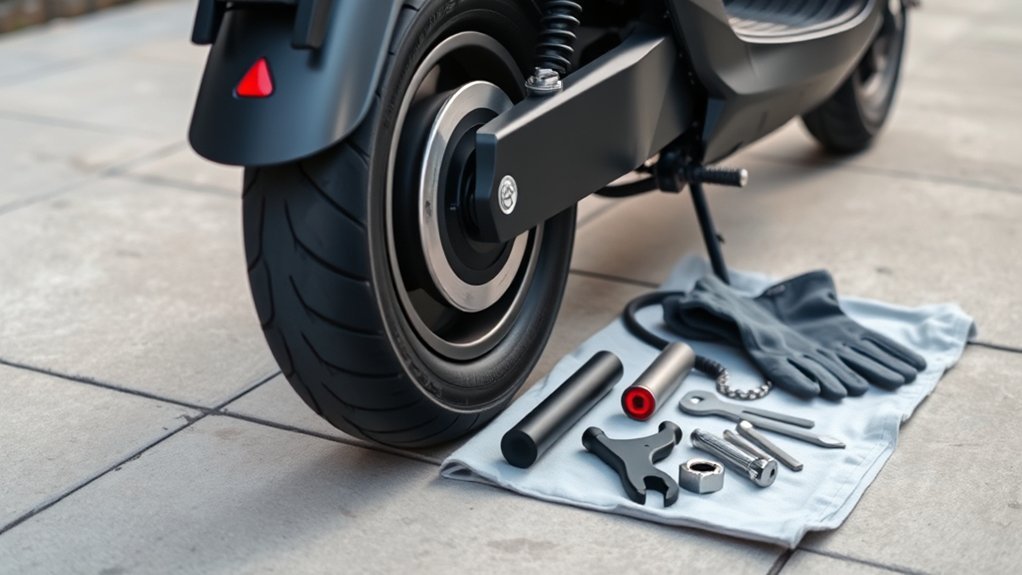
Before starting, confirm that the tire is actually flat. Check the tire surface, valve area, and wheel for punctures, cuts, or visible damage. A slow leak may come from a damaged valve, debris, or a worn tube.
Gather the tools needed for your scooter model, including Allen keys, tire levers, a valve tool, pump or compressor, replacement tube, and pressure gauge. Keep screws and small parts organized so nothing is lost during reassembly.
Pro Tip: Take photos before removing parts. They can help you remember cable routing, spacers, and bolt placement during reassembly.
Remove the Scooter Wheel
Lift and support the scooter securely before removing the wheel. The exact process depends on the scooter brand and wheel design, so check the manufacturer’s instructions before loosening hardware.
Remove axle covers or protective pieces if present, then loosen the axle bolts using the correct tools. Keep washers, spacers, and bolts in order. Avoid pulling on motor cables because damaged wiring can create additional repair problems.
Remove the Tire and Inner Tube
Release all air from the tire by pressing the valve stem. Once deflated, use tire levers to separate one side of the tire bead from the rim. Work slowly around the wheel to avoid damaging the tube or rim.
| Step | Action |
|---|---|
| 1 | Deflate the tire completely |
| 2 | Separate the tire bead |
| 3 | Remove the tube carefully |
| 4 | Inspect the tire interior |
Check inside the tire for sharp objects, glass, wire, or damaged areas. Removing the cause of the puncture helps prevent another flat.
Patch or Replace the Inner Tube
Small punctures may be repaired with a patch kit. Find the leak, clean and dry the area, prepare the surface if required by the kit, and apply the patch firmly.
Replace the tube if it is torn, badly damaged, stretched, or repeatedly leaking. Before installation, inspect the tire again and make sure no debris remains inside.
Note: Some electric scooters use solid tires instead of pneumatic tires. Solid tires do not use inner tubes and require a different replacement method.
Reinstall the Wheel and Inflate the Tire
Place the wheel back onto the axle and confirm that spacers, brakes, and cables are positioned correctly. Tighten bolts securely according to your scooter’s specifications.
Inflate the tire slowly and watch both sides of the bead. The tire should sit evenly around the rim. Check the pressure rating printed on the tire sidewall or listed in the scooter manual.
Spin the wheel by hand and confirm it rotates smoothly without rubbing. Take a short test ride only after checking that everything is secure.
A correctly installed tire improves safety, handling, and confidence every time you ride.
Frequently Asked Questions
Can you use Fix-a-Flat on an electric scooter tire?
Some tire sealants may work with certain pneumatic scooter tires, but compatibility depends on the tire and manufacturer guidance. A proper tube repair or replacement is usually the better long-term solution.
What should I do when my scooter has a flat tire?
Stop riding, inspect the tire, remove the wheel if needed, repair or replace the tube, reinstall the tire, inflate it correctly, and check for leaks before riding again.
How much does electric scooter tire repair cost?
Repair costs vary by scooter model and location. A tube repair may cost less than a replacement, while professional service can cost more depending on labor and parts.
Conclusion
Changing an electric scooter tire is manageable when you work carefully and follow the correct steps. Confirm the problem, remove the wheel safely, inspect the tire, repair or replace the tube, and test the scooter before riding. Taking time during installation helps prevent repeat flats and keeps your scooter reliable.
Sources
- U.S. Consumer Product Safety Commission — general consumer product safety guidance.
- Segway Support — manufacturer support and scooter documentation.
