

Last Updated on July 28, 2026 by Caleb Warren
A hole or tear does not automatically mean your backpack is finished. The key is matching the repair to the fabric and the type of damage. Standard nylon, silicone-treated fabric, mesh pockets, and load-bearing seams need different approaches. With the right patch, careful surface preparation, and enough curing time, many backpack holes can be repaired at home.
Quick Answer
To patch a hole in a backpack, first identify the fabric and coating. Clean and dry the area, trim loose threads, then use a compatible repair patch that overlaps the damage by about 1/2 inch. Round the corners, press firmly, and let adhesive repairs cure fully before loading, washing, or flexing the pack.
Key Takeaways
- Identify the backpack fabric first. Seam Grip WP works on materials such as nylon and polyester but is not intended for silicone-treated fabric or silnylon.
- For repair tape, cut a patch that extends about 1/2 inch beyond the damage in every direction and round the corners to reduce peeling.
- A small body-fabric hole may need only one well-fitted patch; larger tears can benefit from reinforcement on both sides.
- Seam Grip WP normally cures in about 8–12 hours, while many adhesive-backed repair tapes reach full bond strength after about 24 hours.
- Do not rely on a simple glued patch for a failing shoulder strap, hip-belt anchor, or other load-bearing connection.
At a Glance
| Time Required | 20–30 minutes of active work, plus roughly 8–24 hours for adhesive or patch bonding depending on the repair system |
| Difficulty | Beginner-friendly for ordinary fabric holes; advanced or professional repair is better for load-bearing seams and straps |
| Tools Needed | Compatible repair patch or ripstop fabric, compatible adhesive if needed, isopropyl alcohol, scissors, gloves, and optional clamps with flat pressure pads |
| Cost | About $13–$25+ for a repair kit or separate patching materials, depending on fabric and product choice |
Disclosure: As an Amazon Associate I earn from qualifying purchases. Some links on this page are affiliate links, at no extra cost to you.
Identifying the Damage
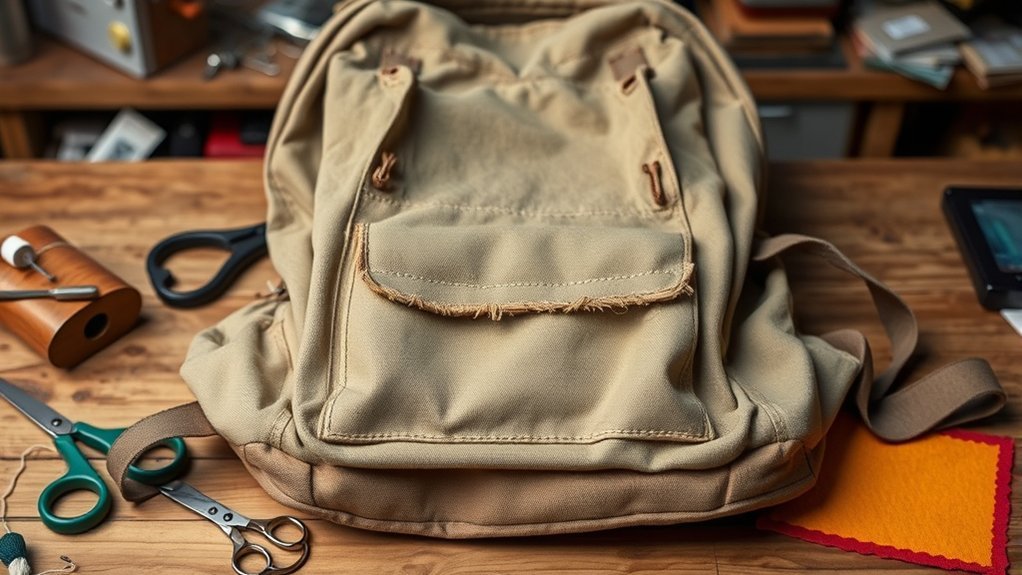
Start by emptying the backpack and inspecting both the outside and inside. Look beyond the obvious hole. Check for frayed threads, worn coating, weakened stitching, delamination, or fabric that has become thin around the damaged spot.
Pay special attention to ember burns. A campfire ember may leave a small visible hole while heat has made nearby synthetic fibers stiff or brittle. If the fabric around the opening feels hard or cracks when gently flexed, the patch needs to extend beyond that weakened material.
Next, determine whether the damage is in the main body fabric, a mesh pocket, a stretch panel, a seam, or a load-bearing attachment. Also check the backpack’s care label or manufacturer specifications for fabric information when available.
The most important repair decision comes before you apply any glue: match the patch and adhesive to the backpack’s fabric and coating.
Matching the Repair to the Type of Damage
Not every backpack hole needs the same repair. Choosing the wrong adhesive can cause a patch to peel even when the surface was cleaned correctly.
Small Pinhole or Ember Hole
A tiny puncture in compatible nylon or polyester may be sealed with a small repair patch or a thin application of a compatible flexible repair adhesive. A peel-and-stick patch is usually cleaner and easier to control. Make sure the patch extends onto undamaged fabric around the hole.
Nylon or Polyester Body-Fabric Tear
For an ordinary tear in nylon or polyester, a purpose-built outdoor repair tape is the simplest option. Another method is to bond a plain ripstop nylon patch with a flexible urethane adhesive such as GEAR AID Seam Grip WP.
For larger holes, reinforcement on both the inside and outside can spread the load across more intact fabric. Two-sided reinforcement is not necessary for every small pinhole.
Silnylon or Silicone-Treated Fabric
Do not use Seam Grip WP as the default adhesive on silnylon or other silicone-treated fabrics. GEAR AID specifically states that Seam Grip WP is not intended for silicone-treated fabric or silnylon. Use a repair patch or sealant specifically designed to bond to silicone-treated material.
Warning: Test compatibility before committing to a large repair. A patch that works well on standard nylon can fail on a silicone-coated backpack even when the surface looks clean.
Mesh Pockets and Stretch Panels
Mesh water-bottle pockets and stretch panels move differently from the main backpack body. A stiff patch can restrict that movement or peel where the fabric stretches. Use a mesh-specific repair patch for ordinary mesh or a flexible repair material intended for stretch fabrics. For a large mesh tear, sewing in a new mesh patch or replacing the damaged panel may give a stronger result.
Seams, Strap Junctions, and Other Stress Points
A seam that has opened usually needs to be sewn back together through sound fabric before sealant is considered. Adhesive by itself should not be expected to restore a structural seam.
Note: A small hand-sewn reinforcement can help with a noncritical fabric tear, but a failing shoulder-strap attachment, hip-belt anchor, load-lifter, or heavily loaded seam deserves professional repair. Stop carrying heavy loads until the structural damage is fixed.
Materials Required
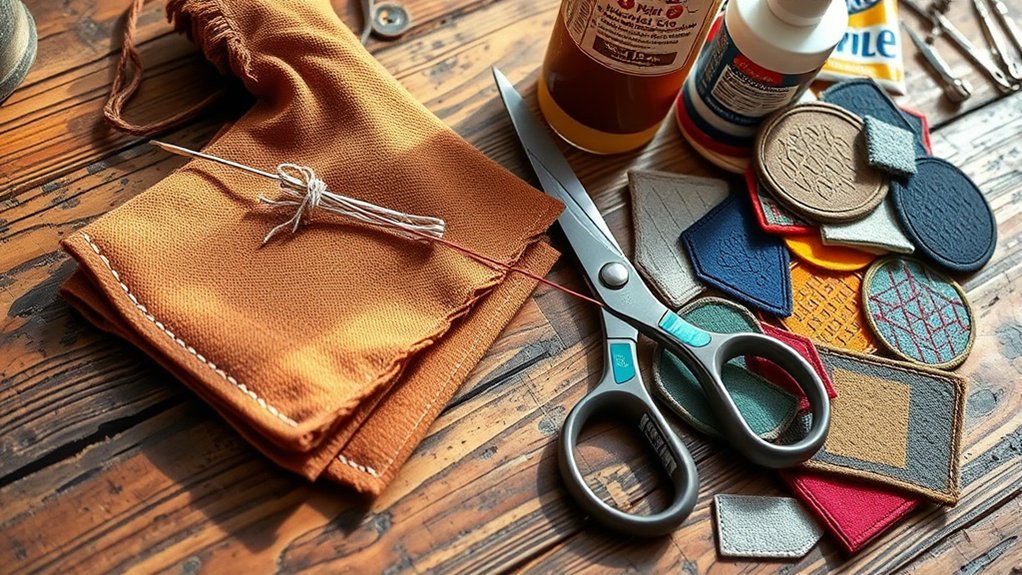
Gather the materials after identifying the backpack fabric. You may not need every item for every repair.
- Compatible Patch Material: Standard nylon or polyester packs can often be repaired with outdoor repair tape or ripstop nylon. Silicone-treated packs need silicone-compatible patches, while mesh and stretch panels need material that can move with the original fabric.
- Flexible Repair Adhesive: Seam Grip WP is useful for compatible nylon, polyester, canvas, vinyl, and similar non-silicone-treated materials. Follow the adhesive manufacturer’s compatibility instructions.
- Isopropyl Alcohol: Use it sparingly to remove dirt and body oils from the immediate repair area before patching. Let the fabric dry completely.
- Sharp Scissors: Use them to trim loose threads and cut clean, rounded patches.
- Disposable Gloves: Wear gloves when handling solvent-containing repair adhesive.
- Clamps and Flat Pressure Pads: These are optional for plain fabric patches bonded with adhesive. Poker chips or other smooth, flat discs can be used between a clamp and the repair to spread pressure, provided they do not become bonded to exposed adhesive.
- Needle and Strong Thread: Useful when a noncritical tear needs sewn reinforcement. Structural backpack attachments require a more substantial repair than a few basic stitches.
Warning: GEAR AID’s Seam Grip WP carries a California Proposition 65 warning concerning toluene. Wear gloves, use solvent-containing adhesive in a well-ventilated area, and follow the current product label and safety instructions.
Preparing the Patch
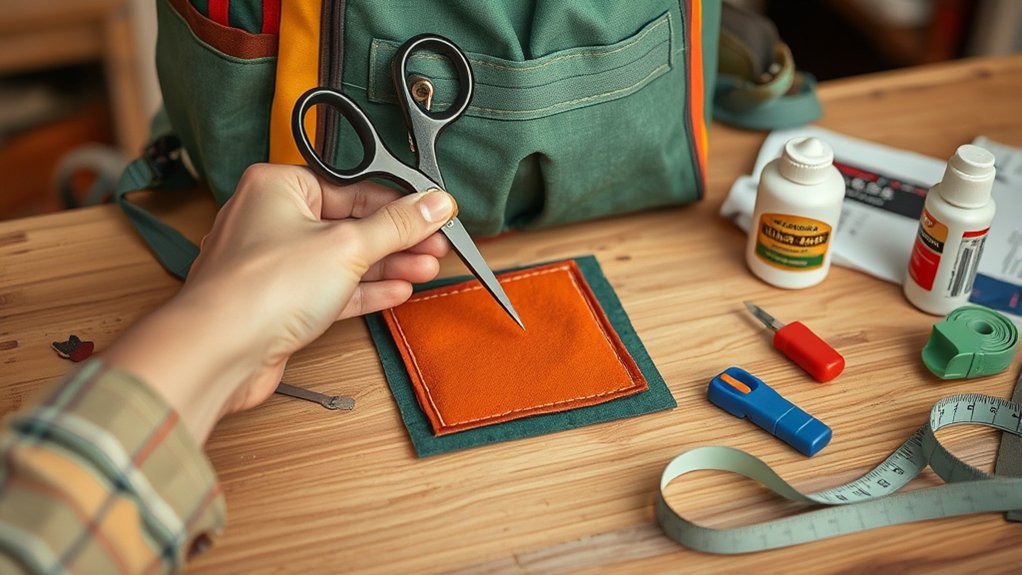
Good preparation matters as much as the patch itself. Place the damaged section on a flat work surface and remove loose dirt. Trim frayed threads that would prevent the patch from lying flat, but do not cut away sound fabric unnecessarily.
Clean the immediate repair area with isopropyl alcohol and let it dry completely. Oils, dirt, sunscreen, sweat, and moisture can weaken the bond.
How Big Should the Backpack Patch Be?
For adhesive-backed repair tape, cut the patch so it extends about 1/2 inch beyond the hole or tear in every direction. Round every corner instead of leaving sharp square corners, which are easier to catch and peel.
When using plain ripstop fabric with adhesive, the same generous overlap is a useful starting point. For a larger hole, prepare a second patch for the inside so the damaged fabric is supported from both sides.
Pro Tip: Dry-fit the patch before removing any backing or opening the adhesive. Check that it lies flat, reaches healthy fabric on every side, and will not interfere with a zipper, drawcord, buckle, or seam.
Applying the Patch
The exact application method depends on whether you are using adhesive-backed repair tape or plain fabric with a separate adhesive.
Method 1: Adhesive-Backed Repair Patch
- Clean and dry the surface. Remove dirt and oils with isopropyl alcohol and wait until no moisture remains.
- Trim and round the patch. Leave roughly 1/2 inch of overlap beyond the damage on all sides.
- Center the patch. Remove the backing and lower the patch carefully so the tear stays relaxed rather than stretched open.
- Press from the center outward. Smooth away bubbles and wrinkles and press every edge firmly against the backpack.
- Reinforce a larger hole if needed. A second patch on the opposite side can provide additional support when both surfaces are accessible.
- Allow the adhesive to strengthen. Many outdoor repair tapes reach full bond strength after about 24 hours, even though the pack may feel usable sooner.
Method 2: Plain Ripstop Patch With Seam Grip WP
This method is suitable only when Seam Grip WP is compatible with the backpack material. It should not be used as the standard solution for silicone-treated fabric.
- Prepare both surfaces. The backpack fabric and back of the patch must be clean and dry.
- Apply a controlled layer of adhesive. Coat the bonding surfaces according to the adhesive directions rather than flooding the patch with excess glue.
- Let the adhesive become tacky. GEAR AID’s adhesive instructions recommend allowing the coated surfaces to become tacky before joining them.
- Position the patch. Center it over the hole without stretching or bunching the backpack fabric.
- Apply even pressure. Use clamps with smooth flat pads, tape, or suitable flat weights. Avoid gluing the clamp or weight to exposed adhesive.
- Leave the repair undisturbed overnight. Seam Grip WP normally cures in about 8–12 hours. Cure time can increase under unfavorable conditions, so follow the current product instructions before loading the pack.
The manufacturer’s Camp & Trail Repair Kit combines a flexible adhesive with repair patches and specifies an 8–12-hour cure for the completed repair.
Do You Need to Sew the Patch?
Not every adhesive repair needs stitching. Sewing can help reinforce a larger fabric patch when the surrounding material is strong enough to hold stitches. Keep stitches away from badly frayed or brittle edges, where the needle holes may simply create another tear line.
If the damaged area carries significant load, treat it as a sewing or professional gear-repair job rather than trying to solve the problem with extra glue.
Final Inspection and Touch-Up
Once the adhesive has fully cured, remove clamps or weights carefully and inspect the entire patch.
- Press around every edge and look for lifting corners.
- Check that the original tear is fully covered and has not spread beyond the patch.
- Flex the fabric gently several times. Stop if the patch peels, the surrounding fabric cracks, or stitching begins to pull apart.
- If an adhesive-bonded edge needs reinforcement, clean it as directed and apply only the amount of compatible sealant needed for the touch-up.
- For a load-bearing area, test with a light load before gradually returning to normal use.
A locally sealed repair can help stop water entering through that specific hole, but it does not automatically make the whole backpack waterproof. Zippers, seams, roll-top closures, coatings, and other areas can still allow water inside.
Before your next trip, inspect both the patch and the fabric around it. Catching a lifting edge early is easier than repairing another enlarged tear on the trail.
Washing and Caring for a Patched Backpack
Do not assume that a washable patch makes the entire backpack machine washable. Backpack construction varies, and machine agitation or dryer heat can damage coatings, padding, frames, or laminated fabric.
Check the backpack manufacturer’s care instructions first. When those instructions are unavailable, spot cleaning or gentle hand washing with cool or lukewarm water is a safer default for a technical hiking pack than putting it through a washing machine.
Let the backpack air dry completely away from high heat. Do not wash or heavily flex a fresh adhesive-backed repair until it has reached the bond strength specified by its manufacturer.
Troubleshooting a Backpack Patch That Will Not Stick
The Patch Peels at the Edges
Remove dirt or oil, make sure the area is completely dry, and check whether the patch has enough overlap. Sharp corners also peel more easily than rounded ones.
The Adhesive Will Not Bond to the Fabric
Stop adding more adhesive until you verify material compatibility. Silicone-treated nylon is a common reason a conventional urethane adhesive or standard repair tape fails to bond properly.
The Repair Keeps Tearing Beside the Patch
The surrounding backpack fabric may already be worn out, or the area may be carrying more load than the damaged fabric can handle. A larger reinforcement patch, sewn panel replacement, or professional repair may be necessary.
A Strap or Structural Seam Is Pulling Apart
Do not keep adding glue and loading the backpack. A structural attachment needs stitching and reinforcement through healthy material. Contact the backpack manufacturer or a qualified gear-repair service when the failure affects safe load carrying.
Frequently Asked Questions
Can I use fabric glue instead of Seam Grip adhesive?
Possibly, but check the glue’s listed fabric compatibility, flexibility, wash resistance, and curing instructions. A purpose-built outdoor repair adhesive is designed to remain flexible on technical fabrics. Never assume either product will bond to silicone-treated material.
How long does a backpack patch last?
There is no reliable universal lifespan. A well-prepared, compatible repair can be long-lasting, but abrasion, UV exposure, repeated flexing, heavy loads, contamination, and the condition of the surrounding fabric all affect durability. Inspect the patch periodically for lifting or new tearing.
Is it safe to wash my patched backpack?
Usually, once the repair has fully cured, but follow the backpack manufacturer’s care instructions rather than relying on the patch alone. Some technical backpacks should not be machine washed. Spot cleaning or gentle hand washing and air drying are safer when the original care instructions are unknown.
Can I patch a waterproof backpack with regular materials?
A regular fabric patch may close the hole without restoring the original water resistance. Match the patch and sealant to the backpack coating and seal the damaged area completely. Remember that fixing one hole does not make the entire pack waterproof if water can still enter through seams, zippers, or closures.
What should I do if the patch does not adhere properly?
Check three things first: surface cleanliness, complete dryness, and material compatibility. If the backpack is silicone-treated, ordinary repair tape or Seam Grip WP may not bond correctly. Remove a failed repair only as permitted by the product instructions, clean the area, and switch to a compatible patch system.
How much larger should the patch be than the hole?
For adhesive-backed outdoor repair tape, about 1/2 inch of overlap beyond the damaged area in every direction is a good target. Cut rounded corners so clothing, branches, and repeated handling are less likely to catch an edge.
Should I put a patch on both sides of the backpack?
Not always. One properly sized patch can be enough for a small hole. A larger tear can benefit from a second patch on the opposite side when the inside is accessible, because the repair then supports the damaged fabric from both directions.
Can I patch a torn shoulder strap myself?
A superficial hole in the strap fabric may be repairable, but a separating strap attachment or damaged load-bearing webbing is different. Do not rely on adhesive alone. Stop carrying heavy loads and use the manufacturer’s repair service or an experienced sewing or outdoor-gear repair shop.
Conclusion
Patching a backpack successfully is less about using the strongest glue and more about using the right repair for the material. Clean the surface carefully, give the patch enough overlap, round its corners, and allow the adhesive system to cure fully. Most importantly, use silicone-compatible materials on silicone-treated packs and treat damaged load-bearing seams or straps as structural repairs rather than simple holes.
After the repair, inspect it periodically for lifting edges, worn surrounding fabric, or new stitching damage. Catching those signs early can keep a small problem from becoming another major tear.
Sources
- GEAR AID — Seam Grip WP Product Page — fabric compatibility, 8–12-hour cure time, washability, application conditions, and California warning
- GEAR AID — Camp & Trail Repair Kit — backpack repair process, patch-and-adhesive method, surface preparation, and curing guidance
- GEAR AID Seam Grip WP Field Repair Kit Specification Listing — supplemental application and cure specifications
