
Last Updated on August 26, 2026 by Caleb Warren
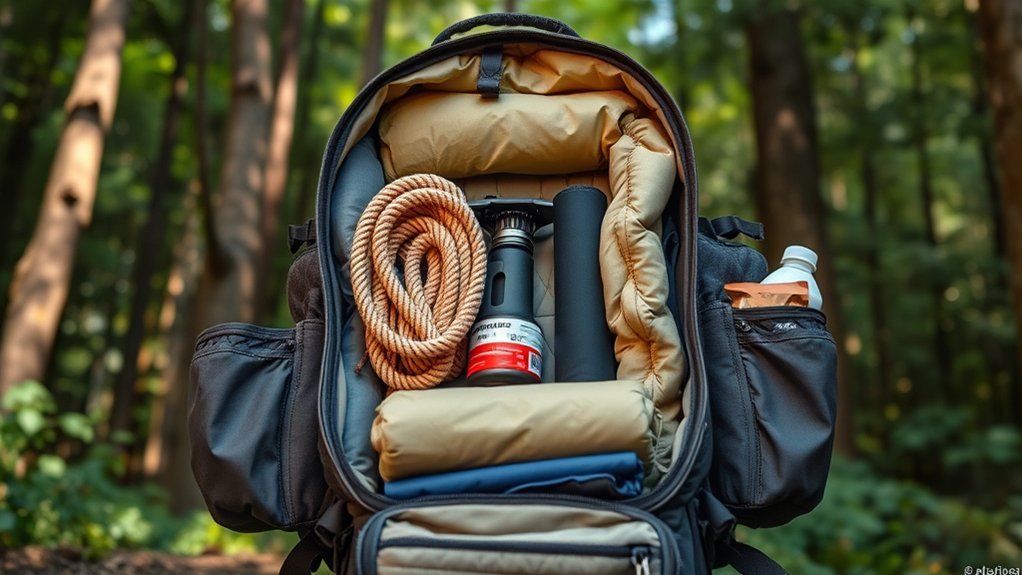
Where you place heavy items in a hiking backpack has a direct effect on balance, comfort, and how much the load pulls away from your body. For most backpacking loads, keep dense gear in the pack’s core, close to your spine and roughly around mid-back to shoulder-blade height. Put bulky, lighter sleep gear at the bottom, keep quick-access essentials near the top or in pockets, and balance weight from side to side.
Quick Answer
Pack your heaviest, densest items in the middle or core of your backpack, as close to your back as possible. Food, water, a cook kit, and a bear canister usually belong there. Put bulky but lighter items, such as a sleeping bag, lower down, and keep frequently used items near the top or in accessible pockets.
Key Takeaways
- Keep dense, heavy gear close to your spine so the pack does not pull backward.
- Use the bottom for bulky, lighter items you will not need until camp, especially a sleeping bag.
- Keep the load balanced left to right and use soft gear to stop dense items from shifting.
- Place quick-access items such as snacks, rain gear, navigation tools, and a first-aid kit near the top or in accessory pockets.
- On difficult or highly technical terrain, moving the heaviest part of the load slightly lower can improve stability.
At a Glance
| Time Required | About 10–15 minutes for a full backpacking load |
| Difficulty | Easy |
| Tools Needed | Backpack, trip gear, and optional stuff sacks or pack liner |
| Cost | No extra cost if you already own the pack and gear |
Disclosure: As an Amazon Associate I earn from qualifying purchases. Some links on this page are affiliate links, at no extra cost to you.
Understanding Backpack Zones
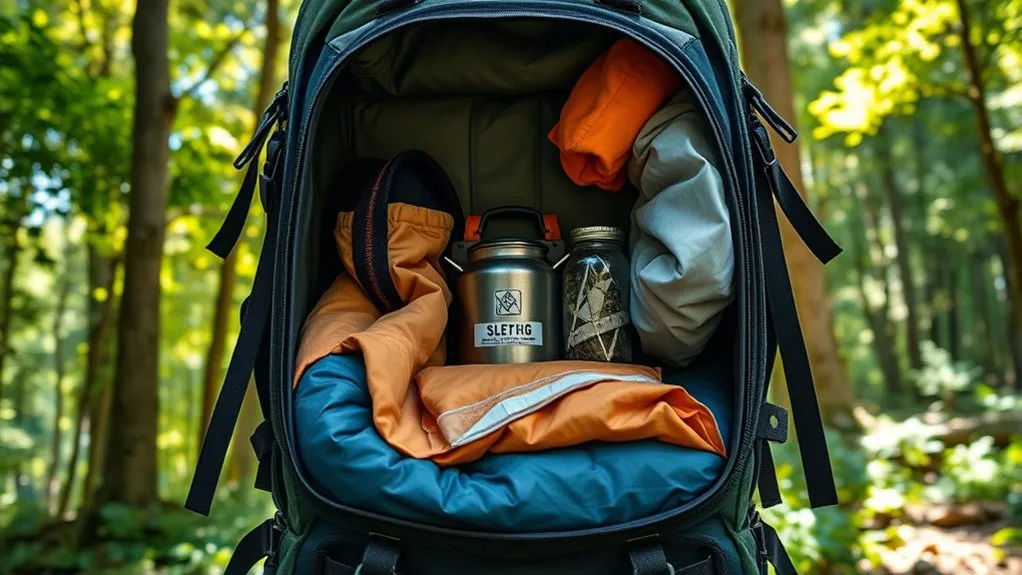
Backpacks vary by model, so there is no universal set of eight zones. A simpler and more useful system is to think in terms of a bottom zone, core zone, top zone, and external or accessory storage, which matches the practical framework in REI Co-op’s backpack-loading guidance. This approach works for most framed backpacking packs and can be adapted to smaller daypacks.
- Bottom zone: bulky, soft, relatively light gear you will not need until camp, such as a sleeping bag, compact sleeping pad, sleep clothes, or down booties.
- Core zone: dense, heavy gear such as food, water, a cook kit, stove, or bear canister. Keep this weight centered and close to your back.
- Top zone: bulky or lightweight trail essentials you may need before camp, such as an insulated layer, rain jacket, water filter, or first-aid kit.
- Accessory pockets: small items you use often or urgently, including snacks, navigation tools, sunscreen, sunglasses, headlamp, and water bottles.
- External attachment points: long or awkward items such as trekking poles, tent poles, or a large foam pad when they cannot fit safely inside.
If your pack has a dedicated hydration sleeve, it will usually sit against the back panel. Load the reservoir before the pack becomes full, then build the rest of the load around it.
Importance of Weight Distribution
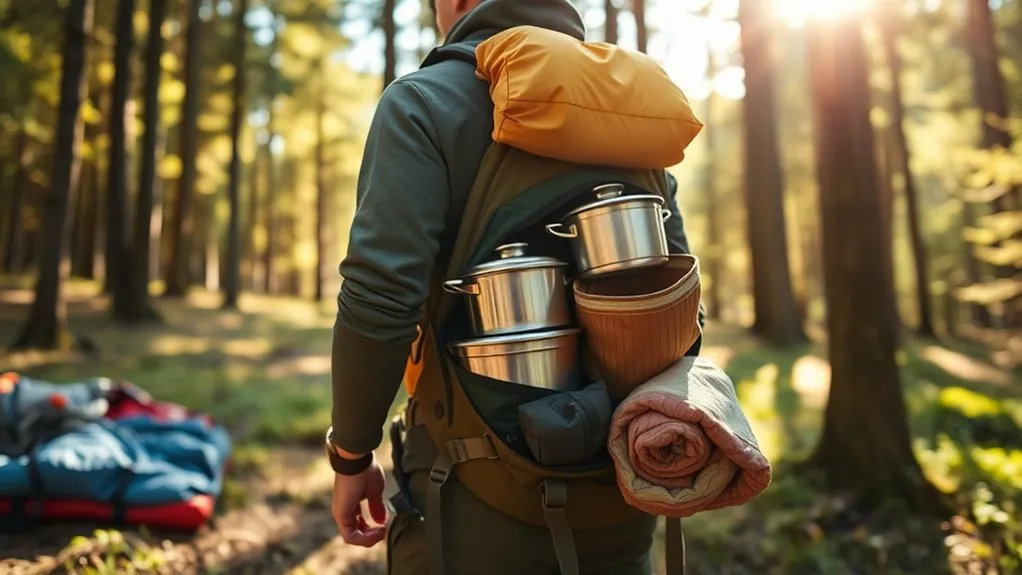
Weight distribution affects how much the backpack sways, sags, or pulls backward. Keeping dense gear close to your back shortens the distance between the pack’s mass and your body, which generally makes the load easier to control. The vertical position matters too: heavy gear that sits too low can make a pack sag, while heavy gear placed too high can feel top-heavy or tippy.
Use this corrected packing guide:
| Backpack Zone | Best Use | Examples |
|---|---|---|
| Top | Quick-access or bulky trail essentials | Rain jacket, insulated layer, first-aid kit |
| Core / middle, close to back | Heaviest, densest gear | Food, water, cook kit, stove, bear canister |
| Bottom | Bulky, soft, lighter camp gear | Sleeping bag, sleep clothes, compact sleeping pad |
Also check side-to-side balance. If one water bottle, food bag, or other dense item is much heavier than the gear on the opposite side, the pack may lean and force your shoulders or hips to compensate.
Pro Tip: After loading the pack, tighten its compression straps and walk around for a few minutes. If the pack sways, leans, or pulls backward, open it and move dense items closer to your back or rebalance the load from side to side.
Ideal Placement for Hydration Bladder
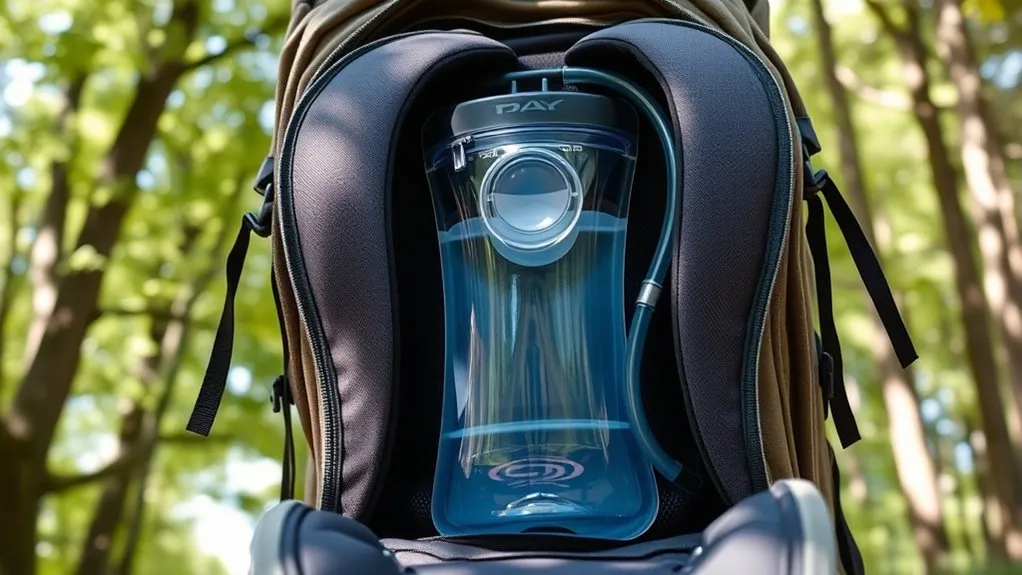
A full hydration reservoir is one of the denser items many hikers carry, so a dedicated sleeve against the back panel is an ideal location. That placement keeps the water close to your body and helps reduce backward pull. It also keeps the drinking hose easy to route to a shoulder strap.
Fill and install the reservoir before the rest of the pack becomes tightly loaded. A full bladder can be difficult to slide into a packed sleeve later. Secure it with the pack’s hanger or retention system if one is provided, and route the hose so it does not kink.
Keep hard or sharp objects from pressing directly against the reservoir. Soft items such as clothing or a tent body can help create a buffer. If you carry bottles instead, balance their weight between the two sides whenever possible.
Warning: If you carry liquid stove fuel, keep the fuel container tightly closed, upright, and separated from food. Do not pack it where a leak could contaminate your food or hydration system.
Arranging Heavy Gear Near Your Spine
For most trail hiking, place your densest gear in the pack’s core and close to your spine. This keeps the main mass of the pack near your own center of mass and reduces the leverage that makes an overloaded pack feel as if it is pulling you backward.
Optimal Weight Placement
Start with bulky, soft gear at the bottom. Then place dense items—such as your main food bag, water, cook kit, stove, or bear canister—on top of that base and toward the back panel. Center them left to right. Use softer items around the dense core to fill gaps and limit shifting.
Your hydration reservoir can be installed first in its sleeve because it is difficult to add once the pack is full. A hard-sided bear canister is also usually best centered in the core close to your back, with clothing or other soft gear around it for padding.
Avoid putting the heaviest items in lid pockets or far from your back. A heavy lid can make the pack top-heavy, while weight far from the back increases backward pull.
Accessibility and Comfort
Accessibility matters, but it should not come at the cost of balance. Dense gear that you do not need while walking can stay in the core. Items you may need quickly—such as rain gear, snacks, a headlamp, navigation tools, or a first-aid kit—belong near the top or in accessory pockets.
The goal is to avoid repeatedly unloading the pack during the day while still keeping the main weight stable. If an item is both heavy and frequently used, choose the most accessible position that still keeps it close to your back and securely contained.
How to Pack Heavy Items Step by Step
- Lay out all your gear. Separate dense items from bulky, lightweight items and quick-access essentials.
- Build a soft base. Put the sleeping bag and other light camp-only items at the bottom.
- Install water early. Put a hydration reservoir into its sleeve before the pack is crowded, or balance water bottles on the sides.
- Create a dense core. Pack food, cookware, stove, bear canister, and other heavy gear close to the back panel and centered left to right.
- Stabilize the load. Fill empty spaces with clothing, tent fabric, or other soft items so the heavy core cannot shift.
- Keep trail essentials accessible. Put rain gear, snacks, first aid, navigation tools, and a headlamp near the top or in pockets.
- Cinch and test. Tighten compression straps, put the pack on, walk around, and adjust anything that sways, pokes, or pulls you off balance.
Accessing Frequently Used Items
Frequently used items should be easy to reach without disturbing the heavy core of your pack. A lid pocket, hipbelt pocket, side pocket, front pocket, or the top of the main compartment is usually more practical than burying essentials in the middle.
Top Inner Pocket
Use the top inner or lid pocket for small, relatively light essentials such as snacks, sunscreen, a headlamp, lip balm, a map, or a small power bank. A first-aid kit should also be quick to reach; depending on its size and your pack design, the top of the main compartment or an accessible pocket may work better than a cramped lid pocket.
Do not turn the lid into a storage area for several dense items. Too much weight high above your shoulders can make the pack feel tippy.
Middle Pack Access
The middle or core of the pack is best reserved for dense items that can stay put while you hike. If your pack has a front-panel or side-zip opening, you may be able to reach this zone without unloading everything, but accessibility is secondary to keeping the load centered and secure.
Keep frequently used items toward the top, front-access pockets, or hipbelt pockets instead of mixing them through the dense core. This makes stops faster and reduces the chance that you will disturb your weight distribution each time you need a snack or tool.
Storing Lightweight Gear for Quick Access
Lightweight trail gear is well suited to the top of the pack and its accessory pockets. A rain shell, insulated layer, hat, gloves, snacks, or headlamp can be placed where you can reach them quickly without moving heavier gear.
The outer top area or dedicated tool attachments can also hold lightweight or awkward items such as trekking poles when the pack is designed for them. Side pockets work well for water bottles and small gear, but keep the left and right sides reasonably balanced.
Fast access is especially useful when weather changes quickly. Instead of burying rain gear near the bottom with your sleeping system, keep it near the top or in an exterior pocket where you can reach it before the rest of your gear gets wet.
Utilizing the Bottom Compartment
The bottom compartment is usually best for bulky, soft, lighter items, not the heaviest gear. A sleeping bag, sleep clothes, down booties, or a compact sleeping pad can form a cushioned base for the denser core above.
This arrangement also keeps camp-only items out of the way during the day. Pack them so they fill the bottom evenly rather than leaving a large empty space on one side.
There is an important terrain exception: on difficult, highly technical, or balance-sensitive terrain, Deuter recommends moving the heaviest part of the load lower while still keeping it close to the back. A slightly lower center of mass can make the load feel less tippy. On easier trails, a somewhat higher core position around mid-back to shoulder height is generally more efficient.
Think “light and bulky low, dense and heavy close to the back, quick-access gear high or outside.” That simple rule works for most backpacking loads.
Avoiding External Attachments
It is usually best to keep as much gear as practical inside the pack. Heavy items hanging on the outside can swing, shift the load away from your body, and make balance less predictable. External gear can also snag on branches or scrape against rocks.
That does not mean every external attachment is wrong. Trekking poles, tent poles, a large foam sleeping pad, an ice axe, or other long equipment may need to use the pack’s dedicated loops or lash points. Secure those items tightly so they cannot swing.
If you must carry something outside, prioritize lightweight or awkward gear rather than dense, heavy objects. Recheck straps during the hike, especially after brushy or rocky sections.
Adjust Pack Fit After Loading
Good packing cannot compensate for a poor fit. Once the backpack is loaded, put it on and adjust the suspension according to the manufacturer’s instructions; Osprey’s fitting guidance, for example, starts with the hipbelt and then moves to the shoulder harness and load lifters. In general, start by positioning and tightening the hipbelt over the hip bones, then snug the shoulder straps. If your pack has load lifters, use them to bring the upper pack closer to your body without overtightening.
Walk for a few minutes with the real trip load. If you feel a gap between your back and the pack, repeated shoulder pressure, one-sided pulling, or excessive sway, check both the fit and the internal load placement.
How Much Weight Should You Carry?
There is no single safe pack weight for every hiker because fitness, body size, terrain, trip length, pack design, and experience all matter. As a broad rule of thumb, REI suggests keeping a loaded backpacking pack at about 20% of body weight or less and a loaded day-hiking pack at about 10% or less. These are general guidelines, not medical limits, and they will not fit every person or trip.
If the pack feels unmanageable, do not rely on better weight placement alone. Remove nonessential gear, reduce duplicate items, share group gear when appropriate, and reassess the amount of water or food you truly need for the route.
Note: Pain, numbness, tingling, or persistent pressure points are signs to stop and readjust. If discomfort continues, the backpack may be the wrong size or fit for you, regardless of how carefully it is packed.
Enhancing Comfort Through Proper Packing
Comfort comes from combining good load placement, side-to-side balance, and proper pack fit. Keep dense items close to your back, use soft gear to stop them shifting, and avoid putting several heavy items in the lid or on external straps.
Load the hydration reservoir early if you use one. Keep frequently used items near the top or in pockets rather than burying them in the core. Use the bottom for sleeping gear and other bulky, relatively light items. Then tighten compression straps so the pack stays tall, compact, and stable.
Before a long hike, do a short test walk with the actual load. Small changes—moving a food bag closer to your spine, balancing water bottles, or shifting a dense item slightly lower for technical terrain—can make a noticeable difference in control and comfort.
Frequently Asked Questions
Can I Pack Heavy Items in External Pockets?
It is better to keep dense, heavy items inside the pack and close to your back. Heavy items in outer pockets can pull the load away from your body or make it lopsided. Use external pockets and lash points mainly for light, quick-access, or awkward gear that is securely attached.
How Does Weather Affect Heavy Item Placement?
Weather itself does not automatically change where heavy items belong. Rain mainly increases the need to protect gear from water and keep rainwear accessible. If bad weather also creates difficult, balance-sensitive terrain, moving the heaviest part of the load slightly lower while keeping it close to your back may improve stability.
What Are the Consequences of Poor Weight Distribution?
Poor distribution can make a backpack sag, sway, pull backward, or lean to one side. That can increase fatigue and create pressure on your shoulders, hips, or back. On uneven terrain, an unstable load can also make balance more difficult.
Should I Consider My Body Type When Packing?
Yes, but pack fit matters more than using a different universal packing pattern for a particular body type. Choose the correct torso length and hipbelt fit, then fine-tune load height and strap tension until the pack feels stable. What feels best can vary with your body proportions, pack design, and terrain.
Can I Use Compression Bags for Heavy Items?
Compression sacks are most useful for bulky, compressible items such as clothing or some sleeping bags. They do not make dense gear lighter. For heavy items, focus on secure placement close to your back and use surrounding soft gear or the pack’s compression straps to prevent shifting.
Should Heavy Items Sit High or Low in a Backpack?
For ordinary hiking on easier trails, keep the heaviest part of the load in the core, close to your back, around mid-back to shoulder height. On difficult or highly technical terrain, moving that dense core slightly lower can improve balance. Avoid extremes that make the pack sag or feel top-heavy.
Where Should a Bear Canister Go?
A bear canister is dense and bulky, so it generally belongs in the pack’s core, centered and close to your back. Pad around it with clothing or other soft items so it does not press uncomfortably against you or shift as you hike.
Sources
- REI Co-op — How to Pack and Hoist a Backpack — packing zones, core weight placement, hydration reservoir placement, accessory pockets, and external attachments.
- REI Co-op — How Much Should Your Pack Weigh? — general backpacking and day-hiking pack-weight guidelines.
- Osprey — Volume & Packing — heavy items close to the spine, sleeping bag low, and load stabilization.
- Deuter — How to Pack a Backpack — load height, terrain-specific placement, and keeping heavy gear close to the body.
- Gregory — Frequently Asked Questions: How Do I Load My Pack? — sleeping bag placement, heavy core items, side-to-side balance, and quick-access gear.
Conclusion
The most reliable rule is simple: keep dense, heavy gear close to your back, use the bottom for bulky lighter items, and reserve the top and pockets for things you need during the hike. Balance the load from side to side, secure anything carried externally, and test the pack before you commit to the trail.
For easy trails, the heavy core can sit around mid-back to shoulder height. On more technical terrain, shifting that core slightly lower can improve stability. Combine smart packing with a properly fitted hipbelt, shoulder harness, and load lifters, and your backpack will feel more controlled and comfortable over distance.

