

Last Updated on July 30, 2026 by Caleb Warren
A backpack that feels fine in the living room can become tiring and unstable once the trail climbs, turns, or gets rough. Good backpack weight distribution keeps dense gear close to your body, prevents side-to-side sway, and makes important items easy to reach without unloading the whole pack.
Quick Answer
Put soft, bulky camp gear at the bottom; place dense items such as food, water, and cookware in the middle, close to your spine; and keep light, frequently used items near the top. Balance both sides, fill empty spaces, tighten compression straps, and fit the hip belt before the shoulder straps.
Key Takeaways
- Keep the heaviest, densest gear in the pack’s middle zone and as close to your back as practical.
- Use the bottom for soft, bulky camp items and the top or pockets for light gear needed during the hike.
- Balance water bottles and other dense items from left to right, then use soft clothing to stop movement.
- Treat body-weight percentages as rough planning guides, not universal safety limits.
- Adjust torso length and the hip belt first, then fine-tune the shoulder, load-lifter, and sternum straps.
At a Glance
| Time Required | 15–25 minutes for an initial pack and fit check |
| Difficulty | Easy |
| Tools Needed | Backpack, trip gear, gear list, and an optional luggage or bathroom scale |
| Cost | Usually $0 with gear you already own; optional liners, dry bags, or organizers vary in price |
Disclosure: As an Amazon Associate I earn from qualifying purchases. Some links on this page are affiliate links, at no extra cost to you.
Understanding the Importance of Weight Distribution
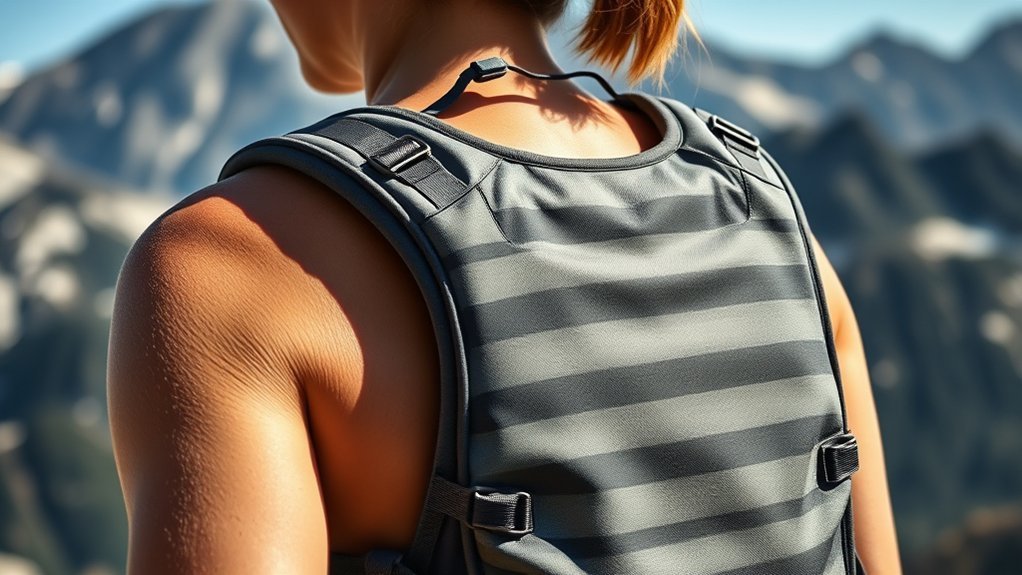
Backpack weight affects more than shoulder comfort. A heavier load requires more work with every step. A controlled walking study found that mechanical work and metabolic energy use increased as backpack load increased, although real trail conditions vary by person, pace, grade, and terrain. Keeping unnecessary weight out of the pack is therefore just as important as arranging the remaining gear well.
A stable load should feel centered over your hips instead of pulling backward or swaying from side to side. The most reliable starting point is to place dense gear in the pack’s core, close to your back. The REI backpack-loading guide recommends a bottom zone for bulky camp gear, a core zone for dense items, a top zone for trail essentials, and pockets for items needed often.
A balanced backpack should rest securely on your hips and move with you rather than swinging away from your body.
Note: No single packing formula works for every body, backpack, or route. Pack size, torso fit, water needs, weather, elevation gain, and personal conditioning can change what feels manageable.
The Golden Rules of Packing Your Backpack
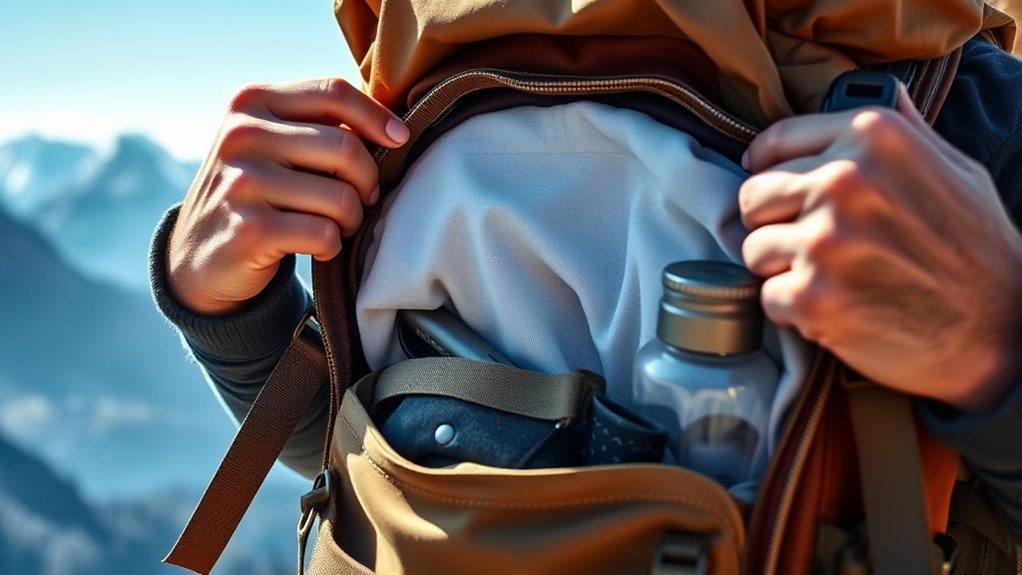
The goal is not to create perfect layers. It is to build a compact load with no large gaps, no hard objects pressing into your back, and no heavy item hanging far from your center of gravity.
Zone Organization Strategy
- Bottom zone: Pack soft, bulky items you will not need until camp, such as a sleeping bag, sleep clothes, or a compressible jacket.
- Middle or core zone: Place dense items such as food, a cook kit, a stove, and most of your water close to your back. Keep them centered rather than stacked on one side.
- Top zone: Store lighter trail essentials that may be needed quickly, including rain gear, an insulating layer, a first-aid kit, or a water filter.
- External pockets: Use these for small items you need often, such as snacks, a map, sunscreen, lip balm, a headlamp, and toilet supplies.
- Attachment points: Reserve exterior straps and loops for gear that cannot fit inside. Keep the outside load minimal so it does not swing, snag branches, or scrape rocks.
Weight Distribution Techniques
After placing the main gear, fill gaps with soft clothing or tent fabric. This keeps dense items from shifting and prevents cookware or a bear canister from pressing against your back. Check both sides of the pack by feel: if one side holds a full water bottle, balance it with another dense item on the opposite side.
Heavy gear should stay in the core rather than at the very bottom or top. A low dense load can make the pack sag, while a high dense load can feel top-heavy. On rough or steep trails, prioritize a compact load held close to your body instead of trying to raise the weight higher.
Pro Tip: Once packed, tighten the side compression straps and gently rock the backpack from side to side. If you hear or feel gear moving, reopen the pack and fill the empty spaces before hiking.
Organizing Your Gear in Packing Zones
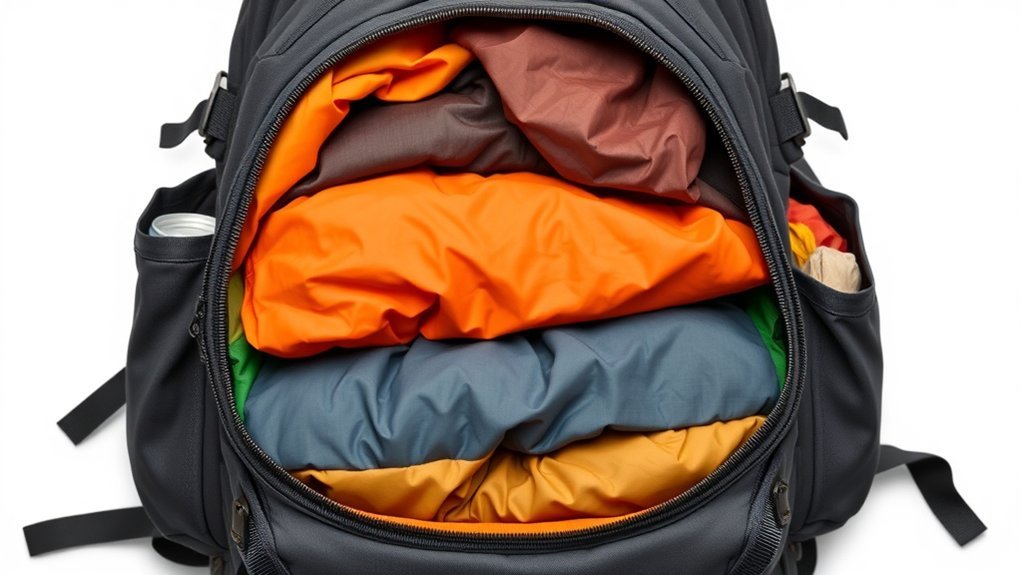
Organize gear by both weight and access. A light item needed at camp can stay low, while a light item needed during a storm belongs near the top. The following examples make the zones easier to use:
- Bottom: Sleeping bag, sleep clothes, down booties, and other soft items not needed during the day.
- Core near your back: Food bag or bear canister, cook kit, stove, dense toiletries, and a hydration reservoir.
- Around dense gear: Tent body, rainfly, spare clothing, or other soft items that stop movement.
- Top: Rain shell, warm layer, first-aid kit, water treatment, and any item you may need before camp.
- Hip-belt or lid pockets: Snacks, navigation tools, sunscreen, phone, permit, and small emergency items.
If your backpack uses a hydration reservoir, fill it and place it in its sleeve before the main compartment is packed. Sliding a full reservoir behind tightly packed gear is difficult and may force the load away from your back.
Warning: Keep liquid fuel upright with the cap secured, separate it from food, and place it below food in case it leaks. Cover sharp tools and keep them away from the reservoir, pack fabric, and your back.
How Much Should a Backpack Weigh?
Body-weight percentages are useful only as starting points. A commonly cited guide is about 10% of body weight for a day-hiking pack and about 20% for an overnight backpacking pack. For a 150-pound hiker, that would be roughly 15 pounds for a day hike or 30 pounds for backpacking. The REI pack-weight guide also notes that these percentages do not fit every person or trip.
Trip length, water availability, cold-weather gear, required safety equipment, body size, fitness, and route difficulty all matter. Do not remove essential safety gear just to meet a percentage. The National Park Service Ten Essentials are a better minimum checklist than an arbitrary weight target.
Weigh the complete pack after adding food, water, and fuel. Then walk with it for 15–30 minutes, including stairs or a hill if possible. If the load causes pain, numbness, major balance problems, or rapid fatigue, reduce the weight and check the pack fit before the trip.
Step-by-Step: Pack a Backpack for Balanced Weight
- Lay out every item. Use a trip checklist and remove duplicate or unnecessary gear without cutting required safety items.
- Prepare for moisture. Use a pack liner or dry bags for sleeping gear, clothing, electronics, and other items that must stay dry.
- Install the hydration reservoir first. Fill it, close it, check for leaks, and slide it into its sleeve before packing the main compartment.
- Build the bottom zone. Add the sleeping bag and other soft, bulky items that will not be needed until camp.
- Load the core. Center food, cookware, water, and other dense items close to your back. Pad around them with soft gear.
- Pack the top and pockets. Keep rain gear, insulation, first aid, water treatment, snacks, and navigation tools easy to reach.
- Secure the load. Close the pack, tighten compression straps, and limit loose exterior attachments.
- Test and correct. Put on the loaded pack, walk, climb a few steps, and check for backward pull, side sway, pressure points, or restricted breathing.
In bear country, confirm the destination’s current food-storage rules before leaving. Some parks require an approved bear-resistant container, while others use lockers or approved hanging methods. The National Park Service food-storage guidance explains that food, toiletries, trash, and other scented items may all require secure storage.
Common Mistakes to Avoid When Packing
- Overpacking: Extra clothing, duplicate tools, oversized toiletries, and unplanned food quickly increase load weight.
- Putting dense gear at the bottom: This can make the pack sag and feel as though it is dragging backward.
- Putting dense gear at the very top: A high center of gravity can make the pack feel tippy on uneven ground.
- Loading one side more heavily: Uneven water bottles or food bags can create side-to-side pull.
- Leaving empty spaces: Gear shifts when the pack is not filled and compressed into a stable shape.
- Burying urgent items: Rain gear, first aid, navigation, snacks, and water treatment should not require a full unpack.
- Strapping too much outside: Exterior gear can swing, catch on branches, and move the pack’s weight away from your back.
- Ignoring weather and route rules: Check forecasts, trail alerts, water availability, permits, and food-storage requirements before finalizing the load.
Adjusting Straps for Comfort and Stability
Pack organization cannot correct a backpack that is the wrong torso length or poorly adjusted. Fit the pack with a realistic load and use this order:
- Loosen the straps. Loosen the hip belt, shoulder straps, load lifters, and sternum strap before putting the pack on.
- Set the torso length. If the harness is adjustable, position it so the shoulder straps wrap smoothly over your shoulders without a large gap behind them.
- Fasten the hip belt. Center its padding over the upper part of your pelvis or iliac crest and tighten it so the hips carry the main load.
- Tighten the shoulder straps. Pull them snug enough to bring the pack against your body, but not so tight that they pinch or lift the hip belt.
- Adjust the load lifters. On larger trekking packs, these often work best around a 30- to 45-degree angle. Smaller packs may use a lower angle or have no meaningful load-lifter angle.
- Fasten the sternum strap. Position it comfortably across the chest and tighten only enough to stabilize the shoulder straps. It should not restrict breathing.
- Fine-tune stabilizer straps. Tighten them for more control on rough terrain or loosen them slightly for easier movement on smooth terrain.
The Deuter fitting guide recommends keeping the main load on the waist belt and identifies 30–45 degrees as an effective stabilizer-strap range for larger packs. Osprey’s fitting instructions also place the hip belt over the upper pelvis and advise adjusting it before the harness and sternum strap.
Tips for Maintaining Balance While Hiking
A well-packed backpack can still change as you drink water, eat food, or remove clothing. Recheck it during breaks rather than following a fixed hourly schedule.
- Tighten compression straps as the pack volume decreases.
- Keep bottles and dense gear balanced from left to right.
- Move a hard object if it creates a pressure point against your back.
- Use hip-belt pockets or the lid for snacks and navigation so you do not disturb the main load.
- On rough ground, shorten your steps and keep the pack close by tightening the load lifters or stabilizers slightly.
- Loosen straps briefly if you feel restricted breathing, tingling, or numbness, then refit the pack before continuing.
Note: Persistent pain, numbness, weakness, or loss of balance is not a normal fit issue to push through. Stop, reduce or remove the load, and seek appropriate medical or fitting advice.
How to Hoist a Loaded Backpack Safely
Do not lift a heavy backpack by one shoulder strap. That makes the load harder to control and can strain the harness. Instead:
- Stand beside the upright pack with your feet apart and knees bent.
- Hold the haul loop at the top of the back panel.
- Lift with your legs and rest the pack on your thigh.
- Slide one arm through a shoulder strap while controlling the haul loop.
- Lean forward, guide the pack onto your back, and insert the other arm.
- Buckle the hip belt and complete the normal fit sequence.
Practice at home with a realistic load. Ask for help if the pack is too heavy to lift with control.
Troubleshooting Backpack Weight Distribution
- The pack pulls backward: Move dense items closer to your back, remove bulky exterior gear, and check that the load lifters are not loose.
- The pack sways side to side: Rebalance bottles and food, fill empty spaces, and tighten compression straps.
- Your shoulders carry most of the load: Reposition and tighten the hip belt, then loosen the shoulder straps slightly. Confirm the torso length is correct.
- The pack feels top-heavy: Move dense items down into the core, but not all the way to the bottom.
- The lower pack sags: Move dense gear upward into the middle and compress the bottom zone.
- A hard object presses into your back: Rotate it, move it farther from the back panel, or pad it with clothing.
- The sternum strap feels restrictive: Raise, lower, or loosen it until breathing and arm movement are comfortable.
Frequently Asked Questions
How does backpack weight affect hiking performance?
More weight requires more work with each step and may increase fatigue, especially on climbs and long routes. Keep essential safety gear, but remove unnecessary items and test the complete load before the trip.
Can I pack food and water differently for better balance?
Yes. Keep most dense food and water in the middle zone near your back. Put a hydration reservoir in its sleeve before packing, and balance bottles or food bags from left to right.
What is the ideal weight limit for a backpack?
About 10% of body weight for day hiking and 20% for backpacking are common starting points, not universal limits. Route conditions, water needs, weather, body size, fitness, and required safety gear can change the practical load.
How often should I readjust my backpack while hiking?
Readjust it whenever the load changes, the pack begins to sway, or you notice discomfort. Breaks are a good time to retighten compression straps and fine-tune the hip belt, shoulder straps, and load lifters.
Are some backpacks better at distributing weight?
Yes. For heavier loads, look for the correct torso size, a supportive frame, a padded hip belt, adjustable shoulder straps, load lifters, compression straps, and a sternum strap. Fit matters more than the feature list alone.
Where should a bear canister go in a backpack?
Place it in the core zone, centered close to your back, and use soft gear to stop it from shifting. Follow the destination’s food-storage rules because approved containers and storage methods vary by location.
Should heavy items ever go at the very top or bottom?
Usually no. Dense gear at the bottom can make the pack sag, while dense gear at the top can make it feel tippy. Keep the heaviest items in the middle zone near your back.
Conclusion
Good backpack weight distribution comes down to four habits: keep dense items in the middle and close to your back, balance the load from side to side, make trail essentials easy to reach, and adjust the pack from the hip belt upward. Weigh and test the finished pack before leaving, then make small corrections as food, water, and clothing change during the hike.
Sources
- REI — How to Pack and Hoist a Backpack — packing zones, load stability, exterior attachments, and safe hoisting.
- REI — How Much Should Your Pack Weigh? — general day-hike and backpacking weight guidelines and their limitations.
- National Park Service — Ten Essentials — minimum emergency and trip-planning categories.
- National Park Service — Bear Safety: Storing Food — food, scented-item, and bear-canister guidance.
- Deuter — How to Adjust a Backpack — fitting order, waist-belt loading, and stabilizer-strap angles.
- Journal of Experimental Biology via NIH PMC — Mechanics and Energetics of Load Carriage — evidence that energy use rises with carried load.
