
Last Updated on July 29, 2026 by Mason Reed
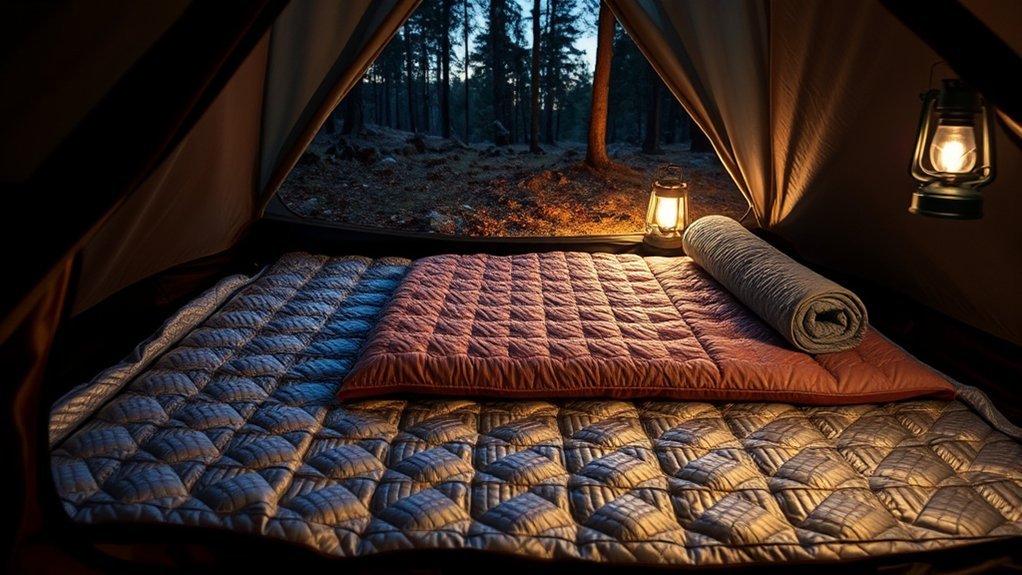
Insulating a tent floor for a cold night starts with the surface directly beneath your body. A dry campsite, protective footprint, and removable floor liner can help, but the most important layer is an insulated sleeping pad with an R-value suited to the expected ground temperature. Build the sleep system from the ground up rather than trying to seal or heat the entire tent.
Quick Answer
To insulate a tent floor, place a correctly sized footprint under the tent, add a dry closed-cell foam or fabric floor liner inside, and sleep on an ASTM-tested insulated pad. Use about R-4 to R-5.4 for cold conditions and R-5.5 or higher for severe cold, allowing extra margin if you sleep cold.
Key Takeaways
- Choose your sleeping pad by tested R-value, not thickness alone.
- A normal tent footprint protects against moisture and abrasion but should not be counted as meaningful thermal insulation.
- Two compatible sleeping pads can be stacked, and their R-values can generally be added for planning purposes.
- Keep blankets, rugs, cardboard, and other improvised layers dry; wet absorbent material can make the tent colder.
- Do not seal tent vents or use fuel-burning equipment while sleeping.
At a Glance
| Time Required | About 15–30 minutes after the tent is pitched |
| Difficulty | Easy, provided the pad and shelter are suitable for the forecast |
| Tools Needed | Footprint, insulated sleeping pad, optional foam pad or dry floor liner, stakes, guylines, and tarp |
| Cost | Varies; the insulated sleeping pad is usually the main expense |
Disclosure: As an Amazon Associate I earn from qualifying purchases. Some links on this page are affiliate links, at no extra cost to you.
Add Ground Insulation
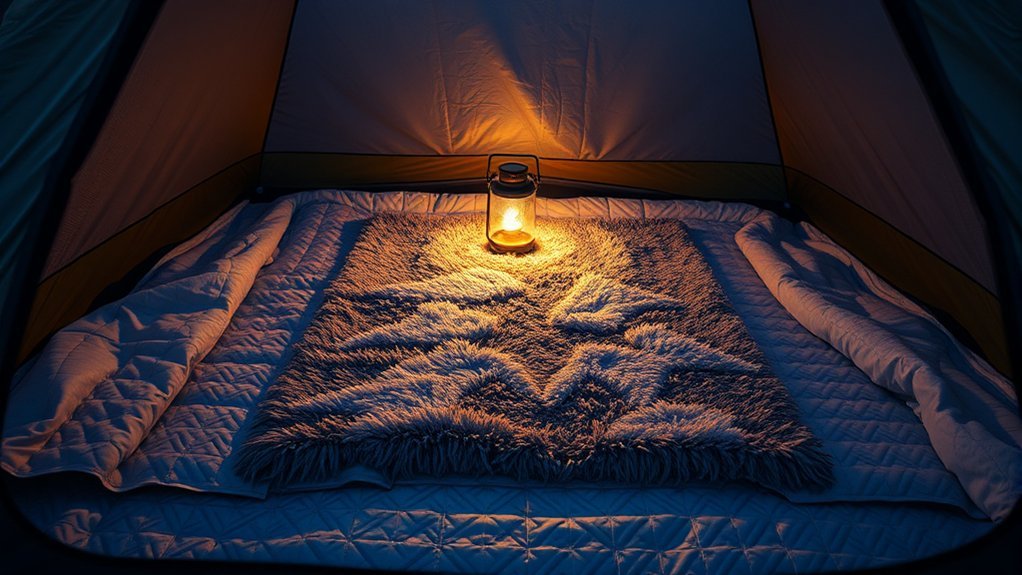
The most effective way to reduce conductive heat loss is to place tested insulation beneath your sleeping body. Your sleeping bag is compressed under your weight, so the insulation on its underside cannot loft as effectively as the insulation above you. The sleeping pad must provide the missing thermal resistance.
Camping-pad R-values are measured using a standardized method called ASTM F3340. A higher R-value means the pad resists more heat flow. Compare standardized R-values rather than assuming that a thick air mattress, soft blanket, or tall pad will be warm.
Choose the Right Sleeping Pad R-Value
The following ranges are practical starting points, not guarantees. Ground temperature, wind, humidity, elevation, metabolism, clothing, and sleeping-bag performance all affect comfort. Cold sleepers should choose more insulation than the minimum estimate.
| Conditions | Planning Range | Use |
|---|---|---|
| Warm nights | Below R-2 | Warm-weather camping where cold ground is not expected |
| Cool nights | R-2 to R-3.9 | Typical spring, summer, or mild fall conditions |
| Cold conditions | R-4 to R-5.4 | Cold air and ground near or below freezing |
| Extreme cold | R-5.5 or higher | Frozen ground, snow camping, and severe winter conditions |
Manufacturers may describe their ranges differently. For example, Therm-a-Rest groups pads rated R-4 to R-6 as year-round models and R-6 or higher as extreme-cold models. Always allow a safety margin instead of choosing a pad that barely matches the forecast.
Your sleeping bag and pad work as one system. Sleeping-bag temperature testing commonly assumes an insulated pad around R-5 or higher, so a low-R-value pad can make an otherwise suitable bag feel much colder.
Layer the Tent Floor in the Right Order
Use the following order for a dry and effective setup:
- Durable campsite: Pitch on level, well-drained ground or a designated tent pad. Avoid depressions where cold air or water collects.
- Tent footprint: Place a manufacturer-sized footprint or groundsheet under the tent. It should not extend beyond the tent floor, where it could catch rain and funnel water underneath.
- Tent floor: Inspect it for holes, wet seams, or pooled water before adding absorbent material.
- Optional removable floor liner: Add closed-cell foam tiles, a dry rug, a folded blanket, or another clean layer for comfort and limited supplemental insulation.
- Insulated sleeping pad: Put the pad directly under your sleeping bag and body.
- Optional second pad: Place a closed-cell foam pad beneath an inflatable pad for more warmth and puncture protection.
Pro Tip: When two compatible pads are stacked, their R-values can generally be added as a planning estimate. An R-3.5 inflatable pad over an R-2 foam pad produces a combined value of about R-5.5.
Use Improvised Floor Materials Carefully
Thick blankets, rugs, cardboard, and bubble wrap can make the floor feel less cold, but they do not provide a standardized or predictable R-value. Treat them as supplemental layers rather than replacements for an insulated sleeping pad.
- Blankets and rugs: Useful for car camping when they are clean and completely dry. Keep them away from wet tent walls.
- Cardboard: A low-cost emergency option on dry ground, but it quickly loses usefulness when wet or crushed.
- Bubble wrap: Lightweight but easy to puncture and compress. Do not rely on it for winter safety.
- Closed-cell foam: More dependable because it resists water absorption and retains some insulation when compressed.
Note: Unless a footprint, carpet, mattress, or liner has a tested R-value, do not include it when deciding whether your sleep system is warm enough for the forecast.
Set Up a Windbreak Without Damaging the Campsite
A windbreak can reduce direct wind exposure and limit cold air moving beneath a raised tent edge. Start with site selection rather than rebuilding the landscape.
- Use existing protection: Choose a designated or established site naturally sheltered by terrain, shrubs, or trees that appear sound.
- Avoid dead branches: Do not camp below damaged limbs or unstable trees.
- Turn the narrow end into the wind: Follow the tent manufacturer’s pitching guidance and position the lowest, strongest end toward the expected wind when possible.
- Stake every required point: Use all structural guylines in wind instead of relying only on the four floor corners.
- Check the forecast: Conditions that exceed the tent’s design are a reason to relocate or cancel, not to improvise a stronger shelter.
Follow Leave No Trace campsite guidance. Do not dig drainage trenches, move rocks, cut branches, or build permanent structures around the tent. On deep snow, an experienced winter camper may shape already-disturbed snow for a temporary wind barrier, but the site should be restored as conditions and local rules permit.
Add a Secondary Cover to the Top of Your Tent
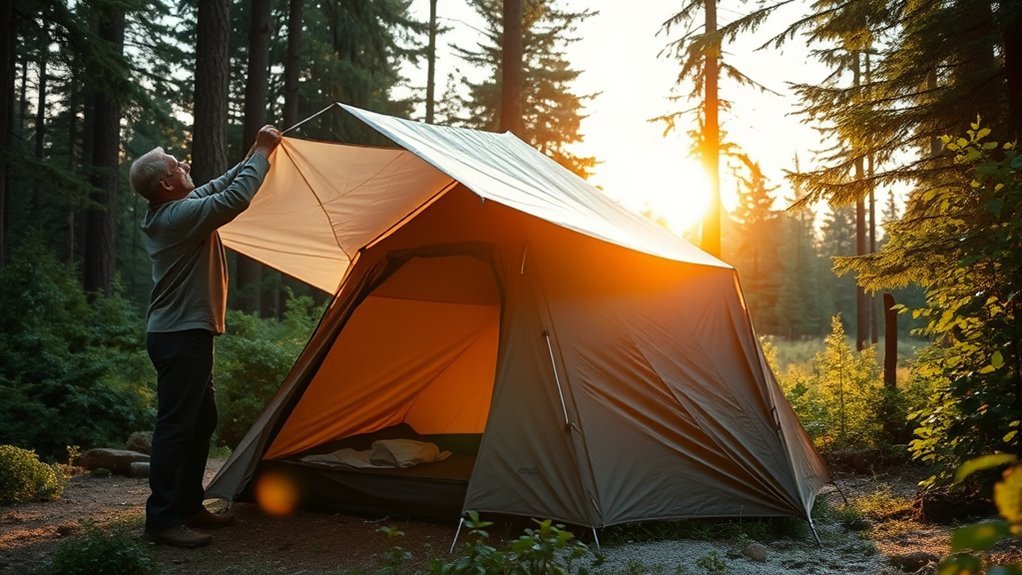
A secondary cover can protect the tent from rain, light snow, dripping trees, and direct wind. It should be treated as a weather barrier rather than a substitute for an insulated pad or winter-rated shelter.
Benefits of a Secondary Cover
- Reduces direct rain or light snow striking the tent fly.
- Creates a sheltered area near the entrance for removing wet clothing.
- Can reduce direct wind exposure when the open sides remain ventilated.
- Helps keep the original rainfly clear of dripping branches or overhead runoff.
- Provides shade and weather protection during daytime use.
The cover may modestly reduce heat carried away by direct wind, but an ordinary tarp has little inherent thermal resistance. Most nighttime warmth still comes from the sleeping pad, sleeping bag, dry clothing, and protection from moisture.
Types of Covers Available
Common choices include a coated nylon or polyester tarp, a polyethylene utility tarp, or an extra rainfly designed for the shelter. Canvas can be durable for base camping but is heavy and must be dried thoroughly before storage.
Reflective emergency blankets are fragile and are not dependable overhead tarps. Do not wrap one tightly around the tent, press it against the fabric, cover vents, or place it near a flame or hot heater. A tightly wrapped non-breathable cover can trap moisture and increase condensation.
Installation Tips and Techniques
- Leave a clear air gap between the cover and the tent.
- Keep roof, door, and low-level vents open according to the tent instructions.
- Pitch one edge lower so rain and melting snow drain away from the entrance.
- Do not let the tarp rub continuously against the tent fly in wind.
- Use secure anchors that do not damage living trees.
- Inspect the cover during changing wind or snow conditions.
Warning: A tarp is not a substitute for a tent designed to handle the expected wind or snow load. Leave immediately if poles deform, anchors fail, heavy snow accumulates faster than it can be safely removed, or falling branches threaten the site.
String Up a Tarp Over Your Tent
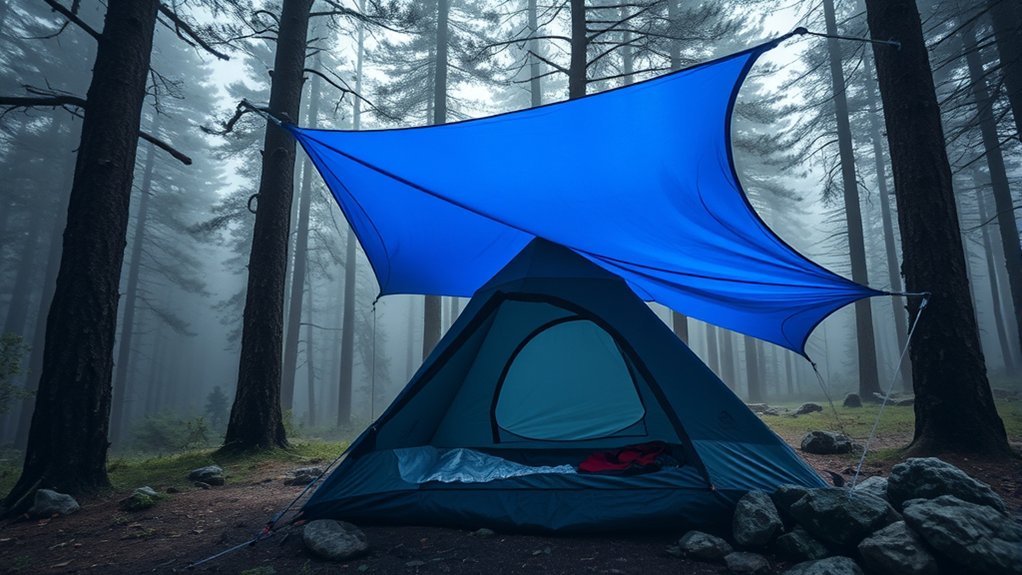
Stringing a tarp above the tent is useful when the campsite allows it and safe anchor points are available. The tarp should shed water, remain stable in the forecast wind, and preserve airflow around the shelter.
Tarp Setup Techniques
- Choose a tarp large enough to cover the tent without requiring its edges to touch the fly.
- Run a ridgeline or use suitable poles, following local rules for tree use.
- Position the ridgeline high enough to leave ventilation space but low enough to control wind exposure.
- Attach the tarp with secure knots or adjustable hitches.
- Stake the corners so the tarp remains taut and slopes away from the tent entrance.
- Keep lines visible with reflective cord or markers to reduce trip hazards.
- Recheck tension after rain, temperature changes, or strong gusts.
Weatherproofing Your Tent
Material choice affects weight, water resistance, stretch, noise, and durability. Regardless of material, inspect seams, tie-out points, and coatings before the trip.
| Tarp Material or Feature | Best Use | Maintenance |
|---|---|---|
| Polyethylene | Budget car camping and temporary rain protection | Check grommets and creases for tearing |
| Canvas | Heavy-duty base camps where weight is not a concern | Clean and dry completely before storage |
| Coated nylon or polyester | Packable weather protection | Inspect seams, coating, and tie-outs |
| Waterproof coating and seams | Preventing leakage through otherwise suitable fabric | Repair peeling coating or failed seam tape before use |
Use the Tarp Without Trapping Moisture
Do not lower or wrap the tarp so tightly that it closes the tent’s ventilation openings. Warm, moist air from breathing must be able to leave the shelter. Tent-manufacturer condensation guidance recommends maximizing ventilation rather than trying to seal warm air inside.
- Leave open space around the tarp perimeter.
- Use the tent’s high and low vents together.
- Store wet boots and rain gear in the vestibule when the shelter design permits.
- Wipe interior moisture with a small absorbent cloth.
- Remove accumulating snow before it overloads the tarp or tent.
- Dry both the tarp and tent fully after the trip.
Line the Floor With Insulating Fabric, Not the Tent Walls
A removable fleece blanket, wool blanket, dry rug, or closed-cell foam liner can make the tent floor more comfortable. Cover the occupied floor area without blocking doors, vents, or the bathtub-floor edges.
Do not attach absorbent blankets to the walls or ceiling of an ordinary tent. Fabric touching the tent body can collect condensation, transfer moisture to sleeping gear, add unsupported weight, and create a fire hazard near any heat source. Absorbing moisture does not remove it from the shelter.
For the best results:
- Use floor material only after confirming that the tent floor is dry.
- Keep the sleeping pad centered so it does not press the sleeping bag against wet walls.
- Roll or fold the liner during the day if moisture appears beneath it.
- Dry every fabric layer before packing it for storage.
- Do not count an unrated liner toward your required sleeping-pad R-value.
Understand Tent-Heater and Carbon-Monoxide Safety
The safest way to stay warm while sleeping is an adequate pad, sleeping bag, dry clothing, and suitable shelter—not a combustion heater. Carbon monoxide is colorless and odorless and can cause sudden illness or death.
Warning: Never use charcoal, a grill, camp stove, lantern, generator, or other outdoor fuel-burning appliance to heat an ordinary tent. Never operate a fuel-burning portable heater while anyone is sleeping in a tent, camper, or vehicle. Follow the U.S. Consumer Product Safety Commission camping-equipment guidance.
A low-oxygen shutoff feature does not directly measure carbon monoxide and does not make every enclosure safe. A battery-powered CO alarm is a useful backup where combustion equipment is lawfully and correctly used, but it cannot replace ventilation, equipment instructions, clearances, awake supervision, or safe equipment selection.
Use a portable heater only when all of the following are true:
- The manufacturer explicitly permits that model’s use in the exact type and size of shelter.
- Local campground and fire rules permit it.
- The heater is stable and separated from fabric, sleeping bags, clothing, and other combustible material by the required clearance.
- Required vents remain fully open.
- A responsible adult remains awake and attentive.
- The heater is turned off and allowed to cool before anyone sleeps.
A wood stove belongs only in a purpose-built hot tent or shelter designed with the correct stove jack, clearances, ventilation, chimney, spark control, and operating procedures. It should never be improvised in a standard nylon or polyester tent.
Additional Ways to Stay Warm When Winter Tent Camping
Floor insulation works best as part of a complete cold-weather sleep system.
- Match the bag to the forecast: Use the comfort rating appropriate to the expected nighttime low and personal cold tolerance.
- Wear dry sleep clothing: Change out of damp hiking layers before bed. Use dry base layers and socks rather than piling on wet garments.
- Protect the head and neck: Use the sleeping bag hood or a dry hat without covering your mouth and nose.
- Eat and hydrate: Have enough food and water before bed, but avoid alcohol because it can impair judgment and temperature regulation.
- Use a proper hot-water bottle: Fill a heat-safe bottle designed for hot water, check the seal, wrap it in fabric, and keep it away from bare skin.
- Do light movement before bed: Generate gentle warmth without sweating into your sleep clothing.
- Keep the bag dry: Do not breathe inside the sleeping bag, because exhaled moisture can dampen insulation.
- Ventilate the tent: Use high and low vents to release moisture even when the air outside is cold.
Cold exposure can lead to frostbite or hypothermia. The National Park Service identifies hypothermia as a serious condition that occurs when the body loses heat faster than it can produce it.
Warning: Uncontrolled shivering, confusion, slurred speech, clumsiness, unusual drowsiness, or loss of coordination can signal hypothermia. Move the person to shelter, replace wet clothing, insulate them from the ground, and seek emergency assistance. Do not continue the trip merely because more gear is available.
Troubleshoot a Cold Tent Floor
The Sleeping Pad Loses Air Overnight
A partly deflated pad may allow your hips or shoulders to touch the cold floor, sharply reducing insulation in those areas.
- Inflate and test the pad at home before the trip.
- Remember that air pressure normally drops as warm inflation air cools; add a small amount after the pad reaches nighttime temperature.
- Check the valve, seams, and underside for leaks.
- Carry the manufacturer’s repair kit.
- Place closed-cell foam beneath the inflatable pad as warmth and puncture backup.
Only One Part of the Body Feels Cold
Confirm that the entire torso and legs remain on the insulated pad. A narrow or short pad may leave feet, elbows, or hips on the tent floor. Add a foam sit pad under the feet or replace the pad with a correctly sized model.
The Floor Liner Feels Damp
Remove the liner and determine whether the moisture comes from a leak, groundsheet runoff, wet gear, or condensation. Wipe the floor, improve ventilation, and do not reinstall absorbent material until both surfaces are dry.
The Pad R-Value Should Be Enough, but You Are Still Cold
Check the full system. The problem may be a damp or undersized sleeping bag, compressed insulation, drafts at the hood, wet sleep clothing, an inaccurate forecast, wind exposure, illness, fatigue, inadequate food, or personal cold sensitivity. Add a second pad or move to warmer shelter rather than relying on improvised heaters.
Frequently Asked Questions
What materials are best for insulating a tent floor?
An ASTM-tested insulated sleeping pad is the most important material. Closed-cell foam is useful as a durable lower layer, while a dry rug, wool blanket, or foam-tile liner can improve comfort. A footprint protects the tent floor but usually provides little measurable thermal insulation.
How thick should tent-floor insulation be?
There is no universal ideal thickness. Use tested R-value instead. A thick uninsulated air mattress may provide less warmth than a thinner insulated pad. For cold conditions, begin around R-4 to R-5.4; for severe cold or frozen ground, choose R-5.5 or higher and allow additional margin.
Can I use old blankets for tent-floor insulation?
Yes, when car camping and the blankets are clean and completely dry. Place them beneath or around the sleeping pad for comfort, but do not depend on them as the primary winter insulation. Remove them if they absorb condensation or water.
How do I prevent moisture buildup inside the tent?
Open the tent’s high and low vents, keep wet gear in the vestibule when permitted by the design, avoid breathing into the sleeping bag, and wipe visible moisture away. Do not wrap the tent tightly with a tarp or reflective sheet, because that can restrict airflow.
Is it safe to use a regular mattress for camping insulation?
A household mattress may be bulky, absorb moisture, and lack a tested R-value. A tall uninsulated air mattress can also circulate cold air beneath the sleeper. For predictable warmth, use a camping mattress with a standardized R-value or place an insulated camping pad on top.
Does a tent footprint make the tent warmer?
A normal footprint can keep the tent floor cleaner, reduce abrasion, and help separate it from damp ground. Unless the product has a tested thermal rating, however, do not count it as part of the sleeping pad’s required R-value.
Can I stack two sleeping pads for more warmth?
Yes. The R-values of compatible stacked pads can generally be added as a planning estimate. Put a durable closed-cell foam pad underneath an inflatable pad to increase warmth and provide backup if the inflatable pad develops a leak.
Is it safe to sleep with a propane tent heater running?
No. The U.S. Consumer Product Safety Commission warns never to use fuel-burning portable heaters or lanterns while sleeping in enclosed areas such as tents, campers, and vehicles. A low-oxygen shutoff or carbon-monoxide alarm does not remove that rule.
Conclusion
The most reliable way to insulate a tent floor is to build a dry sleep system around a properly rated pad. Start with a well-drained campsite and correctly sized footprint, add a dry removable floor layer if useful, and place an insulated sleeping pad directly beneath your sleeping bag. For frozen ground or severe cold, use a higher R-value or stack compatible pads.
Tarps, blankets, rugs, and wind protection can improve comfort, but they cannot correct an inadequate sleeping pad or unsuitable shelter. Preserve ventilation, keep every layer dry, avoid campsite alterations, and never depend on a fuel-burning heater while sleeping. Smart insulation and conservative weather decisions provide far more dependable warmth than trying to heat or seal the entire tent.
Sources
- ASTM International — F3340-22 Standard Test Method — standardized measurement of camping-mattress thermal resistance.
- Therm-a-Rest — Sleeping Pad R-Value Categories — general seasonal classifications for tested sleeping-pad R-values.
- NEMO Equipment — Sleeping Bag and Sleeping Pad System — relationship between sleeping-bag ratings and pad insulation.
- NEMO Equipment — Tent Condensation Guidance — ventilation and moisture-control recommendations.
- U.S. Consumer Product Safety Commission — Portable Heaters and Camping Equipment — carbon-monoxide and sleeping-shelter safety.
- Leave No Trace — Frontcountry Camping Guidance — low-impact campsite selection and the prohibition on trenches and constructed campsite features.
