
Last Updated on July 29, 2026 by Mason Reed
Pitching a tent in snow takes more planning than setting up on dry ground. You need a campsite outside avalanche terrain, a firm snow platform, anchors that will hold in soft or wind-packed snow, and a shelter that matches the forecast. The steps below explain how to build a secure camp while keeping ventilation, warmth, and emergency access in mind.
Quick Answer
To pitch a tent in snow, choose a level site outside avalanche paths and other hazards. Pack a platform wider than the tent, orient the shelter’s strongest side into the wind, secure every corner and guyline with snow stakes or buried anchors, keep vents clear, and remove accumulating snow before it overloads the poles.
Key Takeaways
- Check the weather, avalanche forecast, permit rules, and route conditions before leaving home.
- A flat tent platform is not automatically safe; it must also be outside avalanche runout zones, terrain traps, cornices, and falling-tree hazards.
- Pack the snow before pitching so your body and gear do not create deep, uneven depressions overnight.
- Use purpose-built snow stakes or buried deadman anchors instead of relying on ordinary soil stakes in soft snow.
- Keep doors and vents open enough to work, and never use a stove, charcoal grill, lantern, or ordinary fuel-burning heater to warm a standard tent.
At a Glance
| Time Required | About 20–45 minutes in calm conditions; longer in deep snow or strong wind |
| Difficulty | Intermediate; advanced skills are needed in avalanche terrain or severe weather |
| Tools Needed | Weather-appropriate tent, snow shovel, snowshoes or skis, snow stakes or anchor bags, guylines, insulated sleeping pads, cold-rated sleeping bag, headlamp, and repair kit |
| Cost | Varies by equipment; permits or winter-specific shelter and sleep-system gear may add to the trip cost |
Disclosure: As an Amazon Associate I earn from qualifying purchases. Some links on this page are affiliate links, at no extra cost to you.
Prepare Before Pitching a Tent in Snow
Practice pitching the tent at home before the trip. Confirm that every pole, clip, sleeve, stake loop, guyline, tensioner, rainfly attachment, and repair part is present. Cold fingers, blowing snow, and fading daylight make an unfamiliar shelter much harder to assemble.
Check the latest forecast through the National Weather Service. Look at expected snowfall, wind speed, wind direction, temperature, wind chill, visibility, and the timing of any approaching storm. Also check the land manager’s current permit requirements, campsite restrictions, wildlife closures, and fire or stove rules.
If the route or campsite may be exposed to avalanche terrain, read the regional forecast through Avalanche.org or the applicable local avalanche center. A forecast is only one part of safe travel. Avalanche terrain requires training, sound route choices, capable partners, and rescue equipment that everyone knows how to use.
Warning: Do not camp on, beneath, or in the runout of a slope that could avalanche. Flat ground can still be dangerous when it lies below a loaded slope, inside a gully, beside a creek, or against another terrain trap. When you cannot confidently identify safe terrain, choose a different destination or travel with a qualified guide.
Finding the Ideal Tent Spot
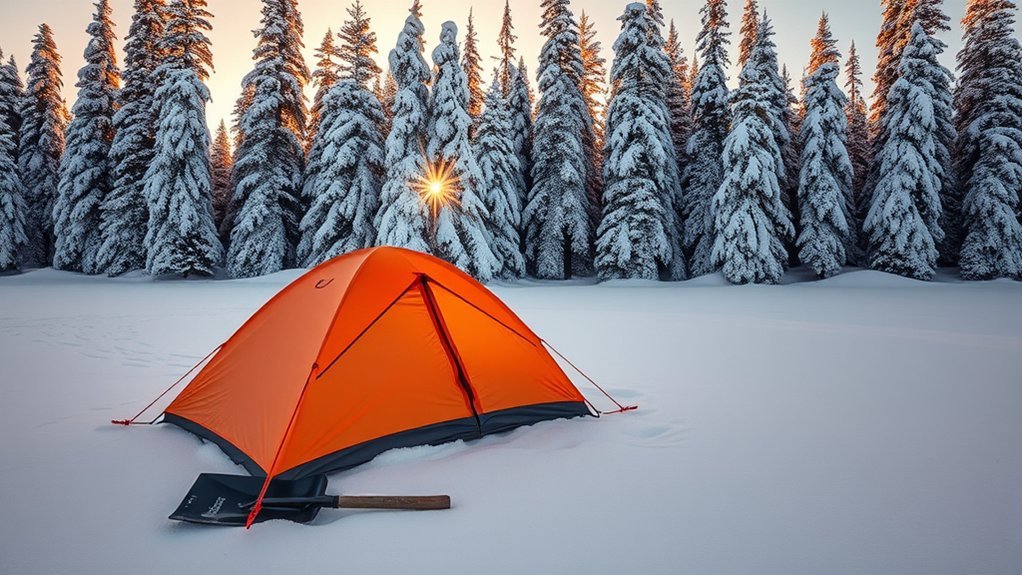
Start with a level or gently sloping area large enough for the tent, guylines, anchors, and a safe walking route. The site must be away from avalanche paths, cornices, unstable snow, overhead ice, and slopes that could send debris into camp.
Avalanche terrain can begin on slopes steeper than about 30 degrees, and moving snow may continue into much flatter ground below the starting zone.
Look for protection from the prevailing wind, such as a broad hill or a healthy stand of trees, without setting up under damaged limbs or dead standing trees. Avoid the base of rock faces, steep banks, roofs, cliffs, and heavily loaded branches that could release snow or ice.
Probe uncertain ground before committing to the site. Snow can hide streams, holes, rocks, logs, and weak snow bridges. Do not camp on lake or river ice unless local authorities have confirmed that the route and camping area are open and safe.
Choose deep, durable snow rather than pitching on exposed tundra or fragile vegetation. Leave No Trace winter guidance recommends staying away from avalanche paths, cornices, steep slopes, and unstable snow. It also recommends camping at least 200 feet from recognizable lakes and streams where local rules allow. Review the full Leave No Trace winter recreation guidance before the trip.
Prepare a Firm Snow Platform
Mark a platform that extends beyond the tent floor on every side. The extra room gives you a level place for anchors, prevents the tent edge from hanging over soft snow, and makes it easier to walk around the shelter without collapsing the platform.
- Pack the surface: Walk back and forth over the area with snowshoes, skis, or boots. Cover the entire footprint rather than only the center.
- Fill low areas: Add snow to depressions and compact it until the platform is even.
- Remove sharp debris: Check for branches, ice chunks, exposed rocks, and anything that could puncture the floor.
- Let the platform firm: Give the packed snow several minutes to settle while you organize the tent and anchors.
- Check the slope: Lie down or place a pole across the platform. Correct any tilt that would make sleepers slide into one side of the tent.
Pro Tip: Pack the platform before removing gloves or unpacking loose tent parts. In strong wind, keep the tent body, rainfly, pole bag, stake bag, and stuff sacks secured to your pack until each item is needed.
How to Pitch a Tent in Snow Step by Step
Work methodically so the shelter never becomes an unsecured sail. A partner can hold the windward side and organize poles while the other person anchors the first corners.
| Step | What to Do |
|---|---|
| 1. Choose the orientation | Face the tent’s strongest, lowest-profile, or narrowest side into the prevailing wind, following the manufacturer’s pitching instructions. Place the main door away from the wind when the design allows. |
| 2. Secure the first corner | Anchor a windward corner immediately. In very strong wind, temporarily clip that corner or guyline to a loaded pack while you prepare a proper snow anchor. Do not attach the tent to a person. |
| 3. Spread and anchor the floor | Pull the floor square without overstretching it. Secure the remaining corners with snow stakes or buried anchors. |
| 4. Assemble the poles | Seat every pole section fully before bending the frame. Work carefully because cold aluminum and composite poles can be less forgiving of forced connections. |
| 5. Attach the tent and rainfly | Connect all clips, sleeves, pole wraps, and rainfly buckles specified by the manufacturer. These parts help distribute wind and snow loads through the frame. |
| 6. Attach every needed guyline | Run each line outward from its reinforced guy point, generally in line with the supporting pole. Use the windward guylines first, then balance the remaining sides. |
| 7. Tension the shelter evenly | Tighten opposing corners and guylines in small increments. The fly should be taut and separated from the inner tent without bending the poles out of shape. |
| 8. Confirm ventilation and access | Open the designed vents, make sure at least one door can be used quickly, and place the shovel where it remains reachable if drifting snow builds overnight. |
Securing the Tent Base in Snow
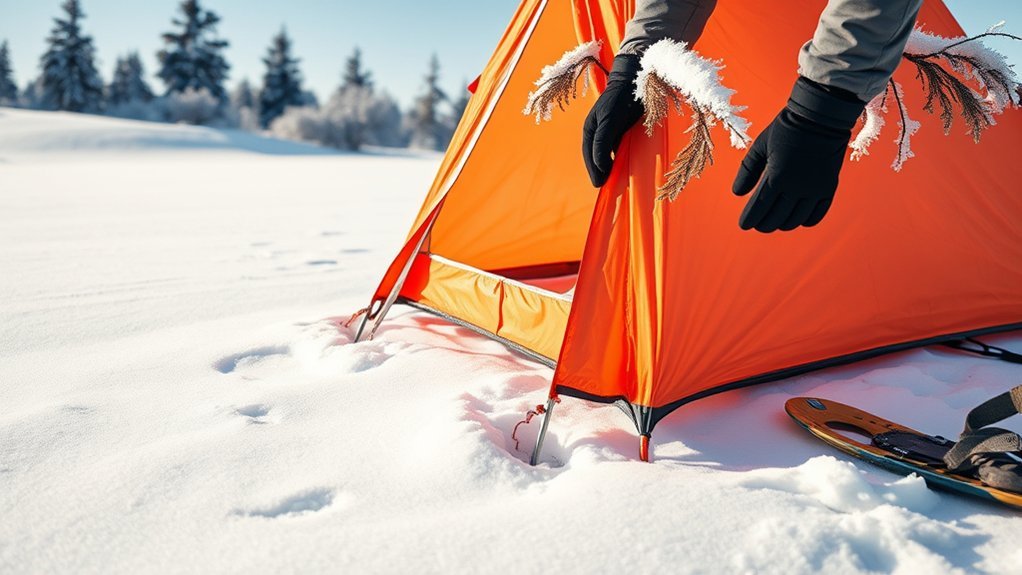
Ordinary narrow tent stakes may pull out of loose snow. Use wide snow stakes when they hold securely, or bury an object horizontally to create a deadman anchor. Attach short extension cords to the tent’s corner loops when extra length is needed to reach firm anchor locations.
Method 1: Use a Snow Stake
- Attach the guyline or corner cord to the snow stake.
- Place the stake according to its manufacturer’s instructions. In soft snow, many stakes hold better when buried horizontally rather than pushed upright.
- Cut a narrow groove for the line so it exits toward the tent without pulling the anchor upward.
- Cover the stake with snow and pack the snow firmly.
- Allow the anchor to set before applying full tension.
Method 2: Build a T-Slot Deadman Anchor
- Dig a horizontal trench across the direction of pull.
- Cut a narrower line groove from the middle of the trench toward the tent, forming a T shape.
- Tie the guyline around a snow stake, purpose-built anchor, or strong stuff sack filled with snow.
- Lay the anchor horizontally in the main trench.
- Run the line through the narrow groove, bury the anchor, and compact the snow firmly.
- Leave a retrieval cord visible so you do not have to excavate the entire anchor in the morning.
Method 3: Use an Emergency Anchor
A sturdy compression sack filled with snow can make an effective buried anchor. Skis, trekking poles, or an ice axe may also work in an emergency, but do not bury essential travel or avalanche-rescue equipment if losing access to it would create another hazard. Protect sharp picks, adzes, crampons, and ski edges so they cannot cut the tent, fly, or guylines.
If one anchor continues to move, place a second anchor farther back and connect the two in series. This is a clearer and more dependable version of the original “piggyback” arrangement. Do not assume that adding more weak stakes close together will equal one properly buried anchor.
Note: Frozen anchors can be difficult to remove. Dig around them with a shovel instead of yanking hard on the tent loop or guyline. Pouring drinking water over an anchor can refreeze and make removal harder.
Managing Wind and Snow Conditions
A properly pitched tent still needs attention as the weather changes. Recheck corner tension, pole shape, fly clearance, vents, doors, and every windward anchor before sleeping.
Build a Safe Snow Wall
A low wall of compact snow blocks can reduce direct wind, but it should not touch the tent or block a vent, door, or guyline. Place it on the windward side with enough separation that drifting snow will not pile directly against the shelter. Keep the leeward exit clear.
A shallow tent platform or vestibule trench can also reduce wind exposure and create useful sitting or storage space. Do not excavate so deeply that the tent becomes buried, airflow is restricted, or a hidden pit remains after you leave.
Prevent Dangerous Snow Loading
Wet or wind-packed snow can place heavy pressure on poles and fabric. Check the shelter during sustained snowfall and remove accumulation before the roof or walls deform. Use a gloved hand or a soft brush where possible. A metal shovel can puncture the fabric.
Do not strike the tent forcefully from inside. Hard blows can damage cold poles, tear fabric, or send an uneven load onto another part of the frame. Follow the tent manufacturer’s snow-removal and weather-limit instructions.
Keep Vents and Doors Clear
Spindrift can fill vestibules, cover lower vents, and seal fabric close to the ground. Inspect the ventilation openings throughout the evening and after any major change in wind direction. The National Park Service winter-shelter guidance notes that campers may need to go outside during snowy or windy weather to clear tent and shelter vents.
Warning: Never seal the tent to make it feel warmer. Keep designed vents open and maintain a usable exit. Leave immediately if poles bend, anchors fail repeatedly, drifting snow blocks the shelter, visibility collapses, avalanche conditions worsen, or the tent is no longer suitable for the weather.
Staying Warm and Managing Condensation
A tent mainly blocks wind and precipitation; it does not replace an insulated sleep system. Use a sleeping bag with a comfort rating suitable for the expected overnight low, allowing extra margin for personal cold sensitivity. Pair it with a well-insulated sleeping pad or a combination of pads that protects you from the snow beneath the tent.
Change out of damp layers before bed. Keep the sleeping bag dry, loosen tight footwear, eat an adequate meal, and store dry nighttime clothing where it can be reached without opening the tent for long. A securely closed bottle filled with hot water can add warmth inside the sleeping bag, but check the cap carefully because spilled water can create a serious cold-weather problem.
Ventilation reduces condensation produced by breathing and damp equipment. Open opposing vents when the design allows, avoid pressing the sleeping bag against the tent wall, and keep snow-covered or dripping gear in the vestibule without blocking the exit. Wipe heavy frost or moisture from the interior before it falls onto the sleeping system.
Carbon-Monoxide and Fire Safety
Never use charcoal, a grill, a portable camping stove, or a fuel-burning lantern to heat a standard tent. Carbon monoxide has no color or odor and can accumulate in enclosed or partly enclosed spaces. Follow the CDC carbon-monoxide precautions, and cook outside the sleeping tent in a stable, well-ventilated area permitted by the land manager.
Specialized hot-tent systems are a separate form of camping. They require a shelter and stove designed to work together, a proper stove jack, manufacturer-specified clearances, ventilation, spark control, and experienced supervision. Do not improvise a hot tent from an ordinary backpacking shelter.
Post-Setup and Overnight Checks
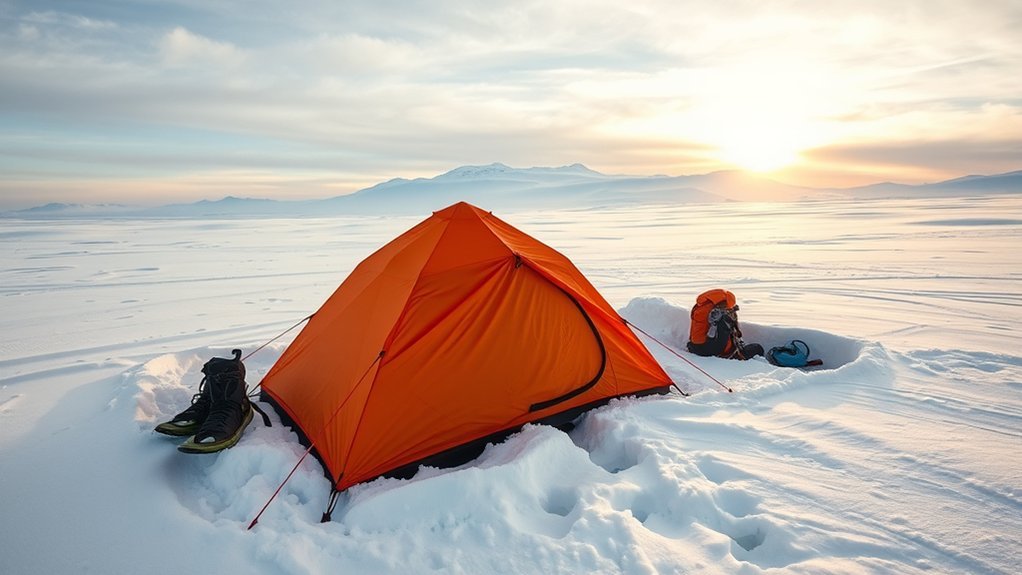
Before settling in for the night, complete a full check of the shelter and surrounding camp:
- Confirm that every pole section is seated and every rainfly attachment is connected.
- Check that windward anchors are firm and guylines are evenly tensioned.
- Keep the shovel, boots, headlamp, gloves, and emergency clothing within reach.
- Store skis and snowshoes upright or in a visible location so new snow does not bury them.
- Secure lightweight bags, bottles, clothing, and repair parts against the wind.
- Keep sharp equipment away from the tent fabric.
- Clear vents, vestibules, and at least one exit.
- Watch for changing wind direction, drifting snow, falling branches, and increasing snow load.
- Know the route back to safety and keep navigation tools protected from cold and moisture.
Set reasonable check intervals when snow or wind is continuing. Do not wait for a pole to collapse before clearing the shelter. If the campsite becomes unsafe, put on essential clothing, gather survival and navigation equipment, and move or retreat while a safe route is still available.
Winter Tent Troubleshooting
| Problem | Likely Cause | What to Do |
|---|---|---|
| Anchor pulls out | Loose snow, shallow burial, or an upward line angle | Rebuild it as a deeper horizontal deadman, compact the snow, and cut a clean line groove toward the tent. |
| Rainfly touches the inner tent | Uneven tension, sagging fabric, snow loading, or a shifted anchor | Remove snow, reset the affected anchor, and retension opposing points gradually. |
| Heavy condensation or frost | Covered vents, damp equipment, or inadequate airflow | Clear every vent, increase cross-ventilation, move wet gear to the vestibule, and wipe moisture away. |
| Snow drifts against the door | Changing wind or a poorly placed wind wall | Clear the exit immediately, reopen vents, and reshape or relocate the wall if it is directing snow at the tent. |
| Pole bends or roof sags | Excess snow load, poor orientation, loose guylines, or weather beyond the tent’s rating | Remove snow carefully and restore tension. Retreat if deformation continues or the forecast exceeds the shelter’s capability. |
| Anchor freezes solid | Melt-and-refreeze cycles or heavily compacted snow | Dig around the anchor carefully. Do not pull on the tent attachment until the anchor is free. |
Breaking Camp Without Leaving a Hazard
Pack sleeping gear and loose items before releasing the main anchors. In wind, leave at least one windward corner secured until the tent body and fly are under control.
- Remove snow from the fly and allow excess frost to shake off away from dry equipment.
- Pack the tent body, fly, and poles before digging out the final anchor.
- Retrieve every stake, cord, stuff sack, and buried object.
- Fill vestibule trenches and anchor holes.
- Break down snow walls and restore the surface so pits and hard blocks do not endanger skiers, snowshoers, or wildlife.
- Inspect the entire site for food scraps, waste, fuel bottles, repair materials, and small equipment.
- Pack out all trash and follow the land manager’s current human-waste rules.
Frequently Asked Questions
What type of tent is best for snowy conditions?
Use a tent designed for the expected wind, snowfall, elevation, and exposure. A strong three-season tent may be adequate below tree line during a calm forecast with little snow accumulation. A four-season tent is the safer choice for heavy snow, strong wind, exposed terrain, or prolonged winter storms because it normally has a stronger pole structure, less mesh, and better snow protection.
How do I keep warm inside the tent?
Use a sleeping bag rated for the expected low temperature, one or more well-insulated sleeping pads, dry base layers, warm socks, a hat, and adequate food and hydration. A securely sealed hot-water bottle can provide extra warmth. Do not use an ordinary stove, charcoal grill, lantern, or fuel-burning heater to warm a standard tent.
Can I use a regular sleeping bag in snow?
Only when its tested comfort rating and condition are appropriate for the expected overnight temperature. The sleeping pad matters just as much because compressed insulation beneath your body provides little protection from the snow. Add a safety margin for wind, fatigue, dampness, elevation, and personal cold sensitivity.
How do I manage condensation inside the tent?
Keep the tent’s designed vents open, clear snow from lower ventilation points, avoid bringing wet clothing into the sleeping area, and keep the sleeping bag away from the walls. Wipe away heavy moisture or frost before it falls onto your bedding. Never seal the tent in an attempt to retain heat.
What should I pack for a winter camping trip?
Bring a weather-appropriate tent, cold-rated sleeping bag, insulated pads, shovel, snowshoes or skis, snow anchors, extra guylines, repair parts, layered clothing, waterproof shell, spare gloves, headlamp and batteries, navigation tools, emergency communication equipment, first-aid supplies, stove and fuel for outdoor cooking, insulated water storage, and enough food for delays.
Do I need avalanche rescue equipment?
Anyone entering avalanche terrain should have appropriate training and carry a transceiver, probe, and shovel, with every group member able to use them. Rescue equipment does not make unsafe terrain safe. The best protection is avoiding exposure through informed planning, current forecasts, and conservative decisions.
What should I do if heavy snow starts falling overnight?
Check the roof, poles, anchors, vents, and exits before the load becomes severe. Remove snow gently and retension the shelter as needed. Put on essential clothing before conditions worsen. Leave the site when the tent deforms, anchors repeatedly fail, vents cannot be kept clear, avalanche danger increases, or a safe retreat may soon become difficult.
Conclusion
A secure winter tent begins with conservative site selection, not stronger stakes. Stay outside avalanche paths and runout zones, build a wide and firm platform, orient the shelter for its specific design, and anchor every important point in compacted snow. Keep ventilation and an exit clear, monitor snow loading, and rely on a suitable sleeping bag and insulated pads for warmth. When the weather exceeds your shelter, experience, or escape plan, breaking camp is the correct decision.
Sources
- Avalanche.org — Identify Avalanche Terrain — slope angles, connected terrain, and terrain traps.
- National Weather Service — Winter Weather Safety — forecasts, warnings, cold, wind, and winter-storm preparation.
- National Park Service — Winter Backcountry Safety — avalanche preparation, rescue equipment, hypothermia, and trip planning.
- National Park Service — Mount Rainier Winter Safety — shelter ventilation and clearing vents during snowy weather.
- Centers for Disease Control and Prevention — Carbon Monoxide Safety — combustion hazards in enclosed and partly enclosed spaces.
- Leave No Trace — Winter Recreation — durable snow surfaces, water-source setbacks, campsite restoration, and waste practices.

