
Last Updated on July 29, 2026 by Mason Reed
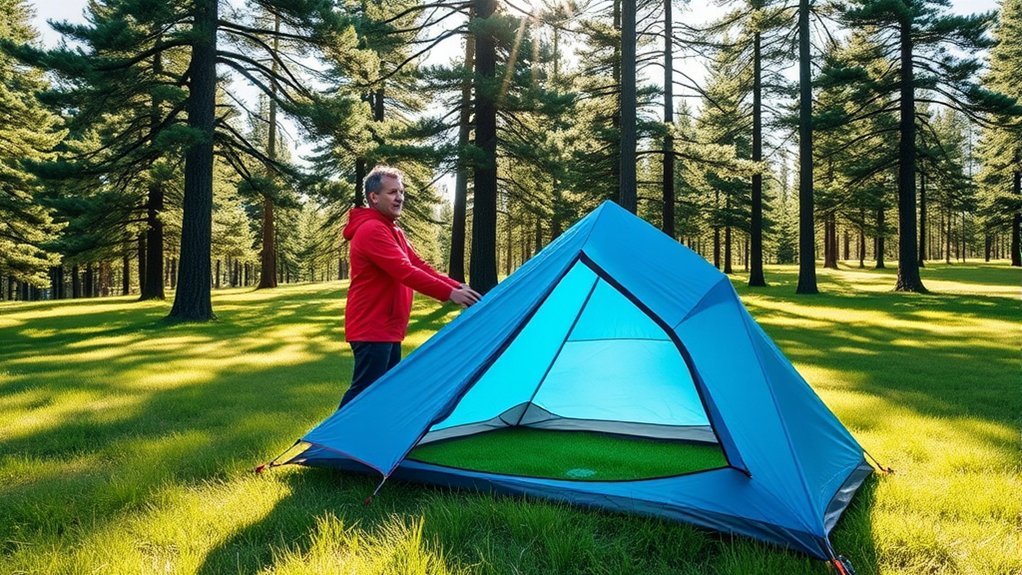
Pitching a trekking pole tent requires a little more precision than setting up a freestanding tent because the stakes, guylines, and trekking poles form the shelter’s structure. The key is to follow your model’s instructions, create the correct footprint shape, set the poles at the specified height and orientation, and add tension in small, even adjustments.
Quick Answer
To pitch a trekking pole tent, follow your model’s manual, stake the footprint into its exact shape, set each pole to the specified height and orientation, and tension the shelter in small passes. Add door and storm guylines only after the basic pitch is even. Recheck stakes, zippers, ventilation, and drainage before settling in.
Key Takeaways
- Your tent’s manual overrides any generic pitching sequence because footprint shapes, pole heights, and peak connections vary.
- Choose durable, well-drained ground away from flood channels, exposed ridges, cliffs, and damaged trees.
- Build the correct base shape before inserting or fully extending the trekking poles.
- Aim for a smooth, taut canopy—not a drum-tight pitch that strains seams, zippers, or pole pockets.
- Correct the basic pitch before adding optional guylines or extra storm stakes.
At a Glance
| Time Required | About 5–15 minutes for early attempts; often faster with practice |
| Difficulty | Easy to moderate, depending on the tent and ground |
| Tools Needed | Tent, compatible trekking poles, required stakes, guylines, and an optional groundsheet or stake hammer |
| Cost | Usually $0 when the required parts are included; extra stakes or platform anchors may cost more |
Disclosure: As an Amazon Associate I earn from qualifying purchases. Some links on this page are affiliate links, at no extra cost to you.
Before You Start: Check the Tent Instructions
There is no single setup sequence that works for every trekking pole tent. Some models use a four-stake rectangle, while others use a hexagonal footprint, a single center pole, two offset poles, or separate end supports.
Before leaving home, check the manufacturer’s instructions for:
- The minimum and recommended number of stakes
- The required number of trekking poles
- The correct pole length or height range
- Whether the pole tip or handle goes into the peak
- Whether baskets must be removed
- The order in which corners, poles, doors, and guylines are installed
- Whether the shelter needs seam sealing before its first trip
For example, the current Durston X-Mid pitching guide begins with a rectangular four-corner base and uses different pole orientations for Pro and non-Pro models. The Zpacks Plexamid instructions specify a single pole near 48 inches, with the handle placed in the peak pocket.
Note: Treat the steps below as a general workflow. Your tent’s current manual controls the exact stake order, pole setting, and guyline arrangement.
Choosing the Right Campsite
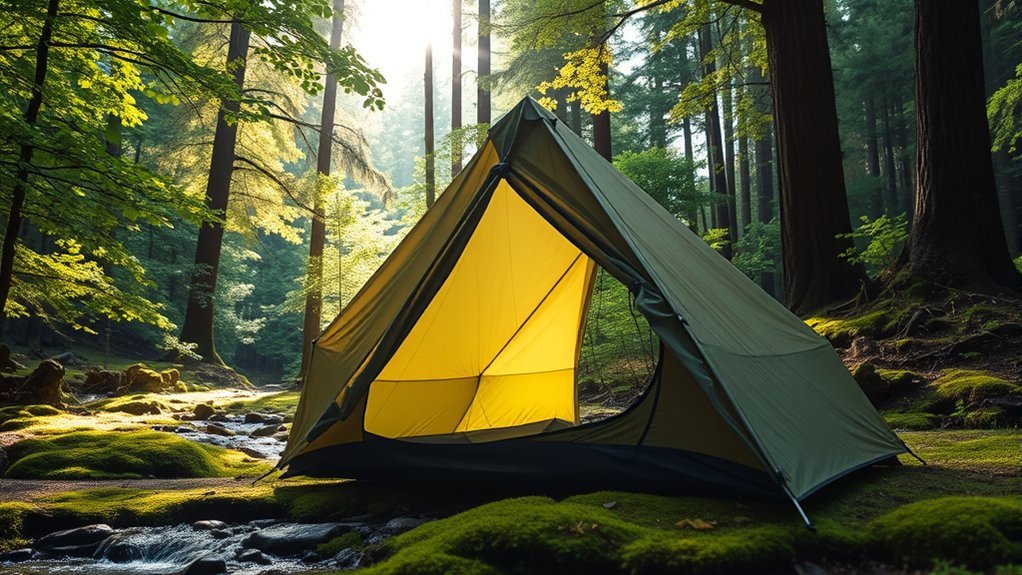
Start with a legal campsite on durable, well-drained ground. In a developed campground, keep the tent inside the designated pad or site boundary. In the backcountry, use an established site when one is available and follow the rules of the park, forest, wilderness area, or private landowner.
Inspect the ground for sharp rocks, roots, thorny plants, holes, animal burrows, and low spots where rainwater could collect. A slight rise or gentle slope is usually better than a basin, dry wash, ravine, or obvious drainage channel.
Look up as well as down. The National Park Service campsite guidance advises campers to consider flash flooding, lightning, wind, and dead trees or branches. Do not camp beneath cracked, hanging, or dead limbs, and avoid placing the tent within the likely fall path of a damaged or leaning tree.
When dispersed camping in the backcountry, Leave No Trace recommends camping about 200 feet, or 70 to 80 adult steps, from the water’s edge. This leaves access for wildlife and helps protect shorelines. Local regulations and designated-site requirements always take priority.
Warning: Do not rely on a tent as protection from falling trees, flash flooding, or a dangerous thunderstorm. Move to safer terrain when site or weather conditions make the location unsafe.
Preparing the Tent for Setup
Choose the Tent Orientation
Decide which direction the tent should face before placing the first stake. When the manufacturer identifies a stronger or lower end, point that side toward the expected wind. Avoid aiming a large door or broad unsupported panel directly into strong wind unless your manual instructs otherwise.
Position the sleeping area so your head is slightly uphill. Keep doors away from runoff paths, brush, cooking areas, and places where people may trip over guylines at night.
Gather the Necessary Equipment
Remove all parts from the stuff sack and place them where they cannot blow away. A basic setup may include:
- The tent body, rainfly, or single-wall shelter
- One or two adjustable trekking poles
- The model’s minimum number of stakes
- Attached or separate guylines
- An optional footprint cut to fit beneath the tent floor
- Extra stakes suitable for loose soil or storm guylines
- A small stake hammer or a durable object approved for driving stakes
Count the stakes before pitching so you know how many must be collected during teardown. Loosen adjustable corner lines enough to permit later tensioning, and arrange any attached guylines so they are not tangled.
Check the Tent and Ground
Spread the shelter loosely on the ground and inspect it for damaged webbing, torn fabric, stuck zippers, missing lines, or clogged line tensioners. Remove sticks, cones, sharp stones, and other debris that could puncture the floor.
Close the main zippers if the manual calls for the doors to be zipped during setup. This helps prevent the finished pitch from placing too much tension across the zipper. Some models use a different door position, so follow the manufacturer’s sequence.
Staking the Tent Corners
The exact starting corners depend on the shelter. A rectangular tent may begin with one end and a third corner placed at a right angle. A single-pole shelter may require four perimeter corners before the main pole is installed. Other tents begin with two corners at the foot or rear.
Identify Safe Staking Spots
Place each stake in firm ground where it can resist the direction of pull. Move the stake slightly when a root, large rock, or hidden void prevents full insertion. A partially buried stake that can twist or lift easily is not a secure anchor.
Match the anchor to the surface:
- Firm soil: Use the standard stakes supplied or recommended for the tent.
- Soft soil: Use longer stakes or wider stakes with more holding area.
- Sand or snow: Use broad stakes, buried anchors, or filled bags designed as deadman anchors.
- Rocky ground: Use cord around stable rocks where regulations permit, while protecting the line from sharp edges.
- Wooden platforms: Use removable platform anchors, fishbone stakes, or cord around approved attachment points. Do not drive nails or screws into public structures.
For common hook-style tent stakes in firm soil, Big Agnes recommends angling the stake so its lower end points toward the tent and the guyline meets it at approximately a right angle. Other stake designs may perform better with a different orientation, so use the stake maker’s guidance when available.
Adjust Tension Gradually
At first, pull each corner only tight enough to define the tent’s shape. Do not fully tighten the first line while every other line remains loose. Working around the shelter in small passes keeps one corner from pulling the entire footprint out of alignment.
| Action | Purpose |
|---|---|
| Set the model’s first anchor points | Establishes the intended orientation |
| Leave adjustment range in each line | Allows the base to be squared or reshaped later |
| Tension opposite points in small passes | Keeps the canopy centered and balanced |
Maintain the Correct Base Shape
Use floor edges, reinforced seams, and ridgelines as visual references. On a rectangular shelter, check that the corners form a rectangle rather than a diamond. On a pyramid or hexagonal shelter, compare opposing sides and make sure the peak will sit over its intended position.
Correct the footprint before adding the poles. Once the poles load the fabric, moving a badly placed corner becomes harder and may place unnecessary stress on the shelter.
Set the Trekking Poles and Create Tension
Adjust each trekking pole to the height specified by the tent maker. Remove or reposition baskets only when the instructions require it. Confirm whether the handle or tip belongs at the peak before applying pressure.
- Seat the pole carefully. Place the pole in its reinforced cup, pocket, grommet, or connector. Never press an exposed tip against unreinforced fabric.
- Raise the shelter gradually. Extend the pole until the canopy begins to hold its designed shape.
- Check the base again. If the stakes have pulled inward or the footprint has become skewed, lower the pole slightly before repositioning the anchors.
- Adjust opposite sides. Tighten one line a small amount, then make a similar adjustment on the opposite side.
- Set the doors and vestibules. Stake them far enough out to drain rain and provide entry space without making the zipper difficult to operate.
Some single-pole and A-frame tents use a strong triangle of tension between the peak and lower anchors. Other designs use a rectangle or several opposing panels. Follow the seams and reinforced load points instead of forcing every shelter into the same triangle.
A correct base shape is more valuable than a collection of extra stakes added to compensate for a crooked pitch.
Pro Tip: Mark your usual pole length with a small removable tape band or record the setting in your phone. This speeds up future pitches without replacing the manufacturer’s instructions.
Add Door and Storm Guy Lines
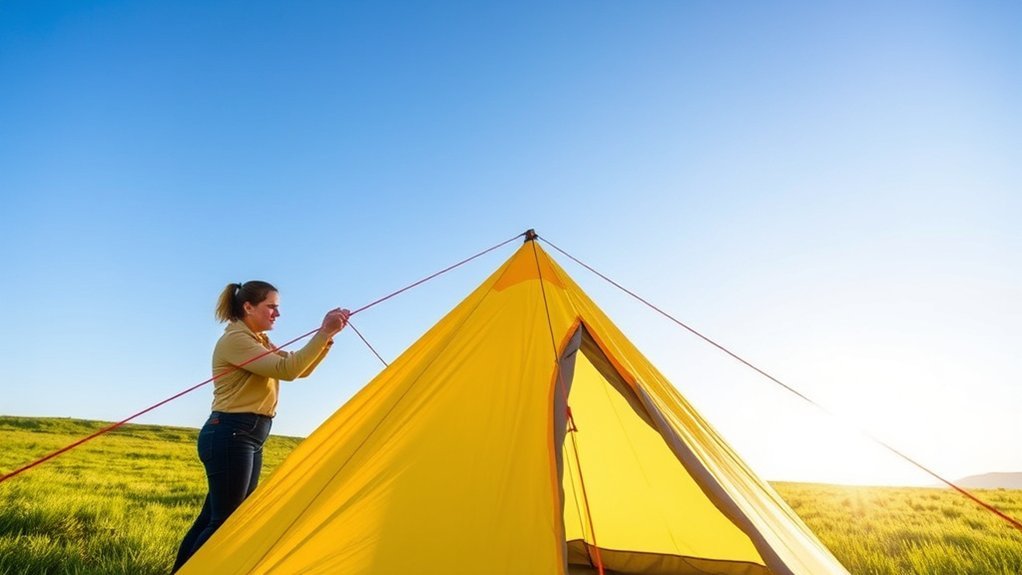
Once the basic pitch is smooth and stable, attach or stake any required door, peak, end-wall, or side-panel guylines. Optional guylines are most useful when wind, exposed terrain, snow loading, or a broad unsupported panel calls for extra support.
Pull each guyline in the direction that supports the connected seam, pole, or panel. A peak line often extends along the ridgeline or toward the direction of the expected wind. A side-panel line usually follows the slope of the panel so it supports the peak instead of simply stretching the wall outward.
Do not assume that every guyline should leave the tent at 45 degrees. Guyline direction is determined by the shelter’s load path. Separately, the stake may need to be angled or positioned according to its design and the soil.
An extra stake at the rear or center of an end wall can reduce panel movement in wind when the tent includes a reinforced tie-out there. It does not directly prevent condensation. To reduce condensation, open the shelter’s vents, maintain a safe gap at a downwind door when conditions permit, avoid pressing sleeping gear against wet walls, and choose a site with better airflow when possible.
Storm Pitch Sequence
When worsening weather is expected, strengthen the shelter in this order unless the manual gives a different sequence:
- Correct the base shape and basic canopy tension.
- Confirm that every required stake is fully secure.
- Add peak or ridgeline guylines.
- Secure door and vestibule anchors without overloading the zippers.
- Add side-panel and end-wall guylines.
- Add extra perimeter stakes where reinforced attachment points are provided.
- Recheck every anchor after the shelter has been exposed to wind or rain.
Avoid placing heavy loose rocks on thin guylines or fabric. When rocks are used as anchors, choose stable stones, protect the cord from sharp edges, and position them where they will not roll toward the sleeping area.
Troubleshooting Common Pitch Problems
| Problem | Likely Cause and Fix |
|---|---|
| Loose sides | The base may have been loose before the poles were installed. Lower the poles, tighten or reshape the footprint, and raise the poles again. |
| Crooked ridgeline or uneven canopy | One or more corners are misplaced. Adjust opposing corners until the intended footprint shape and seams are aligned. |
| Door zipper is hard to close | The door line may be too tight, the pole may be too tall, or the base may be uneven. Reduce tension before forcing the zipper. |
| Pole slips at the ground | Confirm the pole orientation and peak connection. On smooth ground, use an approved pole base, a shallow natural depression, or another non-damaging method recommended by the manufacturer. |
| Stake keeps pulling out | Use a longer or wider stake, select firmer ground, change the insertion angle when appropriate, or use a suitable buried or rock anchor. |
| Fabric sags overnight | Cooling, moisture, or ground movement may have reduced tension. Retighten the line adjusters in small, balanced passes. |
| Moisture forms inside | Increase ventilation when weather permits, keep wet equipment outside the sleeping area, and avoid low, humid sites. Condensation does not automatically mean the tent is leaking. |
| Water collects beneath the floor | The site may be too low or a groundsheet may extend beyond the floor. Relocate when necessary and tuck any footprint fully beneath the tent. |
Tips for a Successful Pitch
Complete a final walk around the tent before moving your gear inside. Look for twisted seams, loose anchors, lines rubbing against sharp objects, and doors that cannot open or close smoothly.
| Step | Purpose |
|---|---|
| Confirm the model’s sequence | Prevents geometry, pole-height, and peak-orientation errors |
| Create the correct base | Establishes the shelter’s structural foundation |
| Install poles carefully | Protects the fabric and raises the canopy evenly |
| Tension in small passes | Reduces strain on corners, seams, and zippers |
| Add storm anchors last | Reinforces a correct pitch instead of hiding a poor one |
Keep the canopy taut enough to shed rain and resist movement, but do not force the fabric into an extremely tight shape. Excess tension can make a door difficult to operate and place unnecessary load on seams, tie-outs, and pole pockets.
Recheck the pitch after the first strong wind, after rain begins, and before going to sleep. Soil can soften, stakes can rotate, and some woven fabrics can relax as temperature and moisture change.
Practice Makes Perfect
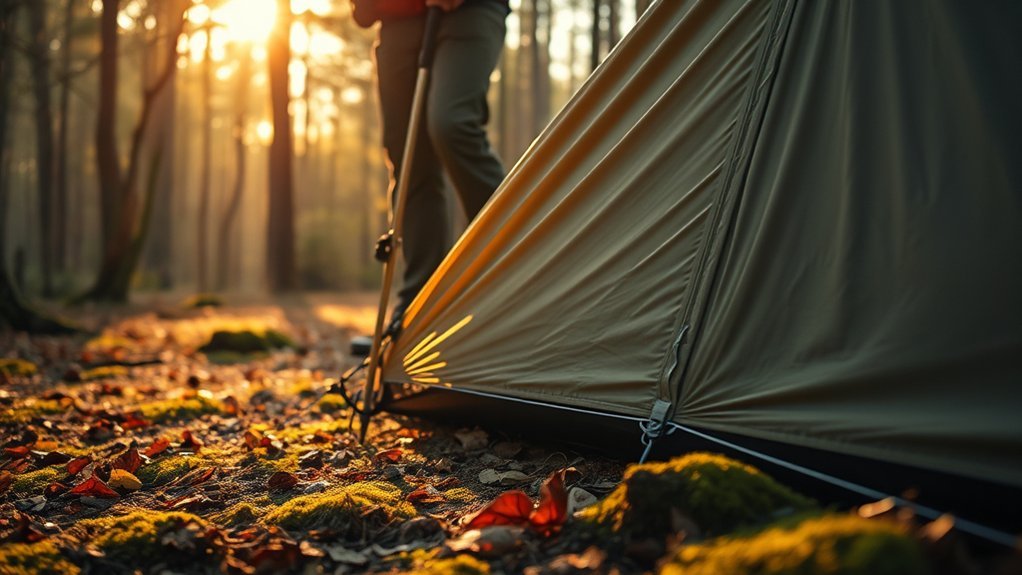
Practice pitching the tent in a backyard, local campground, or another permitted area before depending on it in the backcountry. A practice session helps you learn the stake order, recognize the correct canopy shape, and identify missing or damaged parts.
- Pitch the tent once while reading the manual step by step.
- Repeat the process without looking at the instructions, then check your work.
- Record the correct trekking pole lengths.
- Practice loosening and tightening every line adjuster.
- Test the door zippers before and after final tensioning.
- Learn which optional tie-outs are intended for wind or extra interior space.
- Count the stakes during setup and teardown.
- Carry the instructions digitally or on paper until the process is familiar.
Practice in ordinary conditions rather than waiting for a dangerous storm. The goal is to build a repeatable process that still works when you arrive tired, in fading light, or during light rain.
Cleaning, Drying, and Storage
Shake out loose dirt and allow the tent to dry fully after each trip. Do not store it wet or tightly packed for long periods. Moisture can cause mildew, odors, and premature deterioration of some waterproof coatings.
When deeper cleaning is necessary, follow the care instructions for your fabric. MSR recommends hand washing a heavily soiled tent with warm water, a sponge, and mild non-detergent soap, followed by thorough rinsing and air drying. Avoid bleach, ordinary laundry detergent, machine washing, machine drying, and dry cleaning unless the tent maker specifically allows them.
Inspect peak cups, grommets, line tensioners, guylines, seams, and trekking pole tips before the next trip. Replace damaged cord or stakes and use the correct repair materials for the tent fabric.
Note: A temporary wet pack during a hike may be unavoidable. Open and dry the shelter as soon as conditions allow, and never place it into long-term storage while damp.
Frequently Asked Questions
What materials are best for trekking pole tent construction?
There is no single best material. Silnylon is light and durable but can stretch when wet. Silpoly generally absorbs less water and sags less. Dyneema Composite Fabric is very light and does not absorb water, but it costs more and requires different packing and repair care. Compare the full shelter design, seams, reinforcements, ventilation, weight, and price—not only the fabric name.
How do I clean and maintain my trekking pole tent?
Brush or rinse away loose dirt, spot-clean when needed, and use only a cleaner approved for the fabric. For many coated tents, mild non-detergent soap and hand washing are safer than laundry detergent or a washing machine. Rinse the shelter well, air-dry it completely, and store it in a cool, dry place.
Can I use any poles for my trekking pole tent?
No. The pole must reach the height required by the tent and fit its peak connection safely. Check whether the model requires the tip or handle at the peak, whether baskets must be removed, and whether a dedicated pole or pole jack is needed. A pole that is too short, too tall, or poorly seated can create a weak pitch or damage the fabric.
Should the trekking pole tip point up or down?
It depends on the tent. Some shelters place the handle in a reinforced peak pocket, while others place the tip in a metal grommet or dedicated connector. Never guess or press an exposed tip into ordinary fabric. Check the current instructions for your exact model.
What weather conditions are unsuitable for pitching my tent?
Avoid pitching beneath damaged trees, in flash-flood channels, on exposed ridges during thunderstorms, or in wind beyond the shelter’s intended use. Heavy rain alone does not automatically make pitching unsafe, but choose safe terrain and set up before severe weather arrives when possible. Leave the site when changing conditions create a serious hazard.
Is it safe to pitch a tent near water sources?
Use designated campsites when they are provided. During dispersed backcountry camping, about 200 feet from water is a common Leave No Trace guideline unless local rules require another distance. Avoid dry washes, floodplains, tide zones, eroding banks, and any place that could be reached by rising water.
What should I do if the stakes will not hold?
Move the anchor to firmer ground or use a stake made for the surface. Longer or wider stakes work better in soft soil, while sand and snow may require buried deadman anchors. On rocky ground or platforms, use approved cord, rock, or platform-anchor methods without damaging vegetation or structures.
How tight should a trekking pole tent be?
The canopy should be smooth and taut enough to shed rain without large loose panels. It should not be so tight that zippers bind, seams distort, or peak attachments appear strained. Adjust opposite points in small passes and recheck the pitch after wind, rain, or temperature changes.
Conclusion
A reliable trekking pole tent pitch begins with the correct campsite and the instructions for your exact shelter. Form the intended footprint, use the specified pole height and orientation, and adjust tension evenly before adding storm guylines.
With practice, you will learn what a correct canopy looks like and how the tent responds to different surfaces and weather. Recheck the anchors after conditions change, maintain ventilation, and dry the shelter fully after each trip. These habits improve stability, comfort, and the working life of the tent without relying on excessive tension or unnecessary stakes.
Sources
- National Park Service: Finding and Setting Up a Campsite — campsite hazards, flooding, wind, lightning, and overhead branches
- Leave No Trace: Travel and Camp on Durable Surfaces — durable campsites and the 200-foot backcountry guideline
- Durston Gear: X-Mid Pitching Guide — rectangular base setup, pole orientation, troubleshooting, and storm reinforcement
- Zpacks: Plexamid Instructions — model-specific pole height, peak orientation, stakes, and line adjustment
- Big Agnes: Tent Setup and Staking Tips — stake placement, guylines, ventilation, and teardown
- MSR/Cascade Designs: Keeping a Tent Clean and Dry — safe cleaning, drying, and storage guidance
