
Last Updated on July 29, 2026 by Mason Reed
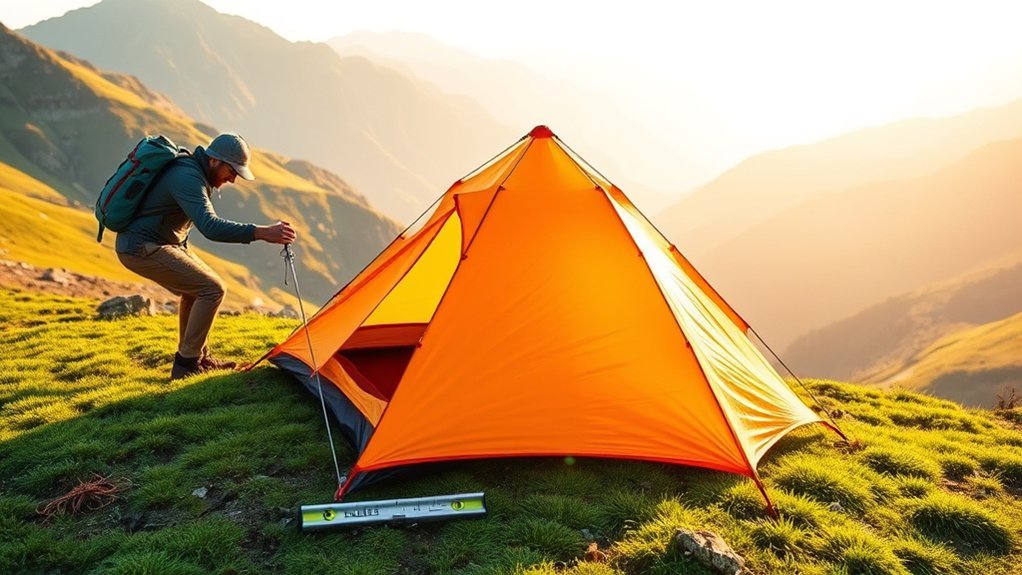
Pitching a tent on a slope should be a last resort, not a reason to reshape the campsite. Start by finding the flattest established or naturally durable area available. Check for runoff, falling branches, unstable soil, and other hazards before unpacking. On a mild incline, arrange your sleeping position with your head uphill, secure the tent correctly, and use soft gear inside the tent—not beneath its corners—to fine-tune comfort.
Quick Answer
To pitch a tent on a mild slope, choose the flattest safe ground, position your sleeping area with your head uphill, stake every corner, and add guylines when wind is possible. Do not build a platform, cut vegetation, prop up the tent with packs, or dig drainage trenches. Move if the site requires major leveling.
Key Takeaways
- Use an established tent pad or naturally durable surface whenever possible.
- Sleep with your head uphill rather than positioning your body across the slope.
- Do not cut vegetation, move large rocks, build retaining walls, or dig trenches to level the site.
- Stake the tent fully, tension the rainfly evenly, and use the correct guyout points for wind stability.
- Relocate before dark if water, unstable soil, falling branches, lightning exposure, or excessive sliding makes the site unsafe.
At a Glance
| Time Required | 15–30 minutes, including the site-safety check |
| Difficulty | Moderate; relocate if major leveling would be necessary |
| Tools Needed | Tent, footprint if recommended, suitable stakes, guylines, sleeping pad, headlamp, and optional non-slip mat |
| Cost | $0 with existing camping gear |
Disclosure: As an Amazon Associate I earn from qualifying purchases. Some links on this page are affiliate links, at no extra cost to you.
Assessing the Slope: Finding the Right Spot
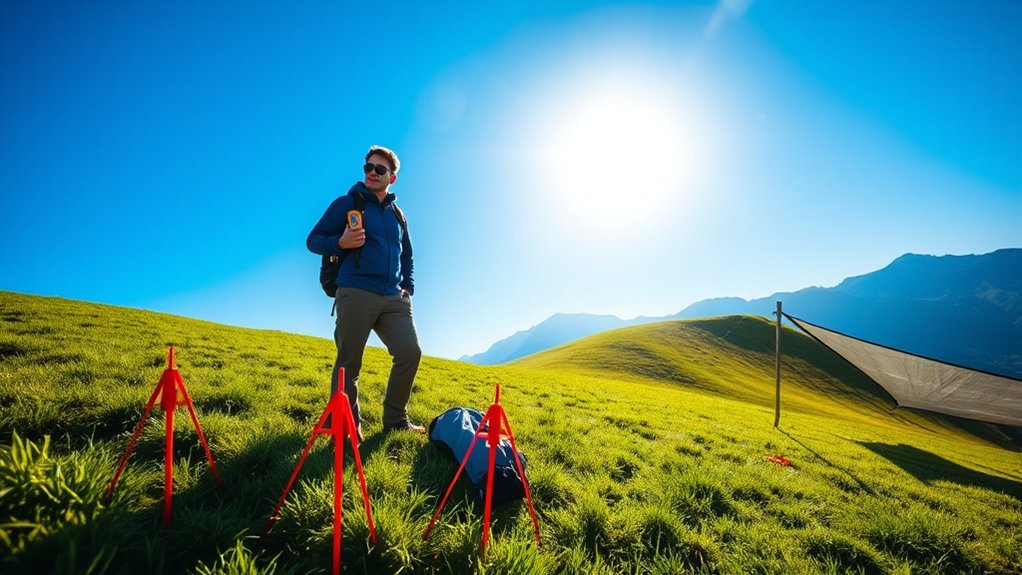
Before pitching, walk through the entire site in daylight. The National Park Service recommends level ground that is not in a low area, along with a check for hazards such as flash flooding, wind, lightning, dead branches, and falling trees.
Use an established tent pad when one is provided. In the backcountry, follow the land manager’s rules and choose a durable surface such as compacted soil, gravel, sand, rock, dry grass, or snow rather than living vegetation. Regulations vary, so check campsite boundaries, water-distance rules, fire restrictions, food-storage requirements, and designated-site requirements before the trip.
Perform a Safety Scan
- Look up: Do not camp beneath dead limbs, leaning trees, damaged trunks, or loose rock.
- Look uphill: Avoid rockfall paths, eroding banks, avalanche terrain, and slopes where loose material could move toward the tent.
- Look downhill: Stay away from cliff edges, steep drop-offs, and places where a sliding person could be injured.
- Read the ground: Avoid gullies, dry streambeds, depressions, dark water marks, washed debris, saturated soil, and channels that may carry runoff.
- Check exposure: Avoid ridge tops, isolated high points, open fields during thunderstorm risk, and areas exposed to severe wind.
- Check local conditions: Watch for animal trails, insect nests, poison ivy, thorny plants, and site-specific hazards.
Warning: Do not use a tent as lightning shelter. The National Weather Service states that a tent offers no lightning protection. When thunder is heard, move to a substantial building or a hard-topped enclosed vehicle when one is accessible.
Test the Sleeping Area Before Unpacking
Place your groundsheet or sleeping pad on the proposed footprint and lie down with your head uphill. Test more than one direction. If you immediately slide, roll sideways, or feel pressure from a hump beneath your hips or shoulders, keep looking for a better spot.
A small, smooth incline may be manageable. A site that requires a constructed platform, a retaining wall, a trench, or several inches of artificial lift is not an appropriate tent site.
A good sloped campsite is found, not built. If the ground needs major modification, choose another location.
Optimal Tent Orientation for Stability
On a mild incline, arrange the sleeping area so your head is uphill and your feet are downhill. This helps prevent blood and body weight from settling toward your head and is usually more comfortable than sleeping across the slope, where you may roll sideways into a tent wall or another camper.
For many rectangular tents, a head-uphill sleeping position places the tent’s long axis roughly up and down the slope. However, sleeping orientation is only one part of the setup. Wind direction, door position, pole design, and the manufacturer’s instructions also matter.
Balance Slope, Wind, and Door Direction
- Keep the sleeper’s head on the uphill side.
- Follow the tent manual for which end should face the prevailing wind. The strongest or lowest-profile end commonly faces into the wind.
- When practical, face doors away from wind-driven rain.
- Avoid placing the door where stepping out could cause a fall or send you onto loose ground.
- Leave enough clear space around stakes and guylines to reduce tripping hazards.
Pro Tip: Decide where each person’s head, feet, and sleeping pad will go before driving the first stake. Rotating an unstaked tent is much easier than rebuilding a fully tensioned pitch.
Use Durable Ground Instead of Natural Materials
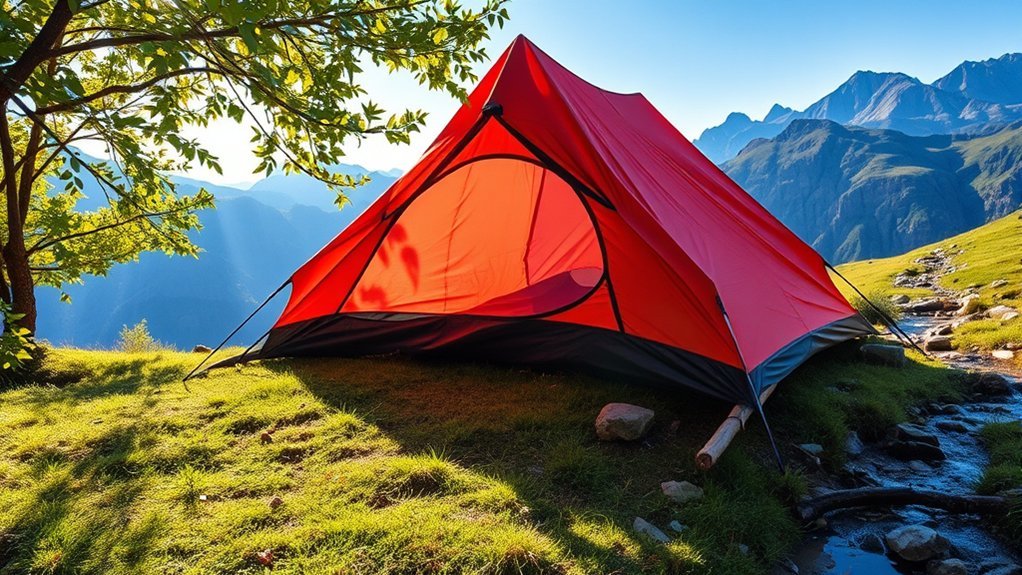
Do not cut pine boughs, pull grass, collect moss, scrape away soil, or pile vegetation beneath the tent. These materials shift when compressed, can trap moisture, may damage the tent floor, and leave a visible impact after you leave.
Leave No Trace guidance recommends camping on established or naturally durable surfaces and minimizing changes to vegetation, organic litter, rocks, and soil. Protected areas may also prohibit campsite construction or the collection of natural objects.
What You May Move—and What to Leave
On an established tent pad, you may remove a small loose stick, sharp stone, or pinecone that could puncture the floor, provided local rules allow it. Do not clear a broad area, uproot plants, roll away embedded rocks, or scrape off the natural ground layer.
In lightly used backcountry areas, minimize disturbance even further. If the only way to make the site usable is to remove vegetation or reconstruct the surface, the correct action is to move.
How to Handle a Small Uneven Spot
Deal with minor discomfort from inside the tent rather than changing the ground beneath it. Fold a fleece, jacket, or empty stuff sack beneath the head end of the sleeping pad. Keep the lift broad and low so it does not create a hard pressure point.
Do not place loose gear beneath tent corners or pole ends. A shifting pack can loosen the pitch, stress the floor, redirect rainwater, or allow the frame to settle unevenly during the night.
Note: Some parks require camping in designated sites and prohibit trenches, rock walls, furniture, or other campsite construction. Always follow the rules for the exact land unit you are visiting.
Using Personal Items for Comfort and Organization
Personal gear can improve sleeping comfort, but it should not serve as an exterior foundation for the tent. Keep heavy packs, boots, and hard equipment in the vestibule, vehicle, or another permitted storage area so they do not press against the tent wall or create concentrated loads beneath the floor.
Inside the tent, soft items can be used in controlled ways:
- Place a folded layer beneath the head end of the sleeping pad for a small height adjustment.
- Use a soft stuff sack filled with spare clothing as a pillow.
- Place an empty pack near the downhill end only if it does not block the door, touch wet tent fabric, or interfere with ventilation.
- Keep loose items in stuff sacks so they do not collect at the downhill wall.
- Never block an exit with heavy equipment.
If gear repeatedly slides to one side or piles against the tent wall, the slope is probably too steep or the sleeping orientation is wrong. Rotate the setup or move to a flatter site instead of adding more props.
Step-by-Step: Pitch a Tent on a Mild Slope
- Check regulations and weather. Confirm that camping is allowed, review the forecast, and identify where you would go during severe weather.
- Inspect the full site. Check overhead branches, runoff paths, ground stability, cliff exposure, vegetation, and wind direction.
- Test the slope. Lie on the proposed footprint with your head uphill. Reject the site if you slide or roll significantly.
- Position the footprint. Use one only when recommended for the tent. Keep every edge beneath the tent floor so it cannot catch rain.
- Lay out and orient the tent. Arrange the sleeping direction head-uphill and account for the manufacturer’s wind-orientation guidance.
- Stake the corners. Pull the floor smooth without overstretching it. Use stakes suited to the soil and fully seat them according to the tent or stake manufacturer’s instructions.
- Install the poles carefully. Confirm that every pole segment is fully seated before bending the frame into place.
- Attach and tension the rainfly. Secure all pole wraps and corner straps, then tension the fly evenly so it does not touch the inner tent.
- Add guylines when needed. Attach them only to proper guyout points, beginning on the windward side and adding balanced support around the tent.
- Set up the sleep system. Place the sleeping pad with the head uphill, then add the sleeping bag and any small interior height adjustment.
- Recheck before dark. Confirm that stakes are firm, doors open freely, guylines are visible, and no water channel leads toward the tent.
Anchoring a Tent on Different Ground
A freestanding tent may hold its shape without stakes, but it still needs to be anchored. Wind can move, roll, or damage an unsecured tent, especially on exposed slopes.
Firm Soil
Use the stakes supplied with the tent when they match the soil. Seat each stake fully and keep the attachment point close to the ground. Do not leave a long section exposed where it can bend or become a trip hazard.
Loose Soil, Sand, or Snow
Use stakes or anchors designed for that surface. Standard narrow stakes may pull free under load. Pack suitable sand anchors, wider stakes, snow stakes, or deadman anchors when the destination requires them, and follow local rules before burying anything.
Rocky Ground
Do not force a stake where it will bend or damage the site. Try another permitted position, use a stake that fits an existing soil pocket, or use a manufacturer-approved alternate anchoring method. Where regulations allow, a guyline may be secured around a stable rock without moving it or constructing a rock wall. Protect the cord from sharp edges.
Windy Conditions
REI’s tent setup guidance recommends attaching guylines at windward guyout points and adding balanced support around the tent for greater stability. Use only reinforced guyout loops, pull each line in the direction intended by the tent design, and avoid over-tensioning one side.
Tips for a Comfortable Night’s Sleep
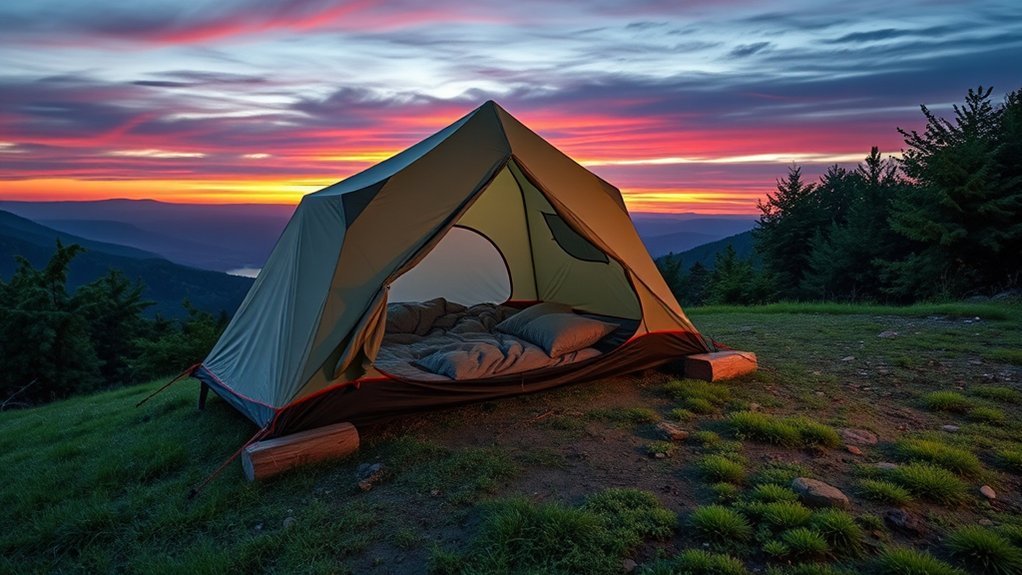
Set the sleeping pad with your head at the uphill end. A properly inflated pad cushions small irregularities and provides the thermal resistance needed between your body and the ground.
To reduce sliding:
- Clean dirt and moisture from the tent floor and sleeping-pad surface.
- Do not overinflate the pad until it becomes rounded and unstable.
- Use a purpose-made non-slip mat or a thin section of grippy shelf liner between the pad and floor, provided it has no sharp edges and will not damage the coating.
- Use sleeping-bag pad straps when supplied by the manufacturer.
- Place a broad, soft clothing layer beneath the head of the pad rather than making a tall, narrow pillow stack.
- Wear dry sleep clothing so damp outer layers do not make the bag or pad more slippery.
If two campers share the tent, leave a small gap between pads or connect compatible pads with manufacturer-provided straps. A person rolling downhill into another sleeper is a sign that the site or orientation needs to change.
Adjusting Your Setup for Changing Conditions
Weather can loosen soil, stretch rainfly fabric, change wind direction, and turn a harmless depression into a runoff channel. Check the setup before bed, after rain begins, and whenever the wind increases.
Monitor Weather Changes
Check the location-specific forecast before leaving home and again when service is available. Make important changes before dark and before severe weather reaches camp.
| Weather Condition | Action Needed |
|---|---|
| Rain Expected | Recheck runoff paths, keep the footprint beneath the floor, close vents only as conditions require, and tension the rainfly evenly. |
| High Winds | Stake every required point, add balanced guylines, remove loose exterior items, and follow the tent’s recommended wind orientation. |
| Temperature Drop | Add appropriate sleep insulation and keep enough ventilation to limit condensation. Do not seal the tent completely. |
| Thunder or Lightning | Leave the tent for a substantial building or hard-topped enclosed vehicle when accessible. A tent is not lightning protection. |
| Runoff or Rising Water | Relocate immediately when it is safe to do so. Do not dig a trench or remain in a drainage channel. |
Assess Terrain Variability
Rain can soften soil around stakes, expose roots and rocks, or create small channels beneath the floor. Wind can loosen dead branches that appeared stable earlier. Freeze-thaw conditions can also shift rocks and harden or soften the ground.
Inspect the uphill side of the tent for moving water, rolling debris, or soil slumping. Check the downhill edge for erosion and stake movement. If the ground begins to shift, the solution is relocation—not heavier props or tighter lines.
Adjust Tent Orientation
Make orientation changes before the tent is fully loaded whenever possible. If the sleeper’s head is downhill, the door opens onto a drop, or the broadest wall is taking direct wind, rotate the tent while conditions are calm.
After rain, recheck rainfly tension because many fly fabrics relax when wet. Tighten each side a little at a time so the frame remains balanced and the fly stays separated from the inner tent.
When Not to Camp on a Slope
Move to another site when any of the following applies:
- The tent floor cannot lie flat without a platform, trench, wall, or major ground alteration.
- You slide noticeably during the lie-down test.
- The ground is saturated, crumbling, undercut, or actively eroding.
- The site lies in a gully, dry creek bed, floodplain, avalanche path, or obvious runoff channel.
- Dead branches, leaning trees, loose rocks, or unstable slopes threaten the sleeping area.
- The tent would be close to a cliff, steep drop, or hazardous water edge.
- Stakes or approved anchors cannot hold securely.
- Severe wind, thunderstorms, flooding, or other dangerous weather is expected.
- Local regulations prohibit camping there.
It is better to walk farther, use a designated site, or change the route than to spend the night in a location that cannot be made safe without altering the landscape.
Troubleshooting Common Slope Problems
The Sleeping Pad Slides Downhill
Dry the pad and tent floor, reduce excess inflation, add a non-slip layer, and confirm that the pad’s head is uphill. If sliding continues, move the tent to a gentler incline.
You Roll Sideways
The sleeping direction is probably cross-slope. Rotate the sleeping pads so heads are uphill. If the tent shape prevents that arrangement, rotate the entire tent or find another site.
Stakes Pull Out
Check whether the stake type suits the soil, seat it fully, reduce uneven line tension, and add the correct windward guylines. Use sand, snow, or loose-soil anchors when appropriate. Do not compensate by tying to fragile vegetation.
The Rainfly Sags
Confirm that all pole wraps and corner attachments are connected. Tighten opposite sides gradually and evenly. Recheck after rain because wet fly fabric may stretch.
Water Moves Toward the Tent
Do not dig a channel around the tent. If water is flowing toward or beneath the sleeping area, move to higher, naturally drained ground before the route becomes unsafe.
Frequently Asked Questions
What Type of Tent Is Best for Sloped Camping?
No tent makes a steep or hazardous slope suitable. Choose a weather-appropriate tent that fits the available footprint and can be fully anchored. A freestanding or semi-freestanding tent may be easier to position before staking, but it must still be secured against wind.
Can I Pitch a Tent on Rocky Terrain?
Yes, when the surface is stable, camping is permitted, and the tent can be anchored without damaging the site. Clear only small loose hazards where allowed. Use existing soil pockets or a manufacturer-approved rocky-ground anchoring method rather than forcing stakes or constructing rock walls.
How Do I Prevent Water From Pooling in My Tent?
Choose slightly elevated, naturally drained ground that is outside gullies and depressions. Keep the footprint completely beneath the tent floor, install the rainfly correctly, and maintain ventilation. Never dig a drainage trench around the tent; relocate if water begins moving toward the site.
Should I Use a Footprint on a Slope?
Use a footprint when the tent manufacturer recommends one or when the permitted surface is abrasive. It protects the floor and keeps it cleaner, but it does not level the tent or replace an insulated sleeping pad. Keep every footprint edge beneath the tent so it cannot collect rain.
How Can I Secure My Tent Against Wind?
Stake all required corners, attach the rainfly correctly, and use reinforced guyout points. Begin with the windward side, then add balanced guylines around the tent. Follow the manufacturer’s orientation and tension instructions, and move if the location is too exposed for the tent’s design.
Should My Head Face Uphill When Sleeping on a Slope?
Yes. Place your head at the uphill end and your feet downhill. This is generally more comfortable than sleeping head-downhill or across the slope. Test the position before staking because even a mild sideways tilt can cause rolling.
Is a Tent Safe During a Thunderstorm?
No. A tent does not provide lightning protection. When thunder is heard, move to a substantial enclosed building or hard-topped enclosed vehicle when one is accessible. Check the forecast before the trip and know where safer shelter is located.
Conclusion
The safest way to pitch a tent on a slope is to keep the setup simple: choose the flattest durable ground available, inspect it for hazards, arrange your head uphill, and anchor the tent according to its design. Do not manufacture a level platform with vegetation, rocks, trenches, or loose gear. If the site cannot support a secure and comfortable pitch without major alteration, move to another location.
Sources
- U.S. National Park Service: Finding and Setting Up a Campsite — campsite hazards, level ground, drainage, and head-uphill orientation.
- Leave No Trace: Travel and Camp on Durable Surfaces — durable-site selection and minimizing damage to vegetation, soil, and natural features.
- Yosemite National Park Wilderness Regulations — designated surfaces and prohibitions on trenches and campsite construction.
- REI Expert Advice: How to Set Up a Tent — rainfly tension, stakes, guylines, wind, and drainage considerations.
- National Weather Service: Outdoor Lightning Safety — lightning exposure and the limits of tent shelter.
