
Last Updated on July 28, 2026 by Mason Reed
Wind can turn a routine tent pitch into a cold, noisy, and potentially unsafe night. Good setup begins with the right campsite and the correct end of the tent facing the wind—not simply the door. A secure pitch also depends on controlling the shelter during setup, using every important guy point, choosing anchors that match the ground, and knowing when conditions call for safer shelter.
Quick Answer
Pitch the tent with its lowest, narrowest, or manufacturer-recommended end toward the prevailing wind, and keep the main entrance leeward when the design allows. Stake the body immediately, deploy all key guylines, angle each stake for a strong pull, and choose sheltered, well-drained ground away from dead branches.
Key Takeaways
- Follow your tent manufacturer’s orientation instructions; the lowest or narrowest end usually belongs toward the wind.
- Keep control of the tent from the first moment by staking a corner or footprint before raising the poles.
- Drive stakes at about a 45-degree lean so the guyline pulls roughly perpendicular to each stake.
- Use anchors suited to the ground, including broader stakes or deadman anchors in sand or snow.
- Leave the tent for a substantial building or enclosed metal-topped vehicle when lightning or severe weather develops.
At a Glance
| Time Required | About 10–20 extra minutes compared with a calm-weather pitch |
| Difficulty | Beginner to intermediate |
| Tools Needed | All supplied stakes and guylines, suitable extra anchors, a mallet or safe pounding rock, and a forecast or compass |
| Cost | $0 with supplied gear; optional extra stakes or cord cost more |
Disclosure: As an Amazon Associate I earn from qualifying purchases. Some links on this page are affiliate links, at no extra cost to you.
Understanding Wind Direction and Its Impact on Tent Setup
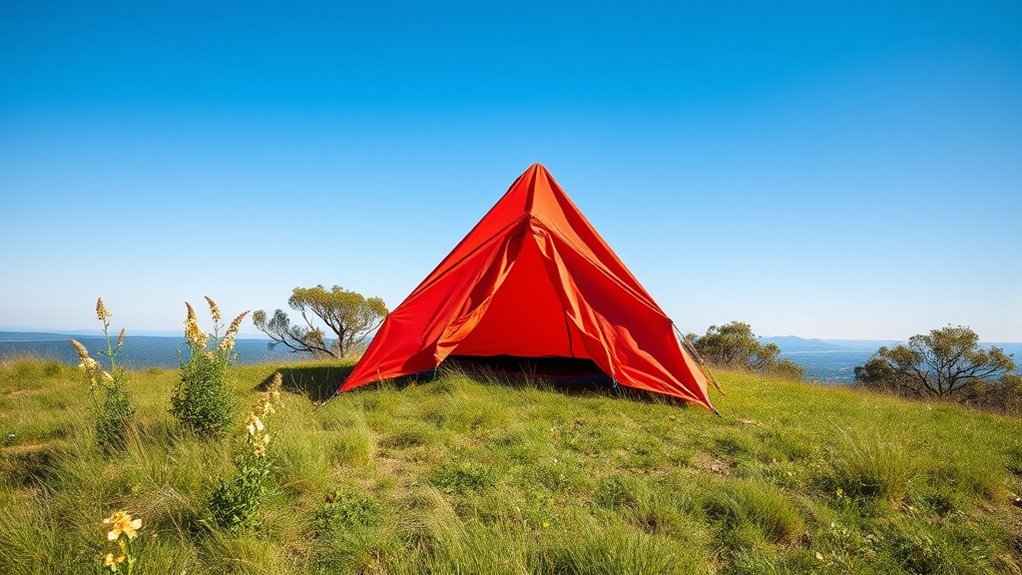
Before unpacking the tent, check both the forecasted sustained wind and expected gusts. At the site, watch smoke, grass, loose leaves, flags, or moving branches to confirm the direction. The side receiving the wind is the windward side; the protected side behind the tent or terrain is the leeward side.
Do not assume that the door alone decides the orientation. Many tents perform best with their lowest or narrowest end pointed into the prevailing wind. Big Agnes, for example, recommends putting the shorter foot end of many of its tents windward. Some tunnel tents use different manufacturer-recommended orientations, so check the instructions for your exact model.
Which End of the Tent Should Face the Wind?
Use this order of priority:
- Follow the manufacturer’s instructions. Pole layouts and guy points are designed around specific load paths.
- Point the lowest or narrowest end into the wind. This usually presents less surface area to the gusts.
- Keep the main door or largest vestibule leeward when practical. This reduces drafts and wind-driven rain when entering or leaving.
- Do not sacrifice a safe campsite for perfect orientation. Drainage, dead branches, flash-flood exposure, cliffs, and lightning risk come first.
Account for Changing and Turbulent Wind
Wind may shift overnight, especially near ridges, coastlines, valleys, and passing weather systems. Trees, boulders, and buildings can also create swirling gusts rather than a steady flow. Choose a pitch that remains reasonably supported from more than one direction, and attach the side and rear guylines even when the evening feels calm.
How to Pitch a Tent in Wind Step by Step
- Inspect the site. Choose level or gently sloped, durable ground that is not in a depression, drainage channel, exposed ridge, or fall zone below dead branches.
- Identify the windward end. Use the tent manual, pole layout, and shape to decide which end should face the wind.
- Keep the packed tent under control. Leave loose parts in the bag until needed, and place the bag or another secure weight on fabric that is not yet attached.
- Stake the first windward point. Attach the footprint or tent body to the ground before unfolding the entire shelter so it cannot become a sail.
- Stake the remaining corners. Square the floor without overstretching it, then assemble and attach the poles according to the manufacturer’s sequence.
- Secure the fly as you unfold it. Clip or buckle one windward corner before pulling the fly across the poles. Do not let the loose fly billow freely.
- Stake vestibules and guylines. Use all structural guy points, beginning on the windward side. Keep lines aligned with the seams, pole intersections, or directions shown in the manual.
- Tension and inspect the pitch. Tighten the shelter evenly, confirm that the fly does not press against the inner tent, and recheck everything after the fabric becomes wet or settles.
Pro Tip: Before leaving home, confirm that every pole section seats fully, guylines slide through their tensioners, attachment loops are intact, and you have enough anchors for the important guy points. Wind is a poor time to discover a split pole or missing stake.
Advantages of Keeping the Entrance Leeward
Once the shelter’s structural end is correctly oriented, placing the main entrance away from the wind usually improves comfort. It gives moving air and wind-driven rain a less direct path into the sleeping area.
Reduces Cold Drafts
A large door opened directly into the wind can act like a scoop. Keeping it leeward:
- Reduces direct convective drafts across sleeping bags and clothing
- Limits the amount of loose dust, sand, leaves, or snow entering the shelter
- Makes entry and exit easier because the door fabric is less likely to whip around
- Helps the tent maintain a calmer interior without blocking its designed vents
This positioning improves comfort, but it does not make the tent warmer by itself. Sleep-system insulation, dry clothing, ventilation, and ground insulation still determine how warm you remain.
Minimizes Rain Ingress
Wind-driven rain can travel at a steep angle or nearly sideways. A leeward entrance lets the vestibule and storm flap provide better coverage while you enter, exit, or reach stored gear. Keep the windward side fully zipped during driving rain unless the tent manual provides a protected venting configuration for that side.
Considerations for Tent Design and Orientation

Wind performance comes from the whole shelter system rather than one fabric specification. Important factors include:
- Shape: Low-profile dome, tunnel, and geodesic structures generally expose less upright wall area than tall cabin-style tents.
- Pole layout: More intersections and well-supported pole spans can distribute loads, although the exact strength depends on the design and materials.
- Guy points: Properly placed lines transfer force from the fly or pole structure into the ground.
- Fly cut and coverage: A taut fly sheds wind and rain more predictably than loose fabric.
- Fabric and seams: Denier, weave, coatings, seam construction, panel shape, and reinforcement all contribute to durability.
- Condition: Bent poles, worn cord, damaged webbing, stretched fabric, and loose hardware reduce reliability.
Do not lower poles, skip clips, or change the designed geometry to create an improvised “low pitch.” Select a naturally low-profile tent when exposed conditions are expected and pitch it exactly as intended.
Note: There is no dependable cross-brand wind limit for all three-season tents. Use the manual or manufacturer guidance for your specific shelter, and account for gusts, ground conditions, exposure, wear, and the quality of the pitch.
How Wind Speed Affects Your Setup Decisions
The National Weather Service Beaufort scale helps estimate wind from visible effects when you do not have an anemometer:
- 4–7 mph: Wind is felt on the face and leaves begin to rustle.
- 8–12 mph: Leaves and small twigs remain in motion.
- 13–18 mph: Dust and loose paper rise, and small branches move.
- 19–24 mph: Small trees in leaf begin to sway.
- 25–31 mph: Large branches remain in motion and umbrellas become difficult to use.
- 32–38 mph: Whole trees move and walking against the wind becomes inconvenient.
These observations describe the wind, not a tent’s survival limit. As wind increases, use every structural guy point, avoid exposed terrain, inspect the anchors often, and compare the forecast with the guidance for your model. Gust speed may be much higher than the reported sustained wind.
Reconsider the site or leave the tent when stakes repeatedly pull out, poles invert or remain badly deformed, fabric or attachment points begin tearing, falling branches are possible, or official alerts warn of severe thunderstorms, damaging winds, flash flooding, or other dangerous weather.
Anchoring and Guying a Tent in Strong Wind
Use Correct Stake and Guyline Geometry
Big Agnes recommends driving a stake at about a 45-degree lean, with the bottom angled toward the tent and the top angled away. This allows the attached line to pull approximately perpendicular to the stake rather than lifting it straight out of the ground.
The guyline itself does not need to meet the ground at one universal angle. Position the anchor far enough from the tent to create a useful outward pull, keep the line aligned with the structural attachment point, and follow the model’s instructions. In stronger conditions, give each important windward guyline its own anchor rather than crowding several heavily loaded lines onto one stake.
Match the Anchor to the Ground
- Firm soil: Use suitable stakes driven fully into undisturbed ground. Avoid loose, recently filled soil.
- Soft soil: Use longer or wider stakes and increase the distance between the tent and anchor when the line geometry allows.
- Sand or snow: Use broad sand or snow stakes. Products such as MSR Blizzard stakes may also be buried horizontally as deadman anchors.
- Rocky or very hard ground: Use manufacturer-approved rock anchors, cord loops, or stakes that fit available cracks. Protect cord from sharp edges.
- Wooden platforms: Use the platform’s approved hooks, anchors, or removable deck fasteners rather than forcing stakes between boards.
If a stake pulls out, do not keep replacing it in the same widened hole. Move it to undisturbed ground, change the anchor style, increase its holding area, or use a properly placed deadman anchor.
Pro Tip: Where local rules allow, a stable rock can reinforce a fully seated stake or serve as part of a rock-anchor system. Keep sharp edges away from cord and fabric, do not create unstable rock piles, and return moved rocks when breaking camp.
Choosing a Site With Good Drainage and Shelter
Orientation cannot compensate for a dangerous campsite. The National Park Service recommends checking for wind, lightning, flash-flood exposure, and dead trees or branches before setting up.
Choose level or gently sloped ground that is slightly elevated rather than a depression where rain can collect. Avoid dry washes, ravines, drainage channels, cliff edges, exposed high points, and locations below unstable slopes. Never dig a trench around the tent; select a site that drains naturally.
Look upward as well as outward. Dead limbs, leaning trees, damaged trunks, and hanging branches can become more dangerous as wind increases. Move far enough away that a falling limb or tree cannot reach the shelter.
A well-chosen campsite carries part of the wind load before it ever reaches the tent, but shelter from the wind must never come at the cost of falling-tree, flood, or lightning safety.
Utilizing Natural Features for Shelter
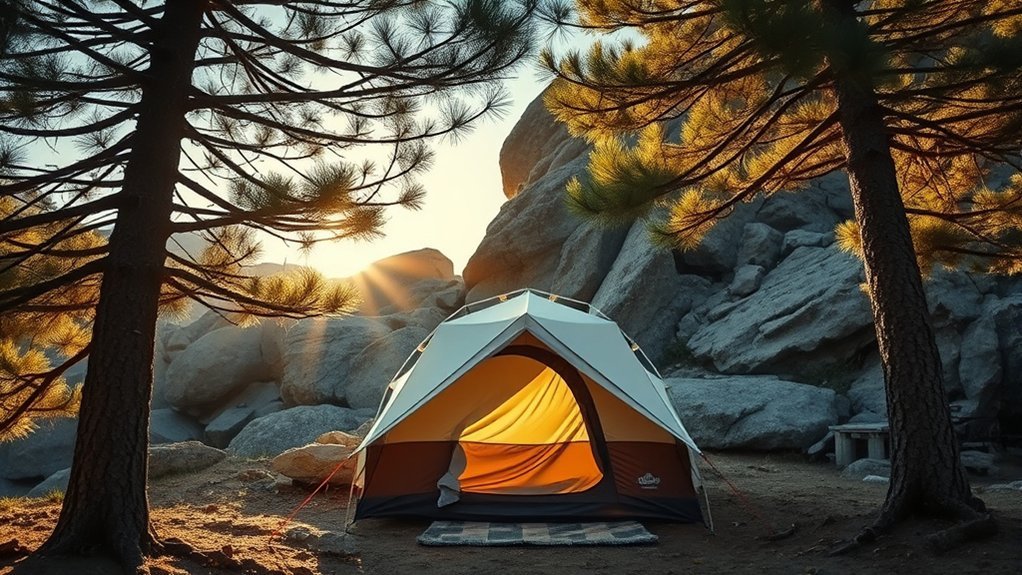
The leeward side of a broad hill, healthy tree line, or stable rock formation may reduce direct exposure. A useful natural windbreak sits far enough away that it does not rub against the tent, drop branches on it, or funnel turbulent air directly into one wall.
When comparing sites:
- Prefer existing campsites or durable surfaces rather than clearing vegetation.
- Use terrain contours without pitching in a drainage channel or at the base of an unstable slope.
- Stay away from lone trees, dead trees, overhead limbs, and loose rock.
- Do not tie guylines tightly around delicate shrubs or small living trees.
- Expect wind to swirl around the ends of barriers and through narrow gaps.
- Leave enough open space to inspect and retension every anchor safely.
A dense barrier may reduce steady wind but create sharp eddies on its downwind side. Watch grass and loose vegetation at several points around the proposed tent footprint before committing to the site.
Ventilation Strategies in Adverse Weather
A wind-resistant pitch still needs airflow. Moisture from breathing, wet equipment, damp ground, and humid air can condense on the fly when the temperature falls.
Use the tent’s built-in high and low vents first. Keep the rainfly taut and separated from the inner tent so moisture can drain without touching sleeping bags. When conditions allow, open the top of a protected leeward door or use the manufacturer’s low-vent configuration.
Do not open a windward door merely to increase airflow during driving rain or powerful gusts. The opening can admit water, increase pressure inside the shelter, and make the door panel difficult to control. Adjust the safer leeward openings instead and recheck them as the wind changes.
Common Mistakes to Avoid When Pitching in Wind
- Using the door as the only orientation guide: The tent’s shape and manufacturer instructions come first.
- Unpacking everything at once: Loose fabric, poles, bags, and fly panels can blow away.
- Raising the poles before anchoring the body: An unsecured tent can become a kite during setup.
- Skipping structural guylines: The poles and lines are designed to work together.
- Using the same anchor in every surface: Short soil stakes may fail in sand, snow, or loose ground.
- Driving stakes straight down: This may make them easier to lift under an outward load.
- Overtightening one side: Uneven tension can distort poles, zippers, seams, or the fly.
- Allowing the fly to touch the inner tent: This reduces ventilation and may transfer moisture inward.
- Ignoring changing wind: Add or retension lines on the newly exposed side before conditions worsen.
- Trusting a generic wind-speed limit: Use the guidance for the exact tent and leave before the shelter begins failing.
Warning: A tent provides no protection from lightning. At the first sound of thunder, move to a substantial building or an enclosed metal-topped vehicle with the windows closed when either is reachable. Remain in safe shelter for at least 30 minutes after the last thunder. Also leave the campsite when damaging wind, flash flooding, falling branches, or another severe hazard threatens.
Frequently Asked Questions
How do I determine wind direction before setting up my tent?
Check the forecasted wind and gust direction, then confirm it at the campsite by watching smoke, grass, flags, leaves, or moving branches. The side receiving the wind is windward, while the protected side is leeward.
Which end of a tent should face the wind?
Follow the instructions for your model. In many designs, the lowest or narrowest end faces the wind, while the main door remains leeward. Some tunnel and asymmetrical tents have different manufacturer-recommended orientations.
Should I consider the terrain when orienting my tent?
Yes. Choose level or gently sloped, slightly elevated ground away from depressions, drainage channels, exposed ridges, cliffs, dead trees, and overhead branches. A safer site is more important than achieving a perfect compass orientation.
What if the wind direction changes after I set up?
Tighten or add guylines on the newly exposed side and check every anchor. Reorient the tent when practical if the new direction puts a broad unsupported wall into strong wind. Move to a safer site if anchors fail or the structure begins deforming.
Can tent shape affect its stability in the wind?
Yes. Low-profile domes, tunnels, and geodesic structures generally expose less upright wall area than tall cabin tents. Pole layout, guy points, fabric cut, anchoring, condition, and pitch quality also affect stability.
How can I secure my tent better in strong winds?
Use every important guy point, give heavily loaded windward lines separate anchors, and match the stake to the ground. Drive ordinary stakes at an appropriate lean so the line pulls roughly perpendicular to them, and recheck tension after the fabric settles or becomes wet.
When should I leave a tent because of the weather?
Leave when lightning is present, official alerts warn of severe conditions, flooding threatens, branches may fall, stakes repeatedly fail, or the poles and fabric begin deforming or tearing. A tent is not lightning shelter; use a substantial building or enclosed metal-topped vehicle when reachable.
Conclusion
A reliable windy-weather pitch begins with the correct site and the correct end of the tent facing the wind. Follow the instructions for your model, anchor the body before raising the poles, use every important guy point, match each stake to the ground, and retension the shelter as conditions change.
Keep the main entrance leeward when the tent design allows, but never let door direction override structural orientation or campsite safety. Most importantly, recognize the limit of the shelter: a well-pitched tent can improve comfort and stability, but it cannot provide safe refuge from lightning, falling trees, flash flooding, or severe wind.
Sources
- National Weather Service — Beaufort Wind Scale — wind-speed ranges and visible effects on land
- Big Agnes — Tent Setup Tips — windward orientation, setup control, guyline use, stake geometry, ventilation, and retensioning
- National Park Service — Finding and Setting Up a Campsite — drainage, wind, lightning, dead branches, and campsite hazards
- NOAA — Lightning Safety — approved lightning shelter and severe-weather response
- MSR — Blizzard Tent Stakes — broad anchors and deadman use in sand or snow
- Hilleberg — Tunnel Tent Wind Orientation — model-dependent orientation considerations
