

Last Updated on July 30, 2026 by Mason Reed
Mold on a tent needs prompt attention, but the safest cleaner depends on the tent’s fabric, waterproof coating, seam tape, and the manufacturer’s care instructions. A product that works on cotton canvas may damage coated nylon or polyester. Start with the gentlest approved method, protect yourself from spores, rinse only when the cleaner’s label requires it, and dry every layer completely before storage.
Quick Answer
To remove mold from a tent, check the care label, work outdoors, wear an N95 respirator and gloves, brush away loose growth, and clean with a manufacturer-approved tent cleaner. Rinse or leave the treatment in place as directed, then air-dry the tent completely in a shaded, breezy area before storing it loosely.
Key Takeaways
- The tent maker’s care instructions override any homemade cleaning recipe.
- Use a soft brush or sponge; stiff brushes, pressure washers, washing machines, and dryers can damage fabric, seams, and coatings.
- Wear gloves, eye protection, and at least a NIOSH-approved N95 respirator when disturbing visible mold.
- Dry the tent in moving air and shade. Long exposure to direct sun can weaken many tent fabrics.
- Store a completely dry tent loosely in a cool, dry place rather than compressed in its trail stuff sack.
At a Glance
| Time Required | About 30–60 minutes of hands-on cleaning, plus 6–24 hours or longer for complete air-drying |
| Difficulty | Easy to moderate; heavily affected canvas or damaged coatings may need specialist advice or replacement |
| Tools Needed | N95 respirator, gloves, eye protection, soft brush or sponge, bucket or tub, clean water, and a manufacturer-approved tent cleaner |
| Cost | Usually low if you already own protective gear; more if the tent needs a specialty cleaner, waterproofing treatment, or repair |
Warning: Never mix cleaning products. In particular, do not combine bleach with vinegar, ammonia, or another cleaner. Follow the product label, keep children and pets away, and stop if fumes, coughing, eye irritation, or breathing trouble occur.
Disclosure: As an Amazon Associate I earn from qualifying purchases. Some links on this page are affiliate links, at no extra cost to you.
Understanding Mold Growth in Tents
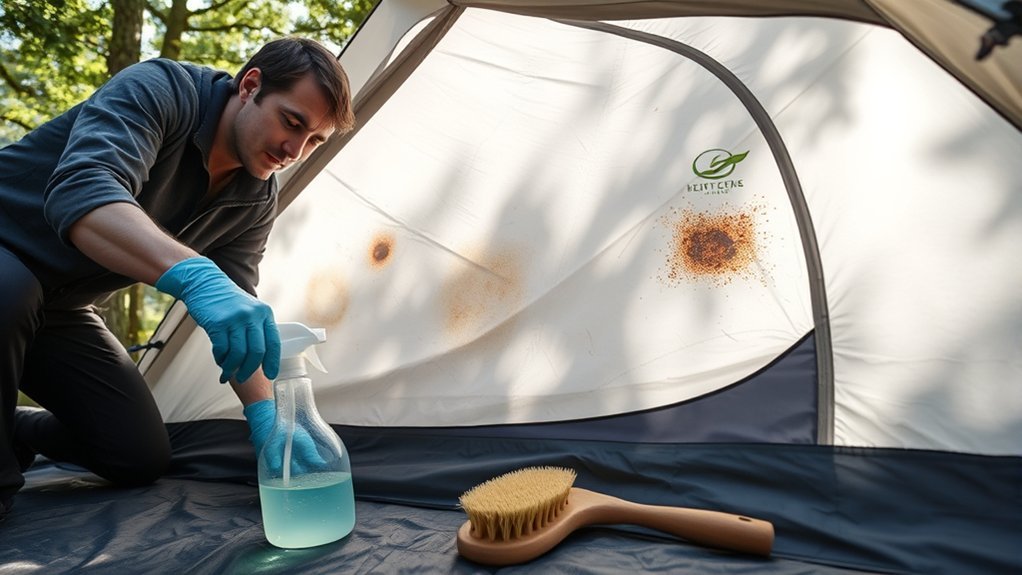
Mold grows when spores land on damp material and have enough time to develop. A tent packed wet, stored in a warm garage, or left with mud, leaves, food residue, or condensation trapped inside is especially vulnerable. Moisture can also speed up hydrolysis, the breakdown of some polyurethane waterproof coatings.
Mold can stain fabric, create a musty odor, weaken fibers, and contribute to coating failure. Exposure may also irritate the eyes, skin, nose, throat, and lungs or trigger allergic reactions and asthma symptoms in sensitive people, according to the U.S. Environmental Protection Agency.
Is It Mold, Mildew, or a Failing Coating?
Visible mold often appears as fuzzy, powdery, spotted, or irregular growth in black, green, gray, white, or brown. Mildew is a common name for certain surface molds and is handled with the same basic caution. A sour or musty smell may remain even after visible growth is removed.
A sticky, peeling, flaky, or fishy-smelling inner coating may be hydrolysis rather than active mold. Cleaning cannot restore a waterproof coating that has chemically broken down. That tent may need recoating, a replacement fly, or replacement altogether.
Check the Tent Material and Care Instructions First
Before mixing or applying anything, identify the tent material and read its care label, owner’s manual, warranty terms, or manufacturer support page. Most backpacking tents use coated nylon or polyester. Canvas tents use cotton or a cotton-polyester blend and may have a separate water-repellent treatment.
Cleaning advice is not universal. For example, Springbar permits a diluted vinegar treatment for minor mildew on its canvas tents, while White Duck Outdoors advises against vinegar and bleach on its canvas products. That difference is why the tent maker’s instructions must come first.
Note: “Natural” does not automatically mean fabric-safe. Vinegar, lemon juice, baking soda, hydrogen peroxide, dish detergent, and bleach can alter dyes, stitching, seam tape, water-repellent treatments, or waterproof coatings on some tents.
Essential Cleaning Supplies
Gather everything before you disturb the mold:
- A NIOSH-approved N95 respirator or better
- Nitrile, vinyl, or rubber gloves
- Safety glasses or goggles
- A clean soft-bristle brush, microfiber cloth, or nonabrasive sponge
- A bucket, bathtub, or large clean container if the approved product requires soaking
- Cool or lukewarm clean water
- A tent-specific cleaner, enzyme treatment, odor eliminator, or canvas cleaner approved by the tent manufacturer
- Clean towels for blotting hardware and puddled water
- A shaded, well-ventilated drying area
The Centers for Disease Control and Prevention recommends at least an N95 respirator, gloves, and eye protection when cleaning mold. People with asthma, mold allergies, chronic lung disease, or weakened immune systems should avoid the work when possible.
Choose and Prepare the Cleaning Solution
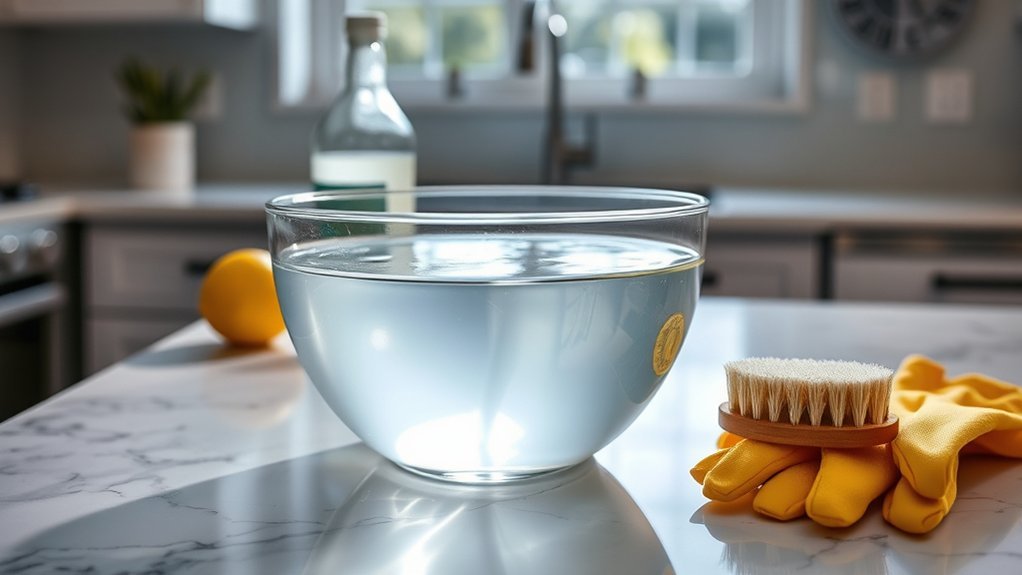
For Coated Nylon or Polyester Tents
Start with the manufacturer’s recommended method. Many synthetic tents can be spot-cleaned with water and a small amount of mild, non-detergent soap or washed with a specialty tent cleaner. Some manufacturers prohibit all soap or detergent, so confirm before use.
For embedded odor or mildew, a gear-safe enzyme or odor treatment may help. REI’s tent-cleaning guidance warns that soaking longer than directed can contribute to hydrolysis. Gear Aid also gives different rinse directions for its cleaner and odor eliminator, so follow the exact label rather than assuming every treatment should be rinsed away.
For Canvas Tents
Use the cleaner and dilution approved for that specific canvas. Some brands recommend a dedicated mold-and-mildew remover followed by renewed water-repellent treatment. Others permit a carefully diluted vinegar solution for minor surface growth. Do not copy a recipe from another brand without checking compatibility.
Spot-Test Before Cleaning
Apply the prepared cleaner to a small hidden area and let it dry. Check for color change, tackiness, peeling, weakened fabric, damaged seam tape, or loss of water repellency. If the test area changes, stop and contact the manufacturer.
Step-by-Step Cleaning Process
1. Move Outdoors and Protect Yourself
Clean the tent outside or in a large open-sided shelter away from doors, windows, air intakes, children, pets, and food. Put on your respirator, gloves, and eye protection before brushing or handling visible mold.
2. Dry and Isolate the Tent
If the tent is wet, pitch or spread it in a shaded, breezy place until the surface is dry enough to brush. Keep the affected tent away from sleeping bags, clothing, and other gear so spores and residue are not transferred.
3. Remove Loose Dirt and Surface Growth
Shake out debris. With the tent dry, gently brush the affected area outdoors using a soft brush. Work slowly so you do not grind growth into the weave or strip the coating. Do not use compressed air or a pressure washer.
4. Spot-Clean First
Apply the approved cleaner to the smallest area necessary. Use a damp cloth, sponge, or soft brush and light pressure. Avoid aggressive scrubbing, especially on mesh, seam tape, and the coated underside of a rainfly or tent floor.
5. Deep-Clean Only if Needed
If the care instructions permit a full wash or soak, unzip doors, separate removable parts, and use cool or lukewarm water. Follow the cleaner’s dilution and contact-time directions exactly. Never put a tent in a washing machine or tumble dryer.
6. Rinse—or Leave the Treatment in Place—as Directed
Some tent cleaners must be rinsed thoroughly, while some odor treatments are designed to remain in the fabric during drying. Follow the product label. When rinsing, use clean low-pressure water until residue is gone.
7. Clean Related Parts
Inspect and clean the footprint, storage sack, guylines, stakes, pole bag, and any cloth that touched the moldy area. Wipe poles with clean water and dry them. Do not store a clean tent in a damp or contaminated sack.
Scrubbing Techniques for Mold Removal
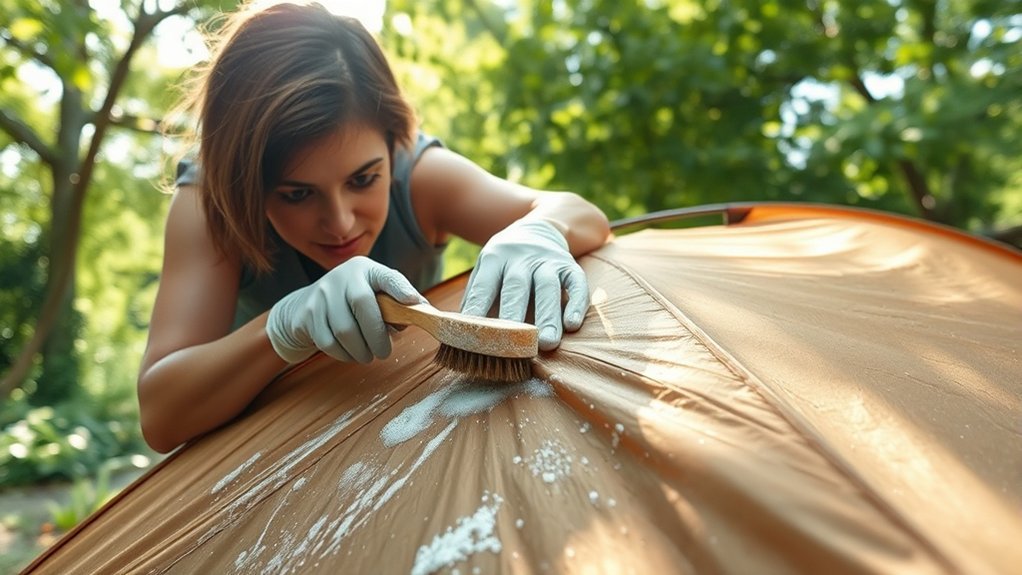
Effective Scrubbing Tools
| Tool | Best Use | Caution |
|---|---|---|
| Soft-bristle brush | Dry surface growth and durable fabric panels | Use light pressure; avoid seam tape and fragile mesh |
| Nonabrasive sponge | Wet spot-cleaning on coated fabric | Do not scour the coated side of a fly or floor |
| Microfiber cloth | Delicate areas, zippers, and final wiping | Use a clean cloth to avoid spreading residue |
Proper Scrubbing Technique
- Support the fabric from behind so it does not stretch.
- Use short, gentle strokes rather than forceful circular grinding.
- Rinse or replace the cloth as it becomes dirty.
- Stop if color transfers, seam tape lifts, fabric pills, or the coating becomes tacky.
- Repeat a gentle treatment only if the product label allows it.
Ventilation and Personal Safety During Cleaning
Outdoor airflow lowers your exposure to airborne spores and product fumes. However, do not aim a strong fan directly at dry visible mold before it has been gently removed because that can spread particles. Use fans later to move air around a rinsed or damp tent during drying.
Take breaks in fresh air. Wash your hands and face after cleanup, launder work clothes separately, and clean or discard contaminated disposable supplies. If you develop wheezing, shortness of breath, chest tightness, severe eye irritation, or persistent symptoms, stop and seek medical advice.
Drying the Tent Properly
Complete drying is as important as cleaning. Pitch the tent or hang each component so air reaches both sides. Open doors, vents, and pockets. Turn or reposition the tent during drying, and pay special attention to folded seams, webbing, pole sleeves, corners, and the underside of the floor.
Use a shaded, breezy location whenever possible. Long exposure to direct sunlight can degrade many synthetic fabrics and coatings. A fan or dehumidifier can speed indoor drying, but keep heat sources, space heaters, hair dryers, and tumble dryers away from the tent.
Do not pack the tent because the main panels feel dry. Check seams, reinforced corners, guyline loops, storage sacks, and any double-layered fabric by touch. If there is any cool, clammy, or damp area, keep drying.
Pro Tip: After cleaning and drying, pitch the tent and test water beading with a light spray from a hose. If water soaks into the outer fabric or a canvas maker requires retreatment after mold cleaning, apply the compatible waterproofing product exactly as directed.
How to Tell Whether the Mold Is Gone
Do not rely on color alone. Old staining can remain even after surface growth is removed, and a pleasant smell does not prove that every spore is gone. Instead, check that:
- No fuzzy, powdery, slimy, or spreading growth remains.
- The treated area is fully dry and stays dry during storage.
- The musty odor does not return after several days in a clean, dry room.
- The fabric, stitching, seam tape, and coating remain strong and intact.
- The tent still sheds water or has been properly reproofed.
If growth or odor returns quickly, the contamination may be deeper than a surface treatment can reach, or the storage area may still be damp.
Storing Your Tent to Prevent Mold
Store the tent only when every component is clean and completely dry. For long-term storage, keep it loose in a breathable cotton or mesh bag in a cool, dry, temperature-stable area. The compact trail stuff sack is useful for transport but is not ideal for months of storage.
REI recommends loose storage in a cool, dry place and suggests a sealed container only when a damp storage location is unavoidable—and only after the tent is fully dry. Avoid attics, hot car trunks, damp basements, wet garages, and direct sunlight.
Desiccant packets can help with small humidity changes inside a sealed storage bin, but they cannot make a damp tent safe to store. Check the tent every few months, especially in humid climates, and replace or regenerate the desiccant according to its instructions.
Regular Maintenance Tips
- Dry after every trip: If you pack the tent wet at camp, unpack and dry it as soon as practical after reaching shelter.
- Remove organic debris: Brush away leaves, mud, food, bird droppings, and plant material before storage.
- Ventilate while camping: Use roof vents, windows, and door vents when weather allows to reduce condensation.
- Inspect coatings and seams: Look for peeling, tackiness, seam-tape lifting, pinholes, and loss of water beading.
- Keep the storage sack clean: Wash or replace a musty sack before placing the tent inside.
- Avoid prolonged UV exposure: Use natural shade when possible and take down the tent when a trip ends.
- Follow the warranty: Use only cleaners and waterproofing products allowed by the manufacturer.
When to Seek Professional Help or Replace the Tent
Contact the tent manufacturer or a qualified outdoor-gear repair service when the mold covers a large area, returns after careful cleaning, has reached padding or inaccessible layers, or is paired with peeling coatings, weakened seams, tears, or fabric that feels brittle or soft. A repair service may be able to replace a fly, panel, or seam tape, but cleaning cannot restore badly degraded fibers.
Replacement is usually the safer choice when the fabric tears under light pressure, waterproof coatings are broadly sticky or flaking, mold has deeply rotted canvas, or the tent cannot be cleaned without triggering symptoms. People with asthma, serious allergies, chronic lung disease, or weakened immune systems should not personally clean a heavily moldy tent.
Frequently Asked Questions
Can I use bleach to remove mold from my tent?
Do not use bleach unless the tent manufacturer expressly approves a specific product and dilution for that exact material. Bleach can discolor fabric, weaken fibers or stitching, strip treatments, and damage waterproof coatings. Never mix it with vinegar, ammonia, or another cleaner.
Is vinegar safe for every tent?
No. Some canvas-tent makers permit a specific diluted vinegar treatment, while others warn that vinegar can damage their fabric, stitching, mesh, hardware, or protective finish. Use vinegar only when the manufacturer’s current care instructions approve it.
How do I know whether mold is completely removed?
Look for the absence of active fuzzy, powdery, slimy, or spreading growth; confirm that the musty odor does not return; and inspect the fabric and coating for strength. Some discoloration may remain as a permanent stain even after the active surface growth is gone.
Is it safe to clean a moldy tent outdoors?
Yes. Outdoors is usually the best location because it reduces indoor spore and fume exposure. Work away from open doors and windows, wear an N95 respirator, gloves, and eye protection, and avoid windy conditions that could spread dry debris.
What if my tent still has a strong mold odor?
Clean it again only if the product and manufacturer permit another treatment. A gear-safe odor eliminator may help, but follow its soak, rinse, and drying directions exactly. Persistent odor can also signal contamination in the storage sack or a failing polyurethane coating.
Can mold permanently damage tent fabric?
Yes. Long-term mold and moisture can stain or weaken fibers, damage stitching, and contribute to waterproof-coating failure. Cleaning may improve the tent, but it cannot restore fabric that has rotted or a coating that has broken down.
Can I wash or dry a tent in a machine?
Usually not. Agitation can stretch or tear fabric, mesh, and seams, while dryer heat can damage coatings and seam tape. Hand-clean the tent unless its manufacturer gives different written instructions.
Conclusion
The safest way to remove mold from a tent is to match the method to the material. Check the manufacturer’s instructions, use protective equipment, choose a tent-safe cleaner, scrub gently, and follow the product’s rinse and contact-time directions. Dry every layer in shade with good airflow, restore water repellency when required, and store the tent loose and completely dry. If the fabric or waterproof coating has deteriorated, replacement may be safer than repeated cleaning.
Sources
- CDC: Mold Clean Up Guidelines and Recommendations — protective equipment, ventilation, and health precautions
- U.S. EPA: Mold and Health — allergic, asthma, and irritation risks
- REI: How to Clean, Waterproof and Care for a Tent — hand cleaning, drying, coating care, and loose storage
- Gear Aid: How to Remove Mold, Mildew and Tent Odors — cleaner, odor-treatment, rinse, and drying directions
- Springbar: Canvas Tent Care and Maintenance — brand-specific diluted-vinegar guidance for minor mildew
- White Duck Outdoors: Why You Should Never Use Vinegar or Bleach on Canvas — contrasting manufacturer guidance showing why universal recipes are unsafe
