

Last Updated on September 10, 2026 by Daniel Globe
Pitching a tent in wind is less about fighting the weather and more about staying in control of every part. Check the forecast first, choose a protected site without falling-tree or flood hazards, identify the windward end of your exact tent, and anchor it before raising the full structure. If conditions become unsafe, leave the tent and move to substantial shelter.
Quick Answer
To pitch a tent in windy conditions, keep the door zipped, point the manufacturer-designated windward end into the wind, stake that end first, and maintain control of the body and fly at all times. Add the poles, attach the fly from windward to leeward, then stake and tension every structural guy point evenly.
Key Takeaways
- Check the forecast, watches, warnings, and lightning risk before choosing to camp.
- Follow the instructions for your exact tent because the correct windward end varies by design.
- Choose firm, well-drained ground away from ridges, cliff edges, dead branches, leaning trees, and flood channels.
- Keep every loose part controlled and anchor the windward end before raising the poles.
- Use the correct stakes for the ground and tension structural guylines evenly around the tent.
- Leave the tent for a substantial building or hard-topped vehicle when high winds, lightning, falling debris, or structural failure make the site unsafe.
At a Glance
| Time Required | About 10–25 minutes, depending on the tent, wind, ground, and number of campers |
| Difficulty | Moderate; difficult or unsafe when you cannot control the fabric, poles, or your balance |
| Tools Needed | Tent, full stake set, guylines, tensioners or suitable knots, stake hammer or smooth rock, headlamp, gloves, and pole-repair sleeve |
| Cost | Usually $0 with existing equipment; roughly $10–$40 for extra stakes, cord, tensioners, or a repair sleeve |
Warning: A tent is not safe shelter during high winds, a severe thunderstorm, or lightning. If a wind advisory or warning is issued, thunder is heard, branches begin falling, you cannot stand securely, or the tent structure starts failing, move to a substantial building or hard-topped vehicle. Do not wait for the tent to collapse.
Disclosure: As an Amazon Associate I earn from qualifying purchases. Some links on this page are affiliate links, at no extra cost to you.
Check the Weather and Make a Safety Plan
Review the site-specific forecast before leaving home and again before pitching. Pay attention to sustained wind, peak gusts, wind direction, thunderstorms, falling temperatures, and alerts. The National Weather Service recommends postponing outdoor activity when a wind advisory or high wind warning is in effect.
There is no single wind-speed cutoff that makes every tent unsafe. A low-profile mountaineering tent on protected, firm ground is different from a tall family tent on loose soil. Your experience, the condition of the equipment, falling-object hazards, and access to sturdy shelter also matter.
Wind around 30 mph can begin to affect a person’s balance, while walking may become difficult near 40 mph. Treat loss of balance as a reason to stop—not as a tent rating. Source: National Park Service.
Before the trip, practice pitching and packing the exact tent at home. Read its manual and identify:
- The end or side designed to face the wind.
- Which loops are structural guy points.
- Whether pole clips, sleeves, fly wraps, or vestibules must be connected in a particular order.
- Whether the inner tent and fly pitch together or separately.
- The correct placement of vents and doors.
Inspect every pole section, hub, sleeve, clip, buckle, stake loop, and guyline. Replace damaged cord and bent stakes. Pack extra stakes, spare cord, a headlamp, work gloves, strong tape, and the pole-repair sleeve supplied with the tent or a compatible replacement.
Pro Tip: Pack the fly, body, and footprint in the order you will use them. Store the stakes in a secure outside pocket rather than at the bottom of the tent bag.
Selecting the Right Tent for Windy Conditions
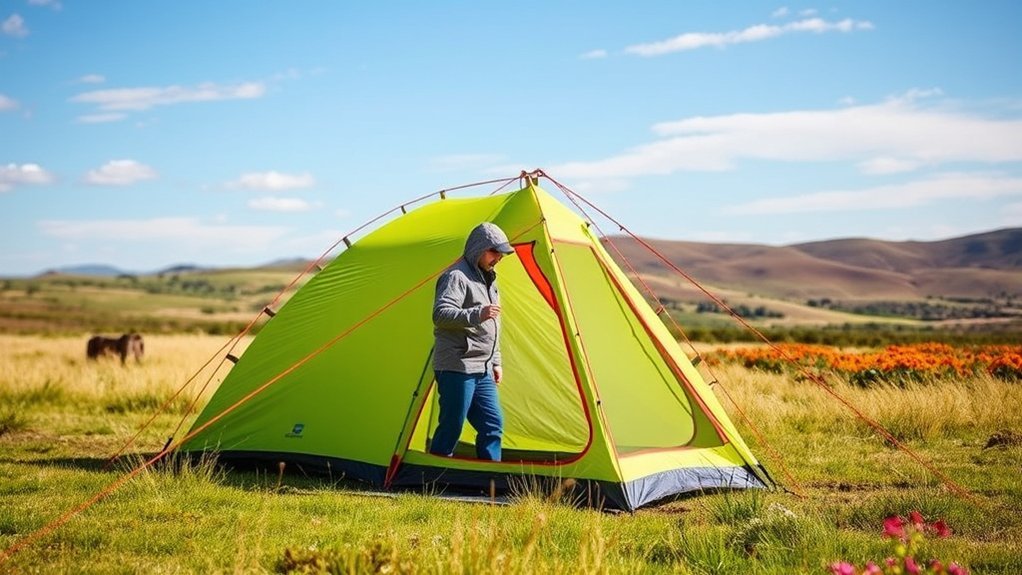
Choose a tent for the conditions you realistically expect, not by weight alone. A wind-capable shelter normally combines a low profile, a strong pole arrangement, secure pole-to-fly connections, several structural guy points, and fabric intended for its use.
Ultralight does not automatically mean weak, and heavy does not automatically mean storm-worthy. Check the intended season, pole geometry, wall height, exposed fabric area, number and position of guy points, and the manufacturer’s description of the tent’s limits.
Dome and geodesic structures often handle changing wind direction well because several poles cross and support the canopy. Tunnel tents can also perform strongly when their main axis is oriented correctly and every required perimeter peg and guyline is secure. Some tunnel designs let you stake one end before adding the poles, which is helpful during a controlled solo pitch.
Four-season mountaineering tents generally have more poles, stronger fabrics, less mesh, and lower rainflies than ordinary three-season shelters. These features can improve resistance to wind and snow, but the tradeoffs include more weight, higher cost, and less ventilation in warm weather. Review the distinctions in REI’s guide to backpacking-tent designs.
Hilleberg is one example of a manufacturer that provides model-specific wind orientation and pitching advice. Its guidance for a single-vestibule Nallo tunnel tent recommends putting the vestibule end into the wind. That does not create a universal rule for all tents; it shows why you should follow the directions for your model.
Note: “Freestanding” means a tent can hold its basic shape without stakes. It does not mean the tent can remain secure in wind without staking and guying.
Choosing a Suitable Tent Location
A good location reduces the load on the tent before you drive the first stake. Use an established tent pad or another durable surface whenever possible. Leave No Trace identifies established campsites, rock, gravel, dry grass, and adequate snow cover as durable surfaces and advises campers to follow local rules.
Walk around the proposed site and check five hazards:
- Exposure: Avoid ridges, peaks, cliff edges, saddles, and the center of open fields where wind can be stronger or more turbulent.
- Falling objects: Look above and around the site for dead, cracked, hanging, or broken branches; leaning trees; rotten trunks; loose rocks; and damaged trees in burned areas.
- Drainage: Avoid depressions, dry stream channels, ravines, narrow canyons, and places where runoff can collect.
- Ground strength: Test whether the soil can hold the stakes you brought. Loose sand, deep duff, snow, and shallow soil over rock require different anchors.
- Exit route: Know how you will reach a vehicle, building, ranger station, or safer terrain if conditions worsen after dark.
The National Park Service recommends level ground that is not in a low spot and warns campers to check for wind, flooding, lightning, and dead trees or branches.
A low boulder, terrain fold, or dense low vegetation may reduce direct wind, but do not pitch where rocks could fall or water could be funneled. Trees are not automatically safe windbreaks. High wind can break live or dead limbs, so never trade wind exposure for an overhead-strike hazard.
After choosing the site, identify the wind direction. Point the tent’s manufacturer-designated windward end toward the wind. When the manual provides no guidance, the narrowest, lowest, or most strongly supported end is usually the better starting point. Avoid presenting a broad side to the strongest flow.
Keep the main working door zipped while pitching. When the design allows a choice, use the door that is more sheltered from the wind so the canopy does not fill like a sail when you enter.
Preparing for Tent Setup
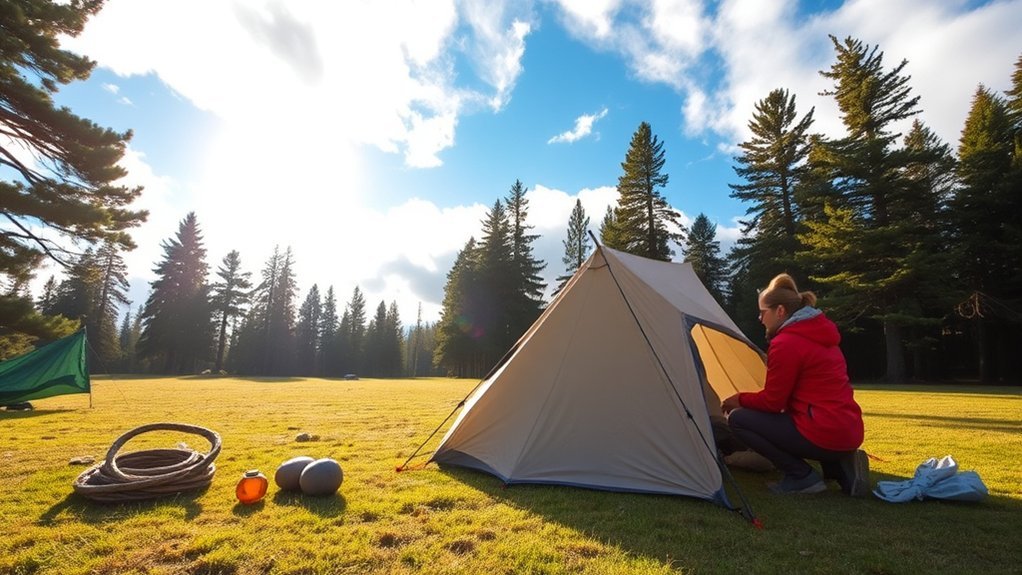
Put on gloves and close jacket pockets before opening the tent bag. Small sacks, pole sections, clips, and repair parts can disappear quickly in a gust.
Prepare the setup in this order:
- Confirm the wind direction and place the packed tent on the leeward side of your body.
- Set the stake bag, hammer, and spare cord where you can reach them without letting go of the tent.
- Assemble the poles while the tent body remains contained, unless the manufacturer specifies a different process.
- Unfold only the section of the body or footprint you can immediately hold or anchor.
- Keep the tent doors and vents zipped or secured.
- Place unused bags and loose gear inside a closed backpack or under your knee.
- Keep the fly packed until the body or first anchor points are ready to receive it.
With two campers, assign roles before opening the shelter. One person controls the windward end while the other stakes, handles poles, and moves toward the leeward end. Avoid both people releasing the same section at once.
Initial Tent Setup Techniques
The exact sequence varies by tent, so use the manual whenever its directions differ from this general method.
- Control the windward end: Hold the end intended to face the wind with your knee, hand, or boot while keeping sharp footwear off the fabric.
- Set the first anchors: Stake the two windward corners or designated starting points. Drive the stakes fully into firm ground.
- Stretch the footprint gently: Move toward the leeward end and remove major wrinkles without pulling the floor drum-tight.
- Stake the opposite end: Secure the leeward corners so the body cannot rotate or blow away.
- Add the poles: Insert poles into sleeves or attach clips in the order specified by the manufacturer. Keep each pole low until it is connected.
- Secure pole intersections: Attach clips, hubs, crossing points, and rainfly wraps that transfer wind load into the frame.
- Add temporary windward guylines: If the tent permits it, secure the main windward guy points before handling the fly.
- Install and tension the fly: Attach it from windward to leeward, then finish the perimeter stakes and structural guylines.
Do not throw the tent or fly into the air to let the wind “open” it. Keep at least two secure points of contact. A light breeze may press the fly against the tent and help reveal its orientation, but the fabric should remain in your hands or attached to the shelter.
Adding Stability and Weight
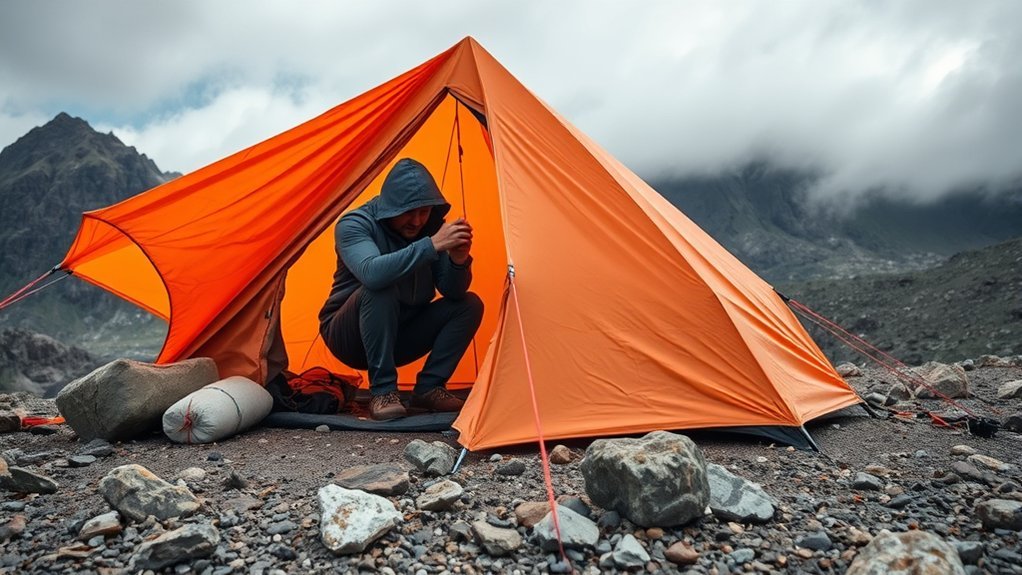
Once the structure is anchored, placing a closed backpack or other soft gear on the floor can add temporary ballast. Keep the load near the center and away from the tent walls. Ballast may reduce movement while you finish, but it cannot replace stakes, guylines, or a safe campsite.
A rock may help drive a stake or reinforce an anchor when local rules permit. Use a broad, stable rock that cannot roll, and protect the guyline from sharp edges. Do not stack unstable rocks on cord or place them where someone could trip.
Use extra anchors where the manufacturer provides structural guy points or where weak ground requires a wider load distribution. Do not attach cord to vents, zipper pulls, mesh, or small fly-edge loops that were not designed for structural loading.
| Method | Best Use | Limit |
|---|---|---|
| Backpack inside | Temporary ballast after the main anchors are secure | Does not reinforce poles or stop stakes from pulling out |
| Stable rock at an anchor | Reinforcing an appropriate stake or buried anchor | Can shift, cut cord, damage the site, or create a trip hazard |
| Extra structural stakes | Sharing load in weak ground or at approved guy points | Useful only when arranged to share the line’s actual direction of pull |
| Sand, snow, or deadman anchor | Ground where ordinary stakes cannot grip | Requires enough burial depth, firm packing, and site-appropriate materials |
Installing the Tent Fly Properly
Before unpacking the fly, find its windward end, door, vents, buckles, and pole wraps. Hold the bundled fly against the windward side of the tent and expose only enough material to make the first attachments.
- Connect the windward corners or buckles first.
- Maintain a firm grip and move the remaining fly over the frame toward the leeward end.
- Attach the remaining corners without fully tightening the first one.
- Fasten every manufacturer-supplied wrap that connects the fly to a pole.
- Align the fly seams with the poles and body seams.
- Tighten all corners gradually and evenly.
- Stake vestibules and fly edges without blocking required ventilation.
- Recheck the fly after rain, temperature changes, or a shift in wind.
A fly should be smooth and taut but not over-stressed. Deep wrinkles, repeated snapping, a fly touching the inner tent, or seams pulled far out of alignment show that the pitch needs adjustment.
Utilizing Guylines for Enhanced Support
Guylines transfer wind loads from supported parts of the canopy into the ground. Use the structural guy points identified in the tent manual—usually points aligned with poles or pole intersections. Small loops along the lower fly may be intended only for spacing, ventilation, or rain management.
REI recommends using at least the windward structural guy points in uncertain weather and adding lines evenly around the tent for greater stability.
Choosing Low-Stretch or Elastic Guylines
Low-stretch cord helps preserve the tent’s shape and reduces the need for frequent retensioning. More elastic cord can soften short gust loads but may allow greater movement and require additional adjustment. Neither material is automatically safe or unsafe.
| Feature | Low-Stretch Cord | More Elastic Cord |
|---|---|---|
| Tent geometry | Maintains a fixed pitch well | Allows more canopy movement |
| Gust response | Transfers force quickly to anchors and attachment points | Can absorb part of a brief load through stretch |
| Adjustment | Usually needs less retensioning once set | May need more frequent checks |
| What matters most | Correct diameter, abrasion resistance, secure knots or adjusters, sound attachment points, and even tension | |
Proper Guyline Anchoring Techniques
- Use the structural points: Attach lines only to loops intended to carry wind load.
- Follow the supporting pole: Pull each line directly outward from the pole or pole crossing beneath the guy point.
- Use adequate distance: Place the anchor far enough from the tent to create useful leverage without obstructing a path.
- Start on the windward side: Stabilize the side receiving the wind, then distribute lines around the rest of the tent.
- Share the load: Use a second anchor only when weak ground or the tent instructions justify it. Arrange both anchors so they resist the same pull.
- Keep lines visible: Use reflective cord or add visible markers to reduce trips at night.
Avoid tying structural guylines to fragile shrubs, dead branches, sharp rocks, or objects that can move. Check local rules before attaching anything to vegetation or altering the site.
Utilizing Tensioners, Cleats, and Knots
Line tensioners, cam-style adjusters, and compatible cleats make quick changes easier. Correctly tied knots also work when an adjuster is missing. The best choice is the system designed for the cord diameter and attachment points on your tent.
| Adjustment Method | Advantage | Check Before Use |
|---|---|---|
| Factory tensioner | Fast adjustment and known compatibility | Cracks, incorrect threading, and cord slippage |
| Cam or clam-style cleat | Quick release and retensioning | Correct cord diameter and secure engagement |
| Taut-line or trucker’s-hitch system | Useful when hardware is lost or unavailable | Correct knot dressing, adequate tail, and easy release |
Snug the lines until the tent holds its intended shape. Do not tighten one side so much that the frame twists, pole sections separate, or seams become distorted. Recheck the system after the first strong gust and whenever wind direction changes.
Effective Anchoring With Tent Stakes
The best stake is one suited to the ground and aligned with the load. Carrying only thin utility stakes can leave an otherwise capable tent poorly anchored.
Choosing the Right Stakes
- Firm soil: Y-shaped, V-shaped, or sturdy nail-style stakes provide useful holding area.
- Soft soil: Longer and wider stakes spread the load through more ground.
- Sand: Broad sand stakes, filled anchor bags, or buried deadman anchors normally work better than narrow pegs.
- Snow: Use snow stakes, skis, purpose-made anchors, or buried objects that can be packed firmly and recovered later.
- Rocky ground: Use strong stakes where cracks permit, or secure approved guylines around stable rocks while protecting the cord from abrasion.
Aluminum stakes are light and available in several strong profiles, while steel stakes resist bending but add weight. Material alone does not determine performance; shape, length, ground, and direction of pull are equally important.
Carry several spare stakes. Hidden rock can bend one, and weak ground may require more anchors than a sheltered lawn pitch.
Proper Stake Placement Techniques
In most ordinary soil, drive the stake fully and close to vertical. Leave only enough of the hook or head exposed to receive the loop. Arrange the guyline so it pulls against the stake rather than lifting it straight out.
Do not rely on a fixed 45-degree rule. The ideal placement changes with the stake shape, soil, and direction of load. Follow the tent and stake manufacturer’s instructions where provided.
When an anchor begins to move:
- Reduce sudden load by supporting or loosening the affected line slightly.
- Move the stake to undisturbed ground.
- Use a longer or wider stake.
- Add a properly arranged second anchor or a buried deadman.
- Restore tension gradually and check the other anchors.
Pro Tip: Mark each stake and guyline with reflective material. Windy setups often continue near dusk, and clearly visible lines reduce falls while you make inspections.
Pitching in Strong or Rapidly Changing Wind
Only continue pitching while you can control the shelter, stand securely, and reach safer shelter before conditions worsen. “Extreme wind” is not a challenge to overcome with more stakes. It is often a reason to change sites, lower the shelter, return to a vehicle, or cancel the camp.
For a manageable but strong wind:
- Use the lowest safe and durable site available rather than an exposed ridge.
- Anchor the designated windward end before extending the body.
- Keep doors closed and loose fabric bundled.
- Raise poles one at a time and connect every required clip, sleeve, hub, and fly wrap.
- Install windward structural guylines early.
- Complete every required perimeter anchor rather than relying on the four corners.
- Tension all sides evenly and inspect the structure after each major gust.
A well-pitched tent can still fail when a stake pulls out, a pole inverts, the ground softens, wind direction shifts, or a branch falls. Do not sleep through worsening conditions without an exit plan.
When to Stop or Leave the Tent
Stop pitching or leave the tent when any of these conditions occurs:
- A wind advisory or warning is issued and a substantial shelter is available.
- You hear thunder or see lightning.
- You cannot stand or move without losing balance.
- Branches, rocks, or other debris begin falling or flying.
- A pole repeatedly inverts, bends sharply, splits, or separates.
- Several anchors move even after being reset.
- The fly or canopy tears, seams distort, or the tent partially collapses.
- Water begins rising or flowing through the site.
- You can no longer reach the planned shelter safely.
The National Weather Service states that a tent or camper is not safe in high winds. During lightning, go to a substantial building or hard-topped vehicle and wait at least 30 minutes after the final thunder before returning. A tent and an open picnic shelter do not provide lightning protection.
What to Do If a Pole or Anchor Fails
If a stake pulls out, support the affected section before resetting it. Move the anchor to undisturbed ground and use a larger stake, second anchor, or deadman suited to the surface.
If a pole cracks or bends:
- Move outside before the frame collapses further, provided it is safe to do so.
- Reduce tension on the damaged area.
- Align the pole as straight as possible without forcing a sharp bend.
- Slide a repair sleeve over the damaged section and tape it in place.
- Lower or abandon the shelter if the repair cannot support the load.
Never remain inside merely to hold a failing pole. Your weight does not protect you from a falling branch, airborne debris, lightning, or a collapsing structure.
Troubleshooting a Windy Tent Pitch
| Problem | Likely Cause | Correction |
|---|---|---|
| Fly snaps or flaps loudly | Loose or uneven fly tension; missing pole wraps | Attach all wraps, align seams, and tighten corners gradually and evenly |
| One wall caves inward | Missing windward guyline, poor orientation, or twisted frame | Add the approved structural line, check pole seating, and reduce uneven tension |
| Stake rises or leans | Weak soil, undersized stake, or upward pull | Move to firm ground, use a wider anchor, and realign the guyline |
| Tent twists | One side is over-tightened or the wind direction changed | Ease the tight side and balance the perimeter and guylines |
| Pole bows or inverts repeatedly | Load exceeds the setup’s capability, or a required guy point is missing | Exit early, reduce load only if safe, and move to substantial shelter |
| Fly touches the inner tent | Poor alignment, loose tension, or a collapsed section | Realign the fly, check pole seating, and restore even separation |
Packing Up a Tent in Wind
Taking a tent down can be harder than pitching it because removing one connection transfers more load to the remaining anchors. Keep the windward anchors in place until the body and fly are controlled.
- Empty and pack interior gear while the tent remains fully anchored.
- Close all doors, vents, pockets, and zippers.
- Remove leeward guylines and stakes first.
- Detach the fly from the leeward end and roll or stuff it toward the windward anchors.
- Place the controlled fly directly into its sack or backpack.
- Lower and disassemble poles according to the manual.
- Fold or roll the body toward the windward end while that end remains staked.
- Remove the final anchors only when the shelter is contained.
- Count every stake and inspect the site for cord, packaging, and disturbed ground.
Do not chase a loose fly, pole bag, or stake sack toward a cliff, road, river, or hazardous tree area. Secure the main shelter first and retrieve an item only when doing so is safe.
Frequently Asked Questions
What type of tent is best for high winds?
Look for a low profile, strong pole geometry, secure pole-to-fly connections, several structural guy points, and materials intended for the expected season. Dome, geodesic, and well-oriented tunnel tents can all perform well. Choose by the manufacturer’s intended use rather than shape or weight alone.
How can I prevent my tent from collapsing?
Use the correct windward orientation, seat every pole section fully, attach all pole clips and fly wraps, stake the complete required perimeter, and tension structural guylines evenly. Inspect the pitch whenever the wind shifts. No setup can guarantee that a tent will not collapse in severe conditions.
Should I avoid lightweight tent materials in windy conditions?
Do not reject a tent based on fabric weight alone. Some lightweight shelters use strong fabrics and efficient structures, while some heavy tents have tall walls that catch more wind. Evaluate the complete design, intended season, pole system, guy points, condition, and manufacturer guidance.
What additional gear can improve tent stability?
Carry ground-specific stakes, spare cord, compatible tensioners, reflective line markers, a stake hammer, work gloves, strong repair tape, and a pole-repair sleeve. Sand or snow may require broad stakes, anchor bags, or buried deadman anchors. Extra gear cannot make a hazardous campsite safe.
How do I know whether it is safe to camp in high winds?
There is no universal wind-speed limit for every tent. Check local alerts, peak gusts, terrain, falling-tree risk, ground strength, your tent’s instructions, and your ability to stand and control the shelter. Postpone or leave when warnings are issued, debris is falling, you lose balance, or the structure begins failing.
Should the tent door face into or away from the wind?
Follow the instructions for the exact tent. Some tunnel tents are designed with a particular vestibule end facing the wind, while many tents work best with a narrow or strongly supported end windward and a working door sheltered. Keep the door zipped while pitching so the tent cannot inflate.
Can I stay in my tent during a thunderstorm?
No tent provides lightning protection. At the first sound of thunder, move to a substantial building or hard-topped vehicle when one is accessible. The National Weather Service advises waiting at least 30 minutes after the last thunder before returning to the campsite.
Conclusion
Pitching a tent in wind starts with a safety decision, not a stake. Check the forecast, understand the limits of your shelter, choose firm ground away from overhead and flood hazards, and identify the windward end specified for your model. Anchor that end first, control every loose component, attach the full structure, and balance the guylines rather than overtightening one side.
Continue checking the tent as the weather changes. A secure pitch may handle ordinary gusts, but it does not turn a tent into high-wind or lightning shelter. Leave early when you lose control, anchors move repeatedly, poles deform, debris falls, thunder begins, or official warnings indicate that remaining outside is unsafe.
Sources
- National Weather Service — Camping Safety Tips — high-wind, lightning, severe-thunderstorm, and flash-flood safety.
- National Weather Service — Outdoor Lightning Safety — why tents are not safe lightning shelters and when to return outside.
- National Park Service — Finding and Setting Up a Campsite — campsite hazards, drainage, falling branches, and basic tent-site selection.
- REI Co-op — How to Set Up a Tent — stake placement, fly tension, pole wraps, and structural guyline use.
- Leave No Trace — Travel and Camp on Durable Surfaces — low-impact campsite selection and durable surfaces.
- Hilleberg — Tips for a Better Tunnel Tent Pitch — perimeter pegging, guyline adjustment, and model-specific bad-weather setup.
