
Last Updated on July 28, 2026 by Mason Reed
Tunnel tents use a series of parallel arched poles to create a long shelter with an excellent space-to-weight ratio. That combination makes them popular for everything from lightweight camping trips to larger family camps. Their biggest difference from many dome tents is that classic tunnel designs are not self-supporting: secure anchors, proper tension, and wind orientation are part of the structure.
Quick Answer
A tunnel tent uses two or more parallel arched poles to form a long shelter with an excellent space-to-weight ratio. Most classic tunnel tents are not freestanding, so they need secure anchors and proper tension. They can be very wind-resistant when aligned correctly, but strong side-on wind puts more pressure on their long walls.
Key Takeaways
- Tunnel tents use parallel arches and tensioned fabric to deliver generous usable space for their weight.
- Most traditional tunnel designs are not freestanding, so secure end anchors, stakes, and guylines are essential.
- Keep the tent’s long side out of the prevailing wind and follow the manufacturer’s instructions for which end should face windward.
- Vestibules are useful for shoes, packs, and wet gear, but ordinary fuel-burning camp stoves should be operated outside the tent and enclosed vestibule.
- Choose a model by its intended weather use, dimensions, pole system, fabric construction, ventilation, packed weight, and anchoring requirements rather than one specification such as denier or waterproof rating.
Disclosure: As an Amazon Associate I earn from qualifying purchases. Some links on this page are affiliate links, at no extra cost to you.
Overview of Tunnel Tents
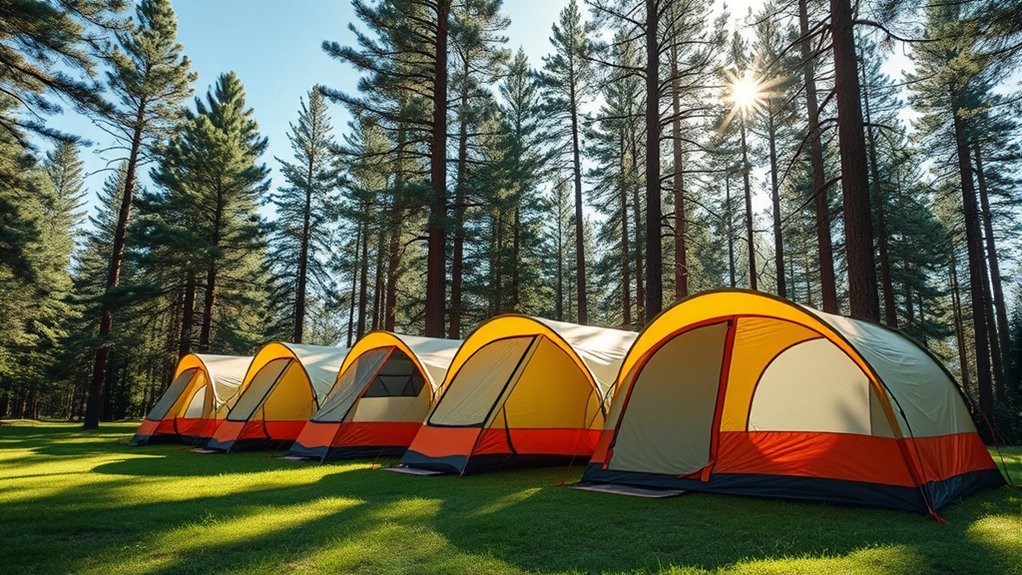
Tunnel tents are built around two or more flexible poles that curve into parallel arches. Fabric joining those arches creates the familiar long tunnel shape. Bergans describes tunnel tents as particularly efficient in terms of weight relative to usable space, which is why the design appears in both trekking shelters and much larger family tents.
Capacity varies widely. Rather than assuming every tunnel tent fits a fixed two-to-eight-person range, check the actual floor width, floor length, peak height, vestibule area, and sleeping layout. A low backpacking tunnel may provide excellent lying and sitting room without standing height, while a large family model may have multiple sleeping areas and enough height to stand in parts of the shelter.
Many tunnel tents also include one or more vestibules. These covered areas are useful for packs, muddy footwear, and other gear you do not want in the sleeping compartment. Vestibules vary greatly in size, though, so they should be treated as a model-specific feature rather than something every tunnel tent automatically includes.
A defining characteristic of the classic tunnel design is that it is not self-supporting. Fjällräven notes that tunnel tents need to be secured to the ground to achieve their intended shape and stability. That makes good anchors and proper tension especially important.
Note: A non-freestanding tunnel tent is only as secure as its anchors. Before pitching, make sure you have suitable stakes or another manufacturer-approved anchoring method for the soil, sand, snow, or rocky ground at your campsite.
How a Tunnel Tent Works
The poles give a tunnel tent its cross-sectional shape, but the poles are only part of the structure. The tent also needs lengthwise tension. Once one end is anchored, the opposite end is pulled away until the fabric is properly tensioned and then secured. Perimeter stakes and guylines stabilize the arches and help distribute wind loads.
This explains why a poorly pitched tunnel tent may sag even when every pole is installed correctly. Loose end anchors, uneven pole tension, or slack guylines allow fabric panels to move and can reduce the separation between the rainfly and inner tent.
For poor weather, the final tensioning matters. Hilleberg’s tunnel-tent pitching guidance emphasizes tightening peg tensioners, adjusting all guylines, tightening pole cups, pegging the perimeter, and shaping the vents correctly.
Tunnel Tent vs. Dome Tent
| Feature | Tunnel Tent | Dome Tent |
|---|---|---|
| Structure | Parallel arched poles | Usually crossing poles |
| Freestanding | Usually no | Often yes or mostly freestanding |
| Space-to-weight | Often excellent | Varies by design |
| Wind direction | Orientation matters more; avoid exposing the long wall to strong prevailing wind | More tolerant of changing wind directions in many designs |
| Moving after setup | Usually requires unstaking and repitching | Many models can be lifted and repositioned before final staking |
| Best advantage | Efficient living and storage space | Flexible pitching and multidirectional stability |
Neither shape is automatically better. Tunnel tents make sense when efficient interior volume and lower weight for a given amount of space matter most. A freestanding dome is often easier to use where the ground is rocky, campsite space is tight, or wind direction changes frequently.
Advantages of Tunnel Tents
One of the biggest advantages of a tunnel tent is efficient usable space. Repeating arches can provide generous floor length and relatively upright side areas near each pole without requiring the more complex network of crossing poles found in many dome or geodesic designs.
The result can be a strong space-to-weight ratio. That is particularly useful on backpacking trips, although the actual packed weight still depends on fabric, pole size, capacity, and weather rating.
Larger family tunnel tents may provide standing-height living areas, while lightweight trekking versions tend to stay much lower to reduce weight and wind exposure. In other words, tunnel construction can be roomy without every tunnel tent being tall.
Many models provide generous vestibules for organizing packs, boots, wet outerwear, and other equipment. Curved fly panels can also shed rain effectively when the shelter is pitched taut and the waterproof fabric, seams, and drainage around the campsite are all working as intended.
Ventilation can be excellent on models with properly placed end vents, high/low vents, mesh panels, or adjustable fly openings. Ventilation is a feature of the particular tent, though, rather than an automatic benefit of the tunnel shape.
Disadvantages of Tunnel Tents
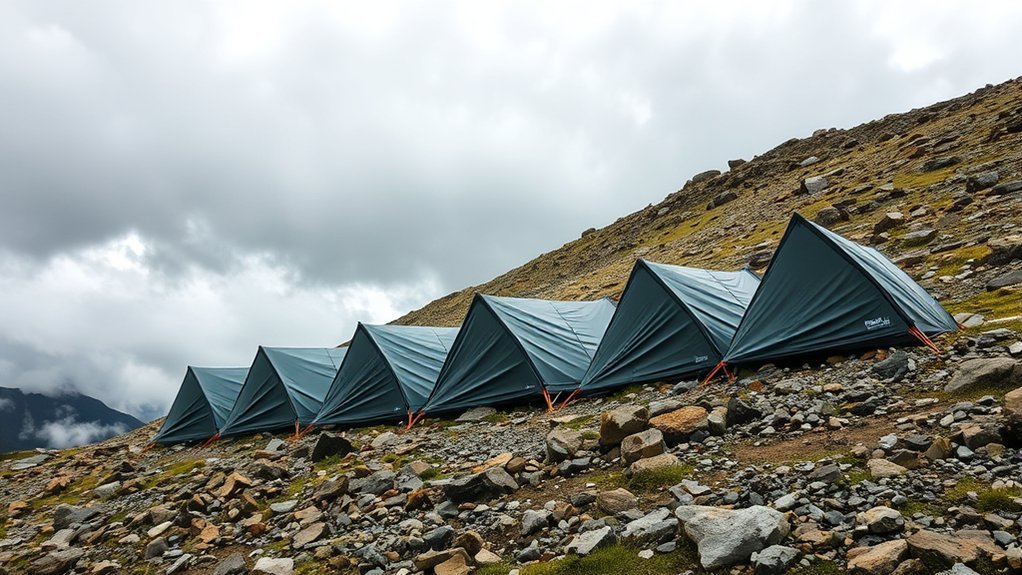
Tunnel tents have several trade-offs worth considering. The biggest is dependence on anchors. A well-designed tunnel tent can be quick to pitch after some practice, but it cannot simply stand at full strength while its end anchors are loose. That makes frozen soil, rock slabs, loose sand, deep snow, or very shallow soil more challenging unless you carry suitable anchors and know how to use them.
Wind direction also matters. The long side of a tunnel tent presents a larger surface to crosswinds than either end. Bergans therefore recommends avoiding a pitch across the wind direction. Exact windward orientation varies by model, so use your tent manufacturer’s instructions rather than assuming the same end should always face the wind.
| Disadvantage | Description |
|---|---|
| Anchor Dependence | A secure pitch depends on good end anchors, perimeter stakes, and correctly tensioned guylines. |
| Not Freestanding | Most classic tunnel tents cannot simply be lifted and repositioned after pitching. |
| Orientation-Sensitive | The long wall should not be exposed broadside to strong prevailing wind when a better orientation is available. |
| Site Footprint & Visibility | Longer models need enough level ground for the shelter, end anchors, and guylines and can be more conspicuous than a compact low-profile tent. |
Warning: Do not deliberately pitch the long side of a tunnel tent broadside to strong prevailing wind when you can avoid it. Follow your model’s instructions for the correct windward end, secure every critical anchor, and reconsider the campsite if winds exceed the conditions the tent was designed to handle.
These limitations matter most on exposed terrain and difficult ground. On a suitable site, a practiced camper may find a tunnel tent no harder to pitch than many other multi-pole shelters.
How to Pitch a Tunnel Tent Correctly
Always start with your model’s manual because pole sleeves, vent orientation, vestibules, and required anchors vary. The following sequence covers the basic method used by many traditional tunnel tents.
- Choose a safe site. Look for reasonably level ground that is not in a depression where rain can collect. The National Park Service also recommends checking for hazards such as flooding, dead branches, exposed high points, and other unsafe campsite conditions.
- Check the wind. Identify the prevailing direction before unpacking the tent. Avoid presenting the long wall directly to strong wind and use the orientation recommended for your model.
- Lay out the tent and secure the first end. In wind, control the shelter before inserting all the poles so the fabric cannot blow away.
- Insert and seat the poles. Use the correct pole in each sleeve or clip position. Fully seat each pole end in its cup or attachment point.
- Pull the shelter lengthwise. Move to the opposite end, pull the tent into shape without overstretching it, and secure that end.
- Stake the perimeter and vestibule. Keep the floor and fly properly shaped. Use stakes appropriate for the ground.
- Deploy the guylines. Tension the structural guy points evenly instead of pulling one side excessively tight. Guy points associated with pole arches are especially important in deteriorating weather.
- Open and shape the vents. Preserve airflow wherever conditions allow. Keep the outer fly separated from the inner tent.
- Inspect the final pitch. Look for slack panels, distorted arches, loose corners, or fly fabric touching the inner. Retension as needed, especially after fabric becomes wet or conditions change.
Pro Tip: Practice pitching your tunnel tent once at home. In real wind or rain, already knowing the pole order, anchor sequence, guyline locations, and vent controls makes a much bigger difference than trying to learn the system at the campsite.
Best Conditions for Using Tunnel Tents
A tunnel tent is especially useful when you want plenty of usable shelter volume without carrying a complicated pole structure. Lightweight models are well suited to trekking, bicycle touring, and multi-day summer camping, while larger tunnel tents can give families extensive sleeping and gear space.
Wind
Do not judge all tunnel tents as either “good” or “bad” in wind. Construction matters enormously. Properly designed all-season tunnel tents can be extremely strong when correctly anchored and aligned, while a large lightweight family model may have very different limits.
Regardless of model, avoid unnecessary exposure. A sheltered campsite is usually preferable to a ridge, open pass, or other location taking the full force of a storm.
Rain and Condensation
A taut rainfly, intact waterproof coating, sound seams, and good drainage around the tent are more important than the tunnel label itself. Do not pitch in a depression that may collect runoff.
Condensation is different from a leak. Moisture from breathing and damp equipment can condense on the cool inside surface of a fly. Use the tent’s vents, avoid blocking airflow, and maintain separation between the inner and outer layers where the design uses two walls.
Snow and Winter
Some tunnel tents are specifically built for all-season expedition use, while other visually similar models are designed only for snow-free conditions. Do not assume that adding stronger stakes or choosing a higher waterproof number turns a three-season shelter into a winter tent.
For winter camping, check the manufacturer’s stated use, pole system, fabric strength, fly coverage, vent design, guy points, snow-loading guidance, and recommended anchoring methods. Clear accumulating snow when necessary rather than allowing a load to build beyond the shelter’s design.
Pro Tip: In questionable weather, tension every structural guyline before bed instead of waiting for the wind to increase. Recheck the anchors and fabric tension after rain, temperature changes, or shifting ground.
Troubleshooting a Poor Tunnel Tent Pitch
The Tent Is Flapping in the Wind
Check the end anchors first, then inspect each pole arch and structural guyline. A large loose panel usually means the shelter needs better overall tension rather than one guyline pulled extremely tight.
The Middle Is Sagging
Confirm that both ends are far enough apart to create the required lengthwise tension. Make sure every pole is fully seated and that the correct poles are in the correct sleeves.
The Fly Is Touching the Inner Tent
Retension the fly, check that the pole arches are correctly shaped, and use the intended perimeter stake and guy points. Maintaining separation helps prevent condensation on the fly from transferring to the inner tent.
The Stakes Will Not Hold
Use anchors suited to the surface rather than relying on the same lightweight stake everywhere. Loose sand, snow, soft soil, and rocky ground may require different stakes, buried anchors, rocks, or other techniques approved for your shelter. Never depend on an obviously loose anchor for a structural end point in high wind.
Tips for Choosing the Right Tunnel Tent
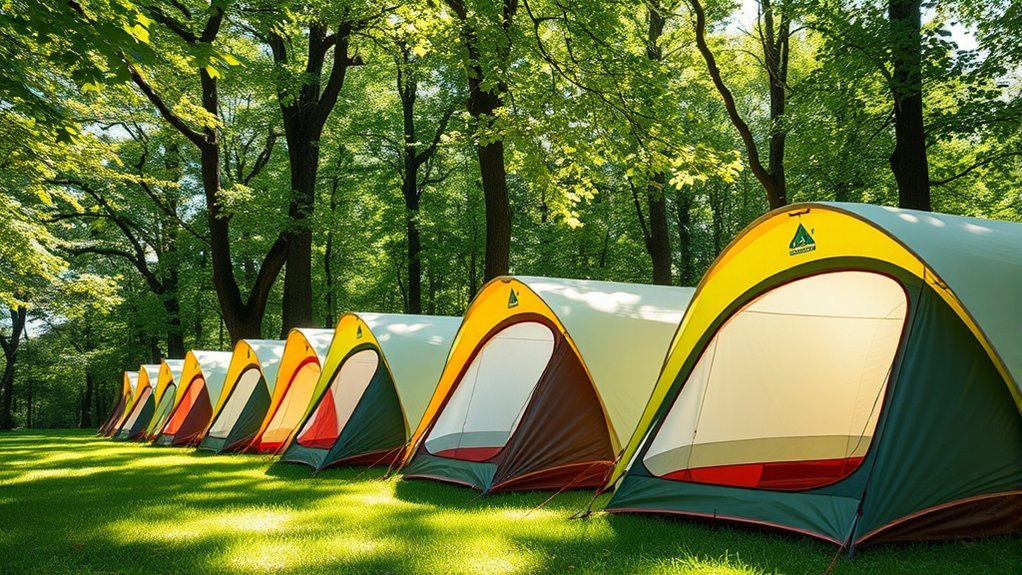
Choosing the right tunnel tent starts with the conditions in which you will actually use it. Do not choose by capacity label or one fabric specification alone.
Check the Real Interior Dimensions
Compare floor length and width with your sleeping pads, not just the stated person count. Also check peak height where you will actually sit or stand. A tall number measured at one pole does not guarantee full standing height throughout the tent.
Match the Tent to the Season
Look at the manufacturer’s stated use. A highly ventilated snow-free trekking shelter serves a different purpose from an all-season tunnel with stronger poles, lower fly coverage, closable vents, and more substantial guy points.
Evaluate the Poles and Guy Points
For exposed use, examine pole material and diameter, pole attachment points, the number and position of structural guylines, and whether replacement poles are readily available. More poles are not automatically better; the entire structure works as a system.
Look Beyond Denier
Most modern tunnel tents use polyester or nylon/polyamide fabrics. Denier can tell you something about yarn size, but it does not tell you finished-fabric strength by itself. Also consider fiber type, weave or ripstop construction, coatings, seams, reinforcements, and the tent’s overall design.
Check Waterproof Construction
Look for a waterproof floor with adequate coverage, a properly constructed fly, protected or sealed seams where required by the manufacturer, and a design that maintains separation between wet outer fabric and the sleeping area. A separate footprint can protect the floor from abrasion, but it is not automatically required for every tent.
Check Ventilation
Useful features include vents that remain usable in rain, adjustable end vents, mesh inner panels, and doors that can be positioned away from the wind. More ventilation helps control condensation, though no tent can completely eliminate condensation in every combination of temperature and humidity.
Consider Packed Weight and Site Size
A tunnel tent can offer an excellent amount of shelter for its weight, but compare actual packed weight rather than assuming every tunnel is light. Large family models can also require a long, flat pitching area plus extra room for end stakes and guylines.
Warning: Never operate an ordinary fuel-burning camp stove, charcoal device, heater, or lantern inside the sleeping area or an enclosed tent vestibule. The U.S. Consumer Product Safety Commission warns that camping equipment can produce deadly carbon monoxide in enclosed spaces.
Frequently Asked Questions
How do I clean and maintain a tunnel tent?
Follow the care instructions for your exact tent. For general care, remove dirt gently, use warm rather than hot water, and avoid ordinary detergents, bleach, or washing machines unless the manufacturer specifically permits them. Big Agnes recommends a tent-specific wash when deeper cleaning is required. Always dry the tent completely before long-term storage.
Can tunnel tents accommodate more than two people?
Yes. Tunnel tents range from compact solo and two-person trekking shelters to much larger family tents. Instead of relying only on the advertised capacity, compare floor dimensions, sleeping-pad width, vestibule space, doors, and standing or sitting height.
What materials are tunnel tents typically made from?
Many tunnel tents use polyester or nylon/polyamide fly and floor fabrics with aluminum poles. Construction varies widely. Denier is only one specification, so also compare weave, coatings, seams, reinforcements, pole dimensions, and the manufacturer’s intended weather use.
How do I pack a tunnel tent efficiently?
Shake off dirt and moisture, protect sharp stakes and pole ends from the fabric, and follow the manufacturer’s packing method. If you must pack the tent wet during a trip, unpack and dry it as soon as practical. For long-term storage, keep it completely dry in a cool, dry location rather than leaving damp fabric compressed in its travel sack.
Are tunnel tents suitable for winter camping?
Some are, but only models designed for winter or all-season use should be treated that way. Check the manufacturer’s stated use, pole system, fabric strength, fly coverage, vents, guy points, anchoring options, and snow guidance. A three-season tunnel tent does not become a winter shelter simply because its fabric has a high waterproof rating.
Are tunnel tents good in strong wind?
A well-designed tunnel tent can perform very well in wind when it is fully anchored, correctly tensioned, and aligned as its manufacturer recommends. The long wall is generally more sensitive to crosswind, so orientation matters more than it does with many dome designs. Tent strength still varies greatly by model.
Why are most tunnel tents not freestanding?
Parallel arches provide the cross-sectional shape, but the shelter normally needs tension between its ends to create and maintain the full structure. End anchors, perimeter stakes, and guylines therefore form an important part of the pitch instead of merely being optional accessories.
Conclusion
Tunnel tents are a strong choice when efficient interior volume, storage space, and a good space-to-weight ratio matter more than freestanding convenience. Their performance depends heavily on choosing the right model and pitching it correctly.
For sheltered three-season trekking, a light tunnel design can be highly efficient. For exposed or winter use, choose a tent specifically designed for those conditions and pay close attention to pole strength, fabric construction, vents, anchors, and guylines. Whatever the model, avoid broadside wind when possible, maintain even tension, choose a safe campsite, and keep fuel-burning cooking equipment outside the shelter.
Sources
- Bergans: Dome or Tunnel Tent? — supports tunnel construction, space-to-weight advantages, pitching simplicity, and crosswind sensitivity.
- Fjällräven: Outdoor Nights and Tunnel-Tent Pitching — supports the non-self-supporting design and importance of correct wind alignment.
- Hilleberg: Tips for a Better Tunnel Tent Pitch — supports proper peg tension, guyline adjustment, perimeter staking, pole tension, and vent setup.
- U.S. National Park Service: Finding and Setting Up a Campsite — supports safe site selection, avoiding low ground, flooding hazards, exposed locations, and overhead hazards.
- U.S. Consumer Product Safety Commission: Portable Heaters & Camping Equipment — supports carbon-monoxide safety guidance for tents and camping equipment.
- Big Agnes: How to Wash Your Tent — supports tent-specific cleaning, drying, and storage guidance.
