

Last Updated on July 24, 2026 by Mason Reed
Wooden tent platforms keep you above mud, roots, and standing water, but they also remove the soft ground that ordinary stakes need. A secure setup depends on the platform rules, your tent design, and the anchor points available at the site. Prepare the right cord and removable hardware before you arrive so you do not have to damage the deck or improvise in bad weather.
Quick Answer
Pitch a tent on a wooden platform by choosing a freestanding tent when possible, placing it fully on the deck, and securing approved tie-out points to built-in rings or removable platform anchors. Use extra guyline cord and tensioners for reach. Never drive ordinary stakes, nails, or screws into the platform.
Key Takeaways
- Check the campground rules and platform size before choosing your tent or anchor method.
- A freestanding tent is usually the easiest choice because its pole structure can stand before the corners are anchored.
- Use built-in rings first, then removable deck anchors only when the site allows them and the board gaps fit.
- Extra guyline cord provides reach; carabiners provide a quick connection but do not add useful length by themselves.
- Tension the rainfly evenly, recheck it after rain, and remove every anchor when you leave.
At a Glance
| Time Required | About 15 to 30 minutes after practice; allow longer for an unfamiliar tent or platform |
| Difficulty | Easy to moderate |
| Tools Needed | Tent poles, rainfly, footprint, extra guyline cord, tensioners, and approved platform anchors or connection hardware |
| Cost | Usually low; no added cost if the platform has usable hardware and you already carry extra cord |
Disclosure: As an Amazon Associate I earn from qualifying purchases. Some links on this page are affiliate links, at no extra cost to you.
Check the Platform Rules Before You Go
Platform rules are not the same at every campground. Some sites provide rings or loops. Others require a freestanding tent and ban stakes, nails, screws, or lines attached to structures. Everglades National Park, for example, tells campers on its chickees and Lostman’s Five platform to use a freestanding tent because stakes and nails are not allowed. Review the reservation page or contact the campground before packing your anchors.
- Confirm the deck size. Compare the platform length and width with the tent floor, not only the advertised sleeping capacity. Include the space needed for doors and vestibules.
- Check the tent type. Freestanding tents are easiest. Semi-freestanding and trekking-pole shelters need dependable tension points and may not suit a platform with no approved anchors.
- Practice at home. Set up the tent once and measure how much extra cord each corner and guyout point may need.
- Read the weather forecast. Strong wind or thunderstorms may require more secure anchoring than a platform can safely provide.
- Prepare cord before the trip. Cut and seal synthetic cord at home so you do not need an open flame beside tent fabric or a dry wooden deck.
Note: A platform is a designated durable surface, but that does not give you permission to drill, screw, nail, or tie into nearby trees or structures. Follow the site’s written rules.
Understanding the Challenges of Wooden Platforms
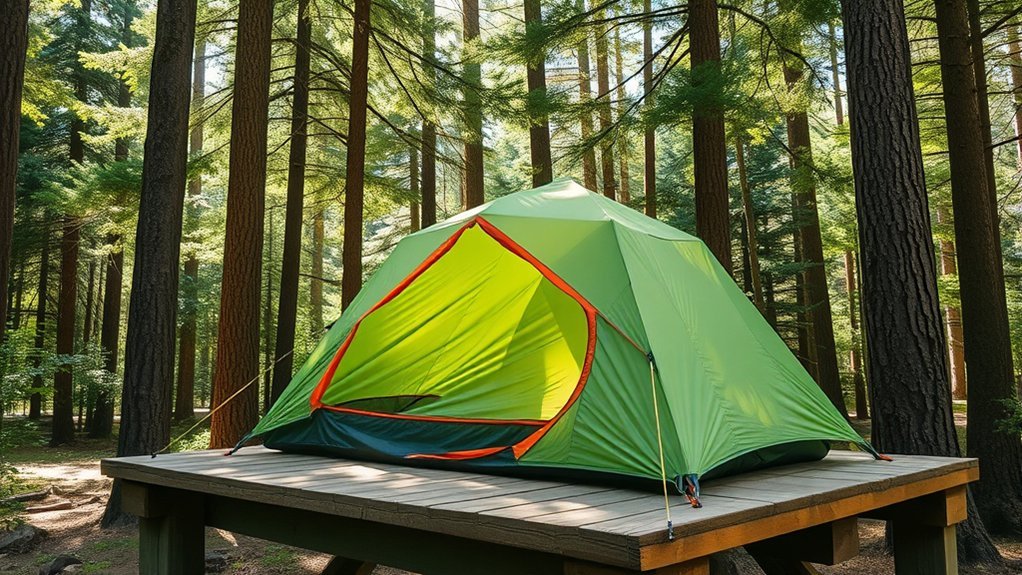
Wooden platforms solve the problem of wet or uneven ground, but they create a new one: ordinary stakes cannot penetrate the surface. Board gaps may drain rainwater, yet their width and access vary. Some decks have metal rings or anchor loops around the frame, while others have no approved tie-out hardware.
The platform can also be smaller than the full space your tent needs. A tent body may fit while the vestibule hangs over an edge or a door opens into a railing. Inspect the deck, its edges, any protruding fasteners, the walking route, and all approved anchor points before you unfold the tent.
The safest anchor is the one the campground permits, the platform supports, and your tent manufacturer intended you to use.
Choose the Right Tent and Anchor Method
Freestanding Tents
A freestanding tent holds its basic shape with poles. You can place it on the deck, shift it into the best position, and then secure the corners, rainfly, and guylines. It still needs anchoring in wind, but setup is easier when the platform has few tie-out points.
Semi-Freestanding and Non-Freestanding Tents
These shelters depend on tension at specific corners. They can work on a platform only when you have enough approved anchors in the correct positions. Bring extra cord because fixed rings may sit farther from the tent than normal ground stakes would.
Trekking-Pole Tents and Pole-Assisted Guylines
Use trekking poles as structural poles only when the shelter was designed for them. With a regular tent, a trekking pole may sometimes raise or redirect a guyline, but it is not a general replacement for a broken or missing tent pole.
What You’ll Need
Gather and test your gear before the trip. The exact kit depends on the platform rules and your tent design.
- Approved platform anchors: Use removable anchors made for deck-board gaps only when the campground allows them and the gaps match the anchor design. Do not force an anchor into a narrow or damaged gap.
- Extra guylines and tensioners: Standard lines may not reach perimeter rings. Pre-cut several lengths of low-stretch cord and carry tensioners or know a secure adjustable knot.
- Carabiners or small connection clips: These make it easier to connect cord to approved rings. Add extra cord when you need more length because a carabiner alone provides little extension.
- Footprint or fitted groundsheet: A fitted layer protects the tent floor from rough boards, splinters, and protruding fasteners. Keep every edge under the tent or rain can collect on top of it.
- Small brush and repair kit: Sweep away debris and carry fabric patches, spare cord, and the pole sleeve supplied with your tent.
- Optional cord-prep tools: Small scissors can help with repairs. If you use a knife or lighter to cut and seal synthetic cord, do that before the trip or far from the tent, fuel, and platform.
Pro Tip: Arrive during daylight. California State Parks recommends arriving early enough to inspect the campsite and finish setup before dark.
How to Secure Your Guylines Without Damaging the Deck
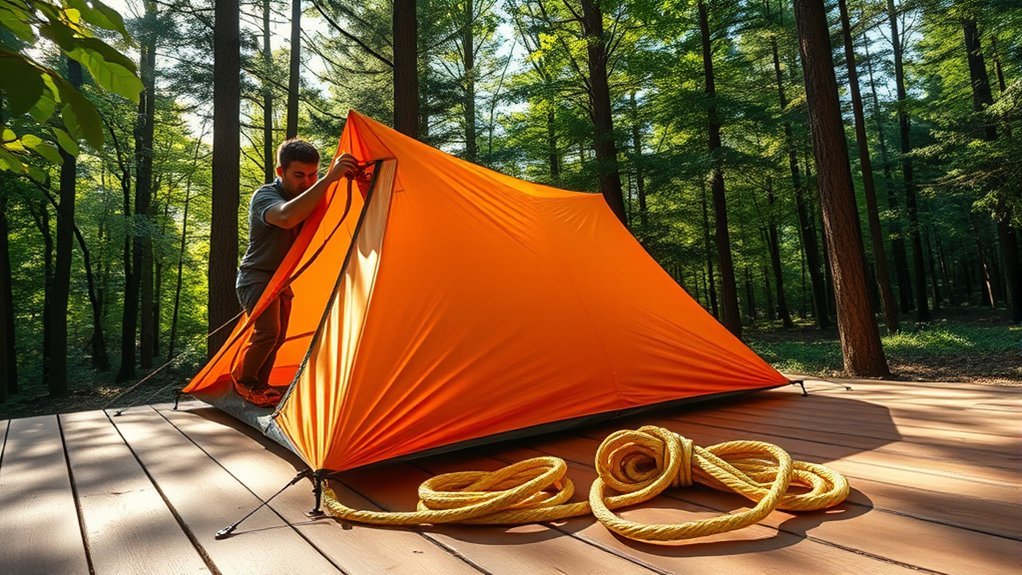
Use the least invasive approved method. Start with hardware provided by the campground. If none exists, use removable platform anchors only when the rules allow them. Do not collect sticks and jam them beneath the boards. A purpose-built anchor or a packed toggle is more predictable and avoids removing natural material, but it still requires the land manager’s approval.
Warning: Never drive ordinary tent stakes, nails, screws, or hooks into a public platform. Do not tie lines to railings, trees, shrubs, or other structures unless the campground clearly permits it. Never crawl beneath an elevated or unstable deck to install an anchor.
| Method | Best Use | Important Limit |
|---|---|---|
| Built-in rings or hooks | First choice for corners and guylines | Use extra cord so the line pulls in the correct direction |
| Removable deck-gap anchors | Boards with compatible gaps and safe top-side access | Use only if permitted; stop if the anchor scrapes, spreads, or lifts a board |
| Extra cord with a carabiner | Reaching a distant approved ring | The cord adds length; the carabiner only makes the connection easier |
| Weighted anchor bag | Mild conditions when fixed hardware is unavailable and rules permit | Not dependable for severe wind; do not place a trip hazard in a walkway |
Pull each guyline in line with the tent’s designed guyout point. Tension the windward side first, then balance the other sides. Keep the fly taut enough to shed rain and stay away from the inner tent, but do not pull so hard that seams, zippers, poles, or platform hardware deform.
How to Set Up Your Tent on a Wooden Platform
- Survey and clean the platform. Walk the full perimeter. Sweep away leaves, grit, and twigs. Check for splinters, loose boards, protruding nails, sharp screw heads, slick algae, and damaged railings. Report unsafe damage instead of covering it.
- Plan the orientation. Put the lowest or narrowest end toward the expected wind when the tent design allows it. Keep the door, vestibule, and main walkway away from platform edges and stairs.
- Lay down the footprint and tent body. Keep the footprint fully under the floor so it cannot catch rain. Make sure the complete sleeping area rests on the deck without sagging over an edge.
- Build the intended pole structure. Assemble and attach the poles supplied for the tent. Use trekking poles as structural supports only for shelters designed around them.
- Secure the floor corners lightly. Connect each corner to an approved ring or removable platform anchor. Leave enough slack to center and square the tent before final tensioning.
- Attach the rainfly. Match the fly to the tent body, close the doors, and tension all corners evenly. Do not fully tighten one corner while the others remain loose.
- Run the guylines. Add extra cord where a fixed anchor sits farther away. Attach lines on the windward side first, then add balanced support around the tent.
- Inspect the complete setup. Check that poles are seated, clips and buckles are closed, lines do not cross a walkway, and no anchor is lifting or scraping a board. Recheck everything before bed and after rain.
Troubleshooting Common Platform Setup Problems
The Platform Has No Rings or Usable Gaps
Use a freestanding tent and ask the campground host which removable methods are allowed. In mild weather, approved weighted anchor bags may help with rainfly tension. Do not drill the deck, hammer hardware into it, or attach lines to a railing without permission. If safe anchoring is impossible in the forecast conditions, use another site or shelter.
The Board Gaps Are Too Narrow or Too Wide
Do not force a deck anchor into a narrow gap. An undersized anchor can slip through a wide gap, while an oversized one can damage the boards. Switch to built-in hardware, a different approved anchor design, or a freestanding setup.
The Tent Corners Do Not Line Up With the Rings
Rotate or shift the tent before adding tension. Use longer guyline cord to reach a ring while keeping the pull aligned with the corner or pole. Avoid pulling one corner sharply sideways because it can twist the tent body and strain the zipper.
The Rainfly Becomes Loose After Rain
Many fly fabrics relax when wet. Recheck the fly and guylines after rain starts, then make small, even adjustments around the shelter. Keep wet fabric away from the inner tent to reduce seepage and improve airflow.
The Platform Is Smaller Than the Tent
Do not let the sleeping floor hang over an edge. A suspended floor can stretch, wear, or drop your weight onto the platform edge. Ask for a larger platform or use a smaller tent. Keep exits, stairs, and shared walkways clear.
How to Keep Your Tent Stable and Comfortable
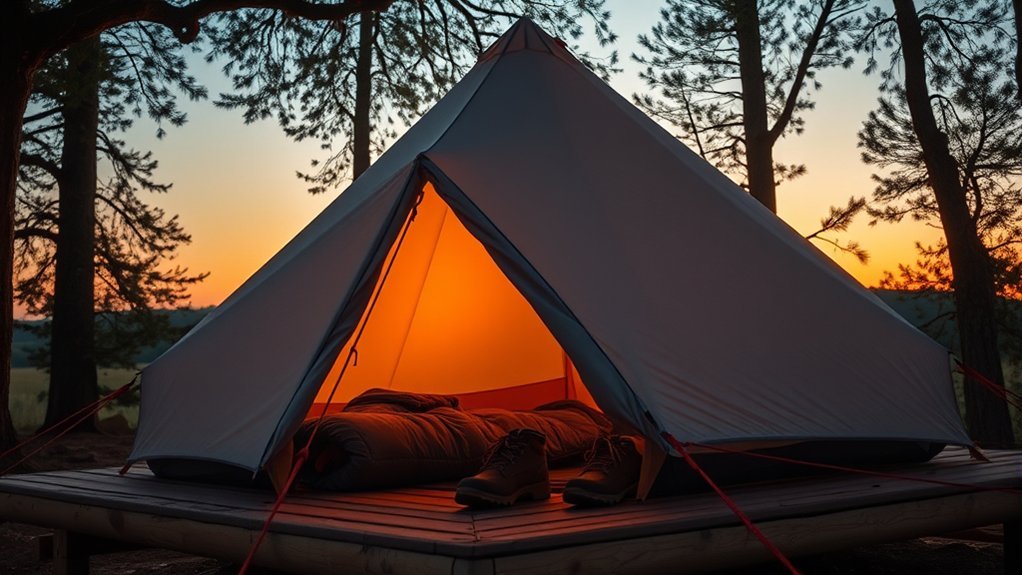
Use the most sheltered position that still keeps the tent fully on the platform and leaves a safe exit. Balance the corner tension and add guylines at the points the tent manufacturer provides. REI recommends extra guyline cord for longer runs and notes that a trekking pole can sometimes redirect a guyline for added support. That technique supports the line; it does not replace the tent’s normal frame.
A fitted footprint protects the floor from abrasion. A sleeping pad adds comfort and insulation from cool boards. Keep vents open when weather allows because condensation can still form inside a tent on a platform. After rain, watch for slick boards near the door and wipe up water that creates a fall risk.
Follow the campground’s fire-clearance rules. California State Parks advises placing a tent at least 15 feet upwind from grills and fires and warns against using carbon-monoxide-producing heaters inside tents or camping vehicles.
Pro Tip: Recheck every buckle, anchor, and guyline before bed. Also check again after rain because wet fly fabric can stretch and lose tension.
How to Pack Up and Leave the Platform Clean
- Release guyline tension before unclipping the rainfly or removing the poles.
- Remove every carabiner, cord loop, deck anchor, and weighted bag. Check the board gaps so no small anchor remains behind.
- Shake dirt and debris from the tent without sweeping it into water or vegetation.
- Dry the tent and rainfly as much as conditions allow. If you pack them wet, dry them fully as soon as you return home.
- Inspect the platform for trash or damage and report loose boards or protruding fasteners to campground staff.
Frequently Asked Questions
Can I Use a Regular Tent on a Wooden Platform?
Yes. A freestanding regular tent is usually the easiest option. Check that the tent floor fits completely on the platform, then secure its approved corner and guyout points with the hardware the campground allows.
Are There Specific Tents Designed for Wooden Platforms?
Permanent and semi-permanent canvas platform tents do exist, but you do not need one for a normal campground deck. For portable camping, choose a freestanding or semi-freestanding tent with several adjustable tie-out points.
Can I Pitch a Non-Freestanding Tent on a Platform?
Sometimes. The shelter needs approved anchors in the right places and enough extra cord to create its required shape. A site that bans gap anchors or lacks fixed rings may not support a safe non-freestanding pitch.
What if the Platform Has No Hooks or Usable Board Gaps?
Use a freestanding tent and ask campground staff which removable anchors are permitted. In mild weather, approved weighted bags may provide limited tension. Do not add screws, nails, or other permanent hardware.
What if It Rains While Camping on a Platform?
Attach and tension the rainfly before the rain starts. Keep the footprint under the tent floor so it does not collect runoff. Re-tension wet fabric as needed and keep the door area clear because wet wooden boards can become slippery.
How Do I Clean the Platform Before Pitching My Tent?
Sweep away loose leaves, twigs, grit, and sharp debris with a small brush. Check for splinters, loose boards, protruding fasteners, and slippery growth. Report structural damage instead of trying to repair the platform yourself.
Can I Screw Eye Bolts Into the Platform?
Not at a public campsite unless the land manager has given clear permission, which is uncommon. Use only existing hardware or approved removable anchors. Permanent fasteners can damage the deck and violate campground rules.
Can I Camp on a Platform Without a Tent?
Only when the campground allows it and the weather is suitable. Use a sleeping pad plus an approved bivy or tarp for protection from insects, dew, and rain. Do not attach a hammock or tarp to trees, railings, or structures unless the site rules permit it.
Pitching a tent on a wooden platform becomes straightforward once you match the shelter to the site rules. Start with a tent that fits, use approved removable connections, add enough guyline cord for balanced tension, and inspect the setup before bad weather arrives. A careful pack-up protects both your gear and the platform for the next camper.
Sources
- Everglades National Park Wilderness Trip Planner — freestanding-tent requirements and restrictions on stakes and nails for wooden platforms.
- REI Expert Advice: How to Set Up a Tent — guyline placement, balanced tension, extra cord, and trekking-pole-assisted guyline support.
- REI Expert Advice: Tent Care Basics — practice pitching, clearing sharp debris, using a footprint, and drying a wet tent.
- California State Parks Camping Safety Tips — daylight setup, fire clearance, and carbon monoxide safety.
- New York State Parks Camping Rules — restrictions on nails, screws, ropes, and lines attached to trees or structures.
- Leave No Trace: Travel and Camp on Durable Surfaces — low-impact use of established campsites and durable surfaces.
