
Last Updated on July 29, 2026 by Mason Reed
Trekking pole tents can reduce the weight and bulk of a backpacking shelter by using hiking poles instead of a dedicated frame. That efficiency comes with a trade-off: most models depend on accurate pole height, secure anchors, and even fabric tension. Understanding those requirements will help you choose a shelter that matches your terrain, weather, space needs, and pitching experience.
Quick Answer
A trekking pole tent uses one or two hiking poles instead of a dedicated frame. It can cut packed weight and bulk, but most models need firm stakes and a precise pitch. The best choice depends on pole height, site conditions, wall design, weather protection, interior space, and the total weight of the complete shelter system.
Key Takeaways
- Most trekking pole tents are non-freestanding and rely on stakes, pole height, and balanced tension.
- Compare total packed weight, including stakes, guylines, a groundsheet, stuff sacks, and substitute poles.
- Check the exact number and required height of the poles before buying a shelter.
- Single-wall tents are often lighter, while double-wall designs provide more separation from condensation.
- Practice pitching at home before depending on the tent in wind, rain, darkness, or difficult soil.
Disclosure: As an Amazon Associate I earn from qualifying purchases. Some links on this page are affiliate links, at no extra cost to you.
Understanding Trekking Pole Tents
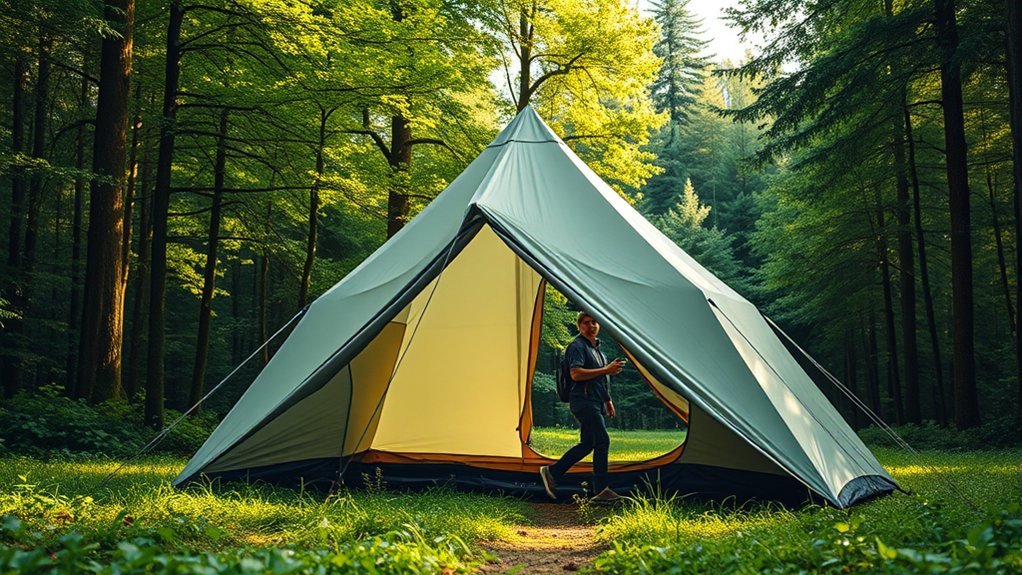
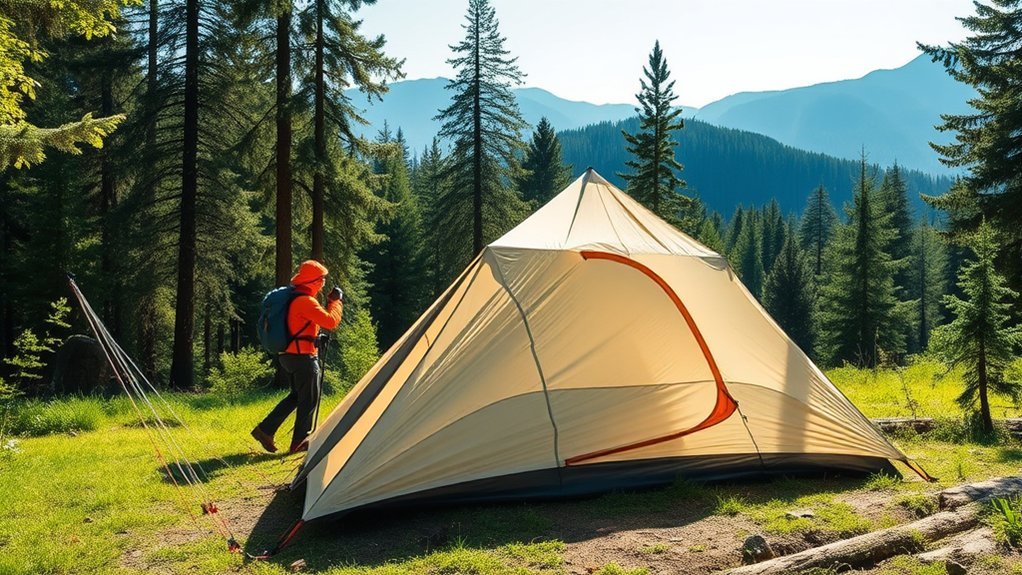
A trekking pole tent uses one or more adjustable hiking poles as structural supports. The poles hold up the shelter’s peaks, while stakes and guylines pull the fabric outward. These forces work together to create a stable shape.
Unlike a conventional freestanding tent, a trekking pole shelter usually cannot hold its full shape without being anchored. A poor base shape, loose stake, or incorrect pole height can leave the fabric sagging and reduce the shelter’s usable space and weather resistance.
Common Trekking Pole Shelter Designs
- Single-wall tent: The waterproof canopy and living space are combined. This design can be very light, but condensation may form on the inside of the canopy.
- Double-wall tent: A separate rainfly and inner tent create space between occupants and the fly. These models usually weigh more but can be easier to manage in humid conditions.
- Floorless tarp or pyramid: The shelter provides overhead weather protection but may not include a sewn-in floor or bug net.
- Modular shelter: A fly, mesh inner, solid inner, or groundsheet may be used in different combinations.
Not every trekking pole tent has a pyramid shape. Current shelters include offset-pole designs, hexagonal tents, A-frames, pyramids, and asymmetrical layouts. Geometry affects the footprint, headroom, wind profile, door position, and number of stakes required.
Trekking Pole Tent vs. Freestanding Tent
| Feature | Trekking Pole Tent | Freestanding Tent |
|---|---|---|
| Primary support | Hiking poles, stakes, and fabric tension | Dedicated tent-pole frame |
| Typical advantage | Lower shelter weight and smaller pole bundle | Greater site flexibility and easier repositioning |
| Main limitation | Needs reliable anchors and an accurate pitch | Dedicated poles add weight and packed bulk |
| Rock or platform use | May need platform anchors, rock anchors, or an optional pole kit | Can usually stand before vestibules are staked |
| Base-camp day hikes | Trekking poles remain in the shelter unless substitute poles are used | Hiking poles remain available |
Advantages of Trekking Pole Tents
- Lower potential shelter weight: Reusing hiking poles can eliminate a separate tent-pole set. The actual saving varies, so compare complete systems rather than canopy weights alone.
- Compact packing: Without a long segmented pole set, many shelters fit horizontally inside a backpack or occupy less exterior space.
- Efficient use of existing equipment: Backpackers who already carry trekking poles can make one item perform two jobs.
- Strong tensioned shapes: A correctly pitched shelter can handle wind and rain well when its geometry, anchors, fabric, and guylines are suited to the conditions.
- Flexible ventilation: Adjustable fly height, large doors, mesh panels, and peak vents can improve airflow on suitable models.
- Fly-first options: Some double-wall shelters let you pitch the fly before the inner, helping protect the sleeping area during rain.
- Modular use: Some designs allow the fly, inner, or groundsheet to be used separately.
The meaningful number is not the tent body’s advertised weight. It is the weight of every shelter component you will actually carry.
For a fair comparison, add the tent or tarp, inner tent, stuff sacks, required stakes, extra guylines, groundsheet, repair supplies, and any dedicated support poles. A shelter advertised at a very low minimum weight may become much closer to a conventional lightweight tent after these items are included.
Disadvantages of Trekking Pole Tents
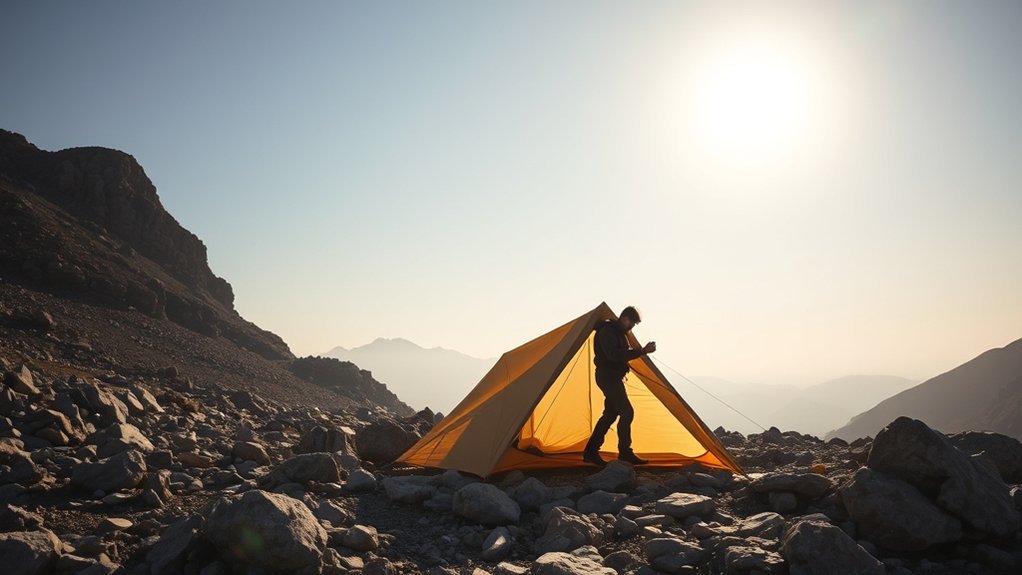
- Dependence on anchors: A loose or poorly placed stake can change the shelter’s shape or cause part of the pitch to collapse.
- Learning curve: Many models are easy after practice, but the first pitches may require repeated adjustments to the corners, poles, doors, and guylines.
- Site limitations: Solid rock, shallow soil, sand, snow, and wooden platforms require different anchoring methods.
- Geometry-sensitive space: A sloped wall may reduce shoulder room or foot clearance even when the listed floor area looks generous.
- Condensation contact: In a single-wall tent, a sleeping bag or clothing can touch moisture on the canopy.
- Unavailable hiking poles at camp: When the shelter is pitched, its support poles cannot be used for a day hike unless you carry substitute tent poles.
- Setup in strong wind: Loose fabric can flap or pull away before enough anchors are installed. A planned pitching order is important.
- Model-specific seam work: Some shelters arrive waterproofed, while others require seam sealer before their first wet trip.
Warning: Do not assume that an ultralight three-season shelter is safe under heavy snow or severe wind. Follow the manufacturer’s season rating, use every recommended anchor, clear accumulating snow, and leave an exposed site when conditions exceed the shelter’s design.
How to Set Up a Trekking Pole Tent
Exact instructions vary, so the manufacturer’s pitching guide always takes priority. The following process covers the principles shared by many non-freestanding shelters.
At a Glance
| Time Required | About 2–10 minutes, depending on the model, soil, weather, and experience |
| Difficulty | Moderate for the first few pitches; easy to moderate after practice |
| Tools Needed | Tent, compatible trekking pole or poles, required stakes, guylines, and optional terrain-specific anchors |
| Cost | No added cost when compatible poles and stakes are included in your kit; substitute poles or special anchors cost extra |
1. Choose a Suitable Site
Use an established, durable campsite when possible. Look for level ground that is not in a drainage channel, depression, dry streambed, or exposed ridge. Remove loose sticks, cones, and sharp stones without digging or clearing living vegetation.
2. Confirm the Pole Settings
Check the required number and height of poles before spreading out the shelter. Some designs use one central pole, while others use two offset poles. Follow the instructions for handle-up or tip-up placement and install any required pole cup or adapter.
3. Lay Out the Shelter in the Correct Direction
Identify the doors, head end, foot end, and recommended windward side. Orient the lower or narrower end toward the prevailing wind when the manufacturer recommends it. Close the doors before final tensioning because open doors can change the shape of the fly.
4. Stake the Primary Corners
Build the required base shape, such as a rectangle, hexagon, or asymmetric polygon. Keep the corners square or aligned as directed. Insert the stakes at a secure angle and leave enough adjustment range in the tensioners.
5. Insert and Raise the Trekking Poles
Place each pole in its reinforced pocket or peak attachment. Raise the pole gradually rather than forcing it against loose or twisted fabric. Confirm that the pole is vertical or angled as the instructions show.
6. Balance the Tension
Move around the shelter and tighten opposite corners in small amounts. The canopy should be smooth and firm without pulling the floor off the ground or distorting the doors. If one panel is loose, inspect the full base geometry before simply extending the pole.
7. Add Optional Guylines for Weather
Use peak, side-panel, and perimeter guy-out points when wind or heavy rain is expected. Guyline anchors should extend in the direction of the load rather than pulling a panel sideways. Keep reflective or visible lines out of the main walking path when possible.
8. Ventilate and Inspect the Pitch
Open the available peak vents, leave a protected downwind door partly open when conditions permit, and check that the inner tent does not press against the fly. Recheck each stake after the fabric has settled or the soil has become wet.
Pro Tip: Pitch the shelter several times at home. Mark the correct pole height on each trekking pole with a small removable tape band so you can reproduce the setting quickly in rain or darkness.
Common Pitching Problems
| Problem | Likely Cause | Correction |
|---|---|---|
| Sagging ridgeline | Pole too short, loose corner, or distorted base | Square the base, reset loose stakes, and adjust pole height gradually |
| Door will not close evenly | Corners are skewed or one side is over-tensioned | Loosen the tight side and correct the base geometry |
| Bathtub floor hangs above the ground | Canopy or floor attachments are too tight | Reduce corner or floor tension without allowing the fly to touch the inner |
| Stake keeps pulling out | Stake is too small, soil is soft, or pull angle is poor | Use a longer or wider stake, change its angle, or install a buried anchor |
| Excess interior moisture | Limited airflow, humid site, wet gear, or cold clear conditions | Open protected vents, increase the fly gap, and keep wet gear outside the sleeping area |
Pitching on Sand, Rock, Platforms, and Snow
Soft Soil and Sand
Use longer, wider stakes designed for loose ground. When ordinary stakes will not hold, bury a sand or snow stake sideways as a deadman anchor. A filled stuff sack can also serve as a buried anchor when the manufacturer permits it, but protect the sack from sharp objects and retrieve it when leaving.
Rocky Ground
Search for soil pockets before abandoning normal stakes. Where staking is impossible, wrap guylines around large, stable rocks or use dedicated rock anchors. Keep sharp rock edges away from the canopy and cord. Do not balance an unstable rock upright and treat it as a substitute support pole.
Wooden Tent Platforms
Carry platform-compatible anchors, such as deck wedges, fishbone anchors, or cords that can be secured around approved platform points. A semi-freestanding conversion kit can help with some shelters, but vestibules and storm guylines may still need anchoring.
Snow
Compact the campsite and allow the snow to settle before pitching. Use snow stakes, skis, or buried deadman anchors where appropriate. Recheck the shelter as snow changes temperature and density.
Note: Steep walls may shed light snow, but that does not turn a three-season tent into a four-season shelter. Do not allow snow to build up against the canopy, poles, doors, or ventilation openings.
Strong Wind
Choose the most sheltered durable site available rather than relying only on the tent. Point the recommended end into the wind, keep the fly taut, use every relevant guy-out point, and inspect the anchors after gusts or rain. Avoid broadside exposure when the shelter has a clearly stronger end.
Key Considerations for Choosing a Trekking Pole Tent
Capacity and Usable Space
Do not judge comfort by the number of occupants alone. Compare floor width, floor length, peak position, wall slope, vestibule size, and whether poles block the doors. Two shelters with the same floor area can feel very different when one has steep walls and the other narrows sharply near the head or feet.
Solo hikers who keep gear inside may prefer a roomy one-person model or a light two-person model. Two hikers should confirm that the floor accepts both sleeping pads without forcing them against wet walls.
Total Packed Weight
Determine what the manufacturer’s number includes. “Minimum weight,” “tent weight,” and “typical weight” may exclude different items. Add every component you intend to carry:
- Fly or single-wall canopy
- Inner tent or bug net
- Stakes and stake sack
- Extra storm guylines
- Groundsheet
- Stuff sacks
- Repair tape and seam sealer
- Dedicated support poles when trekking poles are not carried
Pole Compatibility
Check four details before buying:
- Number of poles: One-pole and two-pole shelters are both common.
- Required height: Confirm that your poles can lock securely at the stated measurement.
- Tip or handle orientation: Follow the approved orientation to avoid damaging the peak.
- Adapters: Some shelters need a pole cup, tip protector, or manufacturer-specific adapter.
If you use fixed-length poles or plan to bicycle, paddle, or hike without trekking poles, check whether the manufacturer sells lightweight substitute poles.
Single-Wall vs. Double-Wall Construction
A single-wall design can provide an excellent space-to-weight ratio, but the waterproof canopy is also the interior wall. Ventilation and sleeping-position clearance are important because condensation can transfer to a sleeping bag.
A double-wall tent places a mesh or fabric inner beneath the fly. Moisture can still form on the fly, but occupants have more separation from it. Double-wall models may also allow the fly or inner to be used separately.
Fabric Choices
| Material | Main Strengths | Main Trade-Offs |
|---|---|---|
| Silnylon | Strong for its weight, compact, and widely used | Can absorb some water and loosen when wet; may need re-tensioning |
| Silpoly | Absorbs less water and usually holds its pitch better in rain | Performance still depends on denier, weave, coating, and construction |
| Dyneema Composite Fabric | Very light, waterproof, and low-stretch | Expensive, less compact, and sensitive to abrasion or repeated damage at stressed areas |
Fabric waterproofness does not guarantee that every finished seam is waterproof. Some shelters are factory taped or bonded. Others require the owner to apply seam sealer before the first wet trip. Check this requirement before leaving home.
Condensation Management
Condensation is not limited to trekking pole tents. It forms when moist air meets a cold surface. Reduce it by:
- Using peak and low vents
- Leaving a protected downwind door partly open
- Raising an adjustable fly when splash and wind allow
- Avoiding wet depressions and camping directly beside water when another durable site is available
- Keeping wet clothing and shoes outside the sleeping area
- Maintaining space between sleeping bags and single-wall fabric
Weather and Terrain
Choose a shelter for the worst conditions you reasonably expect, not only for its best published weight. Consider the number of required anchors, fly coverage, vent closure, zipper strength, side-panel size, snow-loading guidance, and whether the tent can be reinforced with optional guylines.
Cleaning and Maintenance
Follow the shelter manufacturer’s fabric-specific instructions. General tent-care guidance includes using cold or lukewarm water, a nonabrasive cloth, and mild fragrance-free soap when cleaning is needed. Never put a tent in a washing machine or clothes dryer.
After each trip, remove dirt and debris and allow the shelter to dry completely. Store it loosely in a cool, dry place rather than compressed in its backpacking stuff sack. Inspect seams, tensioners, guylines, stake loops, zippers, mesh, and pole-contact areas before the next trip. These practices follow REI’s tent-care guidance.
Popular Trekking Pole Tent Recommendations
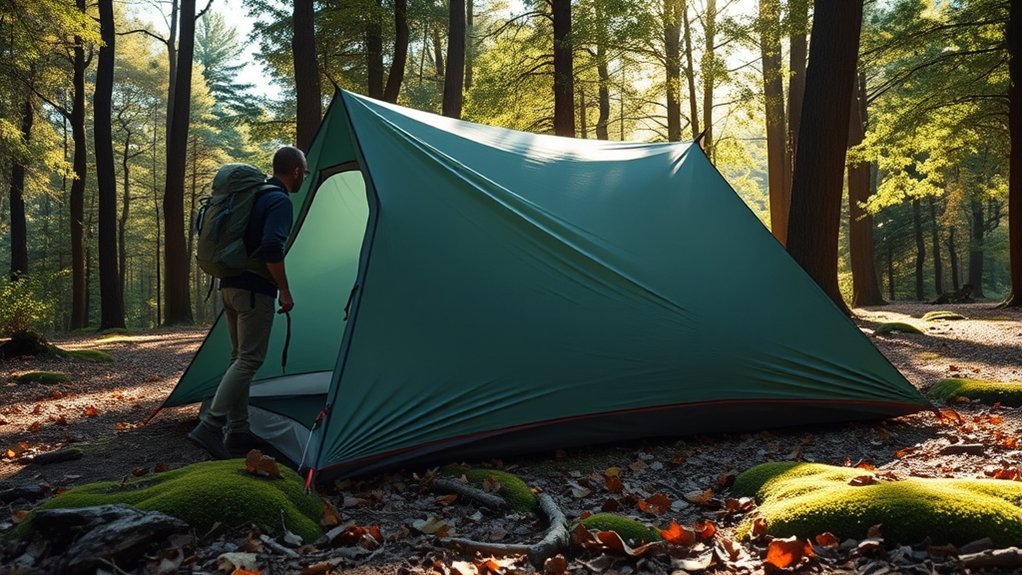
The following shelters serve different users. Weights and prices are manufacturer-listed figures accessed July 29, 2026. Always check the product page before buying because materials, included components, prices, and configurations can change.
| Shelter | Capacity and Type | Listed Weight | Best For | Important Caveat |
|---|---|---|---|---|
| Durston X-Mid 2 | Two-person, double-wall tent | 31.3 oz tent; 34.3 oz typical setup | Two hikers who value headroom, two doors, two vestibules, and a four-stake primary pitch | It is substantially heavier than the original article’s outdated 1.5-pound figure |
| Zpacks Duplex Classic | Two-person, single-wall DCF tent | 17.8 oz in the listed configuration | Ultralight hikers who want generous space for one or workable space for two | Requires two 48-inch poles and six to eight stakes, sold separately; the 13.9-ounce Flex Kit adds semi-freestanding support |
| Six Moon Designs Lunar Solo | One-person, single-wall silpoly tent | 26 oz without stakes or pole | Solo hikers seeking a roomy shelter at a lower price than most DCF tents | Listed at $260; needs one 49-inch pole, six stakes, and seam sealing unless the service is purchased |
| Tarptent Notch Li | One-person, double-wall DCF tent | 20.2 oz minimum; 22.75 oz typical in the lightest listed configuration | Solo hikers who want double-wall separation, two doors, and a narrow footprint | Requires two trekking poles or two compatible substitute poles |
| Seek Outside DST Tarp | Floorless open tarp | 19.5 oz with stuff sack | Experienced users who want several open tarp pitches for hunting, glassing, or minimalist camps | Not an enclosed tent; stake and cordage kit is separate, and the tarp requires seam sealing |
Durston X-Mid 2
The X-Mid 2 is a two-person, double-wall shelter with two doors, two vestibules, and offset trekking poles that do not block the entrances. Durston lists the complete tent at 31.3 ounces and its typical setup with the tent, sacks, and six stakes at 34.3 ounces. Its rectangular four-stake primary pitch can be more forgiving than shelters with numerous mandatory guy points.
Zpacks Duplex Classic
The Duplex Classic is a very light two-person Dyneema Composite Fabric shelter. It uses two 48-inch poles and six to eight stakes, which are sold separately. The optional Flex Kit can provide semi-freestanding support on platforms or difficult ground, but its 13.9-ounce weight reduces the advantage of the tent’s ultralight canopy.
Six Moon Designs Lunar Solo
The Lunar Solo provides 26 square feet of floor area, an 8.5-square-foot vestibule, and a 49-inch peak supported by one pole. Its 26-ounce listed weight excludes the pole and six required stakes. It is a useful value option, but buyers must account for seam sealing and single-wall condensation management.
Tarptent Notch Li
The Notch Li combines a DCF fly with a separate mesh or solid inner. Tarptent lists it as a 3+ season shelter and provides both minimum and typical weights. Its narrow shape fits smaller sites, while four primary stakes and two trekking poles create the structure.
Seek Outside DST Tarp
The DST is not a direct substitute for an enclosed tent. It is a 112-by-118-inch open tarp with 16 perimeter tie-outs and a reinforced center cone for a trekking pole. It does not include a floor, bug net, stakes, or cordage kit in the standard listing.
Warning: Never use a wood stove inside or beside a shelter unless the shelter and stove installation are expressly designed and approved for that purpose. The standard DST listing does not identify a stove jack or stove-compatible enclosed configuration.
Frequently Asked Questions
Can I use any trekking poles with a trekking pole tent?
No. Confirm the required number of poles, minimum and maximum height, locking strength, tip or handle orientation, and whether an adapter is needed. Fixed-length poles may not fit a shelter designed around a specific adjustable height.
How do I clean and maintain a trekking pole tent?
Shake out loose dirt and spot-clean the shelter according to the manufacturer’s instructions. When suitable for the fabric, use cold or lukewarm water, mild fragrance-free soap, and a nonabrasive cloth. Never use a washing machine or dryer. Dry the shelter completely and store it loosely in a cool, dry place.
Are trekking pole tents suitable for winter camping?
Some are suitable for limited winter conditions, but many are three-season shelters. Check the manufacturer’s rating, pole structure, snow-loading guidance, fly coverage, ventilation, and required anchors. Tent fabric provides little insulation; your sleeping pad, sleeping bag, and clothing supply most of your warmth.
What materials are used in trekking pole tents?
Common materials include silicone-coated nylon, silicone-coated polyester, polyurethane-coated fabrics, mesh, and Dyneema Composite Fabric. Each fabric has a different balance of price, weight, packed size, stretch, water absorption, abrasion resistance, and repair needs.
Can I set up a trekking pole tent without trekking poles?
Often, but only with a suitable alternative. The safest option is a manufacturer-approved substitute pole of the correct height. Some tarp designs can be suspended from a secure overhead line when their instructions allow it. Do not use loose rocks, sharp branches, or unstable objects as improvised upright supports.
Do trekking pole tents have more condensation?
Not automatically. Condensation depends on temperature, humidity, ventilation, site selection, and occupant moisture. It is more noticeable in a single-wall shelter because occupants are closer to the waterproof canopy. A double-wall inner provides more separation but does not prevent condensation from forming on the fly.
Are trekking pole tents hard to pitch?
They can feel less intuitive at first because the stake pattern creates the frame. A simple model may pitch quickly after several practice attempts. More complex designs require closer attention to corner angles, pole height, door tension, and optional guylines.
Can I take my trekking poles on a day hike after setting up camp?
Not while they are supporting the shelter. Base campers who need their hiking poles during the day should carry compatible substitute tent poles or choose a shelter with its own frame.
Conclusion
Trekking pole tents are a strong choice for backpackers who already carry hiking poles and are willing to learn a tension-based pitch. Their main benefits are efficient weight, compact packing, and adaptable designs. Their main limitations are dependence on anchors, site conditions, pole compatibility, and careful setup.
Choose by comparing the complete shelter system, not a headline weight. Confirm the wall design, usable space, required pole height, seam treatment, season rating, and anchor needs. Then practice the full pitch before your trip. A well-matched and well-pitched trekking pole tent can provide reliable shelter without unnecessary pack weight.
Sources
- Durston X-Mid 2 — current weight, dimensions, materials, fly-first pitching, and guy-out features.
- Zpacks Duplex Classic — current listed weight, pole and stake requirements, materials, and Flex Kit compatibility.
- Six Moon Designs Lunar Solo — current price, weight, pole height, dimensions, materials, and seam-sealing requirement.
- Tarptent Notch Li — current minimum and typical weights, double-wall construction, season rating, and pole requirements.
- Seek Outside DST Tarp — current tarp dimensions, weight, included components, tie-outs, and seam-sealing instructions.
- REI Tent Care Guide — cleaning, drying, campsite preparation, and long-term storage guidance.
