
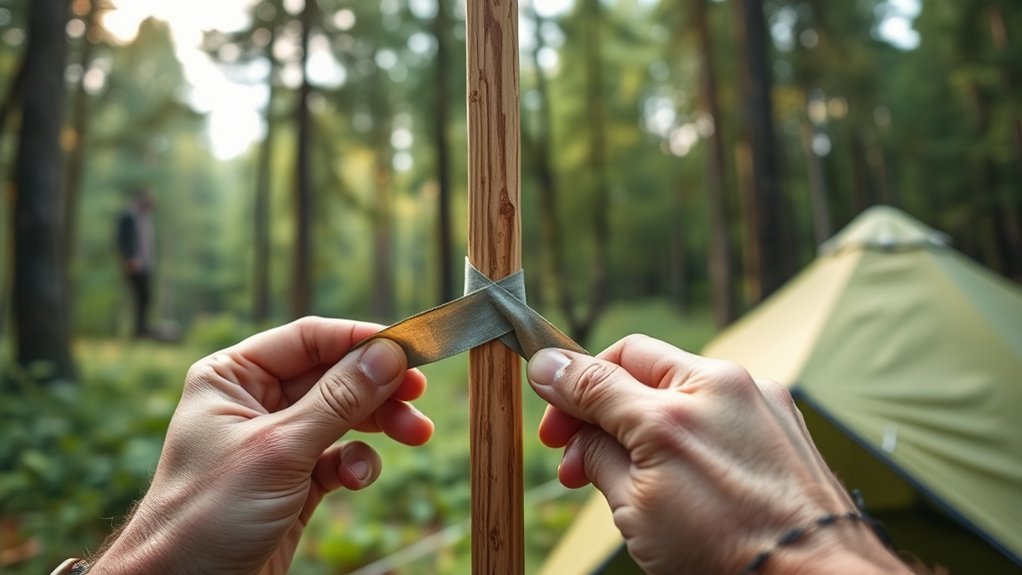
Last Updated on July 29, 2026 by Mason Reed
A broken tent pole does not always have to end your camping trip. A correctly fitted repair sleeve can restore enough support to protect the tent until you reach home, but the repair must be centered, secured, and checked often. The steps below cover snapped, split, bent, and joint-area damage, along with safer backup options when you do not have a sleeve.
Quick Answer
To splint a broken tent pole, unload the pole, align the damaged section, and center a correctly sized repair sleeve over the break. Secure both ends with heavy-duty tape so the sleeve cannot slide. If you have no sleeve, tape a tent stake beside the break as a temporary splint.
Key Takeaways
- Use a rigid repair sleeve that is only slightly wider than the pole, and center it over the damaged area.
- Tape both ends of the sleeve; do not rely on tent tension, rope alone, or tape alone to support a fully snapped pole.
- A tent stake can serve as an outside splint when a repair sleeve is unavailable.
- Treat the repair as temporary and replace the damaged segment or contact the tent manufacturer after the trip.
- Use alternate shelter if the repair shifts, the tent cannot hold its shape, or severe wind, lightning, or falling-branch hazards are present.
At a Glance
| Time Required | About 10–20 minutes in calm conditions |
| Difficulty | Easy to moderate |
| Tools Needed | Pole repair sleeve, heavy-duty tape, gloves, and optional multitool or scissors |
| Cost | Low; many tents include a repair sleeve |
Disclosure: As an Amazon Associate I earn from qualifying purchases. Some links on this page are affiliate links, at no extra cost to you.
Understanding the Importance of a Pole Splint
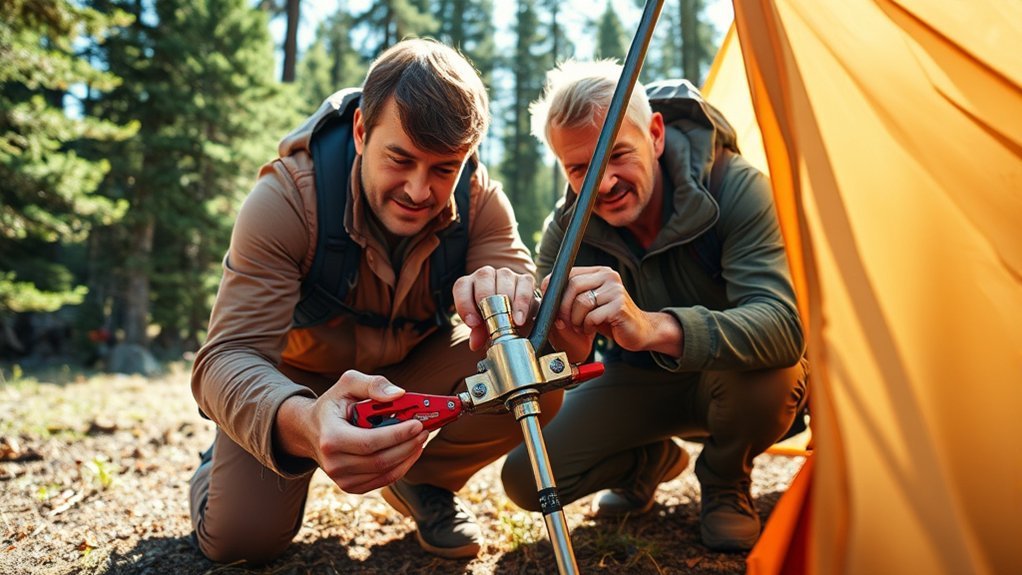
Tent poles form the frame that keeps your shelter upright. A kinked, split, or snapped section can make the tent sag, flap, or collapse, so the damage should be stabilized before the pole carries normal tension again.
A pole splint, also called a repair sleeve, is a short rigid tube that slides over the damaged section. The sleeve spreads the load across intact areas on both sides of the break. REI’s field-repair guidance recommends using a sleeve that is only slightly larger than the pole, centering it over the break, and taping both ends.
The result is an emergency repair, not a restored factory-strength pole. It may keep the shelter usable in mild conditions, but you should continue checking the sleeve and arrange a permanent repair after the trip.
Tools Needed for Splinting a Tent Pole
Pack the repair items with the tent rather than in a separate box that may be left at home. The most useful kit includes:
- Correctly sized pole repair sleeve: It should slide over the pole without excessive side-to-side movement. MSR describes the sleeve as a temporary splint that is slid over the broken section and secured in place.
- Heavy-duty tape: Duct tape or another strong field tape secures the sleeve at both ends. Wrap tape around the pole and sleeve, not onto the tent fabric.
- Work gloves: Broken aluminum edges and split fiberglass can be sharp.
- Multitool, pliers, knife, or scissors: These help trim tape and carefully compress a flared pole end only when needed.
- Tent stake and cordage: A stake can act as an outside splint if the sleeve is missing. Cord can supplement tape, but it should not be the only support for a snapped pole.
- Optional stake tool or mallet: This is useful only if you must restake the shelter after the repair; it is not needed to install the sleeve.
Pro Tip: Check the sleeve against every pole diameter before your trip. Hubbed and multi-diameter pole sets may need more than one sleeve size.
Before You Start: Identify the Damage
Reduce tension on the damaged pole before touching it. If possible, have another person support the tent, remove nearby clips from the pole, and loosen the rainfly and guylines enough to unload the broken area.
Check the Type and Location of the Break
- Bent or kinked pole: A sleeve can bridge the weak spot. Straighten only enough for the sleeve to pass over it; repeated bending can make the metal fail.
- Split or snapped section: Align the pieces, cover sharp edges, and use a rigid sleeve or stake splint.
- Break at a ferrule or joint: Splint the two sections together. The repaired pole may no longer fold at that joint.
- Damaged hub or pre-bent section: Do not pull hard on hub anchors or force a sleeve over a shape it cannot fit. Stabilize the tent only if this can be done without distorting the hub, then seek a replacement part.
- Broken shock cord only: The pole sections may still be assembled carefully by hand. Keep them in their original order and replace the shock cord at home.
Warning: Do not keep loading a pole that has sharp exposed fragments, a shifting hub, or a repair that cannot hold the tent’s shape. Lower the tent and use a tarp, vehicle, building, or other suitable shelter when conditions make the repair unsafe.
Step-by-Step Guide to Applying a Pole Splint
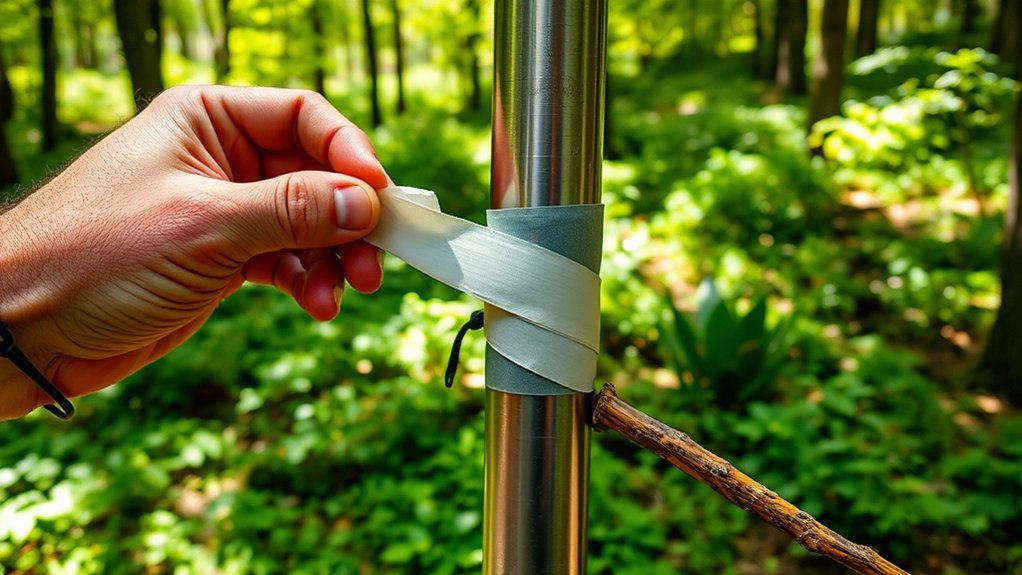
- Unload the pole. Loosen the fly and nearby guylines, unclip the tent body around the break, and support the frame so the damaged section is not under bending force.
- Protect your hands. Put on gloves. Cover sharp splinters or jagged edges with a small wrap of tape before handling them.
- Align the pole. Bring the broken ends into a straight line. If a metal section is only bent, ease it toward straight just enough to accept the sleeve. Do not keep bending it back and forth.
- Slide on the sleeve. Feed the sleeve over a pole end and position it so the break sits near the middle. The sleeve should overlap sound pole on both sides.
- Secure both ends. Wrap heavy-duty tape around one end of the sleeve and pole, then repeat at the other end. The tape should stop the sleeve from sliding without crushing the pole.
- Reload the frame slowly. Reattach clips and tension a little at a time. Watch the repair while the pole returns to its working curve.
- Inspect the complete pitch. Confirm that the sleeve stays centered, the tent fabric is not rubbing on a sharp edge, and the pole is not forcing the shelter out of shape.
Note: If the break sits where one pole section inserts into another, the splint may lock those sections together. Do not force the repaired joint to fold when packing the tent.
Tips for Securing Your Splint Effectively
A splint works only when it remains centered and cannot rotate or slide. Use the following checks instead of relying on pole tension alone.
Use Additional Materials
Heavy-duty tape is the main securing material. Wrap each end of the sleeve separately so the damaged center remains visible during inspection. Zip ties or cordage can add backup restraint, but trim or cover hard edges so they do not rub the rainfly or tent body.
If you do not have a repair sleeve, align a tent stake beside the break and tape both ends of the stake firmly to the pole. A straight, smooth stick can be a last-resort substitute, but remove bark and sharp points and keep it from contacting the fabric.
Check Periodic Stability
Inspect the repair after the tent is first tensioned, after strong gusts or rain, and before sleeping. Look for sliding tape, new cracks, fabric abrasion, or a change in the tent’s shape. Do not push hard on the pole to “test” it; a forceful test can extend the damage.
Ensure Proper Alignment
- Center the sleeve over the break with sound pole extending into both sides.
- Keep the pole sections in their natural straight line before restoring the tent’s curve.
- Confirm that the sleeve does not press against a hub, clip, pole crossing, or fabric panel.
- If access requires separating sections, label their order and orientation first so the pole can be reassembled correctly.
Common Challenges and Solutions
- The sleeve will not slide over a flared break: Unload the pole, wear gloves, and use pliers to compress protruding metal carefully. Do not crush an intact ferrule.
- The sleeve is too loose: Add a thin tape wrap to the intact pole beneath one side of the sleeve, then tape both sleeve ends. Replace it with the correct size when possible.
- The sleeve is too small: Do not force it. Use a tent stake as an outside splint or lower the tent until you can obtain the correct sleeve.
- The break is beside a joint: Bridge both sections with the sleeve and accept that the pole may not fold at that point.
- Tape will not stick: Dry dirt, moisture, and condensation from the pole. Warm the tape in a pocket before applying it in cold weather.
- The pole keeps bowing sideways: Reduce fly and guyline tension, check that the sleeve is centered, and verify that the pole is routed through the correct clips or sleeves.
- The repair shifts in wind: Lower the shelter, move to a more protected site if safe, or use alternate shelter. The National Park Service advises campers to consider wind hazards and avoid exposed locations when selecting a site.
Maintaining Tent Stability During Repairs

Repair the pole in the calmest position available. In wind, keep control of the rainfly, secure loose fabric, and have another person support the frame. If the site is exposed or the weather is worsening, changing plans is safer than asking a temporary splint to handle severe loads. The National Park Service wind-safety guidance emphasizes preparation and a willingness to turn back or change plans during high winds.
Proper Staking Techniques
- Follow the tent manufacturer’s layout and use every required stakeout and guy point.
- Place each stake so the pull from the guyline loads it securely; the correct angle depends on the stake, soil, and line direction rather than one universal angle.
- Use stakes suited to the ground. Soft soil or sand generally needs greater holding area or length, while hard ground may require narrower stakes or another approved anchor.
- Tension guylines evenly. Over-tightening one side can twist the repaired pole and move the splint off center.
- Recheck stakes and guylines after rain, wind, or soil softening.
Regular Maintenance Checks
Check the sleeve, tape, pole alignment, clips, stakes, and guylines as one system. Retape the ends if they loosen. If the crack grows beyond the sleeve, a hub shifts, or the pole can no longer hold the normal tent shape, stop using the repair as a structural support.
Preventive Measures to Avoid Future Breaks
- Practice before the trip: Learn the pole layout and carry the model-specific instructions.
- Seat every joint fully: Partly connected ferrules concentrate bending force and can split a pole end.
- Go slowly during setup: REI recommends carefully seating each pole section rather than forcing the frame.
- Do not snap shock-corded sections together: Guide each joint by hand so the ferrule does not chip or pinch.
- Break poles down from the middle: This distributes shock-cord tension more evenly than starting at one end.
- Inspect and clean the poles: Look for cracks, bent ferrules, worn shock cord, corrosion, and grit inside the joints before each trip.
- Use the correct pole set: Replace damaged parts with the manufacturer-specified diameter, length, shape, and material rather than treating aluminum and fiberglass segments as interchangeable.
- Store poles protected and dry: Keep them in their sleeve or case and avoid crushing them under heavy gear.
Enhancing Your Camping Experience With Proper Repairs
Prepared campers can solve a small failure before it becomes a shelter emergency. Keep a repair sleeve, tape, gloves, a multitool, spare cord, and one or two suitable stakes in the tent bag. Also carry a separate emergency shelter such as a tarp or bivy when you travel far from vehicles or buildings.
After the trip, remove the temporary tape carefully and inspect the entire pole set. Replace the damaged segment, order the correct pole set, or contact the manufacturer or a professional pole-repair service. Big Agnes describes its pole splint as an on-trail measure intended to keep the pole system working until the user can arrange a proper repair.
A field splint should get you to a permanent repair—not become the permanent repair.
Frequently Asked Questions
Can I use duct tape instead of a splint?
Tape alone may contain a small split for a short time, but it does not provide the rigid support needed for a fully snapped or badly kinked pole. Use a repair sleeve or a tent stake as the structural splint, then use tape to secure it.
How long can a splint hold up a tent?
There is no reliable number of hours or days. Durability depends on the break, sleeve fit, tent design, weather, and how well the repair stays aligned. Check it often and replace the damaged part as soon as practical.
What materials are best for making a DIY splint?
A tent stake is the best common field substitute because it is rigid, smooth, and already in your kit. Tape it beside the break. A straight stick can work only as a last resort after sharp bark and points are removed. Avoid inserting random rods inside the pole, where they may jam or damage the ferrules.
Is it safe to sleep in the tent after a repair?
Only when the tent holds its normal shape, the sleeve does not move, sharp edges cannot reach the fabric or occupants, and the weather is mild enough for a temporary repair. Leave the tent and use safer shelter if the repair shifts, the frame deforms, or wind, lightning, flooding, or falling branches create a hazard.
How can I prevent future tent pole breaks?
Seat every joint fully, guide sections together instead of snapping them, follow the correct pole layout, avoid forcing a bowed frame, and break the pole down from the center. Inspect joints and shock cord before each trip and store the pole set where it cannot be crushed.
What if the pole breaks at a joint or hub?
A break at a straight joint can often be splinted across both connected sections, although the pole may not fold there afterward. A cracked hub or shaped connector is harder to stabilize. Do not pull or twist the hub anchors; lower the tent if the hub cannot hold its normal geometry.
Can I keep using the splinted pole after the trip?
Do not treat a field splint as a permanent repair. Once home, replace the damaged segment or complete pole set, or use the tent manufacturer’s repair service. Continuing to use a fatigued section can damage nearby pole parts and tent fabric.
Sources
- REI Co-op: How to Fix a Tent Pole — repair-sleeve sizing, centering, taping, and tent-stake splint instructions.
- MSR: Tent Pole Repair Splint — confirms that a sleeve is a temporary field splint.
- Big Agnes: DIY Tent Repairs — on-trail splint use and follow-up pole repair.
- REI Co-op: How to Set Up a Tent — careful pole assembly and setup practices.
- REI Co-op: Tent Care Basics — pole breakdown, cleaning, and storage practices.
- National Park Service: Wind Safety — changing plans and prioritizing safety during high winds.
Conclusion
A pole repair sleeve can turn a damaged frame into a usable temporary shelter when it is centered over the break and secured at both ends. Work with the pole unloaded, contain sharp edges, restore tension slowly, and keep checking the repair. If the frame shifts or severe weather develops, lower the tent and choose safer shelter. Replace the damaged pole section after the trip so the next setup starts with a sound frame.
