
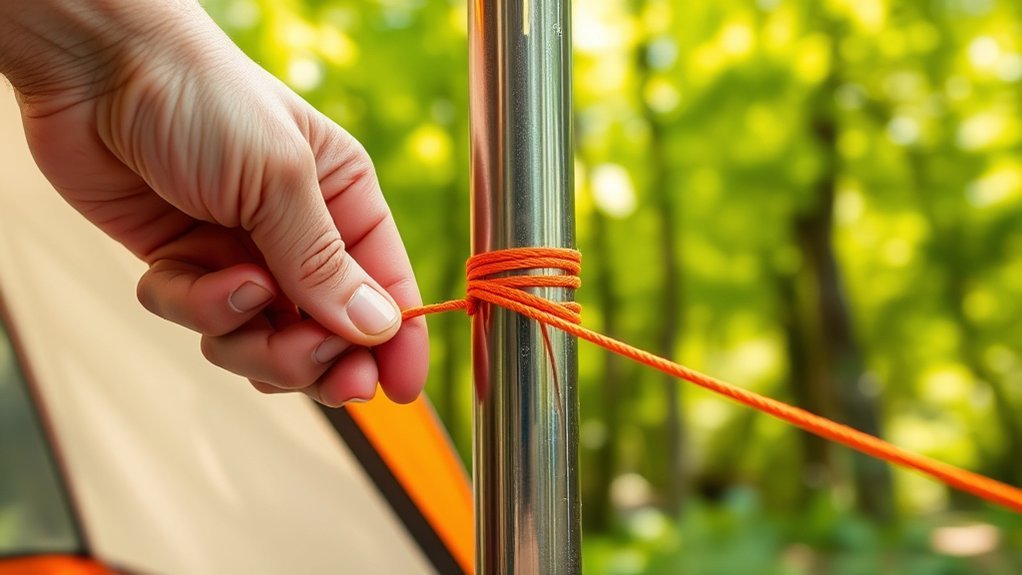
Last Updated on July 27, 2026 by Mason Reed
Loose tent-pole sections that no longer pull together on their own often point to worn or stretched shock cord. Replacing that elastic is usually a manageable home repair and can extend the life of an otherwise serviceable pole set. The key is to preserve the pole order, match the replacement cord to your particular pole system, and adjust the tension rather than relying on one universal measurement.
Quick Answer
To replace tent pole shock cord, label every pole section, copy the original cord routing, remove the worn elastic, choose replacement cord that matches your pole system, thread it through in order, anchor both ends, and adjust tension until the sections seat firmly but still fold easily. Follow your tent maker’s length guidance.
Key Takeaways
- Replace shock cord when it is frayed, broken, permanently slack, or no longer pulls pole sections together.
- Label every pole section and note its orientation before removing the old cord.
- Match the replacement cord to the original diameter or the tent manufacturer’s specification; there is no universal tent-pole cord size.
- Cord-length and tension formulas vary by manufacturer, so do not automatically use the same percentage or “8 inches shorter” rule for every tent.
- Shock cord helps retain and assemble pole sections; cracked, bent, or split pole tubing requires a separate structural repair.
At a Glance
| Time Required | About 30–60 minutes for a simple pole; hub systems may take longer |
| Difficulty | Beginner-friendly for straight pole sets; moderate for some hubbed systems |
| Tools Needed | Correct-size replacement shock cord, scissors, marker or masking tape, thin lead wire if needed, clamp or locking pliers, and an optional lighter for sealing a compatible synthetic cord end |
| Cost | Roughly $5–$30+ for cord or a replacement kit, depending on length and brand |
Disclosure: As an Amazon Associate I earn from qualifying purchases. Some links on this page are affiliate links, at no extra cost to you.
Inspect Your Tent Poles Before Replacing the Shock Cord

Start by laying the entire pole set out straight and checking what is actually wrong. Worn shock cord commonly becomes slack, frayed, broken, or noticeably less elastic. NEMO also recommends replacement when the poles stop fitting together correctly because the cord has lost elasticity.
Do not assume every loose pole needs new cord. Check that the end fittings are still attached, the pole sections are in the correct order, and each ferrule can seat fully inside the neighboring section. Cascade Designs notes that incompletely seated pole sections can concentrate stress near ferrules and contribute to pole damage.
- Replace the cord if it is broken, badly frayed, permanently stretched, or has lost most of its elasticity.
- Retension it first if the cord is still supple and undamaged but has only become slightly loose. Shortening and retying an intact cord may restore enough tension.
- Repair the pole itself if a tube is cracked, split, sharply bent, or flared. New shock cord does not repair structural pole damage.
Before disassembly, number the pole sections with a permanent marker or pieces of masking tape. Also mark their orientation if different sections, ferrules, hubs, or tips could be confused. Both REI and NEMO recommend keeping the original sequence organized during repair.
Choose the Right Replacement Shock Cord
Match the Cord Diameter
There is no single shock-cord diameter that fits every tent pole. Lightweight aluminum poles may use much thinner cord than large fiberglass or heavy-duty aluminum poles. Tent Pole Technologies, for example, lists replacement sizes ranging from 1/16 inch through 3/16 inch for different tubing diameters.
The safest approach is to check your tent manufacturer’s repair instructions or compare the replacement cord directly with the original. The cord must pass freely through every pole section and through any hub, but it also needs enough strength and elasticity for that particular pole set.
See the Tent Pole Technologies shock-cord sizing chart for examples of how cord size can vary with pole tubing.
Determine the Correct Cord Length and Tension
Replacement length also varies by manufacturer and pole design. Do not assume one percentage or one fixed number of inches works for every tent.
- REI recommends matching a serviceable original cord and, when the old cord has permanently stretched, starting about 8 inches shorter before testing and adjusting.
- Hilleberg instructs owners of its pole systems to cut new cord to 70% of the pole length.
- NEMO’s replacement procedure measures new shock cord against the assembled pole while the new cord is slack, then relies on the knots and final stretching to create tension.
There is no universal tent-pole shock-cord length. Match the pole maker’s instructions first, then test the assembled and folded pole before making the final trim.
Prepare the Pole Set for Replacement
Work on a clean, flat surface where small pole tips, clips, and end fittings cannot roll away. Lay the entire pole out in order and photograph the layout if it includes hubs, unequal sections, or unusual end hardware.
Remove the accessible end fitting according to the pole design. Some tips unscrew; others pull straight out. Untie the original shock-cord knot if possible, or cut the cord only after you have recorded how it was anchored.
Pull the old cord out while keeping every section in sequence. Save the old cord until the new installation is complete because its routing, knots, and approximate length can still provide useful reference information even when its elasticity is gone.
Note: The original cord length is only a reference if the elastic has permanently stretched. Manufacturer-specific replacement instructions should take priority over copying a worn cord exactly.
How to Replace Tent Pole Shock Cord Step by Step
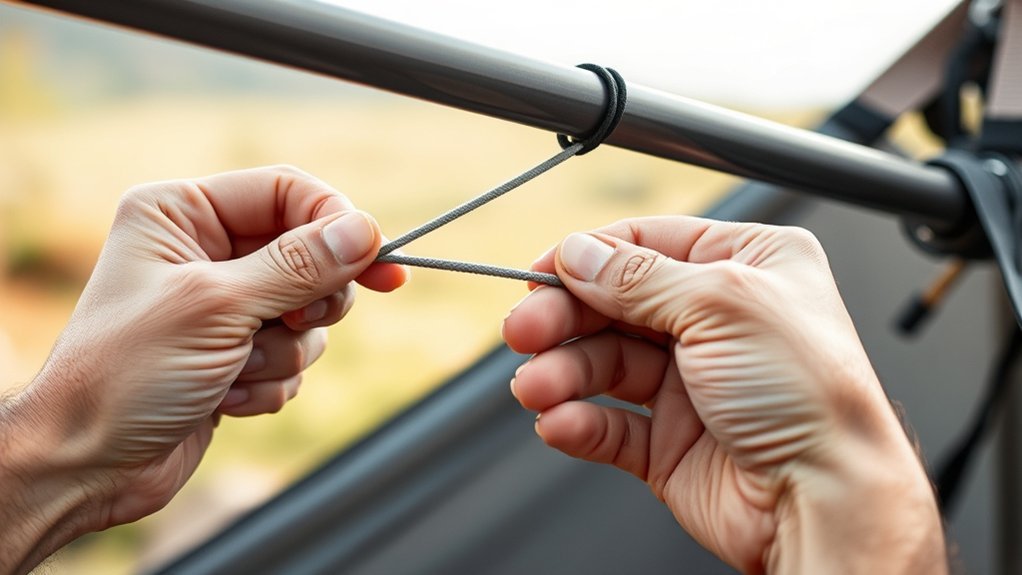
- Lay out and label every section. Keep the pole straight and mark the sections in order. Mark hubs and unusual ferrule directions too.
- Remove one end fitting. Unscrew or gently pull the end tip according to the pole design, then release the old cord from its anchor.
- Remove the worn cord. Pull it through the pole sections without changing their order.
- Prepare the replacement cord. Match the original diameter or manufacturer specification and determine the starting length using the instructions for your pole system.
- Anchor the first end. Reproduce the original anchoring method. Depending on the pole, this may mean tying to an end stop, forming a loop, or tying through a hooked pole tip.
- Thread the pole sections. Feed the cord through each numbered section in the original order and orientation. Seat the sections together as you work.
- Create working tension. When only the last section remains, stretch enough cord out to reach the final fitting and hold it temporarily with a clamp or locking pliers.
- Anchor the final end. Feed the cord through the last section, secure it to the end fitting using the original method, and reinstall the fitting.
- Release the clamp and test. Assemble the pole fully. The sections should pull together firmly without needing excessive force.
- Fold the pole. Make sure it can collapse normally without the shock cord becoming drum-tight. REI recommends folding a completed pole beginning near its middle rather than starting at one end.
Pro Tip: If flexible cord will not pass through a narrow pole section, tape its free end securely to a thin lead wire and feed the wire through first. Coghlan’s uses this technique in its tent-pole shock-cord replacement instructions.
Warning: Do not over-shorten the cord. Excess tension can make the pole difficult to fold and places unnecessary load on end fittings. If you seal a compatible synthetic cord end with a lighter, use only brief heat, keep the flame away from the tent and elastic core, and allow the tip to cool before handling it.
How to Handle Hub-Based Tent Pole Systems
Hubbed backpacking poles need extra attention because different branches may route through the hub in different ways. Photograph the hub and label every branch before removing any cord.
Note: NEMO documents a three-pronged hub used on models including Dagger, Aurora, Hornet, Hornet Elite, Firefly, and Dragonfly pole systems. One ridge-pole cord attaches with a small black clip inside the hub. Follow NEMO’s model-specific instructions rather than forcing the clip or treating the hub like a normal straight pole.
For the NEMO system described above, the manufacturer instructs users to carefully lift the hub covering, free the cord from the black clip, and work the clip through the hub’s center opening. After the repair, a loop of shock cord is passed back through the hub and reattached to the clip. See NEMO’s pole-set repair instructions for the illustrated procedure.
Warning: NEMO’s instructions call for a sharp blade to lift the covering on that specific hub design. Keep fingers behind the cutting edge and do not use a blade on an unfamiliar hub unless the pole manufacturer specifically directs you to do so.
Troubleshooting the New Shock Cord
The Cord Is Still Too Loose
Untie one end and shorten the cord a small amount, then retest. The sections should pull together without leaving loops of slack between them. Make gradual changes because cord that has been cut too short cannot simply be lengthened again.
The Cord Is Too Tight
If folding the pole takes excessive force or the elastic is heavily stretched even while the pole is collapsed, add length before making a final cut. If you already trimmed too much, replacing that run with a longer piece is safer than leaving it overtensioned.
The Cord Will Not Feed Through a Section
First confirm that the replacement cord is not too thick for the tube or hub. Straighten the pole section and use a thin lead wire if necessary. Avoid creating a bulky tape joint that can jam inside a ferrule.
The End Tip Will Not Come Out
Check whether it is threaded before pulling harder. Cascade Designs notes that some end tips twist out while others pull straight out. If the manufacturer permits pliers, grip gently so you do not crush or scar a plastic fitting.
The Sections Will Not Seat Fully
Check the numbered order, ferrule orientation, trapped cord, dirt, and bent tubing. Every section should slide fully onto its ferrule. Do not force together sections that are visibly cracked, flared, or badly bent.
Field Repairs and Tent Pole Maintenance

If the shock cord snaps during a trip but the pole tubes themselves are intact, the tent is not automatically unusable. REI notes that you can carefully assemble the individual pole sections by hand until you can replace the cord at home. Take extra care during setup and takedown because loose sections are easier to separate or lose.
If a pole tube cracks, splits, or snaps, that is a different problem. Use a properly sized pole repair sleeve or splint as a temporary field repair, centering it over the damaged area and securing it with strong tape. Both REI and Cascade Designs recommend carrying a pole-repair splint for this purpose.
Many manufacturers can also supply replacement pole segments, so one damaged tube does not always require a complete new pole set. Before ordering parts, identify the exact tent model and pole section.
Between trips, inspect the cord for abrasion and loss of elasticity and check the pole tubes for cracks, bends, flared ends, or damaged ferrules. During setup, make sure each section is fully seated before bending the pole into its working shape.
Frequently Asked Questions
How often should I replace my tent’s shock cord?
There is no fixed replacement interval. Replace it when you see significant fraying, a break, permanent slack, loss of elasticity, or pole sections that no longer pull together normally.
What type of shock cord is best for tents?
Use elastic shock cord intended for pole or outdoor-equipment repair and match the diameter and construction specified for your pole system. Sizes vary widely, so the original cord or manufacturer specification is a better guide than a universal diameter.
How tight should tent pole shock cord be?
It should pull the sections together firmly during assembly but still allow the pole to fold without excessive force. Exact tension and replacement length vary by manufacturer, so use the maker’s instructions and test before trimming the final length.
Can I use regular rope instead of shock cord?
Regular rope is not a good permanent replacement because it does not stretch and will not provide the self-tensioning action that keeps sections organized during setup and folding. If shock cord breaks in the field, however, intact pole sections can often still be assembled carefully until you make a proper repair.
Can I shorten loose shock cord instead of replacing it?
Sometimes. If the cord is still elastic, smooth, and undamaged, shortening and retying it may restore useful tension. Replace it instead if it is brittle, frayed, broken, or permanently stretched with little spring left.
Is it necessary to replace all shock cords at once?
No. You can usually replace one worn cord run at a time. If every cord in the pole set is the same age, inspect the remaining runs for similar loss of elasticity so another failure does not surprise you on a trip.
Conclusion
Replacing worn tent pole shock cord restores the convenient tension that keeps pole sections together during setup, packing, and transport. The repair is straightforward once you preserve the original section order and cord routing, but cord size and tension are not universal. Match your pole system, follow the manufacturer’s guidance, and test both the fully assembled pole and the folded pole before heading outdoors.
If the pole tubing itself is cracked, split, or badly bent, treat that as a separate structural repair rather than expecting new shock cord to solve it. A replacement segment or temporary repair splint is the better solution for damaged tubing.
Sources
- REI Expert Advice — How to Fix a Tent Pole — shock-cord replacement, section labeling, tension adjustment, folding, and field use after cord failure
- NEMO Equipment — How to Fix Your Pole Set — shock-cord wear signs, pole organization, and three-pronged hub repair
- Cascade Designs / MSR Support — Tent Pole and Shock Cord Repair — end-tip removal, pole-segment orientation, ferrule seating, splints, and final setup testing
- Coghlan’s — How to Replace Shock Cord in a Tent Pole — lead-wire threading, cord preparation, clamping, and tensioning
- Hilleberg — How to Replace the Shock Cord in a Pole — manufacturer-specific 70% cord-length method and end-stop procedure
- Tent Pole Technologies — Shock Cord Sizing — examples of different cord diameters for fiberglass and aluminum pole tubing
