

Last Updated on July 29, 2026 by Mason Reed
Folding a tent is easier when you remove loose gear, let trapped air escape, match the folded width to the carry bag, and control the frame or poles as you work. The exact pack-down sequence depends on whether you have a folding-frame canvas tent, a standard dome or tunnel tent, an instant tent, or a spring-steel pop-up tent.
Quick Answer
To fold a tent, empty and dry it, remove the rainfly and loose accessories, release the poles or folding frame according to the manufacturer’s instructions, flatten the fabric, fold it to the bag’s width, and roll or stuff it without forcing the zippers, poles, or coatings. Store it loosely once home.
Key Takeaways
- Check your tent’s manual first because folding-frame, dome, instant, and pop-up tents use different pack-down methods.
- Remove dirt, gear, stakes, guylines, and the rainfly before making the final fold.
- Keep hands clear of hubs, hinges, and telescoping legs while collapsing an integrated frame.
- A wet tent may be packed temporarily for travel, but it should be unpacked and dried as soon as possible.
- Use the fitted bag for transport; use a loose, breathable bag in a cool, dry place for long-term storage.
At a Glance
| Time Required | About 10–20 minutes, depending on tent size and frame type |
| Difficulty | Easy for most tents; moderate for large integrated-frame tents |
| Tools Needed | Carry bag, stake bag, dry towel, and a soft brush if needed |
| Cost | $0 with the included bags; optional cleaning or repair supplies cost extra |
Disclosure: As an Amazon Associate I earn from qualifying purchases. Some links on this page are affiliate links, at no extra cost to you.
Preparation for Folding Your Tent
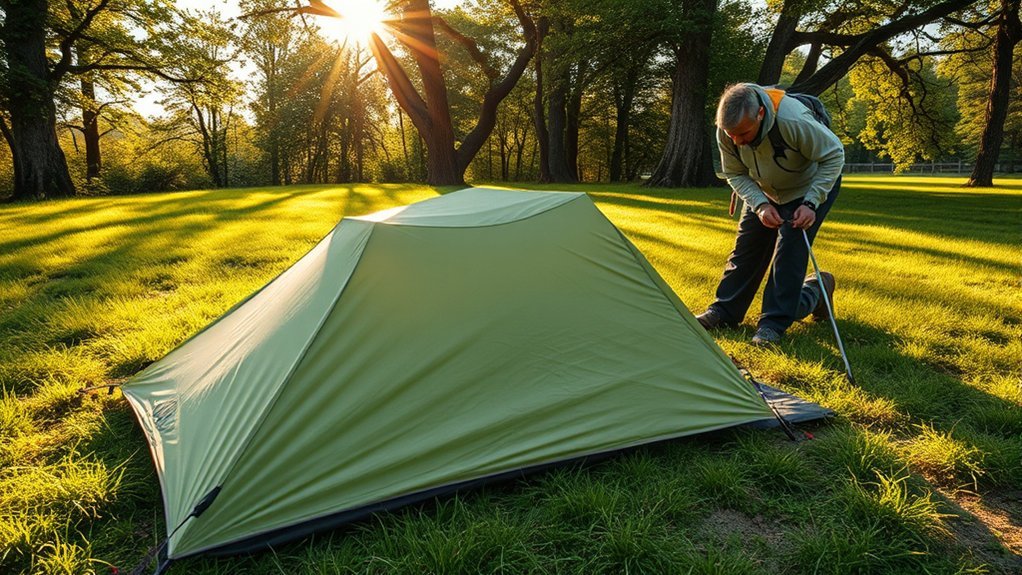
Before folding, identify the tent type and read its pack-down instructions. The center-pull method described below is most relevant to a canvas tent with an integrated folding frame. A dome tent with removable shock-corded poles, an instant hub tent, and a pop-up tent require different steps. Manufacturer instructions should take priority over any general guide.
- Empty the tent. Remove bedding, lights, organizers, and loose gear. Check pockets and corners.
- Shake or sweep out debris. Dirt and grit can abrade the floor, fabric, and zipper coils during transport.
- Dry the fabric as much as conditions allow. Wipe standing water and condensation from the floor and rainfly.
- Remove accessories. Detach the rainfly or skull cap, awning poles, vestibule parts, guy ropes, and removable groundsheets in the order specified by the manual.
- Release tension gradually. Loosen guylines before pulling stakes. Keep enough anchors in place to stop a large tent from moving in the wind until you have control of the frame.
- Open a path for air. Leave one door or lower zipper partly open unless the manual says otherwise. This helps air escape when the fabric is rolled.
Note: “Skull cap” is a model-specific name for a small top fly or weather cover. If your tent uses a full rainfly, treat it as a separate component and follow the maker’s folding instructions.
Managing an Integrated Folding Frame
Large canvas tents may have hinged or telescoping frames that stay attached to the tent body. These frames can move suddenly if a clip, hub, or leg is released under tension. Work on level ground, keep children and pets away, and ask another adult to help if the tent is heavy or windy.
Warning: Keep fingers, clothing, and loose guylines away from hinges, hubs, sliding joints, and telescoping legs. Never force a frame that is still clipped, staked, or under fabric tension.
Lowering the Frame Safely
If your model’s instructions direct you to work from the doorway, stand where you can control the center frame without placing your body beneath a moving section. Unclip the tent body from the frame in the maker’s stated order, usually working evenly from side to side rather than releasing one entire side at once.
- Confirm that awning poles, spreader bars, and external braces have been removed.
- Release locking buttons or hubs one at a time while supporting the section that will move.
- Lower the frame with steady pressure; do not let it drop or snap closed.
- Stop if the frame binds. Look for a missed clip, twisted fabric, loaded hinge, or bent component.
Preventing Springing Legs and Pinched Fabric
Control each leg or frame section until it is fully collapsed. Fold loose fabric away from joints before closing them. Remove the final corner pegs only when the frame is stable and the tent cannot lift or slide.
| Step | Action | Safety Check |
|---|---|---|
| Control the center | Support the moving frame section | Stay outside its closing path |
| Remove clips | Work in the manual’s sequence | Check both sides before lowering |
| Collapse legs | Use steady, even pressure | Keep fingers clear of joints |
| Remove final pegs | Hold the tent against wind | Confirm the frame is stable |
| Fold the fabric | Pull fabric away from hinges | Do not trap mesh or zipper tracks |
Initial Tent Folding Techniques
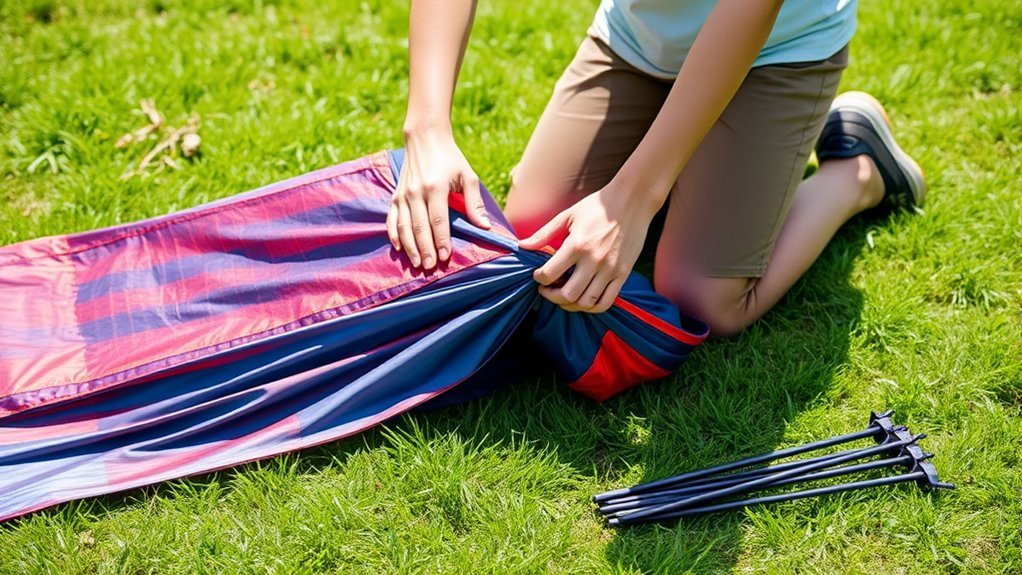
Once the frame is safely lowered or removed, spread the tent on a clean, smooth surface. Close mesh panels and secure loose toggles, but leave a small zipper opening for air unless the manual calls for fully closed doors. Bring guylines inside the fold or coil them separately so they cannot snag.
Center Pull Technique for Folding-Frame Tents
For a compatible integrated-frame tent, gather the center panel toward one side, then gently shake and smooth the fabric. Pull the center toward the front, then toward the opposite side, working out wrinkles without dragging the coating over rocks or sharp debris.
- Keep the folded frame straight and aligned.
- Spread bulky door panels and window covers so they do not form one thick lump.
- Move trapped air toward the partly open door or vent.
- Keep zippers and buckles away from hard frame edges.
Neat Fold Process
Use the carry bag as a width guide. Fold one long side toward the center, then the other side, until the bundle is slightly narrower than the bag. Fold one half over the other only if that matches the manufacturer’s method and does not force the frame. Smooth the fabric after each fold instead of kneeling directly on windows, mesh, or coated panels.
Pro Tip: Place the empty carry bag beside the tent before the final folds. Matching its width early is faster than unrolling a bundle that turns out too wide.
Final Folding Steps for Compactness
Gather ropes and cords so they cannot hang outside the bundle. Align the sides, press out large air pockets with your forearms, and roll from the end opposite the open door or vent. Use firm, even pressure rather than crushing the tent with your knees.
The carry bag is for compact transport; a loose, breathable sack is better for long-term storage.
- Fold the bundle to the carry bag’s width.
- Place rigid or bulky sections where they will not press into mesh or clear windows.
- Roll slowly while directing air toward the opening.
- Use the bag’s straps to hold the finished roll if provided.
- Do not force the zipper or use your full body weight to compress the tent.
Completing the Packing Process
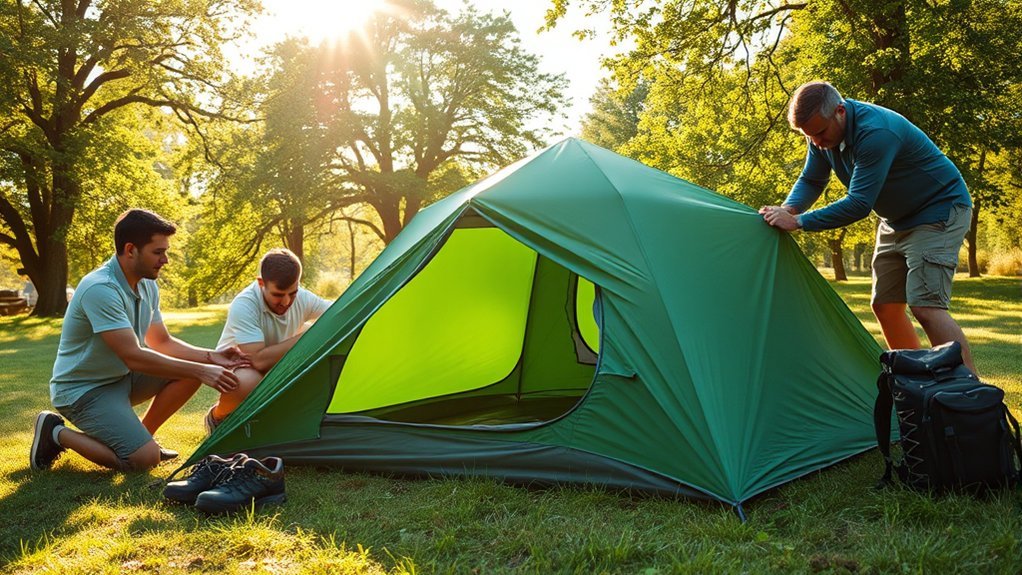
Slide the rolled tent into its bag without forcing the fabric past a tight zipper. Fold the rainfly or skull cap separately, matching its width to the main bundle. If the manufacturer designed the fly to wrap around the tent body, place it where the manual shows so buckles and seam tape are protected.
- Count the stakes and store them in a separate durable stake bag.
- Bundle poles so sharp tips cannot rub against the tent body.
- Keep repair sleeves, patches, and spare guylines in a small labeled pouch.
- Check the campsite for forgotten pegs, cords, trash, and accessories.
- Loosen compression straps after returning home if the tent will not be used again soon.
How to Fold Other Common Tent Types
Standard Dome or Tunnel Tent
- Remove the rainfly, stakes, and guylines.
- Push shock-corded poles out of sleeves rather than pulling them through.
- Break each pole down from the middle and work toward the ends to distribute tension along the shock cord.
- Spread the tent body flat and place the folded poles in their pole bag.
- Fold the tent to the pole bag’s length or the stuff sack’s width, then roll or stuff it according to the manual.
Instant or Hub Tent
Unlock the roof hub or upper joints first, then collapse the legs in the sequence printed on the frame or shown in the manual. Do not twist a hub that is designed to move straight inward. Tuck fabric between, not inside, closing frame sections.
Spring-Steel Pop-Up Tent
Pop-up tents usually fold into overlapping circles. Because spring-steel frames store tension, use the exact illustrated method supplied with the tent. Keep the frame pointed away from your face and bystanders, and do not improvise by forcing the rings in the opposite direction.
Tips for Protecting Tent Shape, Fabric, and Zippers
- Follow the manual’s fold pattern. Integrated frames may require a specific direction so hinges nest correctly.
- Vary fold lines when the design allows it. Some manufacturers recommend folding or rolling slightly differently to reduce permanent creases.
- Protect coated surfaces. Fold on a footprint, tarp, or clean ground rather than gravel or sticks.
- Clean zipper coils. Brush away sand and grit before storage, and never force a slider over trapped fabric.
- Inspect clips and poles. Repair tears, bent sections, damaged hubs, or broken clips before the next trip.
- Keep the footprint correctly sized. A generic tarp should be tucked under the tent floor so it does not collect rainwater.
Common Mistakes to Avoid
- Using one method for every tent. A folding-frame canvas tent does not pack down like a removable-pole dome tent or a pop-up tent.
- Leaving the rainfly attached. This can trap moisture, create uneven bulk, and hide tangled guylines unless the manual specifically says to leave it on.
- Releasing all anchors in strong wind. Keep control of large fabric panels until the frame is lowered.
- Forcing a hub, leg, pole, or zipper. Resistance usually means a lock is engaged, fabric is trapped, or a section is misaligned.
- Rolling around loose stakes. Stakes can puncture the tent body or damage coatings.
- Packing dirt inside the fold. Grit can abrade fabric and zipper components during transport.
- Storing the tent compressed. The original bag is convenient for travel but not ideal for months of storage.
- Leaving the tent damp. Moisture encourages mildew and can damage waterproof coatings and seam tape.
Essential Packing Accessories
- Original carry bag: Sized for the tent and useful for transport.
- Separate stake bag: Prevents sharp or muddy stakes from contacting the tent fabric.
- Pole bag or frame straps: Keeps rigid parts together and reduces rubbing.
- Dry towel and soft brush: Removes condensation, mud, sand, and leaves before folding.
- Tent repair kit: Include compatible fabric patches, a pole sleeve, spare cord, and the correct seam sealer for the tent material.
- Breathable storage bag: A mesh bag, cotton sack, or clean pillowcase gives dry fabric room to relax between trips.
- Footprint or groundsheet: Provides a cleaner folding surface and helps protect the tent floor from abrasion.
Note: A compression sack can reduce transport bulk if the tent maker permits it, but it should not be used for long-term storage.
Storing Your Tent for Longevity
Unpack the tent when you get home, even if it felt dry at the campsite. Condensation may remain under the floor, inside folds, or beneath the rainfly. Set up the tent or hang the body and fly in a shaded, ventilated place until every layer is dry.
For long-term storage, place the clean, dry tent loosely in a breathable bag and keep it in a cool, dry, dark area. Avoid a damp basement, hot attic, or vehicle trunk. Store stakes separately, and keep poles where they will not be bent or crushed by heavy items.
Guidance from REI’s tent-storage experts and NEMO Equipment supports drying the tent completely and storing it loosely rather than leaving it compressed in the transport sack.
Cleaning and Care After Packing
Inspect the tent after each trip, but clean it only as needed. Shake out loose dirt after normal use. Spot-clean mud, sap, bird droppings, sunscreen, or heavy dust before storage. Follow the tent maker’s cleaning instructions because fabric coatings differ.
- Use cool or lukewarm water and a soft sponge or brush.
- Use a manufacturer-approved technical cleaner or mild non-detergent soap only when permitted.
- Avoid bleach, harsh household cleaners, dry cleaning, and machine drying.
- Do not machine-wash the tent unless its manufacturer explicitly allows it.
- Rinse thoroughly and air-dry in shade or indirect sunlight.
Coleman’s tent-care guide recommends mild soap without detergent and hand washing, while Big Agnes care instructions call for waterproof-gear cleaner and warn against machine washing. When instructions differ, use the guidance for your exact tent.
Troubleshooting a Tent That Will Not Fit in Its Bag
The Bundle Is Too Wide
Unroll it and use the empty bag as a template. Fold both long sides inward until the bundle is slightly narrower than the bag, then roll again.
The Bundle Is Too Thick
Look for trapped air, bunched doors, stacked window panels, loose guylines, or a rainfly folded into one lump. Spread those parts evenly and roll toward an open zipper or vent.
The Frame Will Not Collapse
Stop pulling. Check every locking button, hub, clip, brace, awning pole, and anchor. Fabric caught in a hinge can also prevent full closure. Never use tools or body weight to force a tent frame unless the manufacturer’s repair instructions call for it.
The Tent Was Packed Wet
Remove it from the bag as soon as practical. Pitch it, hang it, or drape it in a shaded, ventilated area until fully dry. Clean visible dirt before long-term storage. Do not leave a wet tent sealed in a vehicle or storage bin.
Should You Fold, Roll, or Stuff a Tent?
There is no universal answer for removable-pole tents. Some manufacturers prefer folding and rolling; others accept stuffing because it avoids repeating the same crease. Integrated-frame and pop-up tents usually require a specific fold. Follow the manual, avoid forcing the fabric, and vary crease lines when the manufacturer permits it.
Sources
- OZTENT How To / DIY — model-specific support and folding-frame repair guidance.
- MSR Tents and Shelters Owner’s Manual — pole handling, drying, cleaning, zipper care, and storage.
- REI Tent Care Basics — breakdown, wet-weather packing, cleaning, and fold-versus-stuff guidance.
- NEMO Cleaning, Repairing, and Storing Your Tent — cleaning and loose long-term storage.
- Coleman Tent Care Guide — hand cleaning, drying, and mold prevention.
Frequently Asked Questions
Can I fold a wet tent, or should I wait?
Dry it before packing when possible. If rain or travel forces you to pack it wet, treat that as temporary: unpack it as soon as practical and dry the body, floor, and rainfly completely before storage. Do not seal a damp tent in its bag for days.
How often should I clean my tent after use?
Shake out and inspect the tent after every trip. Spot-clean it when it has mud, sap, sand, bird droppings, sunscreen, food residue, or odor. A gentle seasonal cleaning may be enough for frequent short trips. Follow the manufacturer’s care instructions and avoid unnecessary washing.
What is the best way to store a tent long-term?
Store it completely clean and dry, loosely packed in a breathable bag, in a cool, dry, dark place. Keep stakes separate and avoid placing heavy objects on the tent or poles. Do not leave it tightly compressed in a hot car, damp basement, or attic.
Can I use a washing machine to clean my tent?
Usually no. Agitation can stretch or tear fabric, mesh, seams, and waterproof coatings. Hand-clean with water, a soft sponge, and the cleaner approved by the tent manufacturer. Never machine-dry a tent unless the maker expressly permits it.
How can I prevent mold from forming on my tent?
Remove dirt and organic debris, dry every layer completely, and store the tent loosely in a cool, dry area. If it was packed in rain, unpack it promptly at home. Ventilation during use also reduces condensation that can remain hidden in folds.
Why will my tent not fit back in the bag?
The bundle is usually too wide, contains trapped air, or has bulky doors, guylines, and the rainfly stacked in one spot. Use the bag as a width guide, spread thick panels evenly, and roll toward an open zipper or vent. Do not force the bag zipper.
Should tent poles and stakes go in the same bag as the tent?
Use separate pole and stake bags whenever possible. Sharp stake ends, mud, and hard pole tips can rub against or puncture the fabric. If all components share one outer carry bag, place the protected pole and stake bags where they cannot press into mesh or clear windows.
Conclusion
A good tent pack-down protects more than the carry bag. It reduces stress on poles, hubs, zippers, mesh, coatings, and seam tape. Match the method to your tent type, keep control of moving frame parts, let air escape before the final roll, and never force a bulky bundle. Once home, dry the tent fully and store it loosely so it is ready for the next trip.
