
Last Updated on July 30, 2026 by Mason Reed
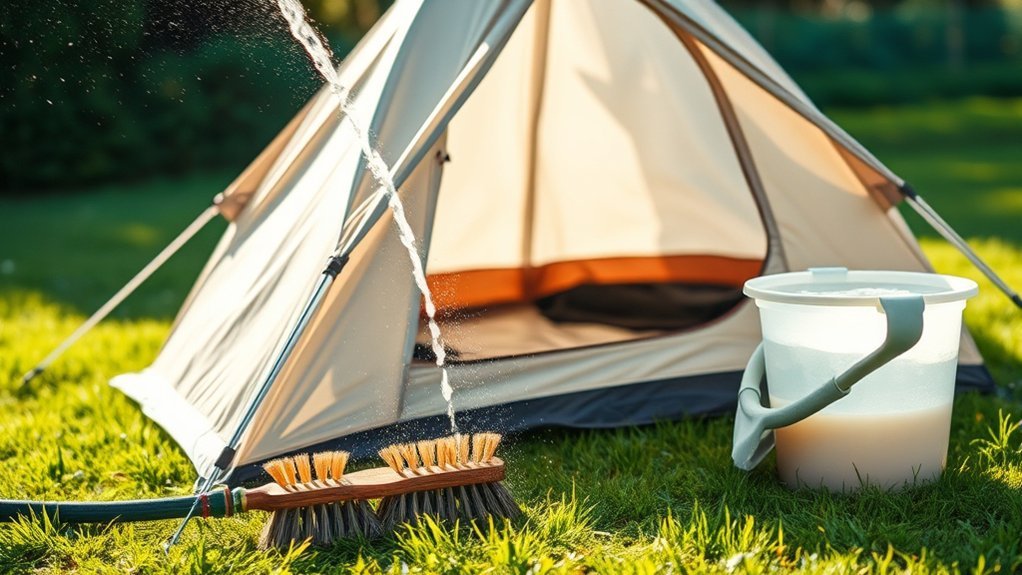
Cleaning a tent is less about scrubbing hard and more about protecting its thin fabric, seam tape, and waterproof coatings. The safest method is to remove loose debris, use the gentlest approved cleaner, rinse away every trace of residue, and let each layer dry completely before storage. Always check your tent’s care label or manufacturer instructions first because some models can be hand-washed in a tub while others should only be spot-cleaned.
Quick Answer
To clean a tent safely, shake out dirt and spot-clean it with cool or lukewarm water and a tent-specific or approved non-detergent cleaner. Hand-wash the tent only if its manufacturer permits immersion. Rinse thoroughly, air-dry away from prolonged direct sun, and store it loosely only after every layer is completely dry.
Key Takeaways
- Read the care label before using soap, immersing the tent, or treating stains.
- Use spot cleaning for ordinary dirt and reserve a full hand wash for heavy contamination.
- Avoid washing machines, dryers, bleach, harsh detergents, stain removers, and unapproved solvents.
- Rinse completely and dry the body, rainfly, seams, corners, and pole sleeves before packing.
- Reapply water-repellent treatment only when water stops beading or the manufacturer recommends it.
At a Glance
| Time Required | About 20–40 minutes of active cleaning, plus several hours or overnight for drying |
| Difficulty | Easy, but delicate handling is required |
| Tools Needed | Soft sponge or cloth, soft brush, clean water, approved tent cleaner, tub if permitted, and a drying line or clean surface |
| Cost | Usually $0–$20, depending on whether you need a tent cleaner or odor treatment |
Disclosure: As an Amazon Associate I earn from qualifying purchases. Some links on this page are affiliate links, at no extra cost to you.
Check the Care Label Before Cleaning
Begin with the instructions supplied for your exact tent model. Fabrics, seam treatments, waterproof coatings, printed panels, and built-in accessories vary. Some manufacturers permit gentle bathtub handwashing, while other models must not be submerged. For example, Big Agnes advises spot cleaning rather than immersion for its mtnGLO tent body because of the integrated light system.
Look for instructions covering water temperature, approved cleaners, immersion, drying, and reproofing. When the label and a general care guide disagree, follow the tent manufacturer.
Warning: Do not put a tent in a washing machine or clothes dryer unless the manufacturer explicitly says that the specific component is machine-safe. Avoid bleach, laundry detergent, pre-soak products, stain remover, fabric softener, dry cleaning, and unapproved solvents. Never mix cleaning products.
Essential Cleaning Supplies for Tent Maintenance
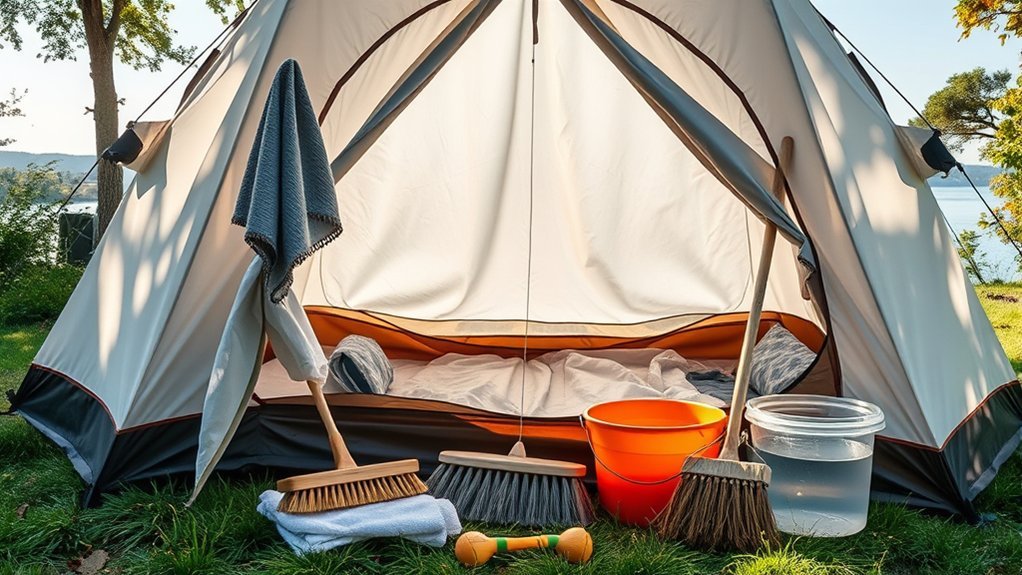
Gather your supplies before wetting the tent so you do not have to leave damp fabric sitting in a pile. You will usually need:
- A soft, non-abrasive sponge or microfiber cloth
- A soft brush for dry mud, zipper teeth, and stakes
- Cool or lukewarm clean water
- A cleaner made for tents or waterproof outdoor fabrics
- A clean bathtub or large container, but only if immersion is permitted
- A bucket, gentle hose flow, or several changes of clean rinse water
- A clean drying line, pitched drying area, or protected flat surface
- A loose mesh bag or old pillowcase for long-term storage
REI recommends cold water, a non-abrasive sponge, and non-detergent soap while warning against harsh household cleaners. A tent-specific cleaner is the safest general choice because it is designed to rinse away without leaving ordinary laundry-detergent residue.
Note: Test any approved cleaner on a small, hidden area first. Stop if the color transfers, the coating becomes tacky, or the seam tape begins to lift.
Decide How Much Cleaning the Tent Needs
A tent does not need a full wash after every outing. Choose the least aggressive method that solves the problem:
- Shake out and dry: Best after an ordinary trip with only dust, leaves, or crumbs.
- Spot clean: Best for isolated mud, bird droppings, food marks, sunscreen, or a dirty doorway.
- Full hand wash: Consider after exposure to salt spray, fine sand, wildfire ash, widespread mud, persistent odor, or heavy contamination, provided the manufacturer allows it.
After every trip, remove debris and make sure the tent is dry. Actual washing is needed less often. REI suggests cleaning after long or especially dirty trips or about once per season for frequent short trips, while Sea to Summit notes that tents generally do not need frequent washing.
Step-by-Step Spot Cleaning Techniques
- Set up or spread out the tent. Work on clean grass, a tarp, or another surface that will not grind dirt into the fabric.
- Remove loose debris. Shake out the tent, sweep it gently, or use a low-suction handheld vacuum without pressing the nozzle against mesh.
- Separate the components. Remove poles, stakes, footprint, rainfly, detachable lights, batteries, and electronic controllers.
- Brush off dry material first. Let mud dry, then loosen it with a soft brush. Wet scrubbing can push gritty soil farther into the fabric.
- Prepare the cleaner. Follow the product label exactly. Do not assume that a stronger mixture will work better.
- Blot the stain. Use a damp sponge or cloth and light pressure. Work from the outside of the mark toward its center.
- Protect coated surfaces. Do not aggressively scrub the underside of the rainfly or the coated side of the tent floor.
- Rinse the cleaned area. Wipe or rinse until no foam, slickness, or fragrance remains.
Handling Sap, Sunscreen, and Food Stains
Start with the approved tent cleaner and patience. Do not reach automatically for rubbing alcohol, hand sanitizer, mineral oil, citrus cleaner, or stain remover. Solvent advice differs between manufacturers, and the wrong product can soften coatings or loosen seam tape. Contact the tent maker for a stain-specific recommendation before applying a solvent.
For oily sunscreen or food marks, blot rather than rub. Repeat a weak approved cleaning solution several times instead of using one concentrated treatment. Rinse carefully because food residue and fragrance can attract insects or animals.
Pro Tip: Photograph the care label and save the manufacturer’s cleaning page when you buy a tent. You will have the correct instructions even if the printed label fades or the model is later discontinued.
Soaking and Washing Your Tent Properly
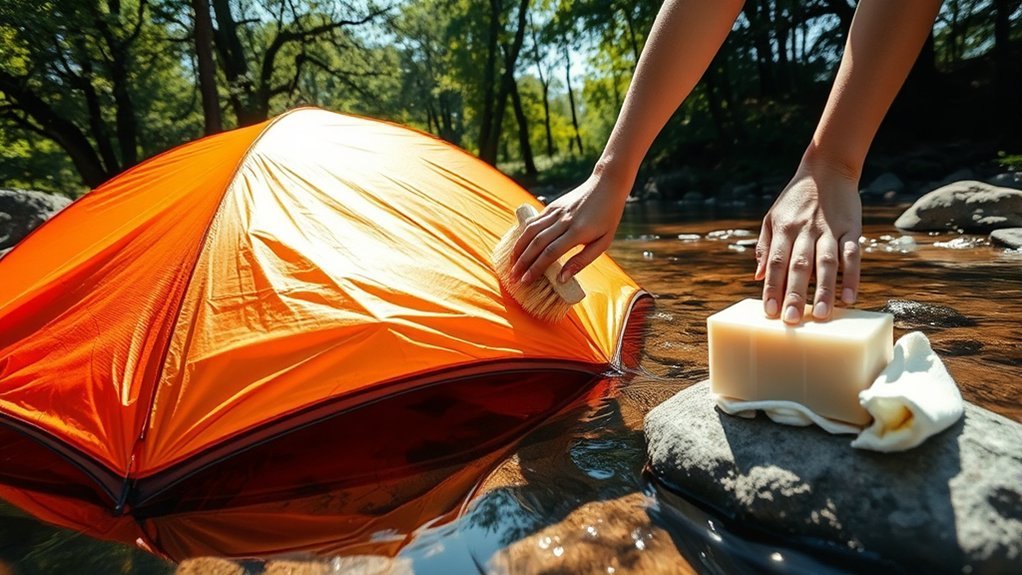
Use a full hand wash only when spot cleaning is not enough and the tent manufacturer allows immersion. NEMO explains that a bathtub can help loosen stubborn dirt on compatible tents, but this is not a universal instruction.
- Remove all accessories. Take out poles, stakes, the footprint, gear lofts, batteries, light strands, and electronic controllers.
- Close vulnerable fasteners. Follow the manufacturer’s directions for zippers, hook-and-loop tabs, and ports. Protect any non-removable electrical connection from water.
- Fill the tub. Use cool or lukewarm water, never hot water.
- Add the approved cleaner. Use only the amount listed on its label.
- Lower the tent gently. Do not twist, wring, knead aggressively, or scrape coated surfaces against the tub.
- Wash by hand. Move the fabric gently through the water and use a soft sponge only where needed.
- Follow the stated contact time. Do not invent a 10-, 20-, or 30-minute soak if the tent or cleaner instructions specify something else.
- Drain without lifting one wet corner. Wet tents can be heavy. Support the fabric broadly to avoid straining seams.
- Rinse repeatedly. Replace the water until it remains clear and the fabric no longer feels slippery.
- Move directly to drying. Do not leave the wet tent compressed in a tub, bucket, or laundry basket.
Do not automatically turn the tent inside out. If the inner side carries a polyurethane coating or seam tape, extra handling and abrasion can cause damage. Clean the inside gently while the tent is normally oriented unless the maker instructs otherwise.
Clean Zippers, Mesh, Poles, and Other Parts
Tent Zippers
Brush sand and grit from zipper teeth with a clean, soft toothbrush. Wipe them with water and let them dry before applying a zipper lubricant approved for outdoor gear. Do not force a slider through packed dirt because this can spread the slider or damage the coil.
Mesh Panels
Support mesh from behind with one hand while lightly blotting it with the other. Avoid stiff brushes, hard scrubbing, and pulling the fabric sideways.
Poles and Stakes
Wipe poles with clean water and a cloth. Remove soil and salt from joints, ferrules, and shock-cord openings, then let the sections dry before assembly or storage. Brush dirt from stakes and inspect them for bends or sharp edges that could puncture the tent bag.
Footprints and Guylines
Clean the footprint separately so grit from its underside does not rub against the tent body. Rinse mud from guylines and let them dry extended rather than bundled. Follow the footprint’s own label because its washing instructions may differ from the tent.
Effective Drying Methods for Tents
Drying is the most important part of the process. A tent packed with hidden moisture can develop mildew, odor, coating damage, or seam problems.
- Let excess water drain. Support the tent rather than wringing or twisting it.
- Pitch it loosely or line-dry it. Use a shaded, breezy place or indirect sunlight.
- Dry components separately. Spread out the rainfly, footprint, body, gear loft, guylines, and storage sacks.
- Turn or reposition the fabric. Expose corners, folded hems, vents, pole sleeves, and the underside of the floor to moving air.
- Check by touch. Feel along seam tape, reinforcements, pockets, and multiple fabric layers.
- Wait longer when unsure. A cool seam can feel dry on the surface while moisture remains between layers.
Brief sun exposure during setup is normal, but prolonged ultraviolet exposure weakens many tent fabrics. NEMO recommends line-drying or laying a tent flat in indirect sunlight and allowing it to dry fully before storage.
What to Do After Packing a Wet Tent
Sometimes rain or travel schedules force you to pack a wet tent. Shake off as much water as possible, keep the wet rainfly separate from the inner tent when practical, and unpack everything as soon as you reach a safe drying location. Do not leave a damp tent sealed in a vehicle, pack, or stuff sack overnight when it can be avoided.
Remove Tent Odors and Address Mold
First identify the likely cause. Soil, food residue, smoke, body oils, mildew, and failing polyurethane can produce different smells.
Ordinary Musty or Food Odors
Air the tent fully, then clean it with the approved tent cleaner. If odor remains, use a gear-specific odor treatment only when its label confirms compatibility with tents and the tent maker does not prohibit it. GEAR AID provides separate cleaning and odor-treatment procedures, which illustrates why a deodorizer should not be confused with the primary cleaner.
Avoid perfume sprays and ordinary fabric fresheners. They may mask rather than remove the cause and can leave residue on waterproof fabric.
Visible Mold or Mildew
Move the tent outdoors or to a ventilated work area. Brush loose dry growth carefully without breathing concentrated dust, then follow the tent maker’s mold-treatment instructions. Start with the approved cleaner rather than an improvised strong vinegar, bleach, or solvent mixture.
Cleaning may stop odor and remove surface contamination, but dark stains can remain. If the fabric is brittle, the seam tape is lifting, or the coating is sticky or peeling, contact the manufacturer or a gear-repair specialist. Cleaning cannot always reverse structural or coating damage.
Warning: A strong sour, fishy, or vomit-like odor accompanied by a sticky or peeling inner coating may indicate polyurethane breakdown rather than ordinary dirt. Repeated washing will not rebuild a failed coating.
Post-Cleaning Care and Storage Tips
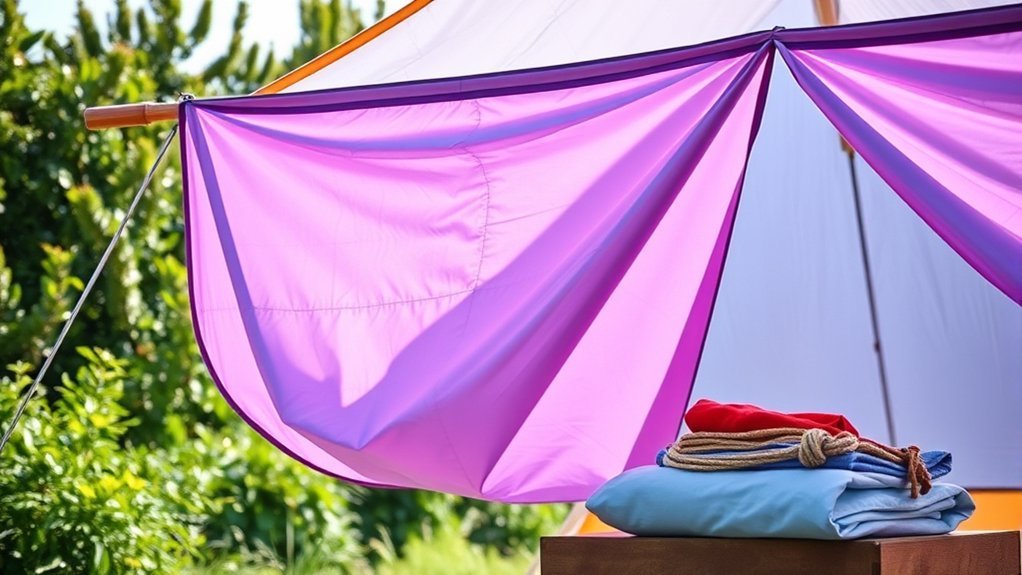
Inspect Water Repellency, Seams, and Coatings
Once the tent is clean, pitch it and inspect the rainfly, floor, corners, seams, and high-wear areas. Spray clean water over the rainfly:
- If water beads and rolls away, the outer water-repellent finish is still working.
- If the clean outer fabric wets out broadly, a compatible water-repellent treatment may be needed.
- If water enters through a seam, inspect the seam tape or seam sealer.
- If the inner coating is peeling, powdery, or sticky, a coating repair or replacement part may be required.
Use a treatment designed for the exact fabric. Nylon or polyester with polyurethane coating may require a different seam sealer or coating product from silicone-treated nylon. Nikwax advises cleaning before applying a compatible tent waterproofing treatment and applying the treatment according to its directions.
Do not reproof a dirty tent or assume that more product is better. Uneven excess can leave streaks, attract dirt, or create tacky areas.
Store the Tent Loosely
The compact stuff sack is useful for transportation, but it is not ideal for long-term storage. Once the tent is completely dry:
- Place the body and rainfly loosely in a mesh bag, cotton sack, or large pillowcase.
- Store poles where they will not remain sharply bent or crushed.
- Choose a cool, dry, dark, temperature-stable room.
- Avoid hot attics, vehicle trunks, damp basements, and garages with large temperature swings.
- Keep the tent away from fuel, pesticides, cleaning chemicals, and leaking batteries.
- Inspect it before the next trip rather than discovering damage at camp.
REI and NEMO both recommend loose, breathable long-term storage after the tent has dried fully.
Tent Cleaning Troubleshooting
Soap or Cleaner Residue Remains
Rinse the area again with clean water. Continue until the fabric no longer feels slick and no foam appears when it is pressed. Do not attempt to neutralize one cleaner by adding another chemical.
The Coating Feels Sticky After Cleaning
Stop scrubbing and let the tent dry completely. If tackiness remains, check whether an incompatible cleaner was used or whether the polyurethane coating is breaking down. Contact the tent manufacturer before applying powder, oil, or another coating.
The Seam Tape Is Peeling
Do not pull away sound tape. Photograph the damage and ask the manufacturer whether the seam should be professionally retaped, cleaned and resealed, or replaced. The correct repair depends on the fabric and original coating.
The Tent Still Leaks After Reproofing
Check whether the water is entering through a seam, zipper, puncture, damaged floor, or failed coating. Also rule out condensation, which can collect on the inner walls even when the rainfly is waterproof. Repeatedly adding outer DWR will not repair a hole or failed seam.
Frequently Asked Questions
Can I use bleach to clean my tent?
Do not use bleach unless the tent manufacturer gives a model-specific procedure that explicitly requires it. Bleach can weaken fabric and damage polyurethane coatings, seam tape, and water-repellent finishes. Start with the approved tent cleaner instead.
How often should I clean my tent?
Shake out debris and dry the tent after every trip. Wash it only when it is noticeably dirty, exposed to salt, ash, fine sand, food, sap, bird droppings, or persistent odor. Campers who take many short trips may need a gentle wash about once per season.
Is it safe to machine-wash a tent?
Usually not. Agitation can stretch or tear fabric and mesh, damage seams, and remove waterproof finishes. A dryer adds damaging heat. Hand-wash or spot-clean the tent unless its manufacturer specifically identifies a detachable component as machine-safe.
What should I do if my tent smells?
Air it thoroughly and clean away dirt or food residue with an approved tent cleaner. For persistent musty odor, use a tent-compatible gear deodorizer if the manufacturer permits it. A strong sour or fishy smell with sticky fabric may indicate a failing polyurethane coating.
How can I remove mold from my tent?
Work in a ventilated area, remove loose dry growth carefully, and follow the tent maker’s approved mold-cleaning procedure. Use a compatible gear cleaner rather than an improvised bleach or strong vinegar mixture. Stains may remain even after the odor and active growth are treated.
Can I pressure-wash a tent?
No. Concentrated water pressure can stretch fabric, force water through seams, lift seam tape, and damage coatings. Use a bucket, sponge, or gentle hose flow instead.
Should canvas tents be cleaned the same way as nylon tents?
Not automatically. Cotton, polycotton, polyester, nylon, polyurethane-coated fabric, and silicone-treated fabric can require different cleaners and waterproofing products. Follow the instructions for the tent’s exact material.
Conclusion
To clean a tent without damaging it, use the least aggressive method that will do the job. Remove dry debris first, spot-clean when possible, and use a full hand wash only when the manufacturer permits it. Avoid machines, high heat, harsh detergents, bleach, and improvised solvents. Rinse every component thoroughly, let hidden seams and folded areas dry completely, and store the tent loosely in a cool, dry place. Careful cleaning protects the fabric, but correct drying and storage do even more to prevent mildew, odor, and coating failure.
Sources
- REI Co-op: How to Clean, Waterproof and Care for a Tent — supports cleaner selection, machine-washing warnings, cleaning frequency, waterproofing diagnosis, and loose storage.
- NEMO Equipment: Cleaning, Repairing, and Storing Your Tent — supports conditional tub cleaning, rinsing, indirect-sun drying, zipper care, and breathable storage.
- Big Agnes: How to Wash Your Tent — demonstrates model-specific restrictions for tents with integrated lighting.
- Sea to Summit: Caring for Your Gear — supports infrequent washing, complete drying, UV precautions, and warnings about solvents and bleach.
- Nikwax: Cleaning, Waterproofing, and UV Protecting Your Tent — supports tent-specific cleaning, natural drying, and compatible waterproofing treatment.
- GEAR AID: How to Remove Mold, Mildew, and Tent Odors — supports separating routine cleaning from compatible odor treatment and mold care.
