
Last Updated on July 29, 2026 by Mason Reed
Keeping a tent clean starts before you pitch it and continues after you return home. Choose a safe, well-drained campsite, keep shoes and food out of the sleeping area, remove dirt before it becomes embedded, and never store the tent damp. When deeper cleaning is needed, wash it gently by hand with a cleaner approved for its fabric and waterproof coating.
Quick Answer
To keep a tent clean, pitch it on durable, well-drained ground, place a correctly sized footprint underneath it, remove shoes at the entrance, sweep out dirt daily, and wipe spills promptly. After the trip, shake it out, spot clean it by hand, dry it completely, inspect it, and store it loosely in a cool, dry place.
Key Takeaways
- Use an established or durable campsite that is level but not in a low depression, drainage channel, or area showing previous flooding.
- Keep the footprint completely under the tent floor so it does not collect rainwater.
- Shake out, dry, and inspect the tent after every trip, but reserve full washing for heavy dirt, salt, sap, droppings, odors, or seasonal care.
- Never machine wash, tumble dry, bleach, dry clean, or scrub a tent with an abrasive brush.
- Store the tent completely dry and loosely packed in a cool, dry location rather than compressed in its trail stuff sack.
At a Glance
| Time Required | 5–10 minutes for routine care; 30–60 minutes for washing, plus complete air-drying time |
| Difficulty | Easy |
| Tools Needed | Soft brush, non-abrasive sponge, clean cloths, water, manufacturer-approved tent cleaner, drying line or shaded drying area, and a breathable storage bag |
| Cost | About $0–$25, depending on whether you need technical cleaner or repair supplies |
Disclosure: As an Amazon Associate I earn from qualifying purchases. Some links on this page are affiliate links, at no extra cost to you.
Why Tent Care Matters
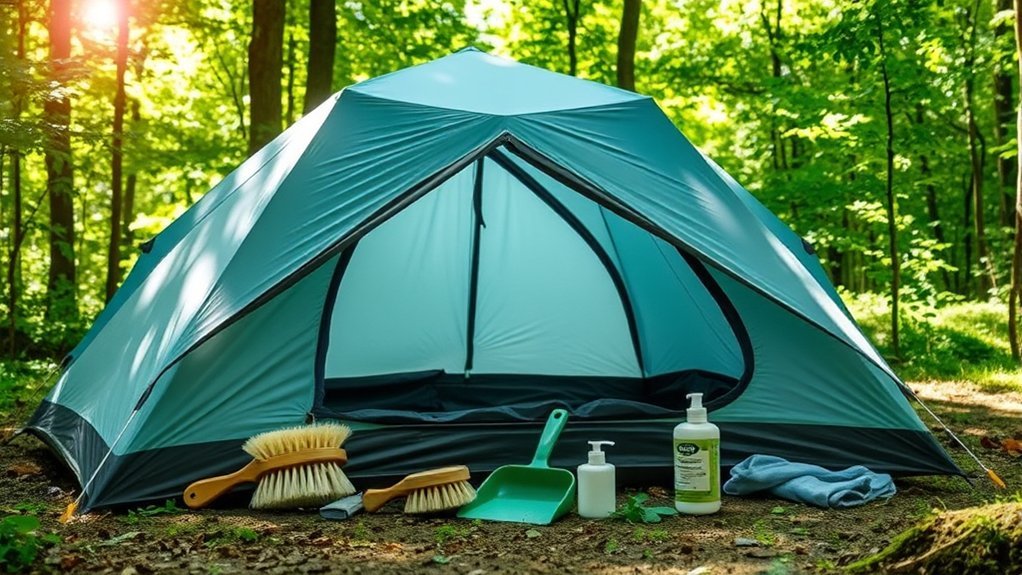
Dirt does more than make a tent look untidy. Fine sand can grind against coatings and zipper teeth, tree sap and bird droppings can stain fabric, and trapped moisture can encourage mildew and damage waterproof finishes. UV exposure, repeated abrasion, and long-term compression also wear tent materials over time.
Simple care reduces those stresses. A quick shake-out, prompt drying, gentle cleaning, and early repair can keep a tent usable for more trips while reducing waste from premature replacement.
The most important storage rule is simple: never put a damp tent away for the next trip.
Prepare Before the Trip
A few minutes of preparation at home can prevent a dirty, wet, or damaged tent from becoming a campsite problem.
Inspect and Test-Pitch the Tent
- Pitch the tent at home: Confirm that the body, rainfly, footprint, poles, stakes, guylines, and repair sleeve are present.
- Check the fabric and mesh: Look for holes, abrasions, sticky coatings, peeling seam tape, mildew, or unusual odors.
- Operate every zipper: Remove visible sand or grit with a soft brush or damp cloth. Do not force a snagged slider.
- Inspect the poles: Look for cracks, bends, split ferrules, loose end tips, or damaged shock cord.
- Test water repellency: If water no longer beads on the rainfly, review the manufacturer’s instructions before applying a compatible treatment.
Note: Tent fabrics and coatings are not all the same. Polyurethane-coated nylon, silicone-treated fabric, polyester, canvas, and laminated materials may require different cleaners, seam sealers, and waterproofing products.
Pack Essential Cleaning Supplies
A small field-cleaning kit can handle most dirt before it becomes a larger problem. Pack:
- A soft hand brush or compact broom
- A clean microfiber cloth or non-abrasive sponge
- A small entrance mat or ground cloth
- Trash bags and resealable bags
- A separate bag for muddy shoes or wet clothing
- A small amount of manufacturer-approved tent or gear cleaner for extended trips
- A repair patch, pole sleeve, and the correct seam sealer for your tent
Sanitizing wipes are useful for hands and suitable hard surfaces, but do not use them on coated tent fabric unless the manufacturer confirms that the ingredients are safe.
Choose a Safe, Low-Impact Campsite
Use an established tent pad where one is provided. In the backcountry, follow local regulations and choose a durable surface such as an already impacted site, rock, gravel, dry grass, or another surface allowed in that area.
Leave No Trace recommends camping about 200 feet from lakes and streams where local rules allow. This protects shoreline areas and leaves access routes for wildlife. It should not be treated as a substitute for evaluating flood hazards.
Before pitching, check for:
- Low depressions where water can collect
- Ravines, washes, gullies, or channels that could flood
- Loose rock, unstable slopes, or exposed cliff edges
- Dead trees, leaning trunks, fire-damaged trees, or dead branches overhead
- Ant nests, animal burrows, sharp plants, broken glass, or other hazards
- A safe distance from fire rings, cooking areas, and busy walking routes
The National Park Service recommends looking above and around the site for flooding, wind, lightning, and falling-branch hazards. Avoid altering the site or digging drainage trenches.
Set Up the Tent to Keep Dirt and Water Out
- Clear only loose hazards: Remove small sticks, stones, or sharp objects without scraping vegetation or reshaping the site.
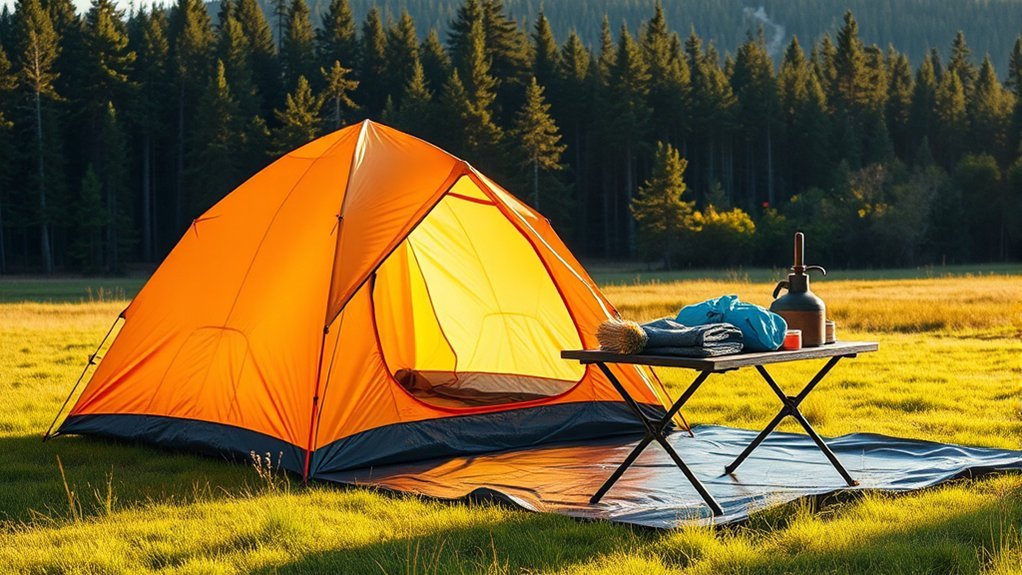
- Position the footprint correctly: Lay it flat and keep every edge underneath the tent floor. Exposed footprint material can catch rain and direct it beneath the tent.
- Orient the entrance carefully: When practical, point the door away from wind-driven rain and toward firm, clean ground.
- Stake the tent: Secure the corners according to the manufacturer’s instructions. The tent floor should be properly positioned without being stretched excessively.
- Tension the rainfly and guylines: A taut fly sheds rain more effectively and helps keep wet outer fabric away from the inner tent.
- Create a clean entrance: Place a small mat outside or inside the vestibule and remove muddy footwear before entering.
Pro Tip: Fold or tuck the footprint under the tent if it is larger than the floor. No part of it should extend past the tent body during rain.
Warning: Never cook, use a stove, burn a candle, or operate an open flame inside a tent. Heat and sparks can melt fabric, start a fire, and create a carbon-monoxide hazard.
Keep the Tent Clean During the Trip
A short daily routine is easier than removing embedded dirt at home.
Use a Two-Minute Daily Routine
- Remove shoes before entering the sleeping area.
- Shake sand and loose dirt from the entrance mat.
- Sweep the floor from the back of the tent toward the door.
- Wipe spills with clean water and a soft cloth as soon as practical.
- Brush dried mud off the outside only after it has dried.
- Keep sharp equipment, trekking-pole tips, and dirty tools away from the floor and walls.
- Keep pets’ nails trimmed and place a washable blanket beneath them.
Do not spray household cleaners, insect repellent, sunscreen, fuel, or scented products on tent fabric. These substances may stain the material, attract animals, or affect its finish.
Manage Food and Scented Items Safely
Keep meals and snacks out of the sleeping area. Crumbs attract rodents and can be ground into the floor. Store food, trash, toiletries, and other scented items using the method required at the campsite, such as a food locker or approved bear-resistant canister.
Do not simply place food outside the tent. Wildlife-storage rules vary, and leaving food unattended can endanger campers and animals.
Keep the Tent Dry in Rain and Manage Condensation
Dirt and moisture often arrive together. Mud splashes onto the rainfly, damp clothing enters through the door, and condensation forms when warm, humid air meets cool tent fabric.
Use the Right Rain Setup
- Pitch on level ground that is not the lowest point in the area.
- Keep the rainfly fully installed, correctly attached, and evenly tensioned.
- Use all appropriate stake-out and guyline points during wind or heavy rain.
- Keep the fly separated from the inner tent where the design permits.
- Open protected roof or low vents without exposing the inner tent to direct rain.
- Close the windward door and use the more sheltered entrance when the tent has two doors.
- Use an overhead tarp only when it can be attached safely without damaging trees or directing runoff onto the tent.
Do not dig trenches around the tent. Leave No Trace recommends choosing a naturally suitable campsite instead of altering the ground.
Reduce Moisture Inside
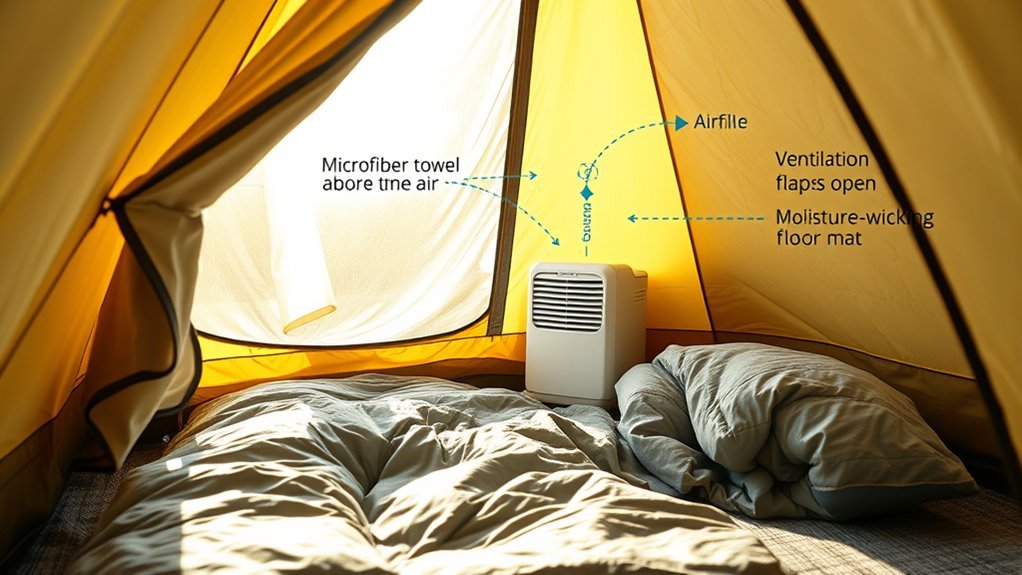
- Open protected vents and mesh panels to maintain airflow.
- Avoid pressing sleeping bags or clothing against the tent walls.
- Store wet boots and rain gear in the vestibule when the design and conditions allow.
- Do not try to dry soaked clothing by spreading it throughout the sleeping compartment.
- Wipe heavy condensation with an absorbent cloth before packing.
- Shake moisture from the fly and allow the tent to dry whenever weather and time permit.
| Action | What It Prevents | Important Detail |
|---|---|---|
| Choose higher, well-drained ground | Pooling and runoff | Avoid ravines, washes, and signs of previous flooding |
| Keep the footprint under the floor | Water collecting beneath the tent | No edge should extend beyond the tent body |
| Tension the rainfly | Sagging, contact with the inner tent, and poor runoff | Recheck tension after fabric becomes wet |
| Open protected vents | Excess condensation | Do not expose the inner tent to direct rain |
| Keep wet gear in the vestibule | Mud and added indoor humidity | Do not block the entrance or ventilation |
Clean the Tent After the Trip
After every trip, dry the tent, shake out debris, and inspect it. Perform a full wash only when the tent is notably muddy, dusty, salty, stained, smelly, exposed to droppings or sap, or due for seasonal care.
1. Check the Manufacturer’s Instructions
Read the care label or online manual before applying a cleaner. Confirm whether the instructions differ for the tent body, rainfly, footprint, removable liner, lighting system, or canvas material.
2. Shake Out and Dry-Brush Debris
- Pitch the tent or spread it on a clean surface.
- Open the doors and shake out loose sand, leaves, and crumbs.
- Use a soft brush or compact broom on the floor.
- Let mud dry before brushing it away.
- Wipe poles and stakes separately so grit does not return to the fabric.
3. Spot Clean First
Use cool or lukewarm water and a soft cloth or non-abrasive sponge. Work gently from the outside of a stain toward its center. Do not scrub aggressively over seam tape, printed areas, mesh, or coated fabric.
- Mud: Let it dry, brush away the loose material, and wipe the remaining mark.
- Sand or salt: Rinse thoroughly because grit and salt can affect zippers and metal parts.
- Bird droppings: Remove them promptly with water and a soft cloth, then wash the area with an approved cleaner.
- Food spills: Blot instead of rubbing, then rinse away residue that could attract wildlife.
- Tree sap: Consult the tent manufacturer before using any solvent or oil-based product.
4. Deep Clean by Hand When Needed
- Pitch the tent or place it in a clean tub if the manufacturer permits soaking.
- Rinse it with cool or lukewarm water.
- Apply a small amount of non-detergent tent cleaner or technical wash approved for the fabric.
- Gently clean soiled areas with a soft sponge or cloth.
- Rinse thoroughly until no cleaner remains.
- Allow water to drain without wringing, twisting, or pulling the fabric.
- Air-dry the tent fully in a shaded or indirectly lit, well-ventilated area.
REI recommends hand cleaning with a non-abrasive sponge, cold water, and non-detergent soap. NEMO likewise recommends hand washing, thorough rinsing, indirect drying, and complete drying before storage.
Warning: Never machine wash, machine dry, dry clean, bleach, or use harsh dish detergent, laundry detergent, stain remover, pre-soak, or an abrasive brush on a tent. These methods can tear mesh, stretch seams, weaken adhesives, or damage waterproof coatings.
5. Handle Mold or Mildew Carefully
Move a moldy tent outdoors and let it dry before brushing loose surface growth away from your face. Check the manufacturer’s instructions for the correct cleaner and treatment. There is no universal lemon, salt, bleach, or vinegar formula that is safe for every tent material.
Cleaning may remove active growth and odor without removing every dark stain. If mildew is widespread, the coating is sticky or peeling, the fabric has weakened, or the odor remains severe, contact the manufacturer or a professional gear-repair service. Replacement may be safer when waterproof coatings or structural fabric have deteriorated.
6. Clean Zippers, Poles, Stakes, and the Footprint
- Zippers: Brush away sand and wipe the teeth with a damp cloth. Use only a zipper lubricant approved for outdoor gear.
- Poles: Wipe dirt and salt from each section and allow all parts to dry. Break poles down from the middle sections first to distribute tension on the shock cord more evenly.
- Stakes: Remove soil, dry them, and check for bends or sharp edges.
- Footprint: Brush or rinse both sides and dry it completely before packing.
Inspect for Damage and Restore Protection
Inspect the tent while it is clean and fully dry. Good lighting makes small holes, worn coatings, and seam problems easier to see.
- Fabric and mesh: Look for punctures, tears, runs, abrasion, thinning, or UV brittleness.
- Seams: Check for lifting seam tape, cracked sealant, or leaks.
- Floor and rainfly coatings: Look for peeling, flaking, tackiness, or strong chemical odors.
- Zippers: Check whether the slider closes the teeth properly and moves without force.
- Poles: Inspect for cracks, bends, damaged ferrules, and loose tips.
- Guylines and webbing: Replace frayed cord, stretched loops, or damaged buckles.
- Stakes: Replace severely bent or cracked stakes.
Small fabric tears can often be repaired with a compatible gear patch. Failed seam sealant may be renewed, but the product must match the tent’s coating. REI notes that polyurethane-coated and silicone-treated fabrics require different repair products. Follow the tent maker’s instructions before recoating or sealing.
If the rainfly no longer beads water but its underlying coating remains sound, clean it first and apply a compatible water-repellent treatment. Nikwax recommends cleaning a pitched tent, rinsing it, and allowing it to dry naturally before storage.
Pack the Tent Correctly
For transport, follow the packing method supplied with your tent. Some manufacturers recommend folding and rolling the body and fly around the pole bag, while other designs may pack differently.
- Shake off loose water and debris.
- Dry the tent as much as conditions allow.
- Close zippers without pulling the fabric under excessive tension.
- Separate poles and stakes from unprotected tent fabric.
- Fold or roll the body and fly according to the manufacturer’s directions.
- Place dirty stakes in their own sack.
Pro Tip: When rain forces you to pack the tent wet, treat the stuff sack as temporary transport only. Unpack and fully dry every component as soon as you reach home or another suitable drying area.
Big Agnes advises shaking out the tent, drying it, folding the body and fly, and rolling them for transport. Its instructions also stress that a wet-packed tent must be dried before long-term storage.
| Step | Action | Purpose |
|---|---|---|
| 1. Drying | Dry the tent and every component completely | Reduces mildew, odor, and coating damage |
| 2. Cleaning | Remove dirt, sand, salt, food, and stains | Prevents abrasion and wildlife odors |
| 3. Inspection | Check fabric, seams, zippers, poles, and guylines | Finds problems before the next trip |
| 4. Transport Packing | Fold or roll as the manufacturer directs | Keeps components organized and protected |
| 5. Long-Term Storage | Store loosely in a breathable bag | Reduces prolonged compression and trapped moisture |
Store the Tent for Long-Term Care
Once the tent is clean, inspected, and completely dry, remove it from its compact trail stuff sack for long-term storage.
- Place the tent loosely in a large breathable cotton, mesh, or manufacturer-provided storage bag.
- Store it in a cool, dry, dark, temperature-stable location.
- Keep it away from direct sunlight, heaters, furnaces, hot attics, damp basements, and vehicle trunks.
- Do not place heavy objects on top of the stored tent.
- Keep poles dry and protected from crushing or bending.
- Inspect the tent periodically if it will remain stored for many months.
A garage may be suitable only when it stays dry, reasonably cool, and free of major temperature swings, pests, chemical fumes, and condensation. A climate-controlled closet is usually safer.
Recommended Cleaning Products and Tools
The safest product is the one approved by the tent manufacturer for that specific fabric and coating.
- Soft brush or compact broom: Removes dry sand, soil, leaves, and pet hair.
- Non-abrasive sponge or microfiber cloth: Handles gentle spot cleaning.
- Manufacturer-approved tent cleaner: Cleans without the harsh additives found in many household detergents.
- Nikwax Tent & Gear SolarWash: A cleaner designed for tents and weatherproof textiles; confirm compatibility and follow the label.
- Compatible repair patches: Cover small holes and tears after the area has been cleaned and dried.
- Correct seam sealer: Must match the tent’s fabric and coating chemistry.
- Zipper-care product: Use only when recommended and after dirt has been removed.
- Breathable storage sack: Allows loose, ventilated long-term storage.
Avoid bleach, harsh dish soap, laundry detergent, fabric softener, stain remover, aerosol solvents, stiff brushes, pressure washers, and products not approved for coated outdoor fabric.
Frequently Asked Questions
Can I use regular soap to clean my tent?
Avoid ordinary laundry detergent, harsh dish soap, bleach, stain remover, and scented household cleaner. They can leave residue or affect waterproof finishes. Use cool water and a non-detergent soap or technical tent cleaner approved by the manufacturer.
How often should I clean my tent?
Dry, shake out, and inspect the tent after every trip. Spot clean spills and stains promptly. Perform a deeper hand wash after long or especially dirty trips, exposure to salt, sap, mud, or droppings, or as part of periodic seasonal care.
What natural solution can I use for mildew?
There is no homemade mildew recipe that is safe for every tent. Dry the tent, brush loose growth outdoors, and follow the manufacturer’s treatment instructions. Do not apply bleach, lemon-and-salt mixtures, concentrated vinegar, or another household chemical unless the manufacturer specifically approves it.
Is it safe to store my tent in the garage?
A garage is acceptable only when it remains dry, cool, ventilated, and reasonably temperature-stable. Avoid garages with humidity, condensation, pests, fuel fumes, or extreme heat. Store the tent completely dry and loose in a breathable bag.
Can I wash my tent in a washing machine?
No. A washing machine can stretch or tear lightweight fabric, mesh, seams, and seam tape. A dryer can add damaging heat. Wash the tent gently by hand and allow it to air-dry completely.
What should I do if I have to pack the tent wet?
Shake off as much water as possible and pack it only for temporary transport. As soon as practical, unpack it, pitch it or hang it in a ventilated area, and dry the body, fly, footprint, pole bag, and stake bag completely.
How do I know when a tent needs waterproofing or replacement?
Clean the tent first. If water no longer beads but the coating is intact, a compatible water-repellent treatment may help. Peeling seam tape, worn sealant, or small holes may be repairable. Sticky, strongly odorous, badly peeling, brittle, or structurally weakened fabric may require professional assessment or replacement.
Conclusion
Keeping a tent clean does not require aggressive washing after every outing. The most effective routine is to choose a safe, durable campsite, use a correctly fitted footprint, keep shoes and food away from the sleeping area, remove dirt before packing, and dry the tent completely at home.
When washing is necessary, clean the tent gently by hand with products approved for its fabric and coating. Finish by checking the seams, zippers, poles, guylines, and waterproof finishes, then store the tent loosely in a cool, dry location. These habits reduce avoidable wear and help ensure the shelter is ready for the next trip.
Sources
- REI Co-op: How to Clean, Waterproof and Care for a Tent — hand washing, prohibited cleaners, drying, seam care, and loose storage
- NEMO Equipment: Cleaning, Repairing, and Storing Your Tent — manufacturer guidance for washing, zipper care, drying, repair, and storage
- National Park Service: Finding and Setting Up a Campsite — campsite hazards, flood exposure, falling branches, cooking layout, and wildlife-safe food storage
- Leave No Trace: Travel and Camp on Durable Surfaces — durable campsites and the 200-foot water-distance guideline
- Big Agnes: How to Pack Your Tent — transport packing, drying, and storage preparation
- Nikwax: Cleaning, Waterproofing, and UV Protecting Your Tent — tent-cleaner application, rinsing, air drying, and water-repellent treatment
