
Last Updated on July 30, 2026 by Mason Reed
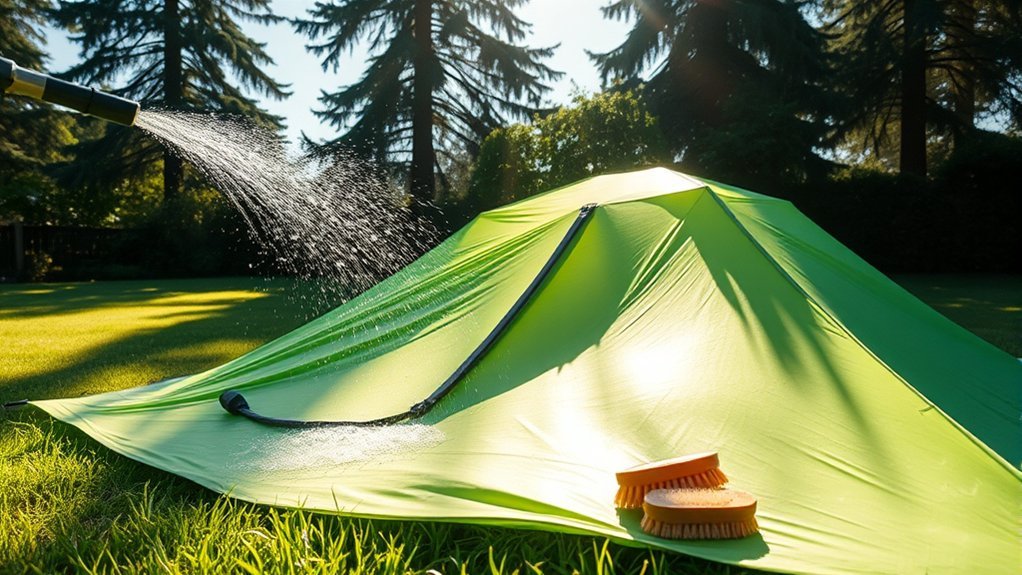
Washing a tent safely is less about scrubbing harder and more about using the right method for its fabric, seams, and waterproof treatments. Start with the care label, remove loose dirt, use cool or lukewarm water, and clean only as deeply as needed. Careful rinsing and complete air drying are just as important as the wash itself.
Quick Answer
To wash a tent without damaging its waterproof coating, check the manufacturer’s instructions, remove loose debris, and hand-clean it with cool or lukewarm water and a tent-safe cleaner. Avoid bleach, harsh detergent, machines, hot water, and hard scrubbing. Rinse thoroughly and air-dry the tent completely before storage.
Key Takeaways
- Follow the tent maker’s care instructions because some tents can be immersed while others should be cleaned while pitched.
- Use a soft sponge or cloth with a tent-specific cleaner or mild non-detergent soap approved for the fabric.
- Never use bleach, fabric softener, household stain remover, hot water, a washing machine, a dryer, or an abrasive brush unless the manufacturer expressly permits it.
- Rinse until the water is clear and no cleaner remains, then air-dry every layer completely in a shaded, ventilated area.
- Diagnose waterproofing problems before treating them: exterior DWR, leaking seams, and peeling inner coatings require different repairs.
At a Glance
| Time Required | About 30–60 minutes of cleaning, plus several hours of air drying |
| Difficulty | Easy, provided the care label permits the chosen method |
| Tools Needed | Soft sponge or cloth, soft toothbrush, clean water, tent-safe cleaner, clean tub or pitched washing area, and a shaded drying space |
| Cost | Low; the main purchase is usually a compatible tent or outdoor-gear cleaner |
Warning: Do not machine-wash, machine-dry, dry-clean, pressure-wash, or wring a tent unless its manufacturer expressly allows it. Agitation, high heat, strong water pressure, and twisting can damage lightweight fabric, taped seams, waterproof coatings, zippers, and mesh.
Disclosure: As an Amazon Associate I earn from qualifying purchases. Some links on this page are affiliate links, at no extra cost to you.
Check the Care Label and Tent Material
Before adding water or cleaner, read the sewn-in care label and look for instructions on the manufacturer’s website. Those directions take priority over general advice because tent construction varies. Some manufacturers allow a short tub wash, while others recommend pitching the tent and cleaning it with a sponge.
The method in this guide is intended mainly for common nylon and polyester camping or backpacking tents. Canvas, cotton, polycotton, rooftop, inflatable, and specialty expedition tents may require different cleaners, drying methods, or reproofing products.
Note: A cleaner described as safe for waterproof clothing is not automatically suitable for every tent coating. Use a product approved for tents or one specifically accepted by your tent manufacturer.
Preparing Your Tent for Cleaning
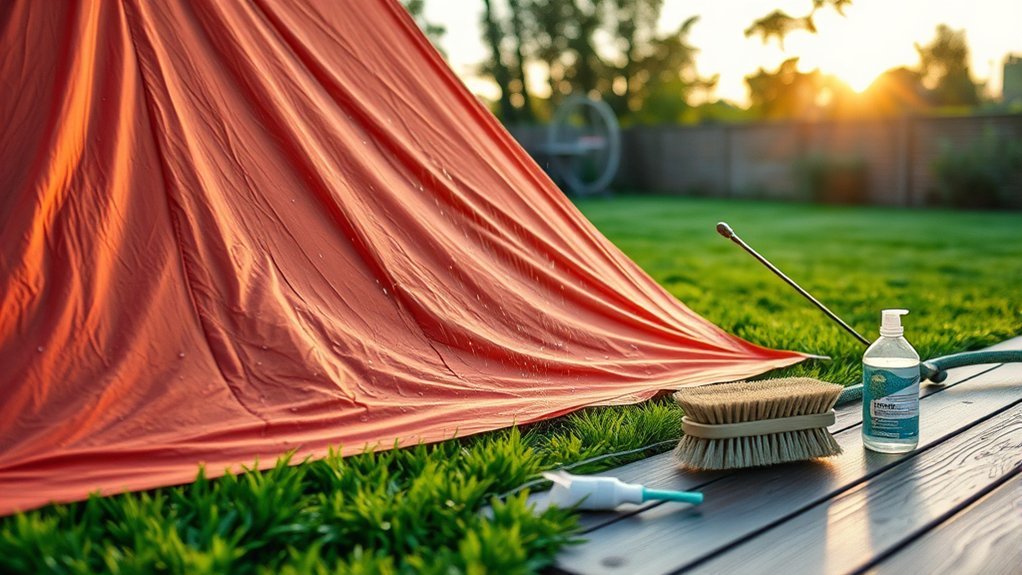
Preparation removes abrasive debris and helps you find damage before washing makes the fabric heavier and harder to handle.
- Choose a clean work area. Use a shaded lawn, clean patio, bathtub, large basin, or other area permitted by the care instructions.
- Remove loose parts. Take out poles, stakes, repair sleeves, storage pockets, batteries, lights, and other removable accessories. Protect any fixed electrical connector as directed by the manufacturer.
- Shake out debris. Let wet mud dry first, then shake, sweep, or carefully vacuum loose sand, leaves, pine needles, and dirt from the tent.
- Inspect the fabric. Look for rips, pulled stitching, loose seam tape, sticky coatings, flaking material, damaged mesh, and failing zippers.
- Make urgent repairs first. Repair sharp tears or loose hardware that could spread during washing. Waterproofing treatments can usually wait until after the fabric is clean and dry.
- Gather supplies. Use clean water, a soft sponge or microfiber cloth, a soft toothbrush for zippers, and a tent-safe cleaner or mild non-detergent soap approved by the manufacturer.
You do not need to wait for the entire tent to become completely dry before washing it. However, dried mud and loose debris are easier to remove without grinding grit into the fabric. Complete drying becomes essential after cleaning and before storage.
Deciding Between Spot Cleaning and a Full Wash
Do not deep-wash a tent simply because it has been used a few times. In many cases, shaking it out, wiping the floor, and cleaning a few dirty areas are enough.
Spot clean when:
- The tent has a few mud marks, food spots, or dirty corners.
- Sand or salt is trapped around a zipper.
- The rainfly has bird droppings, tree sap, or localized residue.
- The rest of the tent is clean and has no persistent odor.
Consider a full hand wash when:
- The tent is heavily soiled over a large area.
- It has been exposed to salt spray, smoke, spilled food, or heavy body oils.
- A stale or musty odor remains after airing and spot cleaning.
- The manufacturer recommends cleaning before applying a new waterproofing treatment.
Spot Cleaning Techniques
Spot cleaning limits the amount of handling and soaking, making it the safest first choice for most ordinary dirt. Test the cleaner on a small, hidden area before treating a visible panel.
Dirt and Mud
- Allow thick mud to dry.
- Brush or shake off as much loose material as possible.
- Dampen the remaining mark with cool or lukewarm water.
- Blot or wipe gently with a soft sponge and a small amount of approved cleaner.
- Rinse the area with clean water instead of leaving cleaner in the fabric.
Zippers and Mesh
Hold mesh loosely in your hand rather than stretching it against the ground. Wipe it with water and a soft cloth, using almost no pressure. For a gritty zipper, rinse away loose sand or salt and gently brush between the teeth with a soft toothbrush. Do not force a stuck slider.
Tree Sap and Sticky Residue
Tree sap requires more care than ordinary dirt. REI’s tent-cleaning guidance suggests carefully spot treating sap with a small amount of mineral oil or an alcohol-based product, followed by a thorough water rinse. Test first, use as little as possible, and stop if the fabric color or coating changes.
Food, Oil, and Sunscreen
Blot fresh residue rather than rubbing it across the fabric. Use a small amount of tent-safe cleaner, work from the outside of the mark toward the center, and rinse well. Repeated light treatments are safer than hard scrubbing.
Mold, Mildew, and Persistent Odor
Air the tent in a dry, ventilated location first. If odor or visible growth remains, use an enzyme cleaner that the tent manufacturer approves. Follow the cleaner’s dilution and contact-time instructions exactly. An unnecessarily long soak can expose polyurethane coatings to excess moisture and contribute to hydrolysis.
Warning: Do not apply bleach, household mold remover, fabric softener, scented stain remover, or concentrated household cleaner to a synthetic tent unless the manufacturer provides an exact approved procedure. These products can damage nylon, coatings, seam tape, or water repellency.
Mildew stains may remain even after the odor and active growth are reduced. Severe odor, widespread delamination, or a sticky inner surface can indicate permanent coating damage rather than a simple cleaning problem.
Handwashing Your Tent
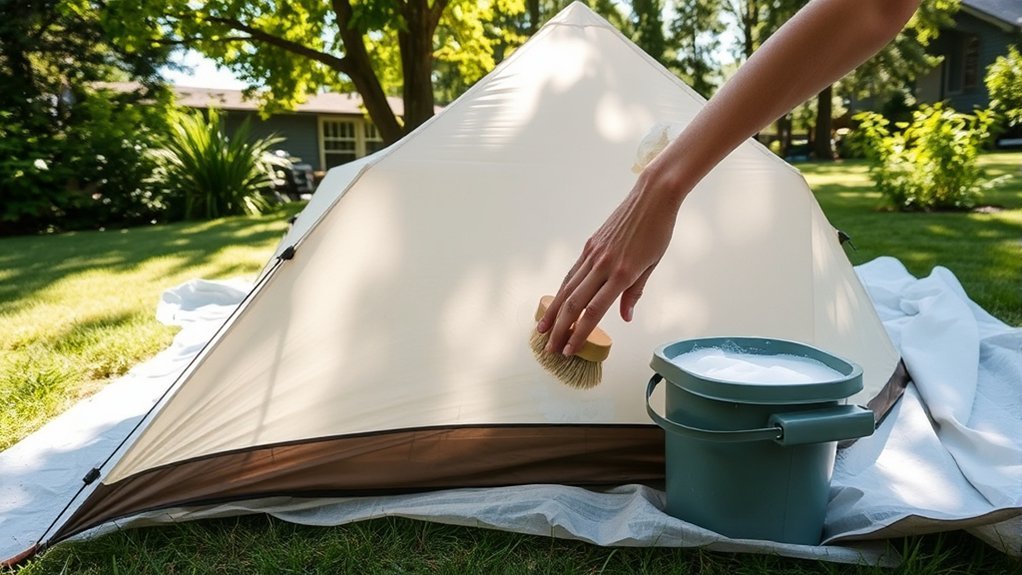
For a deeper clean, use the least aggressive hand-washing method permitted by the tent maker. Big Agnes describes a warm-water tub method for compatible tents, while MSR commonly recommends pitching the tent and hand-washing it with a sponge. This is why the care label must come first.
Method 1: Clean the Tent While It Is Pitched
- Pitch the tent in shade on a clean surface.
- Rinse or wipe away loose dirt with low-pressure water.
- Mix the approved cleaner according to its label.
- Use a soft sponge or cloth to clean the fly, body, and floor gently.
- Pay extra attention to oily door areas, floor corners, and high-contact panels.
- Rinse every cleaned area thoroughly with clean water.
This method reduces soaking and makes it easier to see dirt, protect fragile mesh, and rinse both sides of the fly.
Method 2: Use a Tub When the Manufacturer Permits It
- Clean the bathtub or basin so no household cleaner residue remains.
- Fill it with cool or lukewarm water, never hot water.
- Add only the amount of tent or gear cleaner specified on its label.
- Open the tent doors and turn the tent body inside out if the manufacturer recommends it.
- Place the tent body and rainfly in the water without twisting or tightly bunching them.
- Move the fabric gently through the water. Do not scrub coated surfaces aggressively.
- Soak only for the time allowed by the cleaner and tent manufacturer.
- Drain the dirty water and begin the rinsing process immediately.
Pro Tip: Wet tent fabric becomes surprisingly heavy. Support it with both hands or a clean sheet when lifting it from a tub so the water weight does not pull on seams, mesh, clips, or zipper openings.
Rinsing and Drying Your Tent
Rinsing removes cleaner that could leave a film, attract more dirt, reduce water beading, or irritate the fabric over time. One quick rinse may not be enough.
- Drain the wash water completely.
- Refill the tub with clean, cool water or rinse the pitched tent with low-pressure water.
- Move the fabric gently so trapped cleaner can escape from folds and seams.
- Repeat until the water remains clear and no suds or slippery residue remain.
- Let excess water drain naturally. Do not wring, twist, or sharply pull the fabric.
Air drying is the safest drying method. Pitch the tent loosely or hang it over several smooth, wide supports in a shaded, well-ventilated location. Spread the fly and footprint separately so air reaches both sides. Avoid a hot deck, heater, clothes dryer, radiator, hair dryer, or prolonged direct sun.
Turn or reposition the fabric during drying and check seams, corners, pole sleeves, pockets, and folded hems. These areas can remain damp after broad panels feel dry. Careful drying protects your investment, keeps the shelter reliable, and helps preserve it for future trips.
Pro Tip: After the tent feels dry, leave it open for additional ventilation and check the deepest folds by hand. Packing even one damp corner can lead to odor, mildew, or coating damage during storage.
Cleaning Poles, Stakes, Guylines, and the Footprint
Clean removable parts separately instead of leaving them inside the wet tent.
- Poles: Wipe dirt, sand, and salt from each section with a damp cloth. Dry the joints before reassembly or storage.
- Stakes: Brush off soil, rinse if needed, and dry them before placing them in their storage bag.
- Guylines: Wipe dirty cord with water and a cloth. Avoid soaking tensioners in strong cleaner.
- Footprint: Rinse or sponge-clean it separately. The tougher footprint often carries most of the mud that would otherwise reach the tent floor.
- Zippers: Confirm that the teeth and sliders are free of sand before the tent is packed.
Maintaining Waterproof Coatings
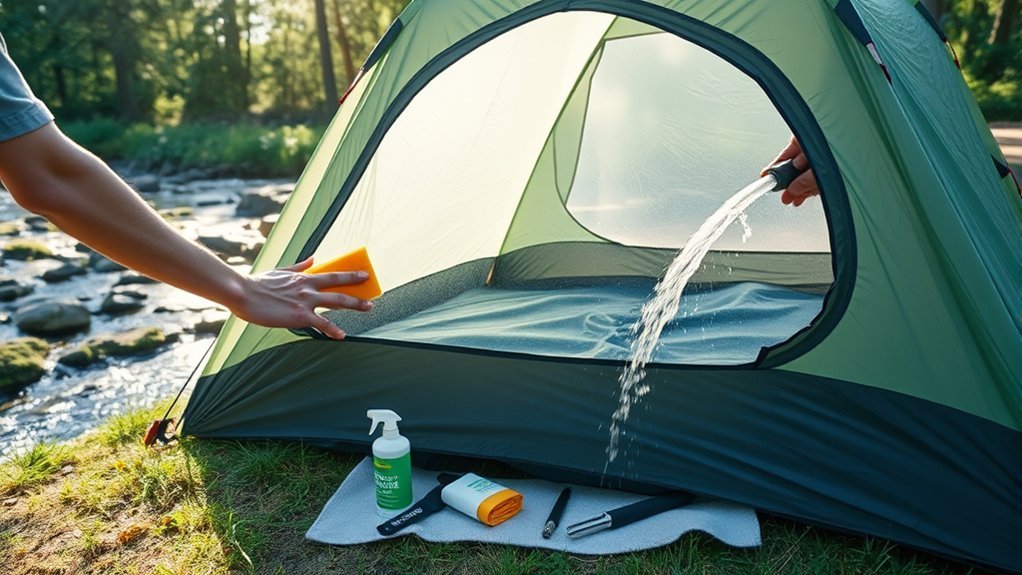
“Waterproofing” is not one single layer. A tent may use an exterior durable water-repellent finish, taped or sealed seams, and a polyurethane or silicone coating on another face of the fabric. Diagnose the failure before buying a treatment.
| Symptom | Likely Problem | Correct Response |
| Water soaks into the outer face instead of beading, but no water enters the tent | Dirty or worn exterior water-repellent finish | Clean first. If beading does not return, apply a compatible spray-on tent water repellent according to its label. |
| Drops enter along a stitched seam | Damaged seam tape or failed seam sealer | Clean and dry the seam, then use a sealer compatible with the tent’s coating and fabric. |
| The inner face feels sticky, smells unpleasant, or sheds flakes | Polyurethane coating hydrolysis or delamination | Contact the manufacturer. The failed coating may need to be stripped and replaced with a compatible coating, or the component may need replacement. |
| A small puncture or tear leaks | Physical fabric damage | Patch the tear with a fabric-compatible repair product before applying broader waterproofing. |
Refreshing Exterior Water Repellency
Clean the tent before applying a water-repellent treatment. Dirt and cleaner residue can prevent an even application. Use a product intended for tents and compatible with the fabric. Nikwax Tent & Gear SolarWash is one example of a tent-specific cleaner, but the tent manufacturer’s recommendation should control your choice.
Apply the treatment exactly as directed, remove excess product if the label requires it, and let the fabric cure completely before packing it away.
Resealing Leaking Seams
Do not apply a random seam sealer. Silicone-coated fabric generally requires a silicone-compatible sealer, while polyurethane-coated fabric commonly uses a different formula. Using the wrong product can prevent adhesion and make later repairs harder.
Clean and dry the seam, remove only loose failed material, apply a thin continuous layer, and allow the full curing time listed on the product. Factory-taped seams that remain intact may not need additional sealant.
Dealing With Sticky or Flaking Coatings
A sticky, gummy, foul-smelling, or flaking inner coating is more serious than weak exterior water beading. It often means moisture and age have broken down a polyurethane layer through hydrolysis. A normal DWR spray will not rebuild that layer.
Ask the tent manufacturer whether the affected rainfly or floor can be recoated. A repair may involve removing the failed coating, cleaning the base fabric, and applying a compatible replacement coating. When deterioration is widespread, replacement may be more reliable than recoating.
Water that no longer beads, a seam that leaks, and a coating that peels are three different problems. Correct diagnosis prevents unnecessary treatments and further fabric damage.
Testing the Tent After Cleaning
Once the tent and any treatment are completely dry, test the shelter before the next trip.
- Pitch the tent correctly and tension the rainfly as it would be used in camp.
- Close doors and vents that would normally be closed during rain.
- Use a hose with a gentle shower pattern to wet the fly evenly. Do not aim high-pressure water directly at seams or zippers.
- Wait several minutes, then inspect the underside, floor edges, corners, and stitched seams from inside.
- Mark any leak location only after the fabric dries so it can be repaired with the correct material-compatible product.
This test also shows whether exterior water beading has returned after cleaning or reproofing.
Storing the Tent After Washing
Store the tent only when the body, rainfly, footprint, guylines, pockets, and storage sacks are completely dry. Long-term moisture can cause mildew and can accelerate hydrolysis in polyurethane coatings.
- Choose a cool, dry place away from direct sunlight and high heat.
- Do not leave the tent for long periods in a hot vehicle, attic, damp basement, or sealed plastic container.
- For long-term storage, use a loose, breathable cotton or mesh bag rather than keeping the tent tightly compressed.
- Keep poles and stakes dry so they do not transfer moisture or dirt back to the fabric.
- Inspect the tent before the next trip so leaks or coating problems can be handled at home.
Frequently Asked Questions
Can I use bleach to clean my tent?
Do not use bleach unless the tent manufacturer gives you a specific approved dilution and procedure. Bleach can damage nylon, polyurethane coatings, seam tape, colors, and other tent components. Start with water, a tent-safe cleaner, or an approved enzyme cleaner for odor and mildew.
How often should I wash my tent?
Wash it based on its condition rather than after a fixed number of trips. Shake out debris and spot clean as needed. Perform a deeper wash when the tent is heavily soiled, exposed to salt or spills, develops an odor, or needs cleaning before an approved waterproofing treatment.
Is it safe to dry my tent in the sun?
Brief, mild exposure is unlikely to ruin a tent, but prolonged direct sunlight adds unnecessary ultraviolet and heat exposure. Dry the tent in shade with good airflow whenever possible, and reposition it so pockets, seams, and folded areas dry completely.
Can I machine-wash my tent if I use a gentle cycle?
Usually not. Agitation, stretching, detergent residue, and the weight of wet fabric can damage coatings, mesh, seams, and hardware. Hand wash the tent unless its manufacturer explicitly permits a machine method for that exact model.
What should I do if my tent smells bad?
Air it thoroughly in a dry, shaded location. If the odor remains, use a tent-compatible enzyme cleaner for the exact contact time on its label. A persistent sour or chemical odor combined with sticky or flaking fabric may indicate a failing polyurethane coating rather than removable dirt.
Can I use dish soap on a tent?
Some care guides allow a tiny amount of mild soap for localized spots, while other manufacturers specifically warn against dishwashing liquid. A tent-specific cleaner or the product named by your tent manufacturer is the safer general choice. Always rinse the area thoroughly.
How do I know whether my tent needs re-waterproofing?
First clean and test it. If the outside wets out but the tent does not leak, the exterior water-repellent finish may need renewal. A leak along stitching points to seam treatment. Sticky or flaking material indicates coating breakdown and requires a different repair.
Conclusion
To wash a tent without damaging its waterproof coating, begin with the manufacturer’s instructions and use the gentlest effective method. Remove loose debris, spot clean whenever possible, and use cool or lukewarm water with a tent-safe cleaner for deeper washing. Rinse repeatedly, support wet fabric carefully, and air-dry every layer before storage.
After cleaning, identify the exact waterproofing problem before applying a treatment. Weak exterior beading, a leaking seam, and a sticky or flaking inner coating require different solutions. With careful cleaning, correct diagnosis, and dry storage, your tent can remain a dependable shelter without unnecessary damage to its fabric or waterproof layers.
Sources
- REI Co-op: How to Clean a Tent — supports debris removal, spot cleaning, tub washing, rinsing, drying, zipper cleaning, sap treatment, and enzyme-cleaner guidance.
- MSR Tent Care and FAQ Guidance — supports hand washing, avoidance of machines and harsh cleaners, complete drying, breathable storage, mildew prevention, and hydrolysis information.
- Big Agnes: How to Wash Your Tent — supports warm rather than hot water, tent-specific cleaner, gentle sponge washing, and manufacturer-specific precautions.
- Big Agnes: Seasonal Tent Maintenance — supports cleaning before waterproofing and following treatment-specific application instructions.
- Nikwax Tent & Gear SolarWash — provides an example of a cleaner formulated specifically for weatherproof tents and outdoor equipment.
