
Last Updated on July 29, 2026 by Mason Reed
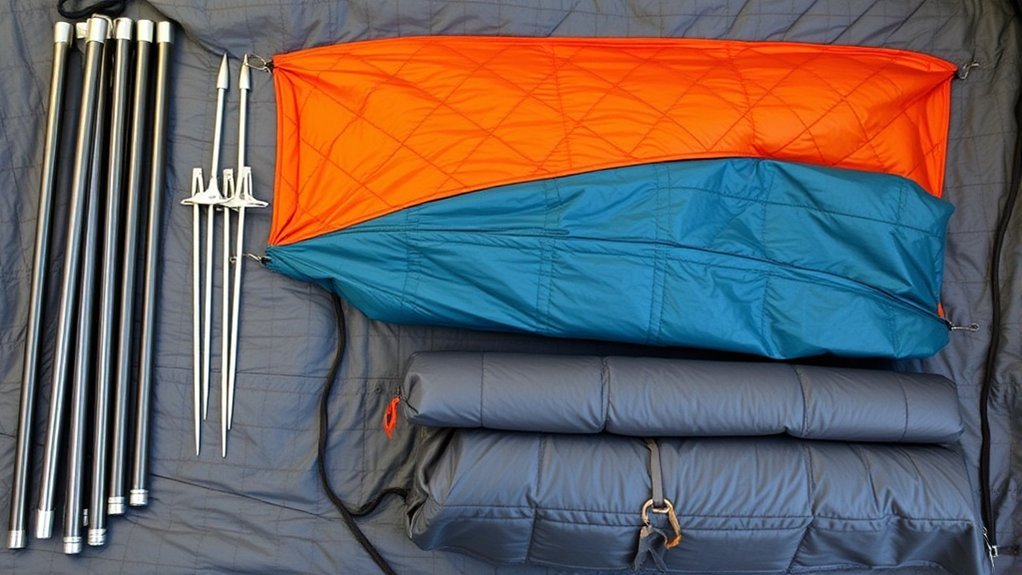
Packing a tent is easier when you separate the job into three parts: clean and dry the fabric, organize the small components, and make a bundle that fits the supplied bag without excessive force. The exact method varies by tent, but a careful routine protects the fabric, makes missing parts easier to spot, and prepares the shelter for your next trip.
Quick Answer
To pack a tent, remove your gear, shake out dirt, and dry the fabric as much as possible. Bag the collapsed poles and clean stakes separately. Fold the footprint, tent body, and rainfly to the length of the pole bag, roll them together, and slide the bundle into the stuff sack without forcing it.
Key Takeaways
- Check the tent manual first because some models have a specific folding, rolling, or bag-loading method.
- Remove grit and dry the tent before packing whenever conditions allow.
- Collapse shock-corded poles from the middle and keep stakes in their own sack.
- Rolling and stuffing can both work; avoid sharp folds, excessive compression, and forcing the sack closed.
- Use the compact stuff sack for travel, but store the tent loosely in a cool, dry place between trips.
At a Glance
| Time Required | About 10–20 minutes, plus drying time when the tent is damp |
| Difficulty | Easy |
| Tools Needed | Pole sack, stake sack, soft brush or cloth, and a dry towel if needed |
| Cost | Usually $0 with the bags supplied with the tent |
Disclosure: As an Amazon Associate I earn from qualifying purchases. Some links on this page are affiliate links, at no extra cost to you.
Importance of Proper Tent Packing
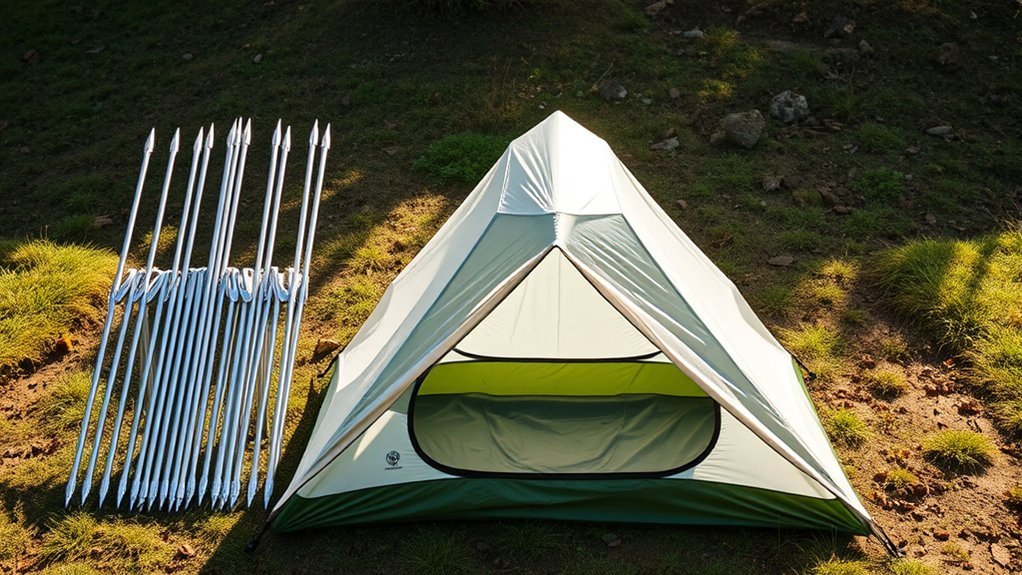
Proper packing protects the tent from grit, sharp hardware, and unnecessary strain. It also gives you a chance to confirm that you still have the rainfly, footprint, poles, stakes, guylines, and repair items before leaving camp.
The most important concern is moisture. A tent may collect condensation on the underside of the rainfly and floor even after a dry night. According to REI’s tent-care guidance, a tent should be dried as much as possible before it goes into its stuff sack and thoroughly dried before storage. Persistent moisture can promote mildew and damage waterproof coatings.
Your packing style can be flexible. Storing a tent damp should not be.
Do not assume that one folding method works for every shelter. Some manufacturers recommend a neat roll, while others allow the body and fly to be stuffed. The tent’s manual should take priority over a general packing guide.
Pro Tip: Take a photo of the tent and its components the first time you unpack it at home. The photo provides a useful reference for the original bag layout and makes missing parts easier to identify.
Initial Preparations and Tent Disassembly
1. Empty the Tent
Remove sleeping gear, clothing, lights, and anything stored in the pockets. Check every corner before taking the tent down. Open storage pockets and look under loose fabric where small items may be hidden.
2. Clean Out Dirt and Debris
Sweep or shake out sand, leaves, grit, and food crumbs. Dirt trapped against the floor or zipper tracks can abrade the fabric during transport. If the tent is freestanding, lift it with another camper and gently turn the doorway toward the ground to empty it.
Do not drag the tent across rocks or rough ground. If mud is present, wipe away loose material with a damp cloth rather than grinding it into the coating.
3. Remove Guylines and Stakes
Release tension from the guylines before pulling the stakes. Remove each stake by gripping the stake itself or using a stake puller. Pulling hard on a guyline can damage the cord, attachment point, or stake loop.
Brush soil from the stakes and count them before placing them in the stake sack. Coil or daisy-chain each guyline so it will not tangle. If the tent has attached guyline pockets, use them. Otherwise, secure each bundle loosely with its own cord end.
4. Detach the Rainfly
Unclip the rainfly and release any attached hook-and-loop pole tabs. Close its zippers unless the manufacturer directs otherwise. Closing doors and vents helps prevent loose panels from catching while you fold or roll the fly.
Spread the rainfly on a clean surface or drape it over the standing tent while you remove the remaining moisture. Avoid leaving lightweight fabric in strong direct sunlight longer than needed because prolonged ultraviolet exposure can weaken tent materials.
5. Remove and Collapse the Poles
When removing a pole from a sleeve, push it through rather than pulling it. Pulling may separate the pole sections inside the sleeve and place extra strain on the shock cord.
Once the poles are free, begin collapsing each shock-corded pole near the middle. Continue working toward the ends so the cord tension remains more evenly distributed. Place all pole sections in the pole sack and check for splits, bent ferrules, or weak shock cord. This method follows REI’s breakdown guidance.
6. Shake and Dry the Tent Body
Turn the tent body over and shake loose any dirt trapped beneath the floor. Check the corners and lower walls for condensation. Use a clean towel to blot moisture if you cannot wait for the fabric to air-dry.
Warning: A wet tent may be packed temporarily when rain or travel plans leave no alternative. Keep it away from dry sleeping gear, then unpack and dry it as soon as you reach home or a sheltered location. Never leave it wet in a closed bag for long-term storage.
Folding and Preparing Tent Components
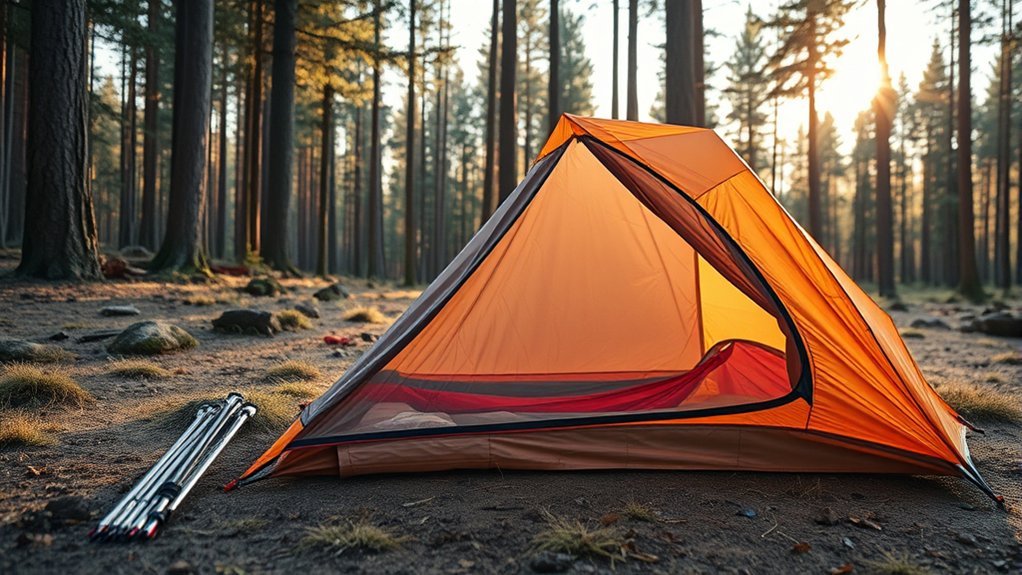
Should You Roll or Stuff a Tent?
Both methods can work for many modern tents. MSR describes both rolling and stuffing, while Big Agnes recommends a rolling method for its tents. Follow the directions supplied with your model whenever they specify one approach.
- Rolling: Produces an orderly bundle and works well with narrow, top-loading tent sacks.
- Stuffing: Can be faster and avoids repeatedly creasing the fabric along identical fold lines.
- Either method: Requires clean fabric, protected hardware, reasonable compression, and no excessive force.
Do not create hard creases by standing, kneeling, or placing heavy gear on the folded tent. The goal is to reduce loose air and create a manageable bundle, not to compress the fabric as tightly as possible.
How to Prepare the Fabric for Rolling
- Lay the footprint flat, if your tent has one, and brush away dirt.
- Lay out the tent body with the doors zipped and loose fabric spread evenly.
- Place the rainfly over the body or fold it separately if it is still slightly damp.
- Fold each piece lengthwise until its width is close to the length of the collapsed pole bag.
- Stack the pieces with edges aligned so no mesh or buckles extend beyond the bundle.
Folding into thirds or quarters often works, but the exact number of folds depends on the tent and sack. The supplied stuff sack is a useful width guide.
Note: A compact travel bag and a long-term storage bag serve different purposes. Use the supplied sack on the road or trail. At home, store the clean, dry tent loosely in an oversized breathable sack or pillowcase.
Final Packing Steps: A Reliable Packing Order
The following method works as a practical default for many conventional backpacking and dome tents. Adjust it when your tent manufacturer provides different instructions.
- Prepare the component bags. Put the collapsed poles in the pole sack and the clean stakes in the stake sack. Do not leave sharp stakes loose against mesh or coated fabric.
- Stack the fabric. Place the footprint at the bottom, the tent body in the middle, and the rainfly on top. The order is less important than keeping the pieces aligned and reasonably dry.
- Position the pole bag. Set the pole bag across one short end of the fabric stack.
- Roll steadily. Roll the fabric around the pole bag. Press out trapped air as you move forward, but do not twist or stretch the material.
- Insert the bundle. Slide the roll into the main stuff sack. Rotate the bundle slightly instead of forcing it through a tight opening.
- Add the stake sack. Place the protected stake sack beside the bundle where it will not press against delicate mesh.
- Close the sack. Tuck in loose fabric, tighten the drawcord or compression straps evenly, and confirm that no zipper, buckle, or pole end is caught in the opening.
For a stuffing method, place the bagged poles and stakes where your manufacturer recommends, then feed the dry tent body and rainfly into the sack in small sections. Do not push with a sharp pole end or use your foot to compress the fabric.
Dividing a Tent Between Backpackers
When several people share a tent, the components do not have to remain in one bag. One person can carry the dry tent body, another the rainfly, and another the poles, stakes, or footprint. Place fabric components inside waterproof pack liners when rain is expected, and keep a clear group inventory so nothing is left behind.
How to Pack a Wet Tent Temporarily
Sometimes rain, wind, checkout times, or transportation schedules make dry packing impossible. Use this temporary process:
- Shake off as much water as possible.
- Blot pooled water with a clean towel.
- Keep muddy stakes and the footprint separate from the tent body.
- Place the wet tent where it cannot soak sleeping bags or clothing.
- Open the sack during a long break if conditions improve.
- Unpack the tent immediately after the trip and pitch, drape, or hang it until every layer is dry.
Drying may require several hours or longer in humid conditions. Check overlapping seams, corners, pole sleeves, pockets, and the underside of the floor before putting the tent away.
Cleaning and Inspecting the Tent Before Storage
A quick shakeout is enough after many trips. Clean the tent more thoroughly after exposure to heavy mud, fine dust, sand, tree sap, bird droppings, salt, or food spills.
- Use cold water and a soft, non-abrasive sponge.
- Use mild non-detergent soap or a cleaner approved by the tent manufacturer.
- Rinse away all cleaner residue.
- Clean grit from zipper teeth with a soft brush.
- Air-dry the tent completely.
- Do not machine wash, machine dry, iron, or use bleach or harsh household cleaners unless the manufacturer expressly allows it.
Inspect the fabric for tears, peeling seam tape, worn waterproof coating, and damaged attachment points. Check the poles for cracks or bent sections and confirm that the repair sleeve, spare cord, and patch material remain in the kit.
How to Store a Tent Between Trips
The compact stuff sack is designed for transport, not prolonged compression. Once the tent is clean and completely dry, remove it from the travel sack and store it loosely.
- Place the tent body, rainfly, and footprint in an oversized mesh bag, breathable storage sack, or clean pillowcase.
- Keep the bag in a cool, dry, dark location.
- Avoid hot car trunks, damp basements, and attics with large temperature swings.
- Store poles where they will not be crushed by heavy gear.
- Keep stakes clean and dry to limit corrosion.
NEMO recommends loose storage in a breathable sack, and REI likewise advises against using the compact stuff sack for long-term storage.
Troubleshooting Common Tent-Packing Problems
The Tent Will Not Fit in Its Sack
- Confirm that the pole and stake bags are positioned as they were when the tent was supplied.
- Unroll the bundle and fold the fabric to a narrower width.
- Roll toward an open door or vent so trapped air can escape.
- Check whether a loose buckle, cord, or corner is adding bulk.
- Make sure another item has not been added to the tent sack.
- Do not force the closure or kneel on the bag. Start again with a smoother roll.
The Fabric Keeps Unrolling
Use the rainfly’s attached straps if your model has them, or hold the roll with one hand while guiding it into the sack. Do not wrap a guyline tightly around the bundle because prolonged tension can crease the fabric and tangle the cord.
The Tent Smells Musty
Unpack it immediately and inspect it for moisture, mildew, or coating breakdown. Air-dry it in a shaded, ventilated place. Follow the tent manufacturer’s cleaning instructions before applying any cleaner, because incompatible products can damage waterproof coatings.
A Pole or Stake Is Missing
Check the campsite, pole sleeves, tent corners, and the inside of every component bag. Replace missing stakes with compatible camping stakes rather than sharp improvised objects. For a damaged pole, use the supplied repair sleeve as a temporary splint and arrange a manufacturer-approved replacement before the next trip.
Practice Tent Setup and Packing at Home
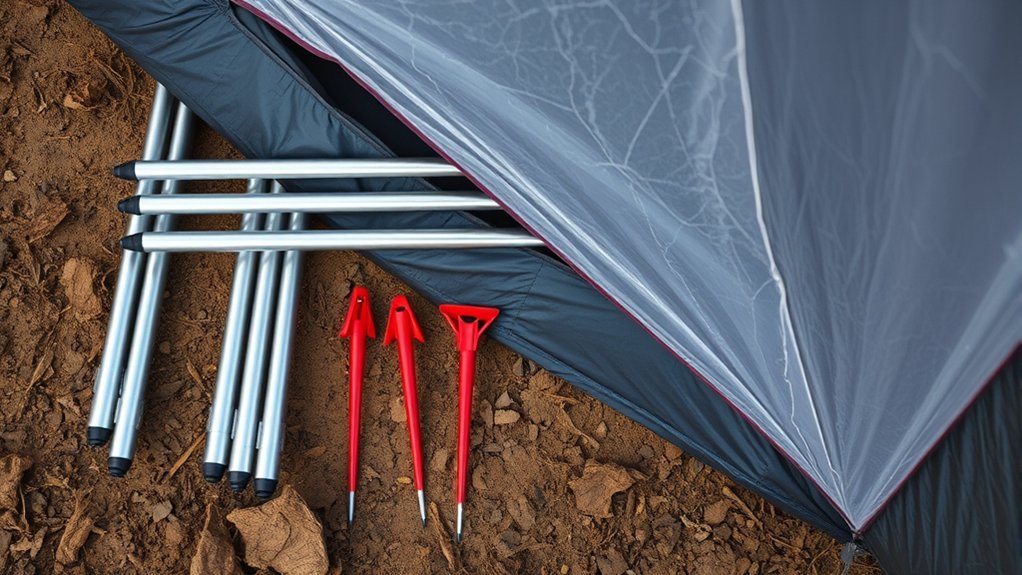
Practice is especially useful with a new tent, an unfamiliar pole structure, or a small fitted stuff sack. Set the tent up in a backyard or other permitted area and complete the full takedown before relying on it in bad weather.
- Simulate real conditions: Install the footprint, rainfly, stakes, and guylines rather than practicing only with the tent body.
- Learn the attachment points: Identify color-coded clips, pole hubs, vents, buckles, and rainfly orientation.
- Test the packing method: Compare rolling with the manufacturer-approved alternative and see which fits the sack without excessive force.
- Inspect the repair kit: Confirm that you have a pole sleeve, fabric patches, spare cord, and any model-specific tools.
- Repeat the inventory: Count the poles and stakes before and after practice so the process becomes routine.
A consistent routine will not guarantee a specific percentage improvement, but it can make setup more predictable and reduce the chance of discovering a missing component at the next campsite.
Frequently Asked Questions
Can I pack my tent when it is wet?
Yes, temporarily, when weather or travel plans make dry packing impossible. Shake off and blot as much water as you can, keep the wet tent away from dry gear, and unpack it promptly. Pitch, drape, or hang every component until it is completely dry before storage.
Should I fold, roll, or stuff my tent?
Follow the tent manufacturer’s directions first. Rolling creates an orderly bundle and works well with many narrow sacks. Stuffing can be faster and avoids forming the same fold lines repeatedly. Either method is acceptable for many tents when the fabric is clean, reasonably dry, and not forced into the bag.
What should I do if I lose a pole or stake?
Use a compatible replacement from the tent manufacturer or an outdoor shop. A pole repair sleeve can stabilize a cracked section temporarily. Carry one or two spare stakes and avoid pushing sharp sticks or unprotected metal against the tent fabric.
How do I clean my tent before packing it?
Shake out loose debris and spot-clean dirty areas with cold water, a soft sponge, and mild non-detergent soap or a manufacturer-approved cleaner. Rinse thoroughly and air-dry the tent. Do not machine wash, machine dry, bleach, or use harsh household detergent unless the care label specifically permits it.
Are there separate bags for tent components?
Most tents include a main stuff sack, a pole sack, and a stake sack. These smaller bags keep sharp or dirty components away from the tent fabric. For long-term storage, use a larger breathable sack or pillowcase instead of leaving the tent compressed in its travel bag.
How can I prevent damage while packing my tent?
Remove grit, keep stakes bagged, protect the mesh from buckles and pole ends, and avoid dragging the tent across rough ground. Do not kneel on the bundle or force it into a sack that is too small. Dry the tent completely before long-term storage.
Why will my tent not fit back into its bag?
The fabric may be folded wider than the pole bag, trapped air may be increasing the bundle size, or a buckle or corner may be sticking out. Unpack it, align the layers, fold them more narrowly, and roll toward an open door or vent. Do not force the closure.
Sources
- Big Agnes: How to Pack Your Tent — supports the dry, fold, roll, and component-bag packing process.
- REI: How to Clean, Waterproof and Care for a Tent — supports pole handling, cleaning, drying, and fabric-care guidance.
- REI: How to Store a Tent — supports loose storage in a cool, dry location.
- NEMO Equipment: Cleaning, Repairing and Storing Your Tent — supports breathable long-term storage and complete drying.
- MSR: The Ultimate Guide to MSR Tents — supports both rolling and stuffing methods and dry-tent care.
Conclusion
A reliable tent-packing routine starts with removing dirt, managing moisture, protecting the hardware, and following the instructions for your specific shelter. For many conventional tents, you can bag the poles and stakes separately, fold the body and rainfly to the pole length, and roll the fabric around the pole bag. Never force the bundle into its sack.
After the trip, unpack the tent, inspect every component, and let it dry completely. Store it loosely in a breathable bag rather than leaving it compressed. Practicing the process at home will help you recognize missing parts and make your next setup more orderly and predictable.
