
Last Updated on July 29, 2026 by Mason Reed
Getting down from a sport climb is a safety-critical part of the route. Before you leave the ground, check the route length, rope length, anchor type, walk-off information, and local lowering or rappelling practice. Use a descent method you have practiced with a qualified instructor, communicate clearly with your belayer, and stay connected until the new system has been checked and fully weighted.
Quick Answer
To get down from a sport climb safely, choose the descent before climbing: lower from the designated anchor hardware, rappel only with proper training and a rope that reaches, or follow a known walk-off. Close the rope system with a stopper knot, inspect the anchor, use agreed commands, and test every changeover before unclipping.
Key Takeaways
- Confirm the route length and rope length, then tie a bulky stopper knot in the belayer’s end before anyone climbs.
- Use only the designated lower-off or rappel hardware; never run a rope directly through a bolt hanger, sharp edge, sling, or webbing.
- Stay secured while cleaning the anchor, complete a partner check, and test-weight the new system before removing your temporary attachment.
- Use clear commands such as “Take,” “Ready to lower?” and “Lowering.” Call “Rope!” only when a rope is about to fall or be pulled through an area below.
- Walk away from any anchor you cannot confidently inspect or use. Do not improvise a descent beyond your training.
At a Glance
| Time Required | Varies by route and method; never rush an anchor transition or use a fixed time target. |
| Difficulty | Intermediate to advanced; anchor cleaning and rappelling require hands-on instruction. |
| Tools Needed | Correct-length climbing rope, harness, helmet, belay device, quickdraws, locking connectors, and any personal anchor or rappel backup you are trained to use. |
| Cost | No extra cost if you already own suitable gear; professional instruction and replacement gear costs vary. |
Warning: This guide is an overview, not a substitute for in-person climbing instruction. Anchor cleaning, lowering, rappelling, and steep-route cleaning can be fatal if performed incorrectly. Practice each method at ground level with a qualified instructor before using it at height.
Disclosure: As an Amazon Associate I earn from qualifying purchases. Some links on this page are affiliate links, at no extra cost to you.
Choose How to Get Down
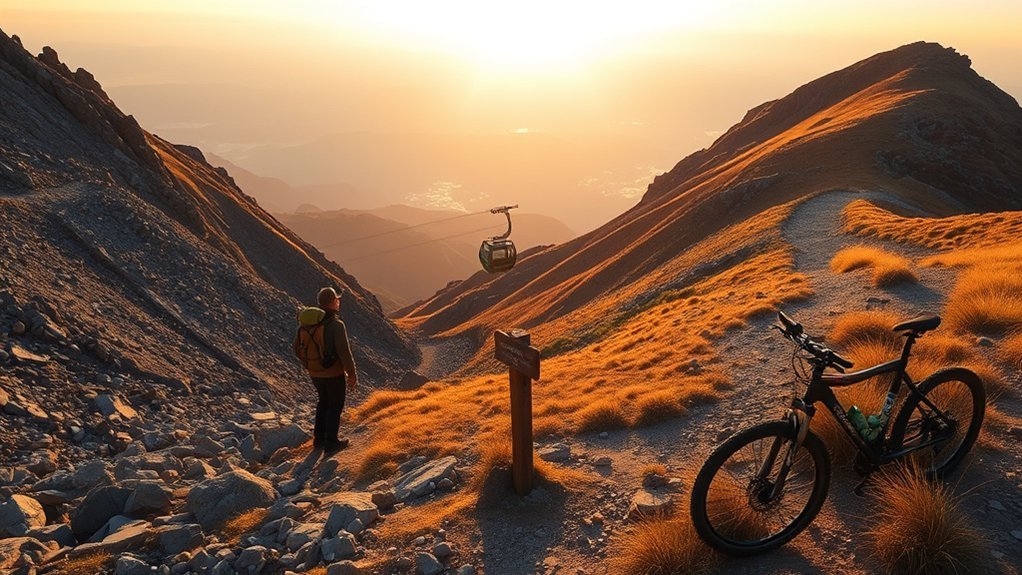
Start with the route description and the anchor in front of you. The three common choices are lowering, rappelling, and walking off. The best choice depends on the anchor design, rope length, terrain, weather, local ethics, and your training. Do not switch methods simply because one seems faster.
| Lower | Often the simplest single-pitch descent when the rope is long enough and the anchor has designated lower-off hardware. |
| Rappel or abseil | Appropriate only when the route, anchor, local practice, and your training support it. A doubled rope reaches no farther than half its usable length. |
| Walk off | Use a known, established descent trail when it is safer than returning down the face. Confirm the path before climbing. |
Check Before Leaving the Ground
- Read the route description: Check route height, anchor type, descent method, walk-off directions, and any warning about a 70- or 80-meter rope.
- Know your rope: Confirm its true length, condition, middle mark, and whether it has been shortened.
- Close the system: Tie a bulky stopper knot in the belayer’s end, or use another trained method that prevents the rope from passing through the belay device.
- Agree on commands: Review “Take,” “Slack,” “Ready to lower?” and “Lowering.” Wind, traffic, and distance can make words hard to hear.
- Carry the right gear: Bring enough quickdraws and the locking connectors, personal attachment, rappel device, and backup cord required by your trained method.
- Check local practice: Some crags ask climbers to top-rope through their own carabiners and use fixed hardware only for the final descent.
Pro Tip: Tie the stopper knot as soon as the rope comes out of the bag. The American Alpine Club identifies a rope that is too short and poor communication as leading causes of lowering accidents.
Lower Off a Sport Climb Safely
Lowering keeps the climber on belay while the belayer controls the descent. It is often the preferred single-pitch method when the anchor is sound, the rope is long enough, and the fixed hardware is designed for lowering. The exact cleaning sequence varies by anchor configuration, so use only a method you have practiced.
Safe Anchor Setup
Inspect the entire station before trusting it. A normal sport anchor should provide two sound, independent points or a properly connected system. Look for severe grooves, sharp edges, loose or missing parts, corrosion, damaged welds, worn slings, and hardware that forces the rope across a bolt hanger or rough rock.
Use only the designated rings, chains, or lower-off carabiners. The British Mountaineering Council’s lower-off guidance warns against threading a rope directly through a bolt hanger, sling, or rope because sharp or abrasive surfaces can damage the climbing rope. When two anchor points are not connected, the rope normally must pass through both points.
Warning: Rappelling does not make a worn or corroded anchor safe. If the anchor is questionable, do not load it merely because you changed descent methods. Back it up or retreat only within your training, and report the hardware to the local climbing organization.
Lowering Technique Steps
The following is a decision framework, not a replacement for learning a specific anchor-cleaning method. Petzl’s anchor-cleaning guidance shows different procedures for connected and unconnected stations and stresses that the belayer must keep belaying throughout the entire sequence.
- Secure yourself: Attach to the anchor with the system you were trained to use. If the two points are not connected, your method should account for both sound points.
- Communicate: Ask for the amount of slack or tension you need. The belayer keeps the device correctly loaded and never releases the brake side.
- Prepare the rope: Thread or connect the rope through the designated lower-off points using your practiced method. Never thread through a bare hanger or damaged hardware.
- Recheck the system: Confirm the rope path, tie-in knot or locking connector, anchor points, belay device, and stopper knot. Make the check visual and verbal.
- Test-weight before detaching: Ask the belayer to take your weight. Keep your temporary attachment in place until you have confirmed that the lowering system holds correctly.
- Remove the temporary attachment: Detach only after the system is weighted and checked.
- Use clear commands: Ask, “Ready to lower?” Wait for a clear response. The belayer answers “Lowering” and lowers smoothly while keeping control of the brake strand.
Note: “Rope!” is a warning for people below when a rope is about to be thrown, dropped, or pulled. It is not a substitute for the climber-belayer commands used during a lower.
Gear Check Tips
Do a final gear and system check before leaving the anchor. Keep the process simple, use the same order every time, and stop if either partner is unsure.
| Check | Why It Matters | What to Confirm |
|---|---|---|
| Rope length | Prevents lowering off the end | Route height, rope length, middle mark, and stopper knot |
| Anchor hardware | Avoids damaged or unsuitable points | Two sound points and designated lower-off surfaces |
| Connection and knot | Prevents incomplete changeovers | Correct rope path, knot dressing, locked gates, and harness attachment |
| Belay system | Keeps the climber controlled | Device orientation, brake-hand control, partner attention, and agreed commands |
| Final load test | Catches errors before detachment | New system fully weighted while the backup remains attached |
Walk Off the Route When Needed
A walk-off can be the simplest descent when the route finishes near a known trail and returning down the face would be awkward. It can also be the wrong choice if the path is exposed, loose, hard to find, wet, icy, or unknown. Confirm the walk-off before climbing instead of searching for it after dark.
When to Walk Off
- Use a guidebook, topo, or local information to confirm that the descent trail is established and open.
- Check whether the top-out includes exposed scrambling, short technical steps, or a rappel.
- Carry approach shoes, a headlamp, and weather layers when the walk-off is longer than the climb.
- Stay tied in or secured while you are still exposed. Do not treat a ledge as safe ground until a slip would no longer have serious consequences.
- Choose another descent if the path is closed, storm-damaged, icy, or beyond the group’s ability.
Safe Route Cleaning
Clean the anchor only while you are securely attached and still belayed. Keep each removed item clipped to your harness so gear cannot fall. If reaching safe walking terrain requires a short belayed section, treat it as a real pitch with a planned anchor, belay, and communication system rather than an informal scramble.
Do not use long slings or improvised tethers automatically. Extra length can increase fall distance and create awkward loading. Use only equipment and attachment points approved by the manufacturer and included in the method you were taught.
Trail Back to Base
- Move away from the cliff edge before reorganizing the rope or removing your helmet.
- Follow the established path and avoid shortcuts that cause erosion or loosen rock above climbers.
- Keep the group together at junctions, especially near dusk or in poor weather.
- Return to the base without crossing beneath active routes when another option exists.
- Account for every climber, rope, quickdraw, locking connector, and personal attachment before leaving.
Abseil a Sport Climb Safely
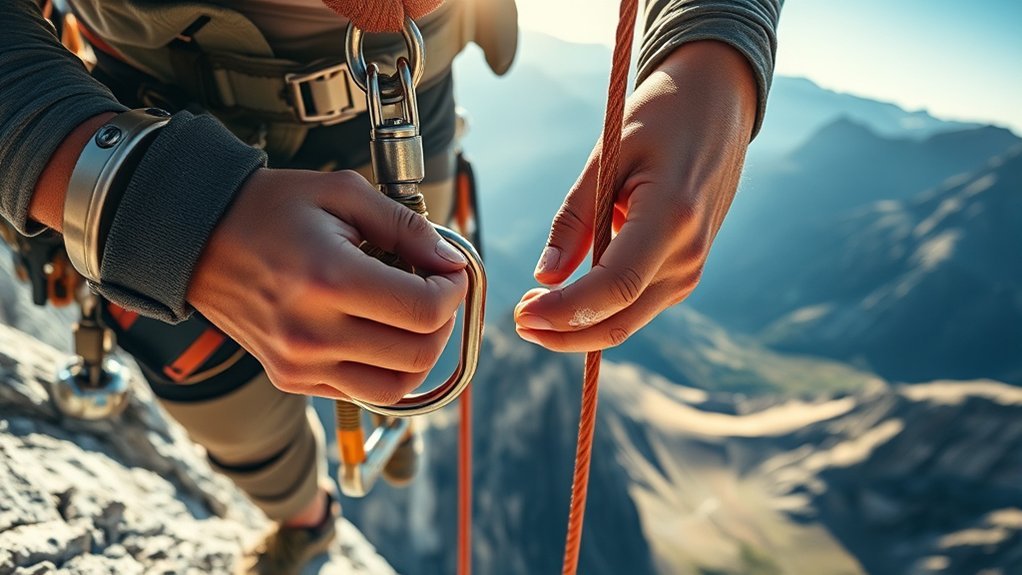
Rappelling, also called abseiling, puts the climber in control of the descent rather than the belayer. This adds setup steps and removes the continuous belay used during lowering. Use it only when you are trained, the anchor is suitable, and the rope reaches the next station or ground.
On a normal doubled-rope rappel, the maximum descent is less than half the rope’s usable length. Center the rope correctly, verify both ends reach, and consider rope stretch, knots, ledges, and the distance to a safe stance. The Petzl rappel-backup guidance also notes that backup-cord performance depends on rope diameter, materials, and conditions, so compatibility must be tested.
Rappel Checklist
- Inspect and thread the anchor: Use the designated rappel hardware and verify the rope cannot run across a sharp edge.
- Confirm the ends: Make sure both ends reach the ground or next station. Tie suitable end knots when they will reduce the risk of rappelling off the ends and will not create an unmanaged snag hazard.
- Install the device correctly: Check the device orientation, locking carabiner, harness attachment, and rope strands.
- Add the trained backup: If using an autoblock or prusik, place it in the position required by your system and confirm it grips the specific ropes.
- Test before unclipping: Weight the rappel system while still secured to the anchor.
- Keep control: Maintain a firm brake hand on the brake strands throughout the descent. Stop before ledges, knots, or obstacles.
- Clear the fall line: Once everyone is down, call “Rope!” before pulling. Stand away from the path of the rope and any rock it could dislodge.
Anchor transitions deserve full attention. American Alpine Club accident reviews repeatedly identify short ropes, poor communication, inadequate belays, anchor failures, and rappel setup errors as serious causes of falls.
Remove Quickdraws Without Swinging
Cleaning quickdraws on a vertical route is usually straightforward during a controlled lower. Steep or traversing routes can pull the climber away from the wall, making the last pieces harder to reach and increasing swing risk. Discuss the cleaning plan before the climb.
- Ask the belayer to lower slowly and keep enough tension to control your position without pulling you off useful footholds.
- Face the wall, keep your feet ready, and remove one quickdraw at a time only when you are stable.
- Leave directionals in place until they are no longer needed to control the swing.
- On an overhang, a trained tram technique may keep you near the bolt line. Use it only after hands-on instruction because incorrect clipping can trap fingers, cross-load connectors, or create an uncontrolled swing.
- Pause if the final quickdraw is out of reach. Do not make a long, unprotected pendulum or detach from a directional without telling the belayer.
- Clip every removed quickdraw securely to your harness before moving again.
Pro Tip: For a steep route, ask an experienced local climber or instructor how that specific line is normally cleaned. Bolt spacing, traverses, and the location of the first draw can change the safest sequence.
Protect Anchors and Fixed Gear
Fixed anchors are community infrastructure, but no fixed hardware is guaranteed. Inspect it every time. The UIAA rock-anchor guidance covers corrosion classes, welded components, and environmental risks, including failures that may not be obvious from a quick glance.
Reduce wear by top-roping repeated laps through your own properly arranged carabiners or quickdraws, then use the designated fixed lower-off hardware only for the final climber. Do not lower or rappel through bare hangers, abandoned cord, deeply grooved rings, or sharp metal.
| Action | Benefit |
|---|---|
| Inspect both anchor points and connecting hardware | Helps identify grooves, corrosion, sharp edges, damaged welds, and missing parts |
| Use personal carabiners for repeated top-rope laps | Reduces wear on fixed lower-off hardware |
| Report damaged hardware | Allows qualified local volunteers or land managers to inspect and replace it |
| Support local rebolting funds | Helps maintain routes with suitable materials and trained labor |
Note: Do not replace, tighten, or modify fixed anchors unless you are qualified, have permission, and understand the local hardware standard. An apparently simple replacement can create corrosion, strength, or access problems.
Troubleshoot Descent Problems
The Rope Is Too Short
Stop the lower before the rope end approaches the belay device. Keep the system closed and the climber secured. Do not rely on rope stretch or try to “make it work.” Use a rescue or changeover method only if both partners are trained for it; otherwise call for qualified assistance.
The Anchor Looks Damaged
Do not assume a body-weight test proves the anchor is safe. If you see severe wear, corrosion, cracks, loose parts, damaged welds, or questionable webbing, stay secured to known-good protection. Retreat or back up the station only within your competence, and report the problem with the route name, location, photos, and date.
The Rappel Rope Will Not Pull
Move out of the fall line before pulling harder. Check whether the rope is caught by an end knot, twist, crack, tree, ledge, or crossed strands. Do not yank loose rock toward yourself. Reascending or climbing to free a rope requires specific training; leaving the rope and seeking help is safer than improvising.
Weather or Darkness Is Closing In
Turn around early. Fatigue, cold hands, wind, rain, and poor visibility make anchor transitions and communication harder. Carry a headlamp even on a day climb, but do not let a headlamp become the reason you start a route too late.
Plan Your Descent Before You Climb
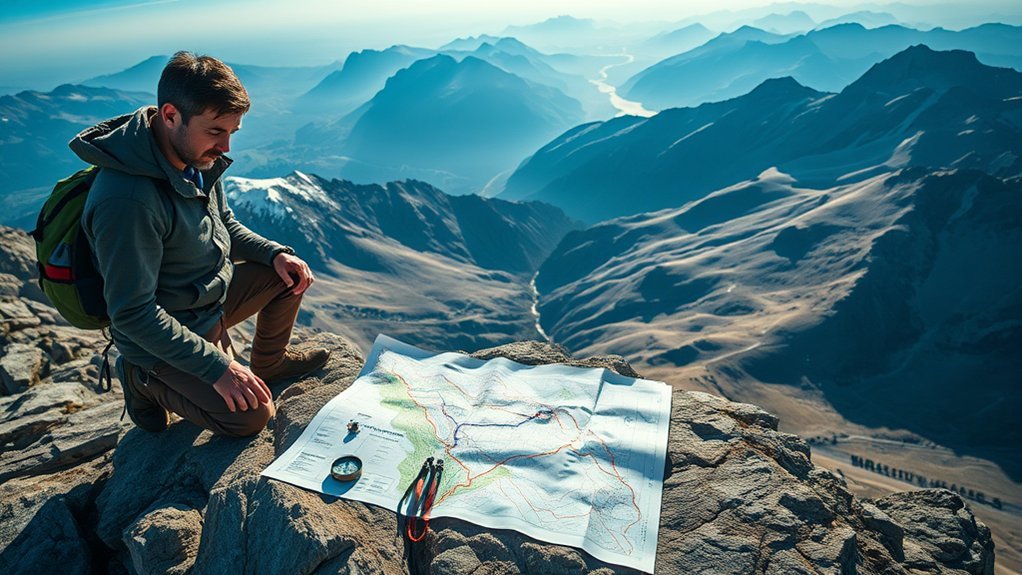
Your descent plan should be part of the partner check. Read the route, inspect the rope, agree on commands, and decide what you will do if the anchor is damaged, the rope is short, the walk-off is unclear, or the weather changes.
Plan the descent before leaving the ground: know the route height, rope length, anchor type, partner commands, and backup option.
- For a lower: Confirm the route is less than half the usable rope length, close the system, and identify the designated lower-off hardware.
- For a rappel: Confirm the doubled rope reaches, carry the correct device and backup, and know how you will keep both rope ends under control.
- For a walk-off: Know the exact trail, technical steps, distance, daylight needs, and footwear.
- For cleaning: Decide how you will control swings, which directionals remain until last, and how the belayer will manage tension.
- For emergencies: Carry a phone or other communication method where appropriate, know the local rescue number, and be willing to leave gear rather than risk a fall.
Frequently Asked Questions
How do I unclip quickdraws while being lowered?
Ask the belayer to lower slowly, keep your feet against the wall, and unclip one draw at a time from a stable position. On steep or traversing routes, leave useful directionals in place until they no longer control the swing. Use a tram method only after qualified instruction.
What is the best way to break down a sport-climb anchor?
There is no single method for every anchor. Connected chains, separate rings, lower-off carabiners, and mixed hardware require different procedures. Stay secured, remain on belay, use the designated hardware, perform a partner check, and test-weight the new system before removing your attachment.
How do I detach from the anchor safely?
Do not detach until the lowering or rappel system is complete, checked, and holding your weight. Keep your temporary attachment in place during the test. Remove it only after you and your partner have confirmed the rope path, knots or connectors, anchor points, and belay or rappel device.
How long does cleaning and descending take?
It varies with the route, anchor, descent method, weather, and climber experience. Do not use a five- or ten-minute target. Move deliberately, repeat the checks, and pause when communication or equipment is unclear.
Should I lower or rappel from a sport-climbing anchor?
Follow the route description, anchor design, local ethics, and your training. Lowering is often simpler on a sound single-pitch sport anchor when the rope is long enough. Rappelling adds setup steps and should not be used to justify trusting damaged hardware.
Do I need a stopper knot in the belayer’s end?
Yes, closing the system is a strong routine for single-pitch climbing. A bulky stopper knot, tying the belayer into the end, or another trained method prevents the rope from passing completely through the belay device if the rope is shorter than expected.
Conclusion
Plan the descent before clipping the first bolt. Confirm the rope reaches, close the system, inspect the anchor, agree on commands, and choose lowering, rappelling, or walking off based on the route and your training. Stay connected until the new system is checked and weighted. A calm, repeatable process protects you, your partner, and the fixed gear everyone shares.
Sources
- Petzl: How to Clean the Anchor — anchor configurations, staying on belay, and training warnings.
- British Mountaineering Council: How to Lower Off From a Sport Climb — two-point anchors and unsuitable rope-threading surfaces.
- American Alpine Club: Lowering in Single-Pitch and Multi-Pitch Climbing — short-rope accidents, system closure, communication, belay, and anchor risks.
- Petzl: Prusik Loop for a Rappel Backup — backup-cord compatibility and training requirements.
- UIAA: Rock Anchors — current anchor standards, corrosion guidance, and failure reporting.
- American Alpine Club: Rappel Fatalities — recent accident data and the consequences of degraded rappel anchors.
