
Last Updated on July 28, 2026 by Daniel Globe
A safe hike starts before you reach the trailhead. Common hiking mistakes include choosing a route that does not match your ability, carrying incomplete gear, relying on a phone for navigation, underestimating weather, and continuing after clear warning signs appear. Use this guide to plan the route, pack for delays, manage water and food, respond to hazards, and decide when turning back is the safest choice.
Quick Answer
Avoid common hiking mistakes by matching the trail to your ability, checking current conditions, carrying the Ten Essentials, bringing enough water and food, and leaving a trip plan with a trusted contact. Use backup navigation, watch the weather, stay with your group, and turn around before conditions exceed your skills or supplies.
Key Takeaways
- Check distance, elevation gain, terrain, closures, permits, water availability, weather, and daylight before leaving.
- Carry the Ten Essentials and use footwear, clothing, and equipment suited to the specific route and season.
- Bring a physical map and know how to use it; phones, batteries, and cell service can fail.
- Drink regularly, eat during the hike, carry extra food, and never assume a natural water source is safe or flowing.
- Treat thunder, confusion, rising water, worsening pain, and unexpected delays as reasons to stop, seek safety, or turn back.
- Keep wildlife wild, follow local rules, and use the Leave No Trace Seven Principles.
At a Glance
| Time Required | Review the route, conditions, weather, daylight, permits, water plan, and emergency plan before every hike; remote or technical routes may need days of preparation. |
| Difficulty | Varies with distance, elevation, altitude, surface, exposure, weather, pack weight, and your experience. |
| Tools Needed | Map, compass or GPS, the Ten Essentials, trail-appropriate footwear and clothing, plus any route-specific safety equipment. |
| Cost | Often no added cost if you already own the gear; permits, parking, rentals, maps, or a satellite communicator may add expense. |
What’s in This Article
- Planning and Preparation
- Choosing the Right Gear and Equipment
- Understanding the Terrain, Trail, and Navigation
- Staying Hydrated and Nourished
- Handling Changing Weather
- Knowing Your Limits and Setting Turnaround Rules
- What to Do If You Get Lost or Injured
- Practicing Leave No Trace Principles
- Wildlife and Natural Hazards
- Frequently Asked Questions
Disclosure: As an Amazon Associate I earn from qualifying purchases. Some links on this page are affiliate links, at no extra cost to you.
Planning and Preparation
Planning is the first defense against getting lost, running out of daylight, or being caught without the right equipment. Start with the official website or visitor center for the park, forest, or land manager. Check the trail’s distance, elevation gain, surface, altitude, exposure, route-finding difficulty, current closures, permit rules, water availability, and known hazards. Recent trip reports can add context, but they should not replace official alerts.
Study the complete route, including junctions, bailout points, river crossings, steep sections, and the return leg. Note sunrise and sunset, then set a turnaround time that leaves a margin for slower travel, breaks, and unexpected delays. Arrange transportation to and from the trailhead and confirm that the access road, gate, shuttle, or parking area will be open when you arrive and return.
Create a written trip plan with the trail name, route, trailhead, vehicle information, group members, equipment, expected return time, and the number to call if you are overdue. Give it to a trusted contact who is not joining the hike. Tell that person when to contact authorities, and check in as soon as you finish.
Note: A trip plan helps rescuers narrow the search area, but it does not guarantee a rescue. Stay on the planned route when possible and tell your contact if the plan changes.
Choosing the Right Gear and Equipment
Choose footwear that is broken in, fits well, and provides enough traction and protection for the route. A maintained urban path may only require sturdy walking shoes, while loose rock, mud, snow, or a heavy pack may call for hiking shoes, boots, waterproofing, or traction devices. Moisture-wicking socks and blister supplies help prevent small foot problems from ending the hike.
Dress in layers so you can respond to heat, wind, rain, and falling temperatures. A practical system includes a moisture-wicking base layer, an insulating layer, and a windproof or waterproof shell. Avoid depending on a single heavy garment, and carry an extra warm layer even when the trailhead feels comfortable.
A well-fitted backpack should keep the load stable and place frequently used items within easy reach. The National Park Service recommends carrying the Ten Essentials:
- Navigation: physical map, compass, GPS, and offline map as appropriate.
- Sun protection: sunglasses, sunscreen, hat, and protective clothing.
- Extra clothing: rain shell and layers for the worst likely conditions.
- Illumination: headlamp or flashlight with spare batteries.
- First aid: supplies matched to the group, route, and medical needs.
- Fire: legal, weather-protected fire-starting supplies where appropriate.
- Repair kit and tools: multi-tool, tape, and gear-specific repair items.
- Nutrition: food for the hike plus an emergency reserve.
- Hydration: water and a reliable treatment method when natural sources may be used.
- Emergency shelter: space blanket, bivy, tarp, or another lightweight shelter.
Carry a charged phone, but do not make it your only map, light, or emergency device. Download maps before the hike, use airplane mode when appropriate, and carry a power bank. For remote routes without reliable cell service, consider a personal locator beacon or two-way satellite messenger and learn how to use it before leaving.
Pro Tip: Keep your headlamp, rain shell, water, snacks, map, first-aid kit, and emergency communication device accessible without unpacking the entire bag.
Understanding the Terrain, Trail, and Navigation
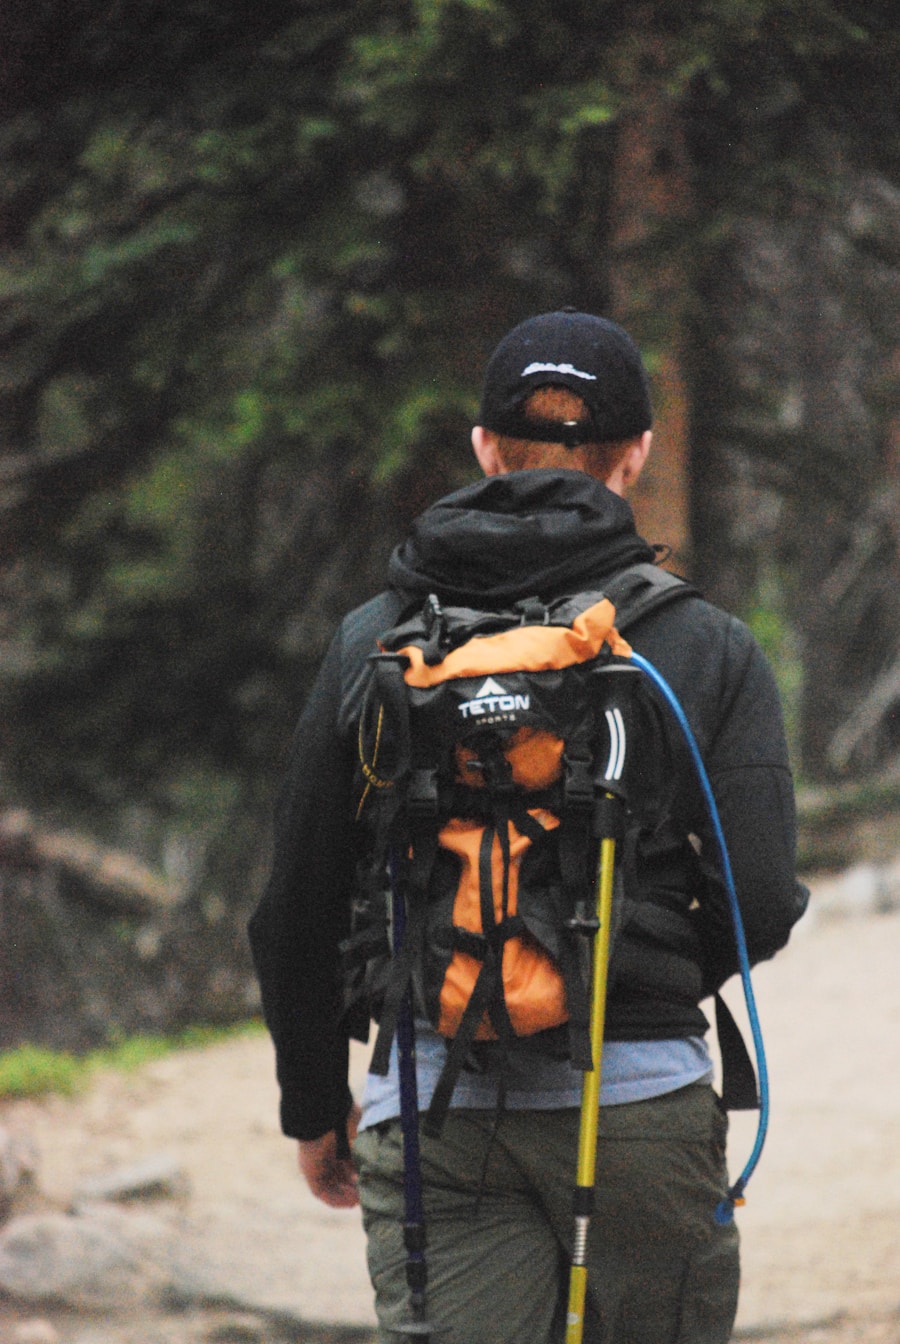
Every trail presents different demands. Mountain routes can combine steep grades, altitude, exposed ridges, snowfields, and rapidly changing weather. Coastal routes may include tides, loose sand, slippery rock, and limited escape points. Forest and wetland trails can hide roots, mud, insects, and confusing junctions. Desert routes add heat, scarce shade, and unreliable water. Noticing the plants, wildlife, and landforms can enrich the hike, but observe without leaving the trail or disturbing the environment.
Read a topographic map before the hike. Identify contour lines, elevation gain, drainages, cliffs, saddles, water crossings, trail junctions, and landmarks that can confirm your location. Compare the map with posted signs and your surroundings as you travel instead of waiting until you feel lost.
Use More Than One Navigation Method
Carry a physical map and compass even when using a GPS device or phone. Know how to orient the map, identify your position, follow a bearing, and recognize when you have left the intended route. Record important coordinates or junctions before the trip, and keep electronics protected from water and cold.
Treat Water Crossings as Decision Points
Never assume a stream is safe because it appears on an established route. Water depth, speed, temperature, and debris can change quickly. The National Park Service advises hikers to assess crossings carefully, wear footwear rather than crossing barefoot, and turn back or wait when conditions exceed their ability. Review official river-crossing guidance before a route where fording may be required.
Staying Hydrated and Nourished
| Moderate Conditions | A common planning baseline is about 0.5 liter per hour, but personal needs vary. |
| Hot, Dry, or Strenuous Routes | Some parks advise up to about 1 liter per hour. Follow local guidance and adjust for heat, altitude, pace, body size, and medical needs. |
| Natural Water Sources | Confirm that sources are currently available and carry a treatment method. Never drink untreated surface water. |
| Electrolytes | For long, hot, or high-sweat hikes, pair fluids with food or an electrolyte drink rather than relying only on plain water. |
| Trail Food | Carry easy-to-eat carbohydrates, protein, salty foods, and an emergency reserve that does not require cooking. |
Drink regularly instead of waiting until you are very thirsty. The amount you need changes with temperature, humidity, altitude, pace, clothing, pack weight, body size, and health. Check route-specific guidance because a hot desert trail may require far more water than a shaded walk in cool weather.
Do not count on a spring, stream, or seasonal tap unless the land manager confirms it is available. Carry enough water to reach the next reliable source, plus a reserve. Untreated water can cause illness, so use an appropriate filter, purifier, chemical treatment, or boiling method for the organisms expected in that area.
Pro Tip: Pack snacks you will actually eat while moving, such as trail mix, dried fruit, nut butter packets, jerky, crackers, or energy bars. Eat small amounts during the hike and carry extra food for delays.
How to Handle Changing Weather on the Trail
Check the forecast for the trail’s exact location and elevation, not only the nearest town. Review hourly conditions, wind, heat, precipitation, lightning, snow, air quality, and any flood or fire alerts. In canyons and near streams, weather upstream can matter even when the sky above you looks clear.
Lightning
If you hear thunder, leave exposed peaks, ridges, open water, and other high-risk areas immediately. Move toward a substantial building or hard-topped vehicle when possible. If no safe structure is available, descend from exposed terrain, avoid isolated trees and metal fences, spread group members apart, and follow local ranger guidance. The National Park Service recommends waiting at least 30 minutes after the last thunder before resuming exposed activity.
Heat Illness
Heavy sweating, thirst, headache, weakness, nausea, cramps, or dizziness are warning signs to stop, rest in shade, cool the person, and replace fluids. Confusion, slurred speech, loss of coordination, seizures, or loss of consciousness can signal heat stroke. Heat stroke is an emergency: call 911 or activate satellite SOS and begin rapid cooling while help is arranged. Review the CDC’s current heat-illness symptoms and first aid before hot-weather hikes.
Cold, Wind, and Rain
Wet clothing, wind, fatigue, and falling temperatures can lead to hypothermia even when conditions do not seem wintry. Add dry layers early, put on rain protection before you are soaked, eat, and seek shelter from wind. Persistent shivering, clumsiness, slurred speech, confusion, or unusual behavior require immediate warming and medical help.
Flash Floods
Do not enter narrow canyons, washes, or flood-prone routes when storms are possible. Rising or muddy water, floating debris, a sudden roar, or rain upstream are reasons to move to higher ground immediately. Never enter fast-moving floodwater or assume you can outrun a flood through a canyon.
Warning: “Seek shelter” does not mean standing under an isolated tree, beneath an unstable cliff, or inside a drainage. The safest action depends on the hazard, so learn the route’s weather risks before leaving.
Knowing Your Limits and Setting Realistic Goals
Trail ratings are not perfectly standardized. A route described as “moderate” may still be difficult because of altitude, heat, mud, exposure, poor footing, snow, or a long climb back to the trailhead. Compare the route with hikes you have completed comfortably, and account for the least experienced person in the group.
Assess recent injuries, illness, fitness, sleep, heat tolerance, altitude experience, and pack weight honestly. Beginners should build distance and elevation gradually. During the hike, keep the group together, use a pace that allows conversation, and take breaks before exhaustion develops.
Set turnaround rules before the hike. Turn back when you reach the planned time, weather worsens, the group is moving too slowly, water or food is running low, a crossing is unsafe, navigation becomes uncertain, or pain changes the way someone walks. Reaching a summit or viewpoint is optional; returning safely is the goal.
A good turnaround decision is made before fatigue, weather, or dwindling daylight removes your safest options.
What to Do If You Get Lost or Injured
Build an outdoor emergency plan before the trip and practice using your map, compass, first-aid supplies, whistle, and communication device. Search and rescue may take hours or longer, depending on location, weather, and available resources.
If You Think You Are Lost
- Stop and breathe. Do not keep moving in a panic.
- Find your location. Compare the map, compass, GPS, elevation, landmarks, and the last place you were certain of the route.
- Retrace only when safe. If you clearly recognize the way back and conditions allow, return to the last known point. Otherwise, stay in a visible, protected location.
- Signal for help. Call 911 when service is available, activate satellite SOS when needed, and use a whistle, light, bright clothing, or signal mirror.
- Protect yourself. Put on layers, find shelter, ration supplies sensibly, and avoid creating a second emergency by wandering.
If Someone Is Injured
Stop the group in a safe place, check breathing and severe bleeding, provide first aid within your training, prevent heat or cold exposure, and record the exact location. Call 911 or activate an emergency beacon for severe bleeding, breathing trouble, chest pain, altered mental status, suspected spinal injury, heat stroke, severe hypothermia, or an injury that prevents safe travel. Do not move a person with a possible neck, back, or major limb injury unless the location presents an immediate danger.
Note: Give emergency responders the trail name, nearest junction or landmark, coordinates if available, number of people, injury or illness, equipment on hand, weather, and the safest access route.
Practicing Leave No Trace Principles
The Leave No Trace Seven Principles help hikers reduce damage and protect the experience of other visitors:
- Plan ahead and prepare: know regulations, conditions, group size limits, permits, and hazards.
- Travel and camp on durable surfaces: use established trails and campsites where required.
- Dispose of waste properly: pack out trash, food scraps, pet waste, and hygiene products; follow local human-waste rules.
- Leave what you find: do not remove rocks, plants, artifacts, antlers, or other natural and cultural objects.
- Minimize campfire impacts: obey bans and restrictions, use established fire rings when permitted, and consider a stove.
- Respect wildlife: observe from a distance, secure food, and never feed animals.
- Be considerate of others: control noise, yield as local rules require, and avoid blocking the trail.
Stay on designated routes where required. Cutting switchbacks and walking around puddles can widen trails, damage plants, and increase erosion. Clean mud and seeds from footwear and equipment between locations to reduce the spread of invasive species.
How to Stay Safe Around Wildlife and Natural Hazards
Learn which animals live in the area and follow the land manager’s species-specific instructions. Keep a safe distance, never feed wildlife, control pets according to local rules, and store food and scented items as required. Do not depend on one universal response: safe behavior differs for bears, mountain lions, bison, moose, snakes, and other animals.
In bear country, make your presence known in areas with limited visibility, keep food secured, and avoid surprising animals. Carry bear spray only where it is recommended and legal, keep it accessible rather than buried in a pack, and learn how to use it before the trip. The National Park Service notes that some parks do not allow or recommend bear spray, so check local bear-safety rules.
Stay alert for loose rock, unstable edges, falling branches, avalanche terrain, wildfire, tides, poisonous plants, and fast-moving water. Slow down on wet surfaces and give cliffs, waterfalls, and riverbanks extra space. If a hazard blocks the safe route, turning around is the correct decision.
Warning: Never approach wildlife for a photograph. If an animal changes its behavior because of your presence, you are too close.
Having the right gear makes a real difference. A well-chosen backpack reduces overpacking, keeps emergency items accessible, and helps you carry the load without throwing off your balance. Adjust the hip belt, shoulder straps, load lifters, and sternum strap before the hike, then recheck the fit after walking a short distance.
Frequently Asked Questions
What are the most common hiking mistakes beginners make?
Common mistakes include choosing a route that is too difficult, starting late, carrying too little water, wearing unsuitable footwear, skipping the weather and closure check, relying only on a phone, separating from the group, and failing to leave a trip plan.
How can I avoid getting lost while hiking?
Study the route before leaving, carry a physical map and compass, download an offline map, check your position at junctions, and notice landmarks as you travel. If you become uncertain, stop and locate yourself before continuing. Do not rely on cell service or one electronic device.
How much water should I bring on a hike?
A common starting estimate is about 0.5 liter per hour in moderate conditions, but hot, dry, high-altitude, or strenuous hikes may require more. Follow route-specific park guidance, account for each hiker, carry a reserve, and confirm whether water sources are available and must be treated.
What should I do if I encounter wildlife while hiking?
Keep your distance, do not feed or approach the animal, secure food, and follow the land manager’s species-specific instructions. Do not assume the same response works for every animal. Research local guidance before the hike, especially in bear, bison, moose, snake, or mountain-lion habitat.
How can I prevent injuries while hiking?
Use footwear with suitable traction, keep the pack stable, watch your footing, slow down on loose or wet surfaces, use trekking poles when helpful, stay hydrated and fed, and take breaks before fatigue affects balance. Turn around when pain changes your stride or conditions become unsafe.
What should I do if severe weather hits during my hike?
Respond to the specific hazard. For thunder, leave exposed high ground and seek a substantial building or hard-topped vehicle when possible. For flash-flood signs, move to higher ground. For heat illness, stop, cool the person, and treat confusion as an emergency. For cold rain, add dry insulation and shelter from wind.
When should I turn back on a hike?
Turn back when you reach the planned turnaround time, weather worsens, daylight is running out, navigation is uncertain, water or food is low, a crossing is unsafe, someone is injured or ill, or the group is moving too slowly to finish with a safety margin.
Safety Disclaimer: This article provides general information, not route-specific instruction or medical advice. Trail conditions, weather, regulations, wildlife behavior, and individual fitness vary. Check current guidance from the land manager, park rangers, weather authorities, and qualified medical professionals before attempting unfamiliar, remote, or high-risk terrain.
The gap between a rewarding hike and a dangerous one often comes down to decisions made early. Research the route, carry the right equipment, protect your water and energy, check your location often, and respond to warning signs before they become emergencies. Build skills on easier trails, stay flexible, and treat turning back as a normal part of good hiking judgment.
Sources
- National Park Service: Ten Essentials — core equipment for navigation, weather, first aid, food, water, and emergencies.
- National Park Service: Trip Plan — itinerary details and trusted-contact instructions.
- National Park Service: Outdoor Emergency Plan — actions for getting lost, injured, or delayed.
- Yosemite National Park: Lightning Safety — thunderstorm avoidance and the 30-minute waiting rule.
- National Park Service: Bear Spray and Firearms — bear-spray limitations and park-specific rules.
- Leave No Trace: The Seven Principles — responsible travel, waste, wildlife, fire, and visitor conduct.
