Last Updated on July 27, 2026 by Daniel Globe
Hiking is an accessible way to exercise, explore natural areas, and take a break from everyday routines. A hike can be a short walk on a maintained park trail or a demanding trip through steep, remote terrain. The key is choosing a route that matches your fitness and experience, carrying the right equipment, and preparing for the conditions you may encounter.
Quick Answer
Hiking is walking on natural trails for recreation, exercise, or travel. Beginners should choose a manageable route, check weather and trail conditions, carry the Ten Essentials, tell someone their plans, and set a turnaround time. Comfortable footwear, enough water, reliable navigation, and conservative decisions matter more than speed or mileage.
Key Takeaways
- Hiking can provide aerobic exercise, strengthen muscles, challenge balance, and give you time outdoors.
- Choose trails by distance, elevation gain, terrain, current conditions, daylight, and your own experience—not mileage alone.
- Carry the Ten Essentials, including navigation, extra clothing, illumination, first aid, food, water, and emergency shelter.
- Tell someone where you are going and when you expect to return, and never depend on cellular service as your only emergency plan.
- Trail markings and right-of-way rules can vary, so follow posted signs and instructions from the local land manager.
At a Glance
| Time Required | Planning time plus the length of your chosen hike; always leave enough daylight for delays. |
| Difficulty | Easy to strenuous, depending on distance, elevation gain, terrain, weather, altitude, and pack weight. |
| Tools Needed | Appropriate footwear, navigation, water, food, layers, sun protection, headlamp, first aid, emergency supplies, and other Ten Essentials. |
| Cost | Varies. Many trails are free, while some areas charge parking, entrance, reservation, or permit fees. Gear costs depend on what you already own. |
Disclosure: As an Amazon Associate I earn from qualifying purchases. Some links on this page are affiliate links, at no extra cost to you.
Benefits of Hiking
Hiking combines walking with changing terrain, which can make it a useful form of aerobic physical activity. Hills, uneven surfaces, and steps can challenge the legs, hips, core, balance, and endurance. Trekking poles can also involve the arms and upper body while providing additional points of contact with the ground.
The health benefits should be described in the same way as other forms of regular physical activity rather than as guaranteed results from an occasional hike. The Centers for Disease Control and Prevention reports that regular physical activity supports heart health, healthy weight management, muscle and bone health, balance, sleep, and mental well-being. It can also help lower blood pressure and reduce the long-term risk of several chronic diseases.
Time outdoors may also feel restorative. Research on nature exposure suggests potential benefits for stress and well-being, although results vary between studies and outcomes. It is more accurate to say that spending time in nature may help people feel calmer or improve mood than to promise a specific reduction in cortisol.
The biggest benefit of hiking is not one single health effect: it is a flexible way to combine physical activity, time outdoors, and gradual challenges that can be adjusted to your ability.
Sunlight can also contribute to vitamin D production in the skin. However, that is not a reason to skip sun protection. The NIH Office of Dietary Supplements notes that ultraviolet radiation can damage skin and increase skin-cancer risk, so hikers should still use appropriate sun-protective measures.
Essential Gear for Hiking
The right equipment improves comfort and gives you more options if weather changes, navigation becomes difficult, or a short outing lasts longer than expected. Footwear is especially important, but there is no single type that works for every trail. Well-fitting hiking shoes, trail shoes, or boots can all work when they provide enough traction, protection, and support for the terrain.
Moisture-managing socks can help keep feet more comfortable. Clothing should be selected in layers so you can add or remove insulation as conditions change. A moisture-wicking base layer can move sweat away from the skin, insulating layers such as fleece or down can retain warmth, and a weather-resistant outer layer can protect against wind or rain. Hats, gloves, sunglasses, and sun protection may also be necessary.
The Ten Essentials
The National Park Service recommends carrying the Ten Essentials. Exact items should be adjusted for the route, season, remoteness, and group, but the ten systems are:
- Navigation: A map, compass, GPS device, or another suitable navigation system. Know how to use what you carry.
- Sun protection: Sunglasses, sunscreen, protective clothing, and a hat as conditions require.
- Insulation: Extra layers and rain protection appropriate for the forecast and possible temperature changes.
- Illumination: A headlamp or flashlight with adequate power. Do not depend solely on your phone’s flashlight.
- First aid: A kit appropriate for your group and enough knowledge to use it.
- Fire: A safe emergency fire-starting method where fires are legal and appropriate.
- Repair kit and tools: Basic items that can address damaged gear, adjusted for the trip.
- Food: Enough food for the planned hike plus some extra in case you are delayed.
- Hydration: Enough water and, where appropriate, a reliable way to treat additional water.
- Emergency shelter: A space blanket, bivy, tarp, or another compact shelter appropriate for the environment.
Note: The Ten Essentials are a starting point, not a maximum packing list. A remote desert hike, high-altitude route, winter trail, or hike in bear country may require additional equipment and skills.
Choosing the Right Trail
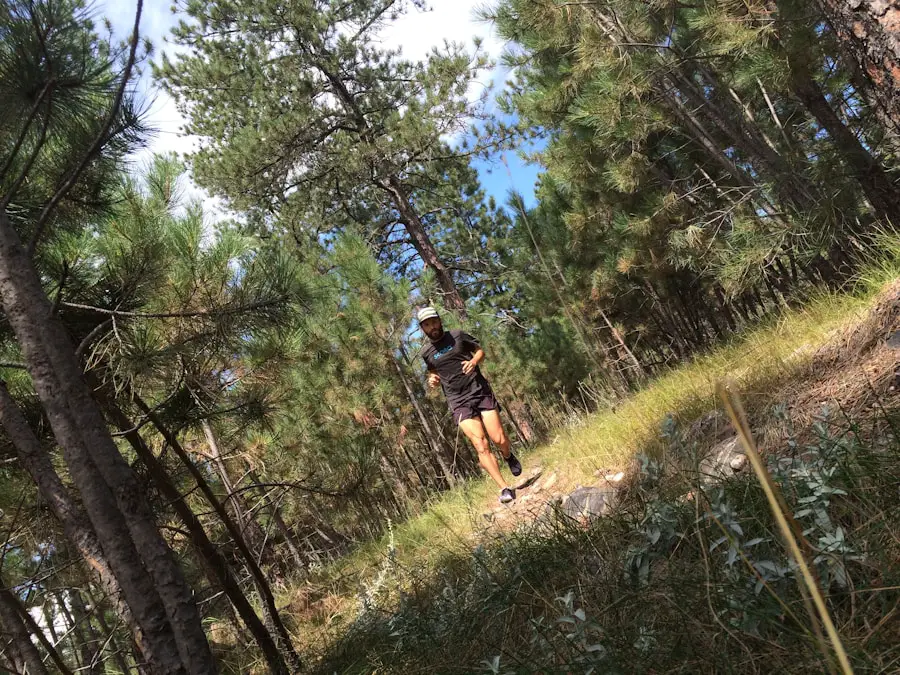
Selecting a trail that matches your experience and physical condition is one of the most effective ways to make hiking safer and more enjoyable. Beginners generally benefit from shorter, well-marked routes with moderate elevation gain and straightforward terrain.
Do not judge a hike by mileage alone. A short route with steep climbs, loose rock, stream crossings, deep snow, exposed terrain, or high altitude may be much harder than a longer walk on a smooth path.
Check These Factors Before Choosing a Hike
- Distance: Consider the complete round-trip distance, not just the distance to a viewpoint or summit.
- Elevation gain: Repeated or steep climbing can dramatically increase effort and hiking time.
- Terrain: Look for rocks, roots, mud, snow, exposure, water crossings, scrambling, or other obstacles.
- Route type: Know whether the trail is an out-and-back, loop, or point-to-point route.
- Current conditions: Check the official land manager’s website for closures, fire restrictions, damaged bridges, snow, flooding, or other hazards.
- Weather: Review the forecast for the trail area, not just the nearest city.
- Daylight: Allow time for a slower-than-expected pace and unexpected delays.
- Regulations: Check permits, reservation requirements, parking rules, pet restrictions, and seasonal access.
- Water: Know whether you must carry all of your water or whether reliable water sources exist along the route.
- Communication: Find out whether the area has cellular coverage, but never assume it does.
A Simple First-Hike Planning Process
- Choose a shorter, established trail that is comfortably within your current ability.
- Read the official trail description and recent condition alerts.
- Check the weather and expected temperature range.
- Pack the Ten Essentials and route-specific equipment.
- Tell a trusted person your route, starting point, and expected return time.
- Start with enough daylight and decide in advance when you will turn around if progress is slower than expected.
Pro Tip: For your first few hikes, finishing with energy left is better than choosing the hardest trail you think you might be able to complete. Build distance and elevation gradually as you learn your pace.
Safety Tips for Hiking
| 1 | Plan your route and tell someone where you are going and when you expect to return. |
| 2 | Check the weather and official trail conditions before leaving. |
| 3 | Carry water, food, first aid, navigation, illumination, extra layers, and the other Ten Essentials. |
| 4 | Wear footwear and clothing appropriate for the trail and expected conditions. |
| 5 | Stay on designated trails and follow posted closures and signs. |
| 6 | Give wildlife plenty of space and learn any species-specific precautions required in the area. |
| 7 | Use a sustainable pace, take breaks as needed, and turn around if conditions exceed your ability. |
| 8 | Carry a whistle or another suitable signaling method for emergencies. |
| 9 | Pack out your trash and minimize damage to vegetation, wildlife, and trail surfaces. |
| 10 | Stay aware of your surroundings rather than becoming so focused on pace, photos, or a phone that you miss hazards. |
Safety starts before you arrive at the trailhead. Give a trusted friend or family member your intended route, where you parked, and when you expect to return. If you become overdue, this information can help rescuers narrow their search.
Weather is another major consideration. Mountain and backcountry conditions can change rapidly, so check the forecast and be prepared to change your plans. Carrying rain protection and extra insulating layers can make an unexpected temperature drop or delay much easier to manage.
Warning: A summit, viewpoint, or mileage goal is never more important than safety. Turn around when weather deteriorates, daylight is running out, water is insufficient, the trail becomes unsafe, or someone in your group is struggling.
This guide provides general outdoor-safety information. Conditions and regulations differ by location, so always follow current instructions from the agency or organization managing the trail. People with medical conditions or concerns about strenuous activity should choose routes appropriate for their circumstances and seek individualized medical guidance when needed.
Understanding Trail Markers and Signs
Trail signs, painted blazes, posts, cairns, symbols, and junction markers can help you stay on route, but their meanings are not universal. Different parks and trail systems may use different colors, shapes, and combinations.
On some trails, including the Appalachian Trail, a single blaze confirms the route while a double blaze can warn of an upcoming turn. Elsewhere, colors may identify different trails or permitted trail uses instead. Never assume a marking system means the same thing everywhere.
Before starting, look at the official trail map or trailhead legend and learn the markings used on that particular route. At intersections, compare signs with your map and confirm your direction before continuing.
Signs may also warn about steep terrain, wildlife, damaged bridges, seasonal closures, flood hazards, or restricted areas. Treat those signs as safety information rather than suggestions.
Pro Tip: Download an offline map before leaving reliable service, but carry navigation appropriate for the route and know how to use it. A phone is useful, but batteries fail and reception can disappear.
Proper Hiking Etiquette
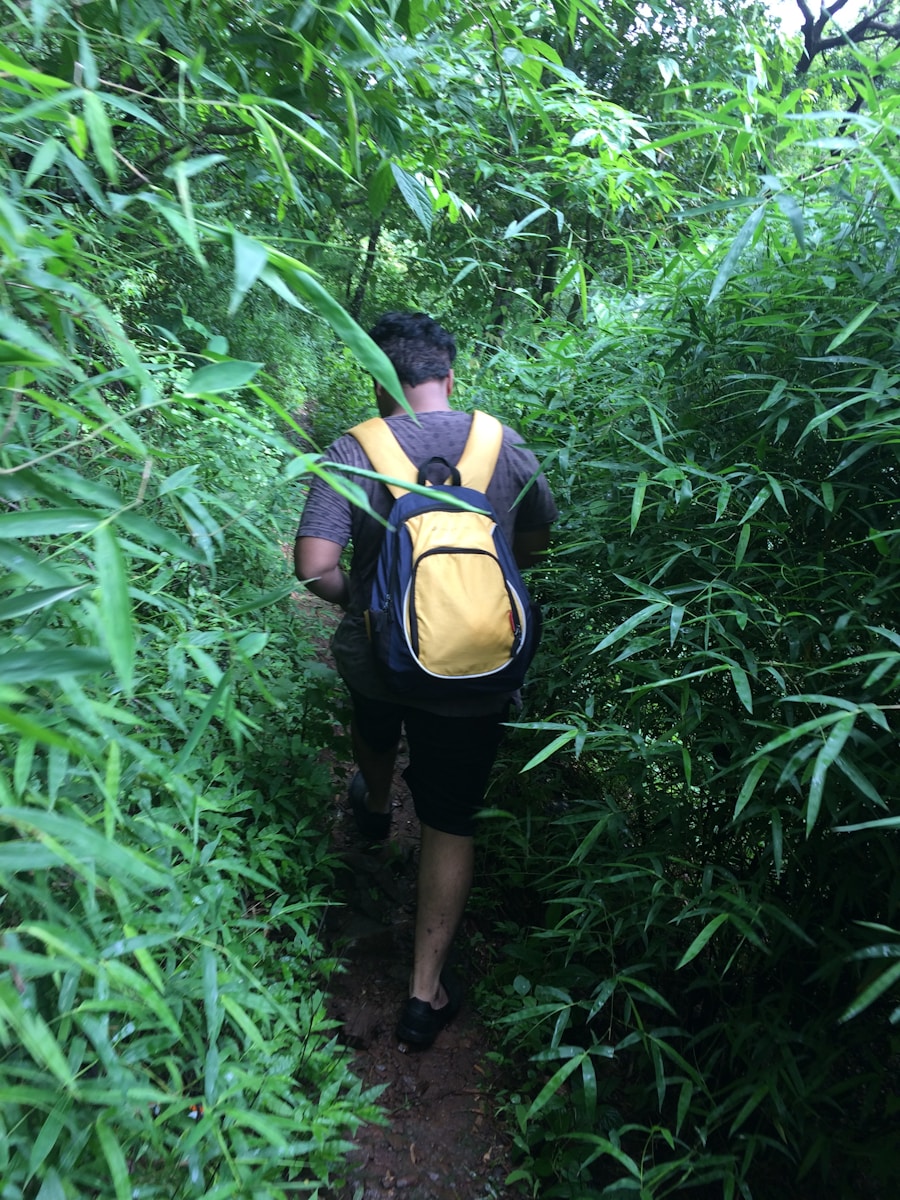
Good trail etiquette protects natural areas and makes shared trails safer and more pleasant. The National Park Service hiking-etiquette guidance says hikers traveling uphill generally have the right of way when two groups meet. A descending hiker should normally step aside when it can be done safely.
That is a general convention, not a substitute for posted rules. Yield signs and local trail regulations take priority, especially on routes shared with bicycles, horses, pack animals, or other users.
On multi-use trails, hikers should give horses and other pack stock plenty of space and follow instructions from riders or handlers. Cyclist and pedestrian rules can vary by location, so read the posted yield information at the trailhead.
When passing another hiker on a narrow trail, announce yourself calmly and wait until there is a safe place to pass. Avoid forcing another person off the trail or onto unstable ground.
Environmental etiquette matters just as much. Pack out trash, avoid disturbing wildlife, stay on designated trails where required, and do not damage vegetation to create shortcuts. Keep voices and music at a level that does not dominate the experience of other visitors or interfere with awareness of your surroundings.
Tips for Staying Hydrated and Fueled
Hydration needs vary widely with temperature, humidity, altitude, pace, body size, route difficulty, and individual physiology. A useful starting point from current Great Smoky Mountains National Park guidance is at least 1 liter of water for every two hours of hiking, or roughly half a liter per hour. Treat that as a planning baseline rather than a fixed prescription.
Hot weather, sustained climbs, high altitude, and long hikes may increase your needs. Drink regularly and pay attention to thirst, energy level, weather, and how you feel. Carry more than the bare minimum when the route has no dependable water source.
If your plan depends on streams, springs, or lakes, do not assume that clear-looking water is safe to drink. Carry an appropriate treatment system and check current land-manager guidance because water availability and contamination risks vary by location.
Food is also important on longer outings. Carbohydrate-rich foods such as dried fruit, granola, crackers, or energy bars provide convenient trail energy. Foods containing protein and fat—such as nuts, nut-butter packets, cheese where storage temperatures permit, or jerky—can add variety and help make snacks more satisfying.
Pack food where you can reach it easily and bring a little extra for unexpected delays. Follow local food-storage requirements in areas with bears or other wildlife.
Weather, Sun, and Wildlife Safety
Check the forecast before leaving and continue observing conditions while you hike. A forecast is not a guarantee, particularly in mountainous areas. If clouds, wind, precipitation, heat, snow, or trail conditions become unsafe, changing your plan is the correct decision.
Protect exposed skin and eyes from excessive ultraviolet radiation with suitable clothing, a hat, sunglasses, shade, and sunscreen as appropriate. Although sunlight can help the body produce vitamin D, intentional unprotected UV exposure is not necessary for a successful hike.
Wildlife rules depend on where you hike. Keep your distance, never approach an animal for a photograph, and do not feed wildlife. Check the local agency’s guidance for bears, snakes, mountain lions, insects, or other species you might encounter because recommended responses are species- and location-specific.
What to Do in Case of Emergency
Even careful hikers can become injured, delayed, or lost. Knowing what to do before an emergency happens makes it easier to respond calmly.
- Stop and assess the situation. Take a moment to think instead of immediately continuing in an uncertain direction.
- Address immediate danger. If someone has a serious injury or another life-threatening emergency, seek professional help as soon as possible. Avoid unnecessary movement of a badly injured person unless remaining in place creates a greater danger.
- Determine your location. Use your map, compass, GPS, trail signs, and visible landmarks.
- Retrace only when it is safe. If you confidently recognize where you went off route and can safely return, retracing your steps may solve the problem.
- Stay put if you cannot safely relocate yourself. The National Park Service Outdoor Emergency Plan advises lost hikers who cannot safely retrace their route to seek help and remain in one place unless there is an immediate threat to life.
- Call for help when possible. Contact the local emergency service and provide your coordinates, trail or starting area, last known location, surroundings, clothing, equipment, and relevant medical information.
- Make yourself easier to find. Use a whistle, bright clothing, light, or another appropriate signaling method.
- Protect yourself from exposure. Use your spare layers, rain protection, emergency shelter, food, and water while waiting.
A fully charged mobile phone can be extremely useful for calling for help or obtaining coordinates, but do not assume that service will be available. In remote areas, experienced hikers may also carry a satellite messenger or personal locator beacon appropriate for their trip.
Warning: Do not keep wandering simply because you are embarrassed about being lost. Moving farther from your last known location can make the situation worse and can make it harder for rescuers to find you.
Hiking in Spanish: Useful Terms for Travelers
If you are hiking in a Spanish-speaking destination, a few basic words can make trail signs and simple conversations easier to understand. Vocabulary varies by country, but senderismo is a common translation for hiking, while hacer senderismo means to go hiking.
| English | Spanish |
| Hiking | Senderismo / excursionismo |
| To go hiking | Hacer senderismo |
| Trail | Sendero / ruta de senderismo |
| Mountain | Montaña |
| Forest | Bosque |
| Walk / hike | Caminata / excursión |
| Hiking gear | Equipo de senderismo |
| Map | Mapa |
| Water | Agua |
| Help | Ayuda |
| I am lost | Estoy perdido / Estoy perdida |
| Where is the trail? | ¿Dónde está el sendero? |
If you are interested in other travel activities that require specialized equipment, you may also want to check out this article on the best golf travel bags. Just as hiking is easier with suitable equipment, choosing the right travel gear can make transporting golf equipment more convenient and secure.
Love travel? Join Our Facebook Community For More Tips.
Frequently Asked Questions
What is hiking in Spanish?
“Hiking” is commonly translated as senderismo in Spanish. You may also see excursionismo. The phrase hacer senderismo means “to go hiking,” while a hiking trail can be called a sendero or ruta de senderismo.
What are some popular hiking destinations in Spanish-speaking countries?
Well-known hiking areas include routes around the Inca Trail region in Peru, Torres del Paine National Park in Chile, the El Chaltén area of Argentina, and Spain’s Sierra Nevada. Access rules, reservations, permits, seasons, and trail conditions can change, so check the official park or land-management information before traveling.
What are some essential Spanish hiking phrases to know?
Useful words include senderismo (hiking), sendero (trail), montaña (mountain), bosque (forest), caminata (walk or hike), and equipo de senderismo (hiking gear). Helpful phrases include ¿Dónde está el sendero? (“Where is the trail?”) and Estoy perdido/Estoy perdida (“I am lost”).
What are some important safety tips for hiking in Spanish-speaking countries?
The basic principles are the same as elsewhere: research the route, check current weather and trail conditions, carry adequate food and water, bring navigation and emergency equipment, tell someone your plans, and follow local wildlife and park rules. Emergency numbers, rescue systems, permit requirements, and trail-marking conventions vary by country, so verify them before starting.
Sources
- Centers for Disease Control and Prevention — Health Benefits of Physical Activity for Adults — supports physical-activity, cardiovascular, blood-pressure, weight, muscle, bone, and mental-health information.
- The Effects of Nature Exposure Therapies on Stress, Depression, and Anxiety Levels: A Systematic Review — supports the cautious discussion of nature exposure and stress-related outcomes.
- NIH Office of Dietary Supplements — Vitamin D Fact Sheet — supports vitamin D synthesis and ultraviolet-exposure precautions.
- National Park Service — Great Smoky Mountains Hiking Guidance — supports the Ten Essentials and hiking hydration planning guidance.
- National Park Service — Hiking Etiquette — supports trail courtesy, yielding, wildlife-distance, and stay-on-trail guidance.
- National Park Service — Outdoor Emergency Plan — supports lost-hiker assessment, safe retracing, emergency communication, and stay-put guidance.