
Last Updated on September 10, 2026 by Daniel Globe
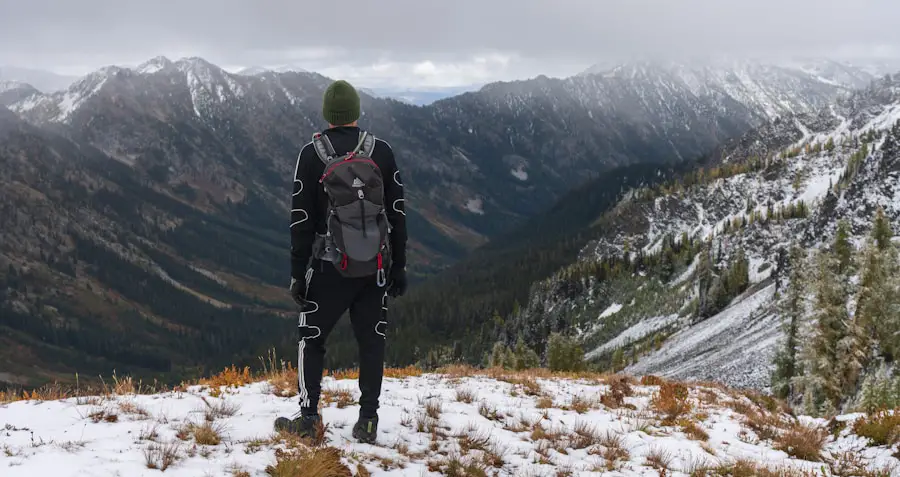
Winter hiking can be quiet, beautiful, and rewarding, but staying comfortable takes more planning than simply wearing the warmest coat you own. The best approach is a flexible layering system that manages sweat while you move, traps warmth when you need it, and protects you from wind, snow, and rain. Because your effort level and the weather can change throughout a hike, your clothing needs to change with them.
Quick Answer
Layer for winter hiking with a moisture-wicking wool or synthetic base layer, a breathable insulating midlayer, and a wind- and water-protective shell. Vent or remove layers before you become sweaty, then add insulation quickly at stops. Keep a dry spare layer, hat, gloves, and warm socks in your pack.
Key Takeaways
- Use three main clothing layers: a moisture-managing base layer, an insulating midlayer, and a weather-protective shell.
- Choose wool or synthetic materials instead of cotton for cold-weather hiking.
- Vent or remove clothing before sweat builds up, and put insulation back on promptly when you stop.
- Protect your head, neck, hands, and feet without making gloves, socks, or boots so tight that circulation is restricted.
- Carry dry spare clothing and winter safety gear because weather, trail conditions, and your activity level can change quickly.
At a Glance
| Time Required | About 5–10 minutes to build your clothing system before the hike, with ongoing adjustments on the trail |
| Difficulty | Easy to learn; requires practice because exertion, wind, precipitation, and personal metabolism vary |
| Tools Needed | Base layer, insulating midlayer, shell, hat or hood, neck protection, gloves or mittens, wool/synthetic socks, suitable winter footwear, and a dry spare layer |
| Cost | Varies widely; you may already own suitable non-cotton layers, so a complete new clothing system is not always necessary |
Disclosure: As an Amazon Associate I earn from qualifying purchases. Some links on this page are affiliate links, at no extra cost to you.
How the Winter Hiking Layering System Works
A winter hiking layering system gives each piece of clothing one main job. Your base layer manages moisture next to the skin, the insulating layer traps warm air, and the outer shell limits heat loss from wind while blocking rain or wet snow. The National Park Service recommends dressing in layers that can be added when you become cold and removed to prevent overheating.
You may not need to wear every layer all the time. A steep climb can make you warm even on a cold day, while a windy ridge or ten-minute rest can cool you quickly. Carrying the layers is therefore just as important as wearing them.
Winter layering works best as a system: manage sweat first, trap warmth second, and block wind and precipitation third.
Note: There is no universal outfit for a particular temperature. Wind, precipitation, sun exposure, pace, elevation, trip length, and your own metabolism can change how much insulation you need.
Base Layer: Choosing the Right Fabric and Fit
Your base layer sits next to your skin, so its main job is moisture management. Sweat that remains trapped against the body can leave you chilled when your pace slows or you stop moving. For winter hiking, choose wool or synthetic fabrics rather than cotton. The OSHA Cold Stress Guide recommends wool, silk, or synthetic material for the inner layer and warns that cotton loses insulating value when wet.
Merino Wool
Merino wool is popular because it feels relatively soft, manages moisture, and continues to provide useful insulation when damp. Many hikers also prefer it on multi-day trips because it tends to control odor well. Its drawbacks are price, slower drying compared with many lightweight synthetics, and lower abrasion resistance in some garments.
Synthetic Base Layers
Polyester and other technical synthetic fabrics are common alternatives. They generally dry quickly, handle repeated use well, and are often less expensive than merino. They can be a strong choice for strenuous winter hikes where sweat management and fast drying matter most.
Fit and Features
A base layer should fit close enough to move moisture away from your skin without feeling restrictive. Avoid clothing so tight that it limits movement or circulation. Flat seams can reduce rubbing, while a quarter-zip top gives you another way to release heat during a climb.
For cold conditions, long sleeves and full-length bottoms provide more coverage. In milder winter weather or during very high-output activity, a lighter base layer may be more comfortable than a heavy thermal piece.
Pro Tip: Do not wait until your shirt is soaked before adjusting your clothing. Open a zipper, remove a hat, vent your shell, or shed a midlayer as soon as you notice that you are becoming too warm.
Insulating Layer: Staying Warm with Fleece, Down, or Synthetic Insulation
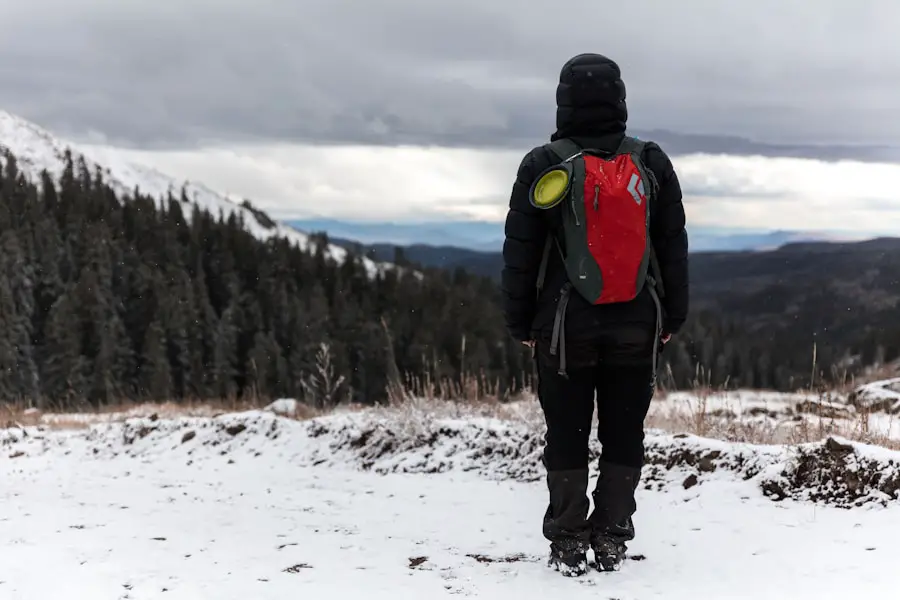
The insulating layer traps warm air around your body. The amount of insulation you need depends on both the conditions and how hard you are working.
Fleece
Fleece is a practical active midlayer because it breathes well, dries relatively quickly, and retains useful warmth when damp. Lightweight fleece can work well on sustained climbs, while thicker fleece provides more insulation in colder conditions.
The main limitation is wind. Air can move through many fleece fabrics easily, so fleece usually needs a shell over it in exposed or windy conditions.
Down Insulation
Down is valued for its high warmth-to-weight ratio and compressibility. A down jacket can be especially useful as a warm layer that stays in the pack while you hike and goes on immediately when you stop.
Traditional down loses substantial loft and insulating performance when thoroughly wet and can take time to dry. Keep it protected from rain, wet snow, and pack moisture, and pair it with suitable weather protection when conditions demand it.
Synthetic Insulation
Synthetic insulated jackets are another useful option, particularly in damp conditions. They are typically bulkier for a given level of warmth than high-quality down, but they are more forgiving when moisture is difficult to avoid.
For many hikers, a breathable fleece or light synthetic layer works well while moving, while a warmer down or synthetic puffy remains packed for breaks, windy viewpoints, emergencies, or the trip back down.
Outer Layer: Protecting Against Wind, Rain, and Snow
The outer layer is your weather barrier. Its job is to reduce heat loss from wind and keep rain or wet snow from soaking the insulating layers underneath. In wet or stormy winter weather, a waterproof and breathable shell is usually the most versatile option. Adjustable cuffs, a hood, a hem drawcord, and ventilation zippers can make the shell easier to regulate.
| Outer Layer Type | Best Use | Main Tradeoff |
|---|---|---|
| Waterproof/breathable hardshell | Rain, wet snow, strong wind, exposed terrain | Can feel warmer and less breathable during hard climbs |
| Soft shell | Dry, cold weather and high-output hiking | Usually not a substitute for a waterproof shell in prolonged rain or wet snow |
| Light wind shell | Dry, breezy weather when low weight and breathability matter | Limited protection from sustained precipitation |
Waterproof ratings and breathability figures can help compare garments within a manufacturer’s range, but they should not be treated as a complete measure of real-world comfort. Fit, ventilation, fabric construction, exertion level, and weather all affect performance.
Wind is especially important in winter because moving air increases heat loss from exposed skin and changes how cold conditions feel. Check the National Weather Service wind-chill guidance when strong wind and low temperatures are forecast.
Lower-Body Layers Matter Too
Winter layering is not only about jackets. Your legs can use the same basic system. In cold conditions, start with synthetic or wool long underwear, add hiking pants or another insulating layer as needed, and carry waterproof or wind-resistant over-pants when conditions call for them.
For high-output hiking, heavily insulated pants may become uncomfortably warm. Lightweight base-layer bottoms under weather-resistant hiking pants are often easier to regulate. In colder, slower, or more exposed conditions, additional insulation can be useful.
Gaiters can also help keep snow from entering your boots and keep lower pant legs drier, especially in deeper snow. Current NPS winter hiking guidance includes gaiters among useful winter footwear equipment.
Accessories: Hats, Gloves, and Neck Protection
Small exposed areas can become painfully cold well before your torso does, so head, neck, hand, and face protection deserve their own place in your layering system.
Hat and Neck Protection
A wool or synthetic hat, insulated hood, or beanie reduces heat loss from the uncovered head and protects the ears. A neck gaiter can block drafts around the collar and can be pulled higher when additional face coverage is needed.
There is no need to rely on the old claim that a fixed percentage of total body heat is lost through the head. The practical rule is simpler: protect exposed skin and adjust headwear just as you adjust the rest of your layers.
Gloves and Mittens
Gloves offer better finger dexterity for zippers, trekking poles, maps, and equipment. Mittens usually feel warmer because the fingers share heat inside one compartment. The National Weather Service also notes that mittens are warmer than gloves in cold conditions.
A useful system is a thin liner glove for dexterity plus a warmer insulated glove or mitten that can be added when conditions worsen. Waterproof or water-resistant outer hand protection is valuable when you expect wet snow.
Footwear: Insulated Boots and Socks
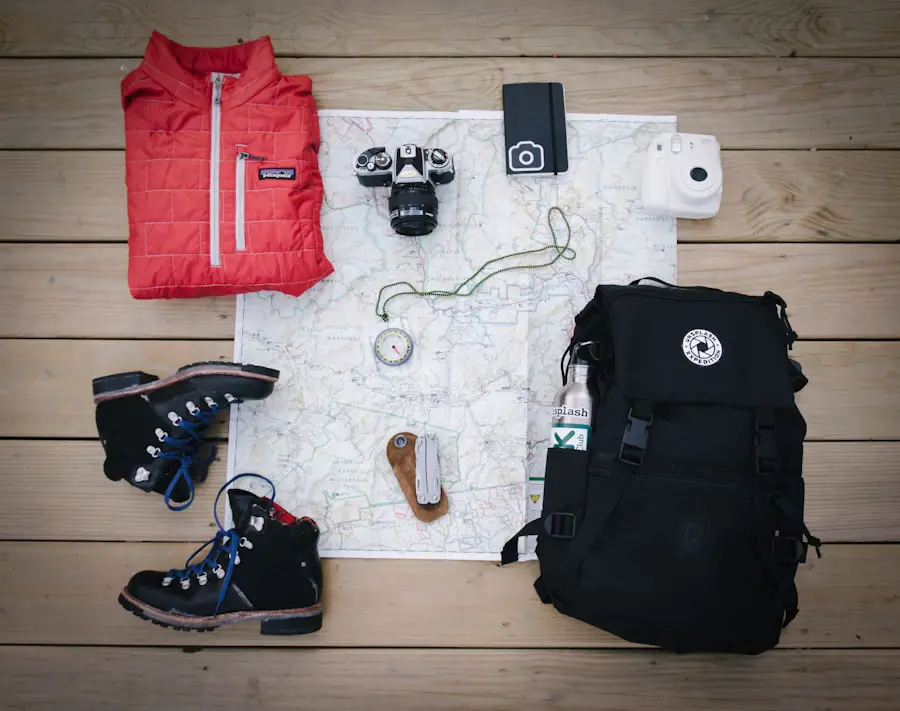
Cold or wet feet can quickly ruin a winter hike and can become a safety problem in severe conditions. Choose footwear appropriate for the temperature, snow depth, trail surface, and length of your trip. Waterproof winter hiking boots are useful in snow and slush, while insulation requirements vary widely by climate and activity.
Do not choose boots only by the name of an insulation material. Fit, warmth, waterproofing, traction compatibility, and enough room for your toes are more important than any single branded insulation.
Choose the Right Socks
Wool or synthetic hiking socks manage moisture better than cotton and continue to provide useful insulation when damp. Cotton socks hold moisture and dry slowly, which makes them a poor choice for cold-weather hiking.
A thin liner sock under a warmer hiking sock can work for some people, but only when the combination still fits comfortably inside the boot. Adding more socks is not automatically warmer if the boot becomes tight. OSHA warns that tight clothing can reduce circulation to the extremities.
Warning: Do not cram extra-thick or multiple socks into boots that already fit closely. Restricted circulation can make your feet colder. Your toes should have room to move without your heel sliding excessively.
Backpack Essentials: Extra Layers and Emergency Supplies
Winter weather can change quickly, and an injury or navigation problem can turn an active hike into a long period of standing still. Pack enough insulation to keep yourself warm during an unexpected stop rather than carrying only the clothing that feels comfortable while moving.
A useful winter clothing reserve includes a dry base layer or shirt, spare socks, extra gloves, a warm hat, and a packable insulated jacket. Keep critical dry clothing protected inside a waterproof liner or sealed bag so falling snow, rain, or a leaking water bottle cannot soak it.
Your broader winter kit should also match the trail conditions. NPS winter guidance recommends items such as a first aid kit, map, water, appropriate footwear, traction devices, trekking poles, and signaling equipment. A headlamp with spare power is especially useful because daylight is limited during winter.
- Dry spare clothing
- Extra insulated jacket
- Spare gloves and socks
- First aid and blister-care supplies
- Headlamp and spare power
- Map, compass, or another dependable navigation system
- Food and water
- Traction devices when snow or ice may be present
- Trekking poles when useful for footing
- Emergency blanket or bivy
- Whistle or other signaling device
Before leaving, check the latest weather, road or trail closures, snow conditions, and local hazard information. In avalanche terrain, obtain the relevant avalanche forecast and have the knowledge and equipment required for that terrain. Do not rely on clothing as a substitute for route planning or winter-travel skills.
Tips for Adjusting Layers on the Trail
The best winter clothing system is one you actually adjust. Your goal is not to feel hot throughout the hike. It is to stay comfortably warm while limiting sweat and remaining protected from the weather.
During Climbs and Other High-Output Sections
As your body warms, open pit zips or front zippers, remove a hat, loosen a neck gaiter, or take off a midlayer before you become heavily sweaty. A waterproof shell may also come off during dry, sheltered climbs if wind and precipitation are not a concern.
At Rest Stops
Do the opposite when you stop. Add an insulating layer before you become chilled. A puffy jacket that is too warm for a climb can be exactly what you need during lunch, a summit break, or an unexpected delay.
During Descents and on Exposed Ridges
Your effort often drops during descents while wind exposure can increase. Zip vents, put your shell back on, and add insulation early rather than waiting until you are already shivering.
Pro Tip: Keep the layers you adjust most often near the top of your backpack. If your shell, gloves, or puffy takes several minutes to dig out, you are more likely to postpone an adjustment until you are already uncomfortable.
Common Winter Layering Mistakes
- Starting in every warm layer you packed: You may overheat quickly once you begin climbing.
- Waiting until clothing is soaked with sweat: Vent or remove a layer earlier.
- Wearing cotton next to the skin: Cotton holds moisture and dries slowly.
- Using a heavy puffy as the only insulation strategy: A breathable active midlayer is often easier to manage while moving.
- Leaving the shell at home because the forecast looks dry: Wind and conditions can change, especially in exposed terrain.
- Stuffing too many socks into a boot: Extra thickness can restrict circulation and make feet colder.
- Ignoring lower-body layers: Legs need moisture management and weather protection too.
- Failing to carry dry spares: Clothing that works while everything is dry may not be enough after an unexpected soaking.
Cold-Stress Warning Signs and When to Turn Around
Layering reduces cold exposure, but it cannot eliminate the risk of hypothermia or frostbite. The CDC lists adult hypothermia warning signs such as shivering, exhaustion, confusion, fumbling hands, memory problems, slurred speech, and drowsiness. Frostbite can cause numbness and skin that appears white or grayish-yellow or feels unusually firm or waxy.
Warning: Confusion, slurred speech, severe loss of coordination, unusual drowsiness, or suspected hypothermia requires urgent action and medical help. Protect the person from further cold exposure and follow current emergency guidance. Do not keep hiking simply to finish the planned route.
Turn around when weather, wind, snow, ice, visibility, clothing problems, fatigue, or route-finding difficulties are moving beyond your skills or equipment. The National Park Service specifically advises winter hikers to be willing to turn around because conditions can change quickly.
If your winter hike is part of a larger international trip, the existing guide to 5 Must-Have Universal Travel Adapters for Your Spring 2025 Adventures can help with the travel side of your packing. An adapter is not part of your cold-weather safety system, so clothing, navigation, traction, food, water, and emergency equipment should come first on the trail.
Frequently Asked Questions
What is layering for winter hiking?
Layering for winter hiking means combining separate clothing pieces that manage moisture, retain warmth, and protect you from wind and precipitation. The basic system uses a base layer, an insulating layer, and an outer shell that can be added, removed, or vented as conditions change.
Why is layering important for winter hiking?
Layering helps you respond to changes in exertion and weather. A steep climb may make you warm enough to sweat, while a windy ridge or rest stop can cool you quickly. Adjustable layers let you manage both situations without relying on one bulky coat.
What are the three main layers for winter hiking?
The three main layers are a base layer next to the skin for moisture management, a midlayer for insulation, and an outer shell for wind and precipitation protection. You can add more than one insulating layer when conditions require it.
What materials are best for each layer?
Use merino wool or synthetic fabric for the base layer. Fleece, synthetic insulation, or down can provide midlayer warmth. Choose a wind-resistant shell in dry weather and a waterproof/breathable shell when rain, wet snow, or severe weather is possible. Avoid cotton for cold-weather layers that may become wet.
How should I adjust my layers while hiking?
Vent or remove clothing as soon as you begin overheating, rather than waiting until you are soaked with sweat. Add insulation promptly when you stop, descend, enter stronger wind, or notice that you are cooling faster than your activity can replace the heat.
What accessories are important for winter hiking layering?
Useful accessories include a warm hat or hood, neck gaiter, liner gloves, insulated gloves or mittens, and wool or synthetic socks. Carry spare gloves and socks when conditions are wet or the trip is long enough that losing or soaking one pair would create a safety problem.
Should I wear cotton while winter hiking?
Cotton is a poor choice for cold-weather hiking because it absorbs moisture and dries slowly. Wool and suitable synthetic fabrics are better choices for base layers, insulating pieces, and socks when staying warm after sweating or getting wet matters.
Is down or synthetic insulation better for winter hiking?
Down offers excellent warmth for its weight and packs very small, making it useful for cold rest stops and dry conditions. Synthetic insulation is generally more forgiving in damp weather. Your best choice depends on moisture, temperature, trip length, pack space, and how much insulation you need while moving versus resting.
Should I wear two pairs of socks for winter hiking?
Only if both pairs fit comfortably inside your boots. A thin liner sock plus a warmer outer sock can work, but adding socks to an already snug boot can restrict circulation. One properly fitted warm wool or synthetic sock is better than several layers that make the boot tight.
Sources
- U.S. National Park Service — Winter Hiking Tips — winter clothing, dry spares, footwear, traction, navigation, and preparedness.
- U.S. National Park Service — Be Winter Ready for Your Adventure — layering, wool/synthetic clothing, weather protection, and cold-weather preparation.
- Occupational Safety and Health Administration — Cold Stress Guide — cold-weather layering, cotton, circulation, boots, gloves, and dry clothing.
- Centers for Disease Control and Prevention — Winter Weather Safety — hypothermia and frostbite warning signs and emergency guidance.
- National Weather Service — Understanding Wind Chill — wind-chill and exposed-skin cold risk.
- REI Co-op — Layering Basics — base-layer, insulation, fleece, shell, and on-trail adjustment principles.

